
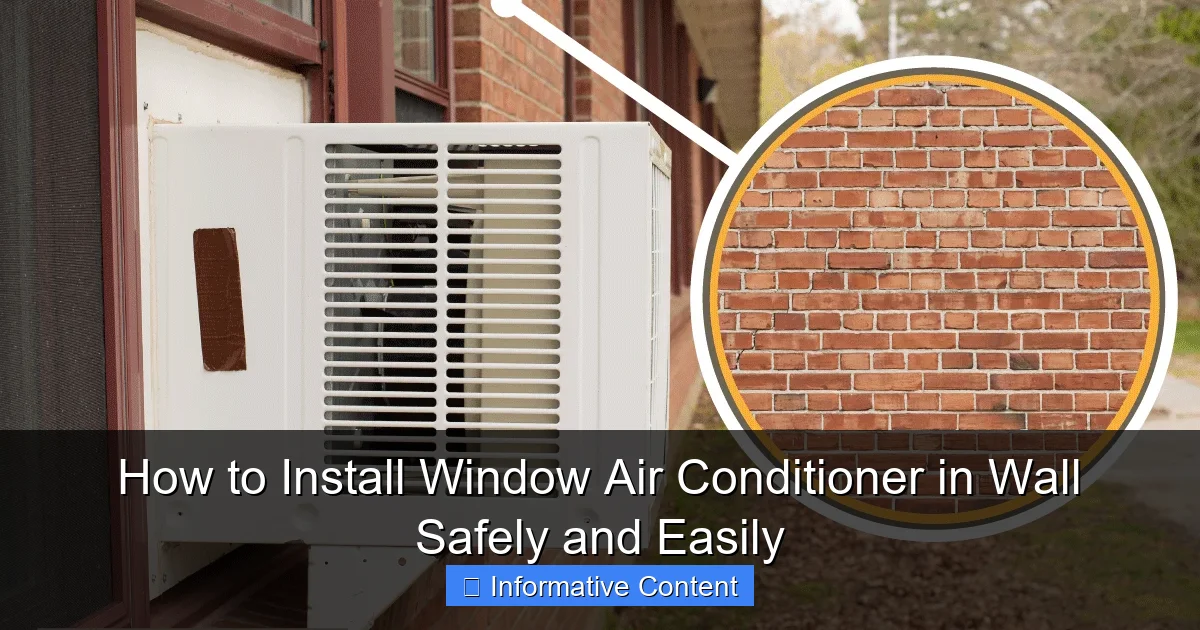
Featured image for install window air conditioner in wall
Image source: hvacseer.com
Installing a window air conditioner in a wall is a secure and efficient way to cool your space without sacrificing window access or natural light. With the right tools, a properly sized wall sleeve, and attention to structural support, you can complete the installation safely and avoid common pitfalls like air leaks or water damage. Always follow manufacturer guidelines and local building codes to ensure a stable, long-lasting setup.
Key Takeaways
- Measure carefully: Ensure precise window and wall opening dimensions before purchasing or installing.
- Choose a sturdy wall: Install on load-bearing walls to support the AC’s weight safely.
- Seal gaps properly: Use foam or caulk to prevent air leaks and improve efficiency.
- Follow instructions strictly: Adhere to manufacturer guidelines for secure and correct installation.
- Check local codes: Verify building permits and regulations to avoid legal or safety issues.
- Use a support bracket: Install a sturdy brace to prevent sagging or falling over time.
📑 Table of Contents
- How to Install Window Air Conditioner in Wall Safely and Easily
- Why Choose a Wall-Mounted Window Air Conditioner?
- Tools and Materials You’ll Need
- Step-by-Step Installation Guide
- Safety Tips and Common Mistakes to Avoid
- Maintenance and Long-Term Care
- Performance Comparison: Wall vs. Window Units
- Final Thoughts: Is It Worth It?
How to Install Window Air Conditioner in Wall Safely and Easily
So, it’s that time of year again—the kind where your ceiling fan just isn’t cutting it anymore, and every breeze feels like it’s been preheated by a dragon. You’ve decided it’s finally time to upgrade your cooling game, and you’re eyeing a window air conditioner. But here’s the twist: instead of the usual sill-mounted setup, you’re thinking about installing it in the wall. Smart move! A wall-mounted window AC unit can save space, reduce drafts, and give your room a cleaner, more permanent look.
Now, before you grab your drill and start hacking into your drywall, let’s pause for a second. Installing a window air conditioner in the wall isn’t just about cutting a hole and sliding the unit in. It’s a bit like performing home surgery—mess it up, and you could end up with leaks, drafts, or even structural issues. But don’t worry. With the right tools, a solid plan, and a little patience, you can do this safely and easily. I’ve been there—tried it, messed up once (yes, there was a minor flood), and learned from it. So, let me walk you through the process step by step, sharing what worked, what didn’t, and how you can avoid my rookie mistakes.
Why Choose a Wall-Mounted Window Air Conditioner?
You might be wondering: “Why go through the trouble of cutting a hole in the wall when I can just pop a window unit into the sill?” Great question. While traditional window units are quick and easy, they come with some real downsides—especially if you live in a place with harsh weather or want a more polished look.
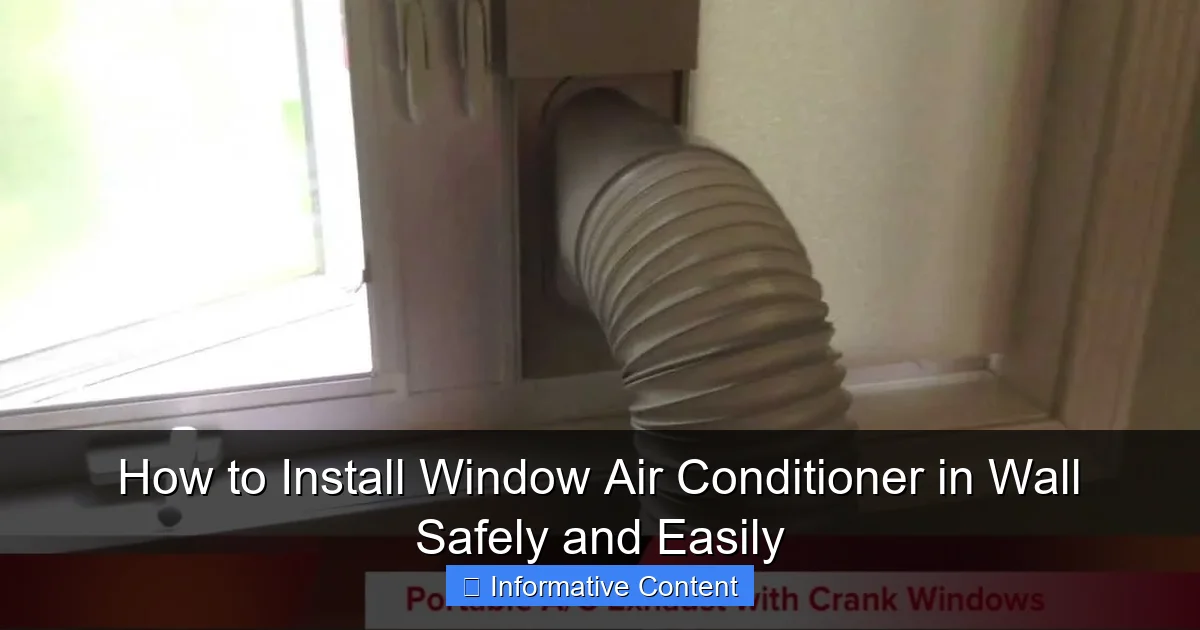
Visual guide about install window air conditioner in wall
Image source: i.ytimg.com
Space-Saving Benefits
One of the biggest advantages of installing a window air conditioner in the wall is space. A standard window unit sticks out into your room, blocking light and making it hard to open the window or place furniture nearby. A wall-mounted unit sits flush with the wall, freeing up valuable floor and window space. Imagine being able to slide your couch right up to the wall or hang curtains without interference. That’s the kind of freedom we’re talking about.
Better Insulation and Energy Efficiency
Window units mounted in the sill often leave gaps around the edges, letting in hot air and letting cool air escape. Over time, this can increase your energy bills and reduce cooling efficiency. A properly installed wall-mounted unit, on the other hand, can be sealed tightly with insulation and weatherstripping, creating a much more energy-efficient barrier. In fact, studies show that well-sealed wall units can reduce energy loss by up to 30% compared to poorly fitted window models.
Improved Aesthetics and Security
Let’s be honest—window units sticking out of your home aren’t exactly stylish. They can also be a security risk, especially if they’re easy to remove from the outside. A wall-mounted unit is flush with the exterior wall, making it harder for intruders to access and giving your home a cleaner, more modern appearance. Plus, you won’t have to worry about the unit falling out during a storm or high winds.
Long-Term Durability
Wall-mounted units are generally more stable and less prone to vibration damage than their window counterparts. Since they’re secured directly into the wall framing, they’re less likely to shift or loosen over time. This means fewer maintenance issues and a longer lifespan for your AC unit.
Tools and Materials You’ll Need
Before you start cutting into your wall, make sure you have all the right tools and materials on hand. Trust me, nothing’s worse than getting halfway through and realizing you’re missing a crucial screw or sealant. Here’s a checklist to keep you prepared.
Essential Tools
- Circular saw or reciprocating saw (for cutting the hole)
- Drill and drill bits (including a long masonry bit if you’re cutting through brick or concrete)
- Level (to ensure the unit is perfectly horizontal)
- Tape measure
- Pencil or chalk line
- Screwdriver or impact driver
- Caulking gun
- Safety gear: gloves, safety glasses, and a dust mask
Materials Checklist
- Wall-mounted window air conditioner (make sure it’s designed for wall installation)
- Mounting brackets or frame (often included with the unit)
- Exterior-grade plywood or backer board (for reinforcing the opening)
- Insulation foam board or spray foam
- Weatherstripping or foam tape
- Exterior-grade caulk or silicone sealant
- Screws and anchors (appropriate for your wall type)
- Flashing tape (optional, but recommended for water resistance)
Pro Tip: Check Local Building Codes
Before you start, check with your local building department. Some areas require permits for wall modifications, especially if you’re cutting into load-bearing walls or altering the exterior. It’s better to know upfront than to get hit with a fine later.
Step-by-Step Installation Guide
Now that you’re equipped with the right tools and knowledge, let’s dive into the actual installation. This process can take anywhere from 3 to 6 hours, depending on your experience and wall type. Take your time—rushing leads to mistakes.
Step 1: Choose the Right Location
Not every wall is created equal. You’ll want to pick a spot that’s:
- Close to an electrical outlet (or plan to run a dedicated circuit)
- Away from direct sunlight if possible (to reduce cooling load)
- Accessible from both inside and outside (for installation and maintenance)
- Not near plumbing, electrical wires, or HVAC ducts
Use a stud finder to locate wall studs. You’ll need to cut between them or reinforce the area if you’re cutting through a stud. Avoid cutting into load-bearing walls unless you’re experienced or have a structural engineer’s approval.
Step 2: Measure and Mark the Opening
Refer to your air conditioner’s installation manual for the exact dimensions of the required wall opening. Most units need a slightly larger hole than the unit itself to allow for insulation and mounting hardware.
Use a tape measure and level to mark the outline on the interior wall. Then, go outside and transfer those measurements to the exterior. Double-check everything—once you start cutting, there’s no undo button.
Step 3: Cut the Hole
Start from the inside. Use a circular saw to cut along your marked lines, but stop about 1 inch short of the corners to prevent the drywall from breaking. Finish the corners with a handsaw or reciprocating saw.
Once the interior cut is done, go outside and cut through the exterior siding, sheathing, and insulation. If you’re working with brick or concrete, use a masonry drill bit and a hammer drill. This part can get messy—wear your safety gear and consider laying down a tarp to catch debris.
Step 4: Reinforce the Opening
Before installing the unit, you’ll need to build a sturdy frame around the opening. Use 2×4 lumber to create a support frame that matches the dimensions of your AC unit. Secure it to the wall studs with screws. This frame will hold the weight of the unit and prevent sagging.
If your wall is thin or made of weak material, add a backer board (like exterior-grade plywood) to the inside of the opening for extra support.
Step 5: Install the Mounting Frame
Most wall-mounted AC units come with a metal or plastic mounting frame. Slide this into the opening from the outside and secure it to the reinforcement frame with screws. Make sure it’s level—use a spirit level to check both horizontally and vertically.
Apply a bead of exterior-grade caulk around the edges of the frame before securing it. This will help prevent water from seeping in.
Step 6: Insert the Air Conditioner
With the frame in place, carefully slide the AC unit into the opening from the outside. Have a helper on the inside to guide it and ensure it sits flush with the frame. Secure the unit to the frame using the provided screws or brackets.
Once it’s in place, check for gaps around the edges. Use weatherstripping or foam tape to seal any small openings. For larger gaps, apply spray foam insulation—just be careful not to overfill, as it expands as it dries.
Step 7: Seal and Finish
From the outside, apply a generous bead of silicone sealant around the entire perimeter of the unit. This creates a waterproof barrier and prevents air leaks. If you’re in a rainy climate, consider adding flashing tape over the top edge for extra protection.
On the interior, patch any drywall damage and paint to match your wall. Install a decorative cover or grille if desired—this hides the mechanical parts and gives a finished look.
Safety Tips and Common Mistakes to Avoid
Installing a window air conditioner in the wall is a rewarding project, but it’s not without risks. Here are some safety tips and common pitfalls to keep in mind.
Electrical Safety First
Most window AC units require a dedicated 20-amp circuit. Never plug them into an extension cord or share a circuit with other high-wattage appliances. If you’re not comfortable working with electrical wiring, hire a licensed electrician. A faulty connection can cause fires or damage your unit.
Watch for Water and Air Leaks
One of the biggest mistakes people make is underestimating the importance of sealing. Even a small gap can lead to condensation buildup, mold growth, or energy loss. Always use high-quality sealant and double-check your work.
Don’t Ignore Weight Distribution
Air conditioners can weigh 60 to 100 pounds. If the mounting frame isn’t properly supported, the unit can sag or even fall out. Always reinforce the opening and use sturdy screws anchored into wall studs.
Avoid Cutting into Hazardous Areas
Before you cut, use a stud finder with electrical and plumbing detection to avoid hitting wires or pipes. If you’re unsure, consult a professional. Cutting into a live wire or water line is not only dangerous—it’s expensive to fix.
Test Before You Finish
Once the unit is installed, turn it on and let it run for 15–20 minutes. Check for unusual noises, vibrations, or leaks. Make sure the condensate drain is working properly—standing water can lead to mold or damage.
Maintenance and Long-Term Care
Congratulations—you’ve successfully installed your wall-mounted window air conditioner! But the work isn’t over. To keep it running efficiently and safely, regular maintenance is key.
Clean the Filters Monthly
Dirty filters restrict airflow and reduce cooling efficiency. Most units have washable filters that can be rinsed with water and mild soap. Let them dry completely before reinstalling.
Inspect Seals and Insulation Annually
Over time, sealant can crack and insulation can degrade. Once a year, check the exterior and interior seals. Reapply caulk or foam as needed to maintain a tight seal.
Clear Debris from the Exterior
Leaves, dirt, and snow can block the outdoor vents, reducing airflow. Keep the area around the unit clean, especially during fall and winter.
Schedule Professional Servicing
Every 2–3 years, have a technician inspect the refrigerant levels, electrical connections, and overall performance. This can extend the life of your unit and prevent costly repairs.
Performance Comparison: Wall vs. Window Units
To help you understand the real-world benefits, here’s a quick comparison of wall-mounted and traditional window air conditioners based on common performance metrics.
| Feature | Wall-Mounted Unit | Traditional Window Unit |
|---|---|---|
| Energy Efficiency | High (better sealing, less air leakage) | Moderate (gaps often present) |
| Space Usage | Minimal (flush with wall) | High (blocks window and floor space) |
| Installation Difficulty | Moderate to High (requires wall modification) | Low (plug and play) |
| Aesthetics | Clean, modern look | Bulky, industrial appearance |
| Security | High (harder to remove from outside) | Low (easily accessible) |
| Maintenance Access | Moderate (may require interior access) | Easy (front-facing controls) |
Final Thoughts: Is It Worth It?
Installing a window air conditioner in the wall is definitely more involved than the traditional method, but for many homeowners, the benefits far outweigh the effort. You gain better energy efficiency, more usable space, and a cleaner look—all while improving your home’s security and comfort.
That said, it’s not a project for everyone. If you’re renting, live in a historic home, or aren’t comfortable with power tools, it might be better to stick with a window unit or consult a professional. But if you’re a confident DIYer with a long-term plan for your space, this upgrade can pay off in comfort and savings for years to come.
Remember: take your time, follow safety guidelines, and don’t skip the sealing step. A well-installed wall-mounted AC unit doesn’t just cool your home—it enhances it. So grab your tools, double-check your measurements, and get ready to enjoy a cooler, more comfortable summer.
Frequently Asked Questions
Can I install a window air conditioner in the wall instead of a window?
Yes, you can install a window air conditioner in the wall, but it requires cutting an opening and proper framing to support the unit. This method provides a more permanent and secure installation compared to traditional window mounting.
What tools do I need to install a window air conditioner in the wall?
You’ll need a saw (preferably a reciprocating or circular saw), drill, level, measuring tape, screws, and insulation materials. A helper is also recommended to safely lift and position the unit during installation.
Is it safe to install a window air conditioner in an exterior wall?
Yes, it’s safe if done correctly—ensure the wall can support the weight and that electrical wiring meets code. Always follow the manufacturer’s guidelines and consider consulting a professional for structural or electrical concerns.
Do I need a special sleeve to install a window AC in the wall?
Some models require a wall sleeve for proper fit and insulation, while others can be installed directly. Check your unit’s specifications—using a sleeve helps prevent air leaks and improves energy efficiency.
How do I prevent air leaks when installing a window air conditioner in the wall?
Seal all gaps around the unit with foam weatherstripping or caulk, and ensure the opening is properly insulated. This prevents drafts, improves cooling efficiency, and reduces energy costs.
Can I install a window air conditioner in the wall myself, or should I hire a professional?
DIY installation is possible if you’re experienced with basic carpentry and electrical work. However, for complex walls or if you’re unsure, hiring a professional ensures safety and proper installation.