
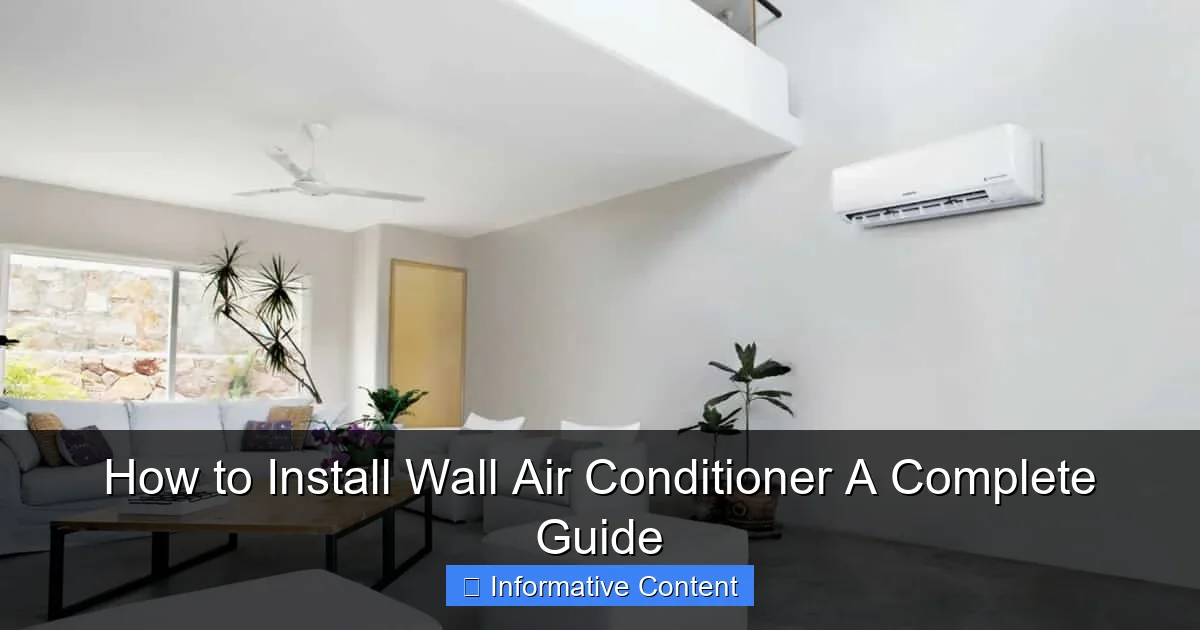
Featured image for install wall air conditioner
Image source: certifiedairmaui.com
Installing a wall air conditioner requires precise sizing, proper mounting, and secure electrical connections to ensure optimal performance and safety. This guide walks you through every step—from selecting the right unit and preparing the wall opening to sealing gaps and testing airflow—for a hassle-free, professional-quality installation that keeps your space cool and energy-efficient.
Key Takeaways
- Measure your wall opening accurately to ensure a proper fit for the air conditioner.
- Choose the right BTU capacity based on room size for optimal cooling efficiency.
- Turn off power at the breaker before starting installation to prevent electrical hazards.
- Seal gaps with foam insulation to prevent air leaks and improve energy efficiency.
- Secure the unit with brackets to support weight and prevent shifting over time.
- Test the AC before finalizing installation to confirm proper operation and cooling.
📑 Table of Contents
- How to Install Wall Air Conditioner: A Complete Guide
- Understanding Wall Air Conditioners: Types and Key Features
- Preparing for Installation: Tools, Materials, and Safety
- Step-by-Step Installation Process
- Post-Installation: Testing, Maintenance, and Troubleshooting
- Cost, Time, and When to Call a Pro
- Conclusion: Enjoy Your Cool, Quiet Space
How to Install Wall Air Conditioner: A Complete Guide
Let’s be honest—summer heat can be brutal. I remember one particularly sweltering afternoon when my old window AC unit finally gave up the ghost. The fan spun like it was trying to win a race, but the air it pushed out was just as warm as the air outside. That’s when I decided to upgrade to a wall air conditioner. It’s sleek, powerful, and doesn’t take up precious window space. But I’ll admit, when I first looked at the installation manual, my heart skipped a beat. Drilling through walls? Running refrigerant lines? It sounded like something only a licensed HVAC technician could handle.
But here’s the good news: with the right tools, a clear plan, and a little patience, installing a wall air conditioner is absolutely doable for a confident DIYer. I went from sweating in my living room to enjoying a cool, quiet space in just a weekend—and I didn’t break the bank hiring a pro. Whether you’re replacing an old unit or installing a new one from scratch, this guide will walk you through every step. We’ll cover everything from choosing the right model to sealing the unit for maximum efficiency. And don’t worry—I’ll share the mistakes I made (like forgetting to level the unit!) so you can avoid them. By the end, you’ll feel confident tackling your own wall air conditioner installation.
Understanding Wall Air Conditioners: Types and Key Features
What Is a Wall Air Conditioner?
A wall air conditioner, also known as a through-the-wall AC or a ductless mini-split (depending on the model), is a permanent cooling solution installed directly into an exterior wall. Unlike portable or window units, it’s designed to stay in place, offering better energy efficiency, quieter operation, and a cleaner look. Think of it as a built-in AC unit that blends into your home’s structure.
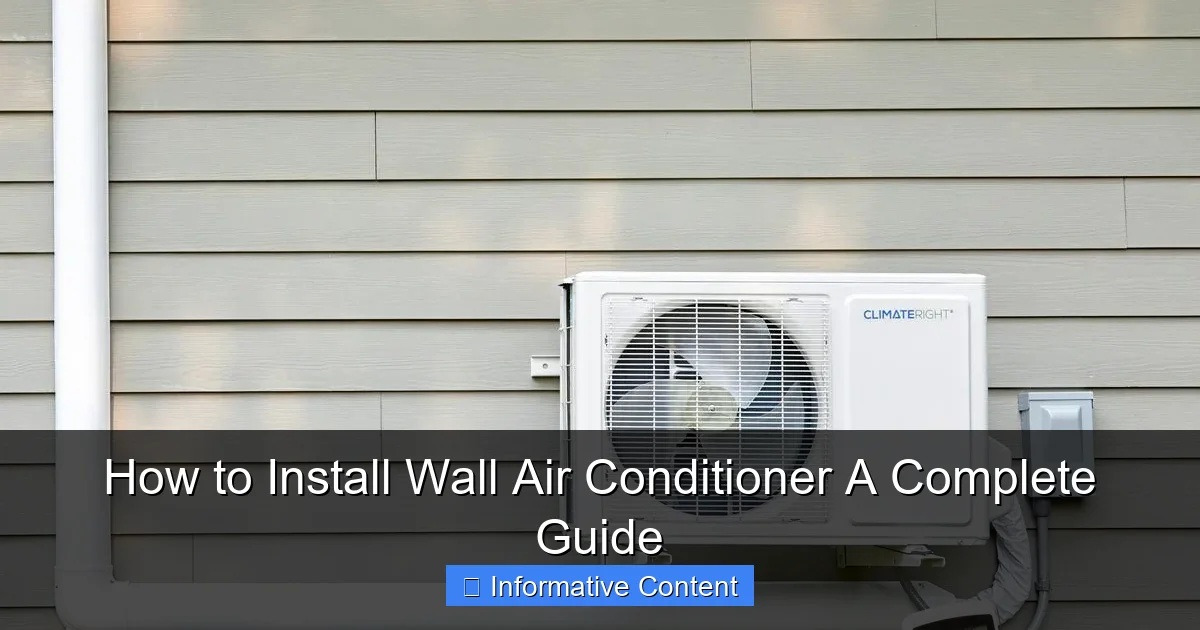
Visual guide about install wall air conditioner
Image source: familyhandyman.com
There are two main types:
- Through-the-wall units (self-contained): These are all-in-one systems with the compressor, evaporator, and fan built into a single cabinet. They’re easier to install and require no refrigerant lines. Great for renters or those who want a simpler setup.
- Ductless mini-splits: These have an indoor air handler mounted on the wall and an outdoor condenser unit. Refrigerant lines and electrical wiring connect the two. More complex but more efficient, especially in larger rooms or multi-room setups.
Key Features to Consider Before Buying
Before you start drilling, make sure you’ve picked the right unit for your space. Here are the factors I wish I’d considered more carefully:
- BTU Rating: This measures cooling power. A 10,000 BTU unit is ideal for 300–400 sq ft. Too low, and it struggles; too high, and it cools too fast without dehumidifying properly. Use a BTU calculator online, but remember: if your room has high ceilings, direct sunlight, or a lot of electronics, go up a size.
- Energy Efficiency (SEER Rating): Look for at least 12–14 SEER. Higher SEER = lower energy bills. I went with a 14 SEER unit and saved about 20% on cooling costs compared to my old window unit.
- Noise Level (Decibels): Wall units range from 40–60 dB. Below 50 dB is whisper-quiet. My 48 dB model is quieter than a conversation—perfect for bedrooms.
- Installation Kit Compatibility: Some units come with a sleeve or mounting frame. Others need a separate kit. Always check if your model includes a weatherproof sleeve or if you need to buy one separately.
Pro Tip: I made the mistake of buying a unit without checking the wall thickness. My exterior wall was 8 inches thick (with insulation), but the sleeve was only 6 inches. I had to modify the framing—don’t repeat my error!
Preparing for Installation: Tools, Materials, and Safety
Tools and Materials You’ll Need
You don’t need a full workshop, but having the right tools makes the job safer and smoother. Here’s my checklist:
- Power tools: Cordless drill, jigsaw or reciprocating saw (for cutting through wood/masonry), stud finder, level, measuring tape.
- Hand tools: Screwdrivers (Phillips and flathead), utility knife, adjustable wrench, pliers.
- Safety gear: Safety goggles, work gloves, dust mask, ear protection.
- Materials: Wall sleeve (if not included), mounting frame, exterior-grade caulk, foam insulation, shims, screws, electrical wire (if hardwiring).
- Optional but helpful
Electrical and Structural Considerations
Before you cut into your wall, check these critical points:
- Electrical Circuit: Wall ACs typically need a 110–120V or 220–240V outlet. My 12,000 BTU unit required a 240V circuit. If your home doesn’t have one, you’ll need an electrician to install a dedicated circuit. Never use an extension cord!
- Wall Structure: Locate studs using a stud finder. You’ll need to cut between two studs or frame a new opening. Avoid cutting into load-bearing walls unless you’re 100% sure. I used a stud finder and marked the center between two studs—worked perfectly.
- Exterior Access: You’ll need to work from the outside to seal the unit. If you’re on the second floor or higher, use a ladder with a spotter. I borrowed my neighbor’s extension ladder and had my partner hold it steady.
Safety First: What to Watch Out For
I can’t stress this enough: safety is non-negotiable. Here’s what I learned:
- Turn off power to the area before drilling near electrical wires.
- Wear goggles and a mask when cutting through walls. Dust and debris can be hazardous.
- Support the wall while cutting. I used temporary 2×4 braces to prevent the wall from shifting.
- Check for pipes or wires behind the wall. I almost hit a water line—thankfully, I double-checked with a thermal camera app.
Real-World Example: My friend installed a unit but didn’t seal the exterior properly. Rainwater seeped in, causing mold. I used exterior-grade caulk and foam insulation to create a watertight seal—no issues after a heavy storm.
Step-by-Step Installation Process
Step 1: Choose and Measure the Location
Pick a spot on an exterior wall, ideally on the north or east side (less sun exposure). Measure the unit’s dimensions and add 1/4 inch on each side for the sleeve. I chose a spot 18 inches above the floor—high enough to avoid drafts but low enough to cool the whole room.
Use a level to draw a precise rectangle. I made the mistake of eyeballing it—the first cut was crooked! A laser level saved me on the second try.
Step 2: Cut the Wall Opening
This is the most nerve-wracking part. Start with a small pilot hole to confirm the interior and exterior wall materials (wood, brick, stucco). Then, use a jigsaw for wood or a reciprocating saw with a masonry blade for brick/concrete.
- Interior cut first: Remove drywall or plaster. I used a utility knife to score the edges for a cleaner cut.
- Exterior cut: Work carefully to avoid damaging siding. I used a circular saw with a depth gauge to cut through wood siding.
Pro Tip: Place a drop cloth under the cutting area to catch debris. I didn’t, and my living room looked like a construction zone for a week.
Step 3: Install the Wall Sleeve and Frame
Slide the sleeve into the opening. If your wall is thicker than the sleeve, build a wooden frame to extend it (like I did for my 8-inch wall). Secure the frame with screws and use shims to level it. The sleeve should tilt slightly downward toward the outside (about 1/4 inch) for drainage.
Seal the interior edges with foam insulation. I used spray foam—it expands to fill gaps. For the exterior, apply exterior-grade caulk to seal against rain and insects.
Step 4: Connect Electrical and Refrigerant Lines (If Applicable)
For through-the-wall units: Plug into a dedicated outlet. For mini-splits:
- Run refrigerant lines, drain hose, and electrical wire through a separate hole (usually 2–3 inches in diameter).
- Connect lines to the indoor and outdoor units (follow the manual’s torque specs—overtightening can damage valves).
- Vacuum the lines to remove moisture (a critical step for efficiency).
I hired an electrician for the 240V circuit but did the refrigerant lines myself. It took patience, but the manual had clear diagrams.
Step 5: Mount the Air Conditioner
Lift the unit into the sleeve (get a helper—they’re heavy!). Slide it in until the front panel is flush with the wall. Secure it with screws through the mounting holes. Double-check that it’s level. My unit tilted slightly, causing condensation to drip inside. A quick adjustment with shims fixed it.
Step 6: Seal and Insulate
Seal all gaps inside and out. I used:
- Interior: Foam tape around the unit’s edges.
- Exterior: Caulk around the sleeve and siding.
Test for drafts with a candle or incense stick. If the flame flickers, you’ve got a leak.
Post-Installation: Testing, Maintenance, and Troubleshooting
Testing the Unit
Turn on the power and run the unit for at least 30 minutes. Check:
- Cool air output (use a thermometer—should be 15–20°F cooler than room temp).
- Drainage (condensation should drip outside, not inside).
- Noise level (listen for rattling or grinding—tighten loose screws if needed).
I noticed a slight rattle after installation. Turns out, a screw on the front panel was loose. Easy fix!
Maintenance Tips for Longevity
Wall ACs need less maintenance than window units, but don’t skip it:
- Clean the filter monthly (I use a vacuum and mild soap).
- Inspect the exterior drain every season. I found a spider nest blocking it—cleared it with a pipe cleaner.
- Check seals annually for cracks or gaps.
Common Problems and Fixes
Here’s what went wrong for me (and how I fixed it):
- Leaking water: Caused by improper tilt. Adjusted the sleeve angle.
- No cooling: Low refrigerant (common with mini-splits). Had a pro recharge it.
- Excessive noise: Loose mounting screws. Tightened them.
Pro Tip: Keep the manual handy. Mine has troubleshooting flowcharts that saved me hours.
Cost, Time, and When to Call a Pro
Estimated Time and Cost
Here’s a realistic breakdown based on my experience:
| Task | Time Required | Cost (DIY) | Cost (Professional) |
|---|---|---|---|
| Cutting wall opening | 2–4 hours | $0 (if you have tools) | $200–$500 |
| Installing sleeve/frame | 1–2 hours | $50–$100 (materials) | $150–$300 |
| Electrical work (240V circuit) | 3–5 hours | $0 (if licensed) | $300–$800 |
| Refrigerant line installation | 2–3 hours | $0 (DIY) | $200–$400 |
| Total | 8–14 hours | $50–$200 (DIY) | $850–$2,000 |
DIY saved me over $1,500. But if you’re not comfortable with electrical work or refrigerant handling, hire a pro. It’s worth the cost for safety and efficiency.
When to Call a Professional
Don’t DIY if:
- You need a new 240V circuit (electrical work is high-risk).
- Your wall is concrete or brick with steel framing (special tools needed).
- You’re installing a mini-split and lack HVAC experience (refrigerant handling requires certification in some areas).
I hired an electrician for the circuit and an HVAC tech to recharge refrigerant—best decisions I made.
Conclusion: Enjoy Your Cool, Quiet Space
Installing a wall air conditioner isn’t just about beating the heat—it’s about upgrading your home’s comfort and efficiency. Yes, it’s a project that requires careful planning and elbow grease, but the payoff is huge. My unit runs quieter, cools faster, and looks cleaner than any window AC I’ve ever owned.
Remember: take your time, prioritize safety, and don’t hesitate to call a pro for the tricky parts. Whether you’re a DIY newbie or a seasoned handyman, you’ve got this. And when you’re sitting in your perfectly cooled room, sipping a cold drink while the sun blazes outside, you’ll know it was worth every minute. Now go enjoy that cool air—you’ve earned it.
Frequently Asked Questions
How do I install a wall air conditioner safely?
To install a wall air conditioner safely, turn off the power supply and follow the manufacturer’s instructions carefully. Use a sturdy wall sleeve or bracket to support the unit and ensure proper drainage and electrical connections.
What tools do I need to install a wall air conditioner?
Common tools include a drill, level, screwdriver, measuring tape, and safety gear like gloves and goggles. A wall air conditioner installation may also require a masonry bit for concrete walls and a voltage tester for wiring.
Can I install a wall air conditioner myself, or do I need a professional?
DIY installation is possible if you’re comfortable with electrical work and heavy lifting, but hiring a professional ensures compliance with local codes and warranty requirements. Always consult a licensed electrician for hardwired units.
Where is the best place to install a wall air conditioner?
Choose a shaded, exterior wall away from direct sunlight and heat sources, ideally near a window or door for easier venting. Ensure the location allows proper airflow and access to a dedicated electrical circuit.
How long does it take to install a wall air conditioner?
A typical wall air conditioner installation takes 3–6 hours, depending on wall type, electrical setup, and whether you need to modify the wall opening. Professional installers may complete it faster.
Do I need a permit to install a wall air conditioner?
Some regions require permits for HVAC work, especially if electrical or structural changes are involved. Check local building codes before starting your wall air conditioner installation to avoid fines or safety issues.