
This guide walks you through the complete installation process for the LG Split Air Conditioner S246CH, including indoor and outdoor unit setup, refrigerant line connection, and safety checks. Whether you’re a DIY enthusiast or hiring a pro, you’ll get clear, up-to-date instructions for 2026 standards.
Key Takeaways
- Plan your installation carefully: Choose the right location for both indoor and outdoor units to ensure optimal airflow and efficiency.
- Use proper tools and safety gear: A drill, level, vacuum pump, and insulated gloves are essential for a safe and effective setup.
- Follow electrical and refrigerant guidelines: Incorrect wiring or improper refrigerant handling can damage the unit or violate local codes.
- Seal and insulate refrigerant lines: Prevent energy loss and moisture buildup by properly insulating copper pipes and sealing wall holes.
- Test the system before finalizing: Run a trial cycle to check cooling, leaks, and remote functionality.
- Hire a certified technician if unsure: While DIY is possible, professional installation ensures warranty compliance and safety.
- Maintain your unit regularly: Clean filters and inspect connections every 3–6 months for long-term performance.
How to Install LG Split Air Conditioner S246CH: A Complete 2026 Guide
Installing an air conditioner might seem intimidating, but with the right tools, preparation, and step-by-step guidance, you can successfully set up your LG Split Air Conditioner S246CH in 2026. This model is known for its energy efficiency, quiet operation, and smart features—making it a top choice for modern homes. Whether you’re replacing an old unit or installing one for the first time, this guide will walk you through the entire process safely and effectively.
By the end of this guide, you’ll know how to mount both indoor and outdoor units, connect refrigerant lines, wire the system, and perform a final test. We’ll also cover essential safety tips and troubleshooting advice to help you avoid common mistakes. While DIY installation is possible, we strongly recommend consulting a licensed HVAC technician—especially for electrical and refrigerant work—to ensure compliance with 2026 building codes and warranty requirements.
Tools and Materials You’ll Need

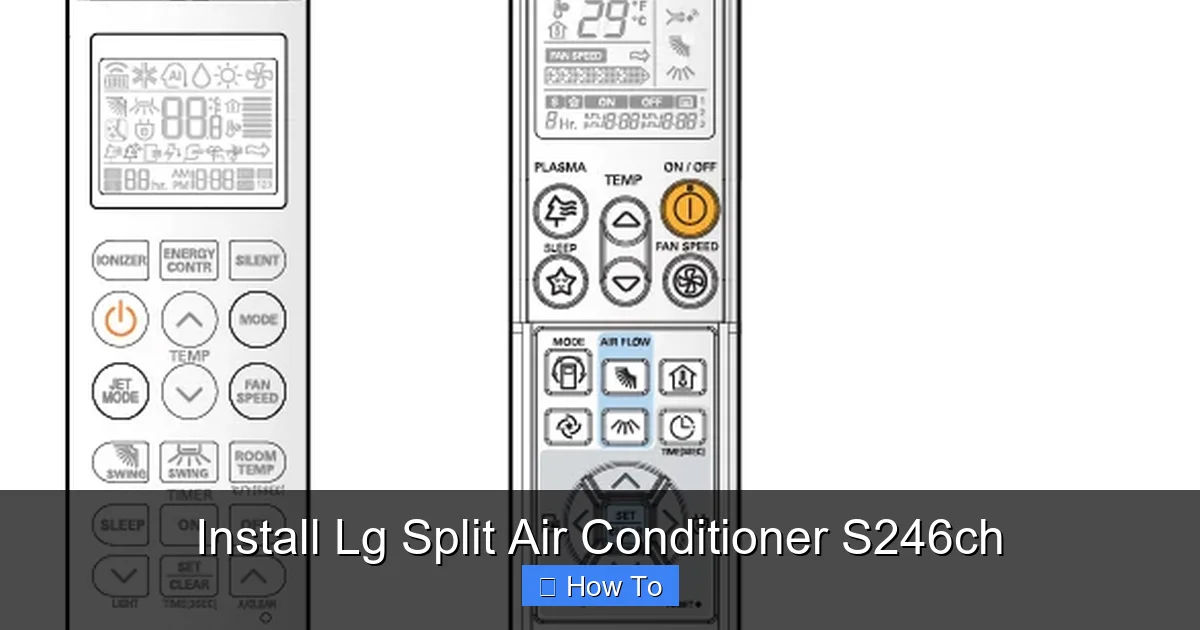
Visual guide about Install Lg Split Air Conditioner S246ch
Image source: yasirelectronics.com
Before starting, gather all necessary tools and materials. Having everything ready will save time and reduce frustration.
Basic Tools
- Drill with masonry and wood bits
- Spirit level
- Measuring tape
- Screwdrivers (Phillips and flathead)
- Adjustable wrench
- Pipe cutter or hacksaw
- Vacuum pump (for refrigerant lines)
- Insulated gloves and safety goggles
Installation Kit (Usually Included)
- Mounting brackets for indoor and outdoor units
- Refrigerant copper pipes (typically 3/8″ and 1/4″)
- Insulation sleeves for pipes
- Drain hose
- Screws, anchors, and wall plugs
- Remote control and batteries
Optional but Recommended
- Electrical multimeter
- Pipe flaring tool
- Leak detection spray
- Wall sleeve (for cleaner cable and pipe routing)
Step 1: Choose the Right Location
Picking the best spot for your indoor and outdoor units is crucial for performance and longevity.
Indoor Unit Placement
- Mount the indoor unit on an interior wall, at least 7 feet above the floor.
- Avoid direct sunlight, heat sources, or areas near curtains that block airflow.
- Ensure at least 6 inches of clearance on all sides for proper air circulation.
- The unit should be level and securely anchored to support its weight (typically 20–30 lbs).
Outdoor Unit Placement
- Place the outdoor condenser on a stable, level surface—like a concrete pad or wall-mounted bracket.
- Keep it away from windows, doors, and neighbors’ living spaces to reduce noise.
- Ensure at least 2 feet of clearance on all sides for airflow and maintenance access.
- Avoid areas prone to flooding, debris, or direct exposure to rain and snow.
Step 2: Mount the Indoor Unit
Now it’s time to install the indoor unit.
Step 2.1: Mark and Drill the Mounting Holes
- Hold the mounting bracket against the wall where you want the unit.
- Use a spirit level to ensure it’s perfectly horizontal.
- Mark the screw holes with a pencil.
- Drill pilot holes using the appropriate bit for your wall type (masonry, drywall, etc.).
- Insert wall plugs and secure the bracket with screws.
Step 2.2: Prepare the Wall Opening
- Drill a 3-inch hole through the wall at a slight downward angle (toward the outside) to allow condensation to drain.
- This hole will carry the refrigerant lines, drain hose, and electrical wiring.
- Use a wall sleeve for a cleaner, more professional look and better insulation.
Step 2.3: Connect the Pipes and Wires
- Flare the ends of the copper refrigerant lines using a flaring tool.
- Connect the liquid and gas lines to the corresponding ports on the indoor unit.
- Tighten with a wrench—don’t over-tighten, as this can crack the fittings.
- Attach the drain hose to the condensate outlet and route it toward the outdoor hole.
- Run the power cable and communication wire through the wall hole.
Step 2.4: Hang the Indoor Unit
- Carefully lift the indoor unit and hook it onto the mounting bracket.
- Ensure it sits securely and level.
- Double-check all connections before proceeding.
Step 3: Install the Outdoor Unit
The outdoor unit houses the compressor and condenser, so stability and ventilation are key.
Step 3.1: Secure the Outdoor Bracket or Pad
- If wall-mounting, attach the bracket to a sturdy exterior wall using heavy-duty anchors.
- For ground installation, pour a small concrete pad or use a pre-made AC stand.
- Ensure the surface is level and can support the unit’s weight (around 70–80 lbs).
Step 3.2: Mount the Outdoor Unit
- Lift the outdoor unit onto the bracket or pad.
- Secure it with bolts or screws as per the manufacturer’s instructions.
- Use rubber pads or vibration dampeners to reduce noise and prevent damage.
Step 3.3: Connect Refrigerant Lines and Wiring
- Connect the copper lines from the indoor unit to the outdoor unit’s service valves.
- Use a wrench to tighten the flare nuts—again, avoid over-tightening.
- Connect the power and communication wires according to the wiring diagram in the manual.
- Ensure all electrical connections are secure and insulated.
Step 4: Vacuum and Charge the Refrigerant Lines
This step removes air and moisture from the system, which is critical for efficiency and preventing damage.
Step 4.1: Evacuate the Lines
- Attach a vacuum pump to the service port on the outdoor unit.
- Open the valves slowly and run the pump for at least 30 minutes.
- Use a micron gauge to confirm the system reaches below 500 microns—this ensures a proper vacuum.
- Close the valves and disconnect the pump.
Step 4.2: Open the Refrigerant Valves
- Once the vacuum is complete, slowly open the service valves to allow refrigerant to flow into the system.
- The LG S246CH uses R-32 refrigerant, which is more eco-friendly but requires careful handling.
- Never release refrigerant into the atmosphere—always use proper recovery equipment.
Step 5: Electrical Connection and Power-Up
Step 5.1: Wire the System
- Connect the indoor and outdoor units using the provided communication cable.
- Ensure the power supply matches the unit’s voltage (typically 220–240V for the S246CH).
- Use a dedicated circuit breaker to prevent overloads.
- All wiring must comply with local electrical codes—consult an electrician if unsure.
Step 5.2: Power On and Test
- Turn on the power at the breaker.
- Use the remote control to start the unit in cooling mode.
- Listen for unusual noises and check for proper airflow.
- Feel the air coming from the indoor unit—it should be noticeably cooler within minutes.
- Check the outdoor unit to ensure the fan and compressor are running.
Step 6: Final Checks and Insulation
Step 6.1: Seal the Wall Hole
- Fill the gap around the pipes and wires with silicone sealant or foam insulation.
- This prevents drafts, pests, and moisture from entering your home.
Step 6.2: Insulate the Refrigerant Lines
- Wrap the copper pipes with foam insulation sleeves.
- Secure with tape or zip ties.
- Proper insulation improves efficiency and prevents condensation.
Step 6.3: Test for Leaks
- Use leak detection spray on all flare connections.
- Look for bubbles—if you see any, tighten the connection or re-flare the pipe.
Troubleshooting Common Issues
Unit Won’t Turn On
- Check the power supply and circuit breaker.
- Ensure the remote has batteries and is paired correctly.
- Verify all wiring connections are secure.
Weak Cooling or Airflow
- Check if the air filter is dirty—clean or replace it.
- Ensure the indoor unit isn’t blocked by furniture or curtains.
- Verify refrigerant levels—low charge can reduce performance.
Water Leaking Indoors
- Inspect the drain hose for clogs or kinks.
- Make sure the indoor unit is level so water flows properly.
- Clear the drain line with water or a pipe cleaner.
Unusual Noises
- Rattling may indicate loose mounting brackets—tighten all screws.
- Gurgling could mean air in the refrigerant lines—re-vacuum if needed.
- High-pitched sounds may point to a faulty fan motor—contact support.
Conclusion
Installing the LG Split Air Conditioner S246CH in 2026 is a manageable project if you follow the right steps and prioritize safety. From choosing the perfect location to connecting refrigerant lines and testing the system, each phase plays a vital role in ensuring your AC runs efficiently and lasts for years. While DIY installation can save money, don’t hesitate to hire a certified technician—especially for electrical and refrigerant work—to protect your warranty and ensure compliance with current regulations.
Once installed, remember to maintain your unit regularly. Clean the filters monthly, inspect the outdoor unit for debris, and schedule professional servicing every 12–18 months. With proper care, your LG S246CH will keep your home cool, quiet, and energy-efficient throughout the hottest months of the year.
Stay cool, stay safe, and enjoy the comfort of your new air conditioner!