
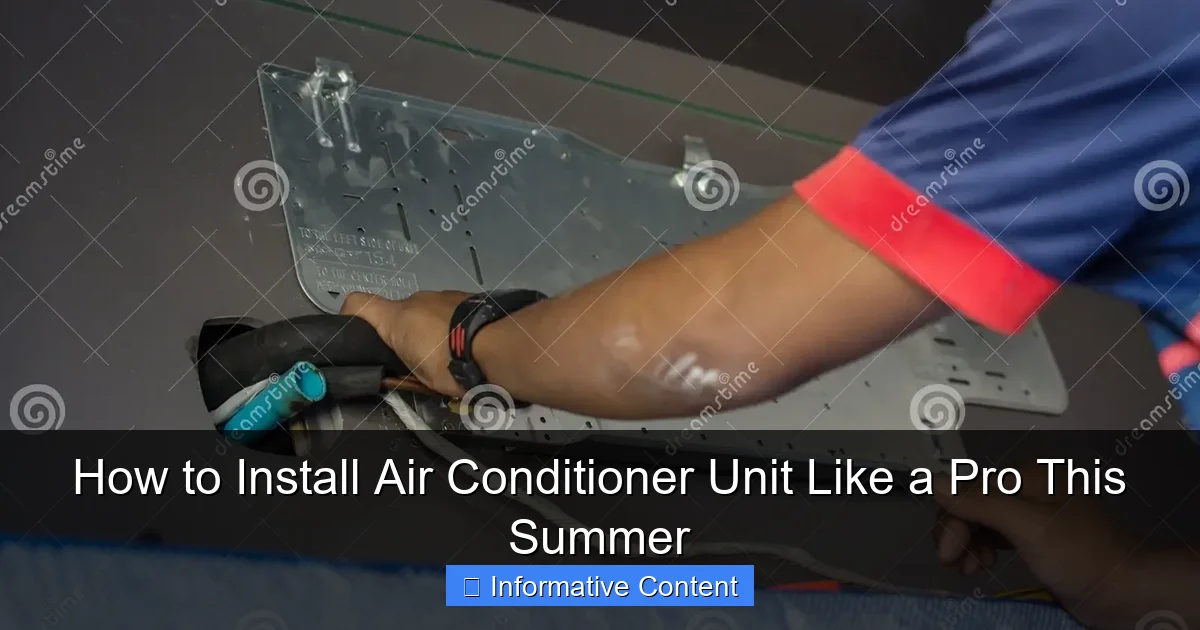
Featured image for install air conditioner unit
Image source: thumbs.dreamstime.com
Installing an air conditioner unit properly is crucial for optimal performance and energy efficiency this summer. Whether you’re mounting a window or split unit, always follow manufacturer guidelines, secure the unit firmly, and ensure proper insulation to prevent leaks and overheating. Professional-level installation starts with the right tools, precise measurements, and attention to electrical safety—skip shortcuts to stay cool and safe all season.
Key Takeaways
- Measure carefully: Ensure proper sizing for optimal efficiency and cooling.
- Turn off power: Always disconnect electricity before installation for safety.
- Seal gaps tightly: Prevent air leaks with weather stripping or foam.
- Follow instructions: Adhere to the manufacturer’s guide for correct setup.
- Check refrigerant lines: Inspect for kinks or leaks before operation.
- Test airflow: Verify balanced vents and unobstructed airflow post-install.
- Schedule maintenance: Clean filters and coils regularly for peak performance.
📑 Table of Contents
- How to Install Air Conditioner Unit Like a Pro This Summer
- 1. Choosing the Right Air Conditioner Unit for Your Space
- 2. Gathering the Tools and Materials You’ll Need
- 3. Step-by-Step Installation Guide for Window and Portable Units
- 4. Installing a Split-System Mini-Split Air Conditioner
- 5. Post-Installation Tips for Optimal Performance
- 6. Troubleshooting Common Air Conditioner Unit Issues
How to Install Air Conditioner Unit Like a Pro This Summer
Summer is just around the corner, and with it comes the sweltering heat that makes us all dream of a cool, comfortable home. If you’ve ever found yourself sweating through the night or dreading the moment you step inside your home after being outside, it might be time to consider installing an air conditioner unit. But before you call in the professionals and start counting your pennies, let me share some insider tips that could save you both time and money. Installing an air conditioner unit doesn’t have to be a daunting task reserved only for HVAC experts. With the right tools, a bit of preparation, and some know-how, you can tackle this project like a pro.
Now, I’ll be honest—installing an air conditioner unit isn’t a one-hour job, nor is it something you should rush. But if you’re willing to put in the effort, the payoff is worth it. Not only will you enjoy a cooler, more comfortable home, but you’ll also gain the satisfaction of completing a project that many people shy away from. Whether you’re installing a window unit, a portable air conditioner, or a split-system mini-AC, this guide will walk you through every step. From choosing the right unit to ensuring it’s running efficiently, I’ll share practical advice, personal experiences, and even a few “I wish I knew that earlier” moments. So grab your toolbox, roll up your sleeves, and let’s get started!
1. Choosing the Right Air Conditioner Unit for Your Space
Understand Your Cooling Needs
Before you even think about installation, you need to pick the right air conditioner unit for your space. This isn’t as simple as grabbing the first one you see at the store. The size, type, and features of the unit all play a crucial role in how well it will cool your home. For example, a small window unit might be perfect for a bedroom, but it will struggle to cool a large living room.
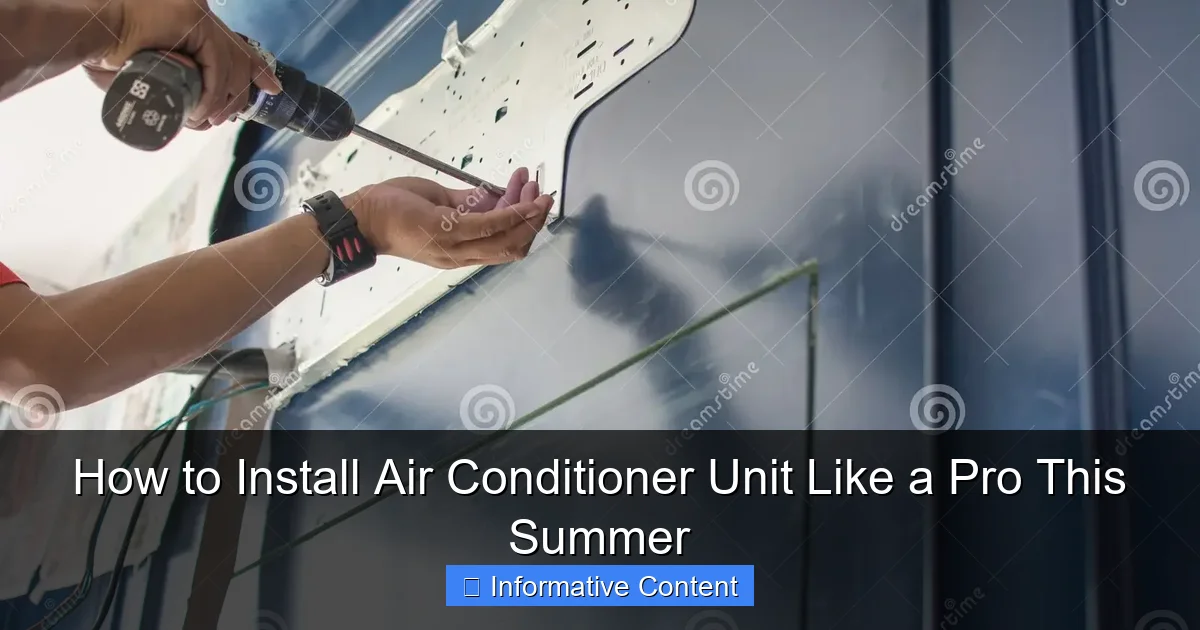
Visual guide about install air conditioner unit
Image source: thumbs.dreamstime.com
To find the right size, you’ll need to calculate the cooling capacity, measured in British Thermal Units (BTUs). As a general rule, you’ll need about 20 BTUs per square foot of space. For instance, a 300-square-foot room would require a 6,000 BTU unit. But don’t stop there—consider other factors like room height, sunlight exposure, and the number of people who regularly use the room. A kitchen, for example, generates more heat and might need a slightly larger unit than the BTU calculation suggests.
Types of Air Conditioner Units
There are several types of air conditioner units, each with its own pros and cons:
- Window Units: Affordable and easy to install, but they block natural light and can be noisy. Best for single rooms.
- Portable Units: No permanent installation needed, but they’re less efficient and require venting through a window or door. Great for renters or temporary solutions.
- Split-System Mini-Splits: More expensive but highly efficient and quiet. They require professional installation for the outdoor unit, but the indoor unit can often be installed by a confident DIYer.
- Central Air Systems: Ideal for cooling entire homes, but they’re the most expensive and require professional installation.
For most homeowners, a window or portable unit is the best starting point, especially if you’re new to DIY projects. Split-system units are a great upgrade if you’re ready to invest in long-term efficiency and comfort.
Check for Energy Efficiency
When shopping for an air conditioner unit, pay attention to the Energy Efficiency Ratio (EER) and the Seasonal Energy Efficiency Ratio (SEER). The higher the EER or SEER, the more efficient the unit is. While a higher EER might mean a higher upfront cost, it can save you money on your energy bills in the long run. Look for units with an EER of at least 10 and a SEER of 14 or higher for optimal efficiency.
2. Gathering the Tools and Materials You’ll Need
Essential Tools for Installation
Installing an air conditioner unit requires more than just the unit itself. Here’s a list of tools and materials you’ll need to get the job done right:
- Measuring tape: To ensure the unit fits properly in the window or space.
- Level: For window and split-system units to ensure they’re perfectly horizontal.
- Drill and drill bits: For mounting brackets or securing the unit.
- Screwdriver set: Both Phillips and flathead, depending on the unit’s hardware.
- Adjustable wrench: For tightening connections, especially with portable units.
- Utility knife: For trimming insulation or adjusting the window seal.
- Work gloves: To protect your hands during installation.
- Safety goggles: Especially important if you’re drilling or working with sharp edges.
For split-system units, you’ll also need a vacuum pump, refrigerant gauges, and a line set (copper tubing) if you’re doing the refrigerant line installation yourself. This part is more advanced and might be better left to a professional unless you’re experienced.
Materials to Keep on Hand
In addition to tools, you’ll need a few materials to ensure a secure and efficient installation:
- Foam insulation: To seal gaps around window units and prevent air leaks.
- Weatherstripping: For added insulation and noise reduction.
- Mounting brackets: For window units that require extra support.
- Condensate drain hose: For portable units or split-systems to remove excess moisture.
- Extension cords (if needed): But avoid using them if possible—most AC units should be plugged directly into a dedicated outlet.
Pro tip: Always check the manufacturer’s instructions for specific tools or materials they recommend. Some units come with their own mounting hardware, while others might require additional purchases.
Prepare Your Workspace
Before you start, clear the area around your window or installation site. Remove any furniture, curtains, or obstacles that might get in the way. For window units, make sure the window is clean and the frame is in good condition. If you’re installing a split-system unit, ensure the indoor wall is sturdy enough to support the unit and that there’s a clear path for the refrigerant lines to the outdoor unit.
3. Step-by-Step Installation Guide for Window and Portable Units
Installing a Window Air Conditioner Unit
Window units are the most common type for DIYers, and for good reason—they’re relatively straightforward to install. Here’s how to do it:
- Measure and Prepare the Window: Open the window and measure the width and height of the opening. Ensure the unit’s dimensions fit with a little room to spare for adjustments.
- Install the Side Panels: Most window units come with accordion-style side panels. Attach them to the unit according to the manufacturer’s instructions. These panels help seal the sides of the unit once it’s in place.
- Position the Unit: Carefully lift the unit (they’re heavy!) and slide it into the window. The bottom of the unit should rest on the window sill, and the top should be supported by the window frame. Use a level to ensure it’s perfectly horizontal.
- Secure the Unit: Lower the window sash onto the top of the unit. If your unit comes with brackets, use them to secure it to the window frame. This prevents the unit from falling out.
- Seal the Gaps: Use foam insulation or weatherstripping to seal any gaps between the unit and the window. This prevents hot air from entering and cool air from escaping.
- Plug It In: Plug the unit into a dedicated outlet. Avoid using extension cords, as they can overheat and pose a fire hazard.
Personal tip: If you live in a high-rise or have a heavy unit, consider using a window support bracket. These attach to the outside of the window frame and provide extra stability.
Installing a Portable Air Conditioner Unit
Portable units are easier to install since they don’t require permanent modifications. However, you’ll still need to vent the hot air outside. Here’s how:
- Choose the Vent Location: The exhaust hose needs to vent outside, so pick a window or door closest to where you plan to place the unit.
- Attach the Hose: Connect one end of the hose to the unit’s exhaust port and the other end to a window kit (usually included with the unit). The kit typically has an adjustable panel that fits in the window opening.
- Seal the Window Kit: Use foam or weatherstripping to seal any gaps around the window kit. This prevents hot air from sneaking back in.
- Drain the Condensate: Most portable units have a built-in reservoir for condensation. Empty it regularly, or connect a drain hose to automatically remove the water.
- Plug It In: Like window units, plug the portable AC directly into an outlet.
Pro tip: Portable units are less efficient than window units because they lose some cool air through the venting process. For best results, keep the unit as close to the vent as possible and minimize the hose length.
4. Installing a Split-System Mini-Split Air Conditioner
Why Choose a Split-System Unit?
Split-system units are a step up from window and portable units. They consist of an indoor unit (mounted on a wall) and an outdoor unit (placed outside the home). The two are connected by refrigerant lines, which transfer cool air from the outdoor unit to the indoor one. Here’s why many homeowners love them:
- They’re quieter than window units.
- They don’t block windows or doors.
- They’re more energy-efficient and can cool multiple rooms with a single outdoor unit.
However, installing a split-system unit is more complex. While the indoor unit can often be installed by a DIYer, the outdoor unit and refrigerant lines usually require professional help.
DIY Steps for the Indoor Unit
If you’re tackling the indoor unit yourself, here’s what to do:
- Choose the Location: Pick a spot on an interior wall, about 6-8 feet above the floor. Avoid direct sunlight or heat sources like lamps or radiators.
- Mount the Bracket: Use a level to mark the bracket’s position, then drill holes and secure it with screws. Make sure it’s sturdy—this bracket will hold the indoor unit.
- Drill the Hole for Lines: Drill a 3-inch hole through the wall to the outside. This is where the refrigerant lines, power cable, and condensate drain hose will run.
- Install the Unit: Hang the indoor unit on the bracket and connect the lines. Most units have quick-connect fittings, but you’ll need to follow the manufacturer’s instructions carefully.
- Seal the Hole: Use foam or caulk to seal the hole around the lines. This prevents drafts and pests from entering.
Important: The outdoor unit and refrigerant lines require specialized knowledge. If you’re not experienced with HVAC systems, hire a professional for this part. Improper refrigerant handling can damage the unit and pose safety risks.
When to Call a Pro
Even if you’re confident in your DIY skills, there are times when it’s best to call in a professional:
- You’re installing a multi-zone split-system with multiple indoor units.
- The refrigerant lines need to run more than 25 feet.
- You’re unsure about electrical connections or local building codes.
Remember, safety always comes first. It’s better to spend a little more on professional help than to risk damaging your home or the unit.
5. Post-Installation Tips for Optimal Performance
Test the Unit
After installation, turn on the air conditioner unit and let it run for at least 15 minutes. Check for:
- Unusual noises (buzzing, rattling, or grinding).
- Proper airflow from the vents.
- Leaks around the unit or condensate drain.
If something seems off, turn off the unit and troubleshoot. For window units, double-check that the side panels are sealed tightly. For split-systems, ensure the refrigerant lines aren’t kinked or leaking.
Clean and Maintain Regularly
To keep your air conditioner unit running efficiently, clean it regularly. Here’s how:
- Window and Portable Units: Remove the filter every two weeks and wash it with mild soap and water. Let it dry completely before reinserting.
- Split-System Units: Clean the indoor unit’s filter monthly. For the outdoor unit, clear away debris like leaves or grass clippings every few weeks.
Pro tip: A dirty filter can reduce airflow and make the unit work harder, increasing energy bills and wear on the system.
Check for Air Leaks
Even a small gap can let hot air in and cool air out, reducing efficiency. Use a candle or incense stick to check for drafts around the unit. If you see the flame flicker, seal the gap with foam or weatherstripping.
6. Troubleshooting Common Air Conditioner Unit Issues
Unit Won’t Turn On
If your air conditioner unit doesn’t power on, check:
- The power cord is securely plugged in.
- The outlet works (test it with another device).
- The circuit breaker hasn’t tripped.
For window units, ensure the unit isn’t tilted too far forward or backward—this can trigger a safety switch.
Insufficient Cooling
If the unit runs but doesn’t cool well, possible causes include:
- A dirty filter or evaporator coil.
- Low refrigerant levels (requires professional help).
- Improper installation (e.g., gaps around the unit).
Try cleaning the filter first—it’s the simplest fix.
Excessive Noise
Window units can be noisy, but if the sound is unusual, check for:
- Loose parts (tighten any screws).
- Vibration (use rubber pads under the unit).
- Debris in the fan (turn off the unit and clean it).
| Issue | Possible Cause | Quick Fix |
|---|---|---|
| Unit won’t turn on | Power issue or safety switch | Check outlet, breaker, and unit tilt |
| Insufficient cooling | Dirty filter or low refrigerant | Clean filter or call a pro |
| Excessive noise | Loose parts or vibration | Tighten screws or add rubber pads |
Installing an air conditioner unit like a pro isn’t just about following steps—it’s about understanding the process, being patient, and paying attention to the details. Whether you’re tackling a simple window unit or a more complex split-system, the key is to take your time and do it right the first time. Not only will you save money on professional installation, but you’ll also gain the confidence to handle future HVAC projects.
Remember, the best air conditioner unit is one that’s properly installed and maintained. A few extra minutes spent sealing gaps, cleaning filters, and checking for leaks can make a huge difference in performance and efficiency. And when summer rolls around, you’ll be sitting back in your cool, comfortable home, knowing you did it all yourself. So what are you waiting for? Grab your tools, follow this guide, and get ready to beat the heat like a pro this summer.
Frequently Asked Questions
How do I choose the right size air conditioner unit for my space?
To select the correct size, calculate your room’s square footage and match it to the unit’s BTU (British Thermal Unit) rating. An undersized unit will struggle to cool, while an oversized one may cycle inefficiently—use an online BTU calculator or consult an HVAC pro for accuracy.
Can I install an air conditioner unit myself, or do I need a professional?
DIY installation is possible for window or portable units with basic tools, but mini-split or central systems require a licensed HVAC technician for refrigerant handling and electrical work. Always follow local building codes and manufacturer guidelines.
What tools do I need to install an air conditioner unit?
For most units, you’ll need a drill, screwdriver, level, tape measure, and foam insulation strips. Window ACs may require brackets, while mini-splits need a hole saw, vacuum pump, and refrigerant gauges—check your model’s manual for specifics.
How long does it take to install an air conditioner unit?
A window or portable unit can take 1–2 hours, while a mini-split may require 4–6 hours due to drilling, wiring, and refrigerant charging. Complex central air installations often take 1–2 days with multiple technicians.
What are common mistakes to avoid during air conditioner unit installation?
Skipping the level check (causing leaks), improper sealing (reducing efficiency), or ignoring electrical requirements (tripped breakers) are frequent errors. Always secure the unit, insulate refrigerant lines, and test airflow after setup.
How do I ensure energy efficiency after installing my air conditioner unit?
Seal gaps around the unit, use programmable thermostats, and clean filters monthly. Proper installation with insulated lines and correct refrigerant levels also maximizes efficiency—schedule annual maintenance to keep performance optimal.