
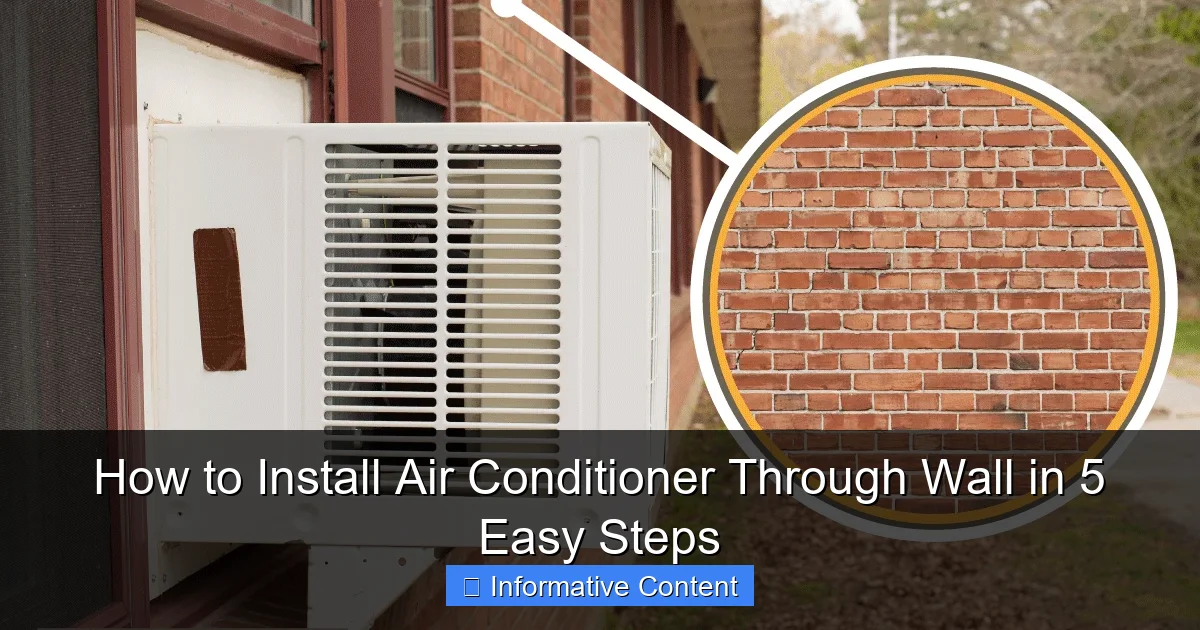
Featured image for install air conditioner through wall
Image source: hvacseer.com
Installing an air conditioner through a wall is a straightforward DIY project that ensures efficient cooling and permanent placement. With the right tools and our simple 5-step guide—measuring, cutting, sealing, mounting, and securing—you can complete the job safely in under an hour while avoiding common pitfalls like poor insulation or unstable framing.
Key Takeaways
- Measure carefully: Ensure precise dimensions for a snug, secure fit.
- Choose the right unit: Match AC capacity to room size and wall type.
- Seal gaps properly: Use weatherproof caulk to prevent leaks and drafts.
- Secure the unit: Anchor it firmly to avoid vibrations and damage.
- Follow local codes: Check regulations for permits and electrical safety.
- Test after install: Verify cooling and drainage before finalizing.
📑 Table of Contents
- Why Installing an Air Conditioner Through a Wall Might Be the Best Decision You’ll Make
- Step 1: Choose the Right Through-Wall Air Conditioner
- Step 2: Gather Tools and Prepare Your Workspace
- Step 3: Cut the Wall Opening and Install the Sleeve
- Step 4: Mount the Air Conditioner and Connect the Power
- Step 5: Test, Seal, and Maintain for Long-Term Performance
- Common Mistakes and How to Avoid Them
- Final Thoughts: Is a Through-Wall AC Right for You?
Why Installing an Air Conditioner Through a Wall Might Be the Best Decision You’ll Make
Let’s face it—summer heat can be brutal. Whether you’re working from home, trying to sleep, or just relaxing on the couch, a reliable air conditioner isn’t just a luxury—it’s a necessity. But what if your window is too small, awkwardly placed, or even nonexistent? Or maybe you rent and can’t make permanent changes? That’s where installing an air conditioner through the wall comes in. It’s like giving your home a custom cooling upgrade without sacrificing window access or violating rental agreements.
I remember the first time I considered this. My bedroom had a tiny window, and every window AC unit I tried either didn’t fit or blocked the only source of natural light. After some research, I discovered through-wall air conditioners—compact, powerful, and designed to be mounted directly into the wall. The best part? Once installed, they’re nearly invisible from the outside, and they free up floor and window space. No more tripping over cords or struggling to open the blinds. If you’ve ever felt trapped by your cooling options, this might be your solution. And don’t worry—installing an air conditioner through the wall sounds intimidating, but with the right tools and a little patience, it’s totally doable in just five easy steps.
Step 1: Choose the Right Through-Wall Air Conditioner
Before you start drilling into your walls, you need to pick the right unit. Not all air conditioners are created equal, and through-wall models have specific features that set them apart. This step is crucial—because the wrong choice can lead to poor cooling, noise issues, or even structural problems.

Visual guide about install air conditioner through wall
Image source: ajmadison.com
Understand BTUs and Room Size
The first thing to consider is the cooling capacity, measured in BTUs (British Thermal Units). A common mistake people make is buying a unit that’s either too small or too large. Too small, and it won’t cool your space. Too large, and it’ll cycle on and off too quickly, wasting energy and failing to dehumidify properly.
- 100–250 sq ft: 5,000–6,000 BTUs
- 250–400 sq ft: 7,000–8,000 BTUs
- 400–550 sq ft: 9,000–10,000 BTUs
- 550–700 sq ft: 12,000 BTUs
For example, my 300 sq ft living room needed an 8,000 BTU unit. I went with a Frigidaire 8,000 BTU Through-Wall AC—it had great reviews, a built-in thermostat, and a quiet operation mode. Pro tip: Always check the manufacturer’s room size recommendation, not just the BTU number.
Look for Through-Wall Specific Features
Not all ACs are designed for wall installation. Some window units can be retrofitted, but true through-wall models come with a sealed chassis and a rear exhaust shroud that vents heat directly outside—no air leaks. Key features to look for:
- Wall sleeve compatibility: Most units require a metal or plastic sleeve (often sold separately) to secure the unit and prevent drafts.
- Adjustable louvers: These let you direct airflow without having to move the unit.
- Energy efficiency rating (EER): Aim for 10 or higher. My unit has an EER of 10.5, which keeps my electricity bill reasonable.
- Remote control and programmable timer: Super helpful for setting schedules and avoiding manual adjustments.
One thing I learned the hard way: avoid units with side exhaust vents. They’re designed for windows and can cause overheating when installed through a wall. Stick to rear or top exhaust models.
Check Local Building Codes and Permits
This isn’t always necessary, but in some areas—especially apartments, condos, or historic districts—you may need approval. I called my building manager before buying and found out I needed a permit for structural changes. It took a week, but it saved me from a fine. Also, if your wall is load-bearing or contains electrical wiring, you’ll need to plan accordingly. When in doubt, consult a local HVAC pro or building inspector.
Step 2: Gather Tools and Prepare Your Workspace
Now that you’ve got your unit, it’s time to prep. This step is all about setting yourself up for success. The last thing you want is to be halfway through drilling and realize you’re missing a screwdriver or a level.
Essential Tools and Materials
Here’s what I used for my installation:
- Stud finder: To avoid drilling into studs or electrical wires.
- Measuring tape and pencil: For marking the cutout.
- Circular saw or reciprocating saw: For cutting through drywall or siding. (A jigsaw works too, but it’s slower.)
- Drill with masonry and wood bits: For pilot holes and securing the sleeve.
- Level: Critical for making sure the unit sits straight.
- Utility knife: For scoring drywall or insulation.
- Safety gear: Gloves, goggles, and a dust mask. Trust me, drywall dust is no joke.
- Insulation foam or sealant: To fill gaps and prevent air leaks.
- Wall sleeve: Usually comes with the AC or is sold separately.
- Screws and wall anchors: For securing the sleeve to the framing.
Pre-Installation Checks
Before cutting anything, do a full walkthrough:
- Measure the unit and sleeve: Most through-wall ACs need a 16” x 26” opening, but always check the manual. My unit required a 16.5” x 27” cutout.
- Locate studs, pipes, and wires: Use your stud finder to map out the wall. I found a pipe running horizontally about 12” from the floor—so I adjusted the cutout upward.
- Choose the right wall: Pick an exterior wall with easy access from both sides. Avoid walls with plumbing, electrical panels, or HVAC ductwork behind them.
- Clear the area: Move furniture, cover the floor with a tarp, and tape off nearby walls to contain dust.
One tip: Take a photo of the wall before you start. It’s easy to forget where wires or pipes are once you’ve cut into the drywall. I snapped a pic and kept it on my phone as a reference.
Step 3: Cut the Wall Opening and Install the Sleeve
This is the moment of truth—the actual cutting. It can feel scary, especially if you’ve never done anything like this before. But take a deep breath. With careful planning, it’s not as dramatic as it sounds.
Mark and Cut the Opening
Start by marking the cutout on the interior wall using the sleeve as a template. I used a level to make sure my lines were straight. Then, I scored the drywall with a utility knife along the lines to prevent tearing.
Next, drill pilot holes in each corner—this makes it easier to start the saw. I used a circular saw with a drywall blade, cutting slowly and steadily. For the exterior side (especially if you have brick or stucco), you’ll need a reciprocating saw with a masonry blade. My house has vinyl siding, so I carefully cut through it with a utility knife and removed a small panel.
Important: Always cut from the inside first. That way, if the saw binds or slips, the damage will be on the interior, which is easier to patch.
Secure the Wall Sleeve
Once the opening is cut, slide the sleeve in from the outside. It should fit snugly. If there’s a gap, use metal shims to level it. Then, secure the sleeve to the wall framing using screws. I used 3” deck screws driven through the sleeve’s flange into the studs. Make sure the sleeve is perfectly level—otherwise, your AC might tilt and leak.
For extra weather protection, I applied exterior-grade caulk around the edges of the sleeve where it met the siding. This prevents water from seeping in during rain. On the inside, I filled gaps with expanding foam insulation, then trimmed off the excess with a utility knife.
One mistake I almost made: forgetting to check the sleeve’s slope. Most units require a slight downward tilt (about 1/4”) toward the outside to allow condensation to drain. I used a level to confirm mine was angled correctly.
Step 4: Mount the Air Conditioner and Connect the Power
With the sleeve in place, it’s time to slide in the AC. This part feels like a puzzle—getting the unit to sit flush without forcing it.
Install the AC Unit
Carefully lift the air conditioner (they’re heavy—mine was 85 lbs) and slide it into the sleeve from the inside. Most units have a locking mechanism or brackets to secure them. I had to tilt the unit slightly to align the rear exhaust with the sleeve’s opening, then push it in until it clicked into place.
Once it’s seated, use the provided screws to lock it into the sleeve. Don’t overtighten—this can warp the chassis. Then, attach any side or top panels to cover gaps. My unit came with foam gaskets that I pressed around the edges to seal air leaks.
Electrical Connection
This is where things get serious. Never attempt to modify electrical wiring unless you’re 100% confident. If your AC requires a 240-volt circuit (common for units over 12,000 BTUs), you’ll likely need a dedicated outlet installed by a licensed electrician.
My 8,000 BTU unit runs on 120 volts, so I plugged it into a nearby outlet using the included cord. But I still did a few safety checks:
- Used a surge protector: To protect the AC from voltage spikes.
- Checked the outlet’s amperage: It was on a 15-amp circuit, which is fine for a 120V AC.
- Ensured no other high-draw appliances were on the same circuit: I turned off the microwave and space heater while the AC was running to avoid tripping the breaker.
If your unit has a hardwired connection (no plug), do not attempt this yourself. Call an electrician. It’s not worth the risk of fire or electrocution.
Step 5: Test, Seal, and Maintain for Long-Term Performance
You’re almost there! But don’t skip this final step. A proper test and seal can make the difference between a unit that lasts 10 years and one that fails in two.
Initial Test and Adjustment
Turn on the AC and let it run for at least 30 minutes. Listen for unusual noises—grinding, buzzing, or rattling. These could mean loose parts or a misaligned fan. Check the airflow: it should be strong and consistent. I used a thermometer to measure the air coming out—it dropped from 78°F to 65°F in 20 minutes, which was perfect.
Adjust the louvers to direct airflow where you need it. I aimed mine slightly upward to create a “cool ceiling” effect that spreads cool air evenly. Also, test all modes: cool, fan, dehumidify, and sleep. Make sure the remote control works and the thermostat responds accurately.
Seal and Insulate
Even small gaps around the unit can let in hot air and drive up energy costs. I used acoustic caulk (it stays flexible) to seal the edges between the AC and the sleeve. Then, I added a removable foam cover for the winter to prevent drafts when the unit isn’t in use.
On the outside, I installed a weatherproof cover over the sleeve’s exterior grille. This keeps out rain, leaves, and insects. Some people use a custom wooden frame with a louvered door—great for aesthetics, but not necessary for function.
Maintenance Tips
To keep your through-wall AC running smoothly:
- Clean the filter monthly: I wash mine with soapy water and let it dry before reinstalling.
- Check the exterior grille quarterly: Remove leaves and debris that block airflow.
- Inspect seals annually: Replace cracked or peeling caulk.
- Drain the condensate pan: If your unit has a manual drain, empty it before winter.
I set a reminder on my phone for filter cleaning every 30 days. It takes five minutes and keeps the air fresh and the unit efficient.
Common Mistakes and How to Avoid Them
Even with careful planning, things can go wrong. Here’s what I learned from my own hiccups—and what you can do to prevent them.
Cutting the Wrong Size Opening
I almost made this mistake. I measured the AC unit, not the sleeve. The sleeve was 1” larger on each side. Always measure the sleeve—not the AC—when marking the cutout. A too-small opening is a nightmare to fix. A too-large one can be patched with wood or metal strips, but it’s messy.
Ignoring the Slope
My first attempt had the sleeve perfectly level. Big mistake. The condensation pooled inside, and I got a small leak after a few days. Always slope the sleeve 1/4” toward the outside. Use a level and shims to get it right.
Skipping the Seal
I once thought, “It’s tight enough—do I really need caulk?” Yes, you do. Air leaks reduce efficiency by up to 30%. Even a tiny gap can let in heat and humidity. Seal every edge, both inside and out.
| Component | Recommended Material | Why It Matters |
|---|---|---|
| Wall Sleeve | Galvanized steel or rigid plastic | Prevents rust and provides structural support |
| Exterior Sealant | Exterior-grade silicone or butyl caulk | Resists UV, rain, and temperature changes |
| Interior Insulation | Expanding foam or foam gaskets | Reduces noise and prevents drafts |
| Electrical Cord | Heavy-duty, 14-gauge or thicker | Prevents overheating and voltage drop |
Final Thoughts: Is a Through-Wall AC Right for You?
After going through this process myself, I can honestly say that installing an air conditioner through the wall was one of the best home upgrades I’ve ever made. It’s quieter than window units, more efficient, and frees up valuable space. Plus, it looks cleaner and doesn’t block light.
But it’s not for everyone. If you’re in a rental with strict rules, or if your wall is concrete with no easy access, it might not be practical. And if you’re not comfortable with basic construction, consider hiring a handyman. The cost of labor is often less than the cost of fixing a DIY mistake.
That said, if you’re handy, patient, and willing to follow the steps carefully, this project is totally within reach. Start with the right unit, prepare your tools, cut with care, secure everything tightly, and maintain it regularly. In just five easy steps, you’ll have a custom cooling solution that makes summer bearable—and maybe even enjoyable.
And remember: every expert was once a beginner. I was sweating bullets when I first cut into my wall. But now, I can’t imagine going back to a window unit. So grab your tools, take your time, and enjoy the cool breeze you built yourself.
Frequently Asked Questions
How do I install an air conditioner through a wall safely?
To install an air conditioner through a wall safely, ensure the unit is compatible with your wall type and follow the manufacturer’s guidelines. Use a support bracket or frame to secure the AC and prevent sagging or damage over time.
What tools are needed to install air conditioner through wall?
Common tools include a drill, level, measuring tape, screwdriver, and a hole saw or reciprocating saw for cutting the wall opening. You may also need a support bracket, foam insulation, and sealant for weatherproofing.
Can I install a window AC unit through a wall instead?
Yes, but you must modify the wall opening to match the unit’s dimensions and use a wall sleeve or frame for stability. Ensure the wall can support the weight and vibrations of the AC during operation.
How do I prevent air leaks after installing an AC through the wall?
Seal gaps around the unit with foam insulation or weatherstripping, and apply waterproof sealant to exterior edges. This keeps pests out and improves energy efficiency.
Do I need professional help to install air conditioner through wall?
While DIY is possible for handy homeowners, hiring a professional is recommended for complex installations or load-bearing walls. They’ll ensure proper support, sealing, and electrical safety.
What’s the best wall location for an air conditioner through wall installation?
Choose a shaded, well-ventilated spot on an exterior wall, ideally away from direct sunlight and obstructions. Avoid areas near plumbing or electrical lines to prevent damage during cutting.