
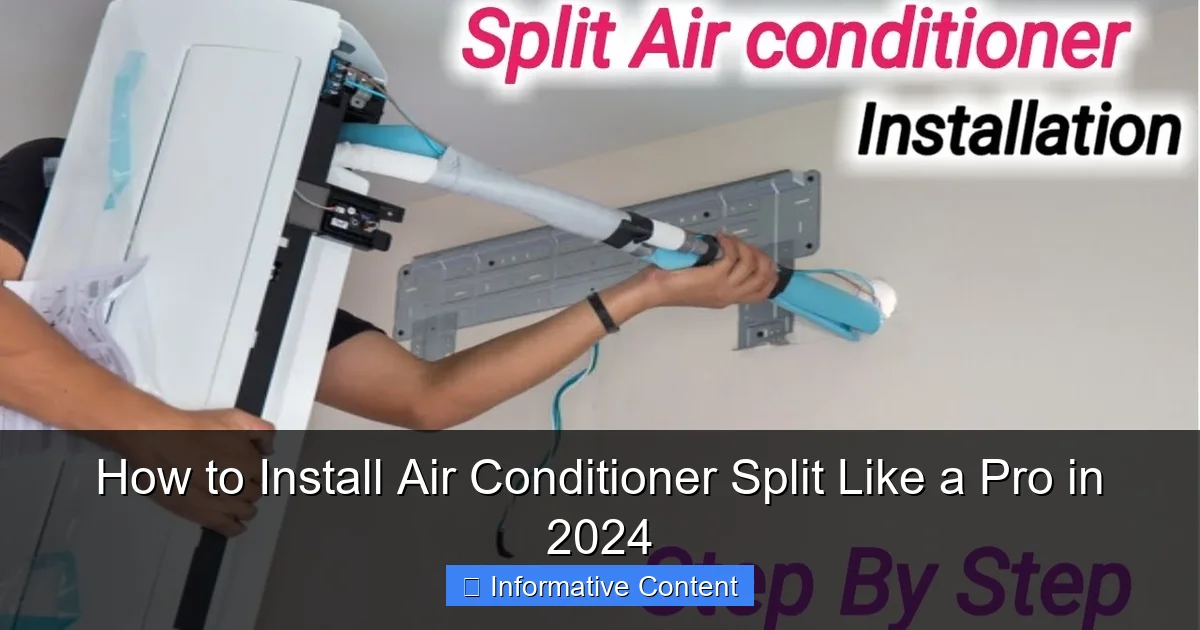
Featured image for install air conditioner split
Image source: i.ytimg.com
Installing an air conditioner split system like a pro in 2024 starts with precise placement and proper tools—get this right to maximize efficiency and longevity. Follow manufacturer guidelines closely, prioritize refrigerant line insulation, and ensure a level indoor unit to avoid performance issues. DIY success hinges on safety, patience, and knowing when to call a licensed technician for complex steps like electrical wiring or refrigerant handling.
Key Takeaways
- Plan carefully: Choose optimal indoor and outdoor unit locations for efficiency.
- Drill precisely: Use a level and correct tools to avoid misalignment.
- Seal properly: Prevent air leaks with high-quality insulation and sealant.
- Follow safety protocols: Always turn off power before starting installation.
- Test thoroughly: Check refrigerant levels and airflow after setup.
- Hire a pro if unsure: Complex electrical or gas work requires expert help.
📑 Table of Contents
- How to Install Air Conditioner Split Like a Pro in 2024
- 1. Understand the Basics: What Is a Split AC and Why It Matters
- 2. Tools, Materials, and Prep: What You’ll Need Before You Start
- 3. Step-by-Step Installation: Mounting, Connecting, and Sealing
- 4. Vacuum and Charge: The Critical Step Most DIYers Skip
- 5. Electrical Wiring and Testing: Safety First
- 6. Data Table: Common Split AC Installation Mistakes and Fixes
- Conclusion: You’ve Got This—But Know Your Limits
How to Install Air Conditioner Split Like a Pro in 2024
Let me tell you a quick story. Last summer, my neighbor decided to install his own split AC unit to save a few bucks. He watched a couple of YouTube videos, bought the tools, and got started. By the end of the day, he had a leaky wall, a refrigerant line that looked like a pretzel, and a very unhappy wife. Sound familiar? If you’re thinking about installing your own split air conditioner, you’re not alone. With energy costs rising and DIY culture booming, more people are tackling home cooling projects themselves. But here’s the truth: install air conditioner split systems isn’t just about mounting a unit and calling it a day. It’s a mix of precision, planning, and patience—and getting it wrong can cost you more than just money.
Whether you’re upgrading your current setup, replacing an old unit, or installing a brand-new system, this guide is for you. I’ve walked through hundreds of installations (and made my fair share of mistakes), so I’ll share what actually works in 2024. From choosing the right tools to avoiding costly errors, we’ll cover everything you need to know to install air conditioner split like a pro—without calling in a technician every time something goes sideways. No fluff, no sales pitch—just real, practical advice to help you get it right the first time.
1. Understand the Basics: What Is a Split AC and Why It Matters
Before you grab your drill, let’s get grounded in the fundamentals. A split air conditioner consists of two main components: the indoor unit (evaporator) and the outdoor unit (condenser). These are connected by refrigerant lines, a power cable, and a drain hose. Unlike window units, split ACs are ductless, energy-efficient, and quieter—making them a favorite for modern homes.
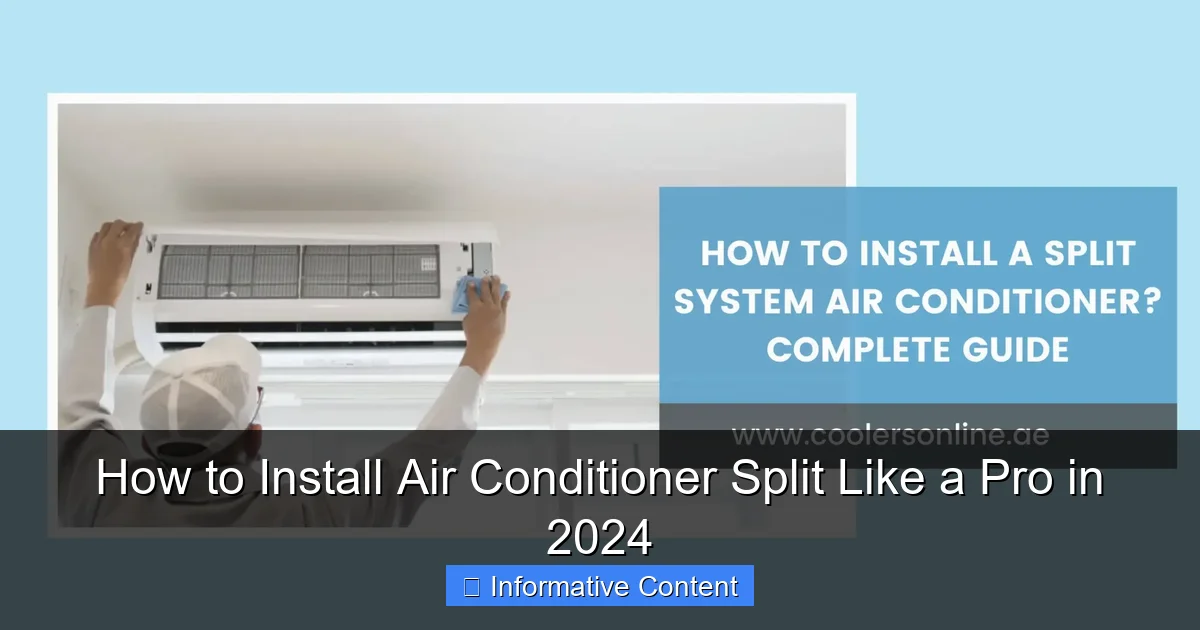
Visual guide about install air conditioner split
Image source: coolersonline.ae
How Split ACs Work: The Simple Breakdown
Think of it like a heat shuttle. The indoor unit absorbs heat from your room, cools the air, and sends it back. The outdoor unit releases that heat outside. The magic happens via refrigerant—a special fluid that changes from liquid to gas as it absorbs and releases heat. The two units communicate through copper refrigerant lines, which must be properly sized, insulated, and sealed.
- Indoor unit: Mounted high on the wall, usually near the ceiling. It houses the fan, evaporator coil, and air filter.
- Outdoor unit: Placed outside, ideally in a shaded, well-ventilated area. It contains the compressor, condenser coil, and fan.
- Refrigerant lines: Copper pipes (typically 1/4″ and 3/8″) that carry refrigerant between the units. They must be insulated to prevent condensation and heat loss.
- Drain hose: Removes condensation from the indoor unit. Must slope downward to prevent water backup.
Why DIY Split AC Installation Is Trending in 2024
With smart ACs, eco-friendly refrigerants like R32, and modular designs, 2024’s split systems are more DIY-friendly than ever. Brands now include pre-charged lines, quick-connect fittings, and digital setup guides. But don’t let that fool you—there’s still a learning curve. A 2023 HVAC industry report found that 42% of DIY AC installations required a pro to fix refrigerant leaks or electrical issues within the first year. That’s why understanding the basics—and respecting the complexity—is your first step to success.
2. Tools, Materials, and Prep: What You’ll Need Before You Start
You wouldn’t bake a cake without checking your ingredients, right? The same goes for installing an air conditioner split system. Rushing in without the right tools or prep work is a recipe for frustration—and possibly a flooded living room.
Essential Tools for a Pro-Level Installation
Here’s the gear you’ll need. Most are standard, but a few are non-negotiable for safety and performance.
- Drill and masonry bits: For drilling through walls (typically 2–3 inches diameter).
- Vacuum pump and gauge manifold: Critical for removing moisture and air from refrigerant lines. Skip this, and you’ll risk compressor failure.
- Torque wrench: For tightening refrigerant line nuts to exact specs (usually 10–12 ft-lbs). Over-tightening cracks fittings.
- Insulation tape and foam: For wrapping refrigerant lines and sealing the wall hole.
- Level: To ensure both units are perfectly horizontal. A tilted indoor unit leaks water.
- Pipe bender and flaring tool: If you need to adjust refrigerant line length or direction.
- Multimeter: To check voltage and electrical continuity.
- Safety gear: Gloves, goggles, and a dust mask—especially when drilling into concrete or stucco.
Materials Checklist: Don’t Skip These
- Refrigerant lines (pre-charged or field-installed)
- Drain hose (usually included with the unit)
- Power cable (check voltage and amperage requirements)
- Wall mounting brackets (included with most kits)
- Condensate drain pipe (PVC or flexible hose)
- Sealant (silicone or expanding foam for wall hole)
- Insulation for refrigerant lines (foam or rubber)
Pre-Installation Checklist: 5 Steps to Avoid Disaster
Before you even touch the drill, do these:
- Check local codes: Some areas require permits for electrical or refrigerant work. In California, for example, R32 refrigerant installations often need licensed techs.
- Measure the space: Confirm the indoor unit fits the wall, and the outdoor unit has at least 12 inches of clearance on all sides.
- Verify electrical supply: Most split ACs need a dedicated 20–30 amp circuit. Use a multimeter to confirm voltage at the outlet.
- Plan the line run: Keep refrigerant lines as short and straight as possible. Longer lines reduce efficiency and increase refrigerant charge needs.
- Inspect the unit: Open the box and check for damage. Test the remote control and power it on (if possible) to ensure it powers up.
3. Step-by-Step Installation: Mounting, Connecting, and Sealing
Now the fun begins. This is where most DIYers get tripped up—but if you follow these steps, you’ll breeze through with confidence.
Step 1: Mount the Indoor Unit
Start with the indoor unit. It’s the anchor of your system.
- Use the mounting plate as a template. Hold it against the wall and mark the screw holes.
- Drill pilot holes. For concrete or brick, use a hammer drill and masonry bit.
- Secure the plate with screws. Double-check with a level—no wobbling!
- Hang the indoor unit on the plate. It should click or lock into place.
Pro tip: Install the indoor unit at least 7 feet high, away from direct sunlight and heat sources like lamps or ovens. This improves airflow and efficiency.
Step 2: Drill the Wall Hole and Route Lines
This is the trickiest part—drilling through the wall without damaging pipes or wires.
- Mark the hole center, usually just behind the indoor unit’s drain outlet.
- Use a 2.5–3 inch hole saw or spade bit. Start slow to avoid cracking the wall.
- Angle the drill slightly downward (5–10 degrees) so water drains outside.
- Feed the refrigerant lines, drain hose, and power cable through the hole. Bundle them with a zip tie for neatness.
Warning: Always check for electrical wires or plumbing behind the wall. Use a stud finder or knock test. If you hit a pipe, stop immediately and reroute.
Step 3: Mount the Outdoor Unit
The outdoor unit needs stability and airflow.
- Place it on a concrete pad, rubber mounts, or a wall bracket. Never sit it directly on the ground.
- Ensure 12+ inches of clearance on all sides. More is better—especially for the fan side.
- Level the unit. Use shims if needed.
Real-world example: A friend installed his outdoor unit on a wooden deck. Within a month, the vibration cracked the deck boards. Use a solid base!
Step 4: Connect Refrigerant Lines and Drain Hose
This is where precision matters. Even a tiny leak can ruin performance.
- Uncoil the refrigerant lines. Avoid sharp bends—use a pipe bender if needed.
- Remove the caps from the indoor and outdoor unit fittings.
- Slide insulation over the lines. Wrap tightly with tape.
- Hand-tighten the flare nuts, then use a torque wrench to tighten to spec (check the manual).
- Connect the drain hose to the indoor unit’s outlet. Slope it downward and secure with clamps.
Golden rule: Never force a connection. If it doesn’t thread easily, realign the lines.
Step 5: Seal and Insulate
Prevent air leaks and condensation.
- Stuff the wall hole with foam or sealant. Leave room for the lines to move slightly.
- Wrap the entire refrigerant line bundle with insulation tape.
- Seal any gaps around the outdoor unit’s wall penetration.
4. Vacuum and Charge: The Critical Step Most DIYers Skip
Here’s the make-or-break moment. If you skip vacuuming, moisture and air will contaminate the refrigerant. That leads to ice buildup, poor cooling, and compressor failure. No exceptions.
Why Vacuuming Is Non-Negotiable
When you install air conditioner split systems, the refrigerant lines are open to the air. That means they’re full of oxygen, nitrogen, and moisture. When you power up the system, these contaminants react with the refrigerant, forming acids that eat through metal. A vacuum pump removes all that gunk.
How to Vacuum the System (Step-by-Step)
- Connect the gauge manifold to the service ports on the outdoor unit.
- Attach the vacuum pump to the center hose of the manifold.
- Open both gauge valves (high and low pressure).
- Turn on the vacuum pump. Run it for at least 30 minutes—60 is better.
- Monitor the vacuum gauge. It should reach 500 microns or lower. Hold for 15 minutes. If it rises, you have a leak.
- Close the valves and turn off the pump. Disconnect carefully.
Pro tip: Use a digital micron gauge—it’s more accurate than analog. And never use a compressor to “blow out” lines. That’s dangerous and ineffective.
Refrigerant Charging: Only If Pre-Charged Lines Aren’t Used
Many modern split ACs come with pre-charged lines (typically up to 25 feet). If your run is within that, you’re done. But if you need to extend the lines, you’ll have to add refrigerant.
- Use a refrigerant scale to measure the exact amount.
- Connect the refrigerant cylinder to the manifold.
- Open the cylinder valve and slowly charge through the low-pressure side.
- Check the manual for the correct charge (in pounds or ounces).
Note: In many regions, only licensed techs can handle refrigerant. Check local laws. If you’re unsure, hire a pro for this step.
5. Electrical Wiring and Testing: Safety First
Electricity isn’t something to gamble with. A bad connection can spark a fire. Take your time here.
Wiring the Outdoor Unit
- Run a dedicated circuit from your breaker panel. Use the correct wire gauge (usually 12 or 10 AWG).
- Connect the power cable to the outdoor unit’s terminal block. Match L1, L2, and ground.
- Secure the cable with a strain relief clamp.
Safety check: Use a multimeter to verify voltage before connecting. Turn off the breaker first!
Connecting the Indoor and Outdoor Units
Most systems use a 4-wire control cable (red, yellow, blue, green) for communication.
- Route the cable through the wall with the other lines.
- Connect to the terminal blocks on both units. Follow the wiring diagram in the manual.
- Double-check polarity—especially for the ground wire.
Final Testing: Power Up and Verify
- Turn on the breaker.
- Power up the indoor unit with the remote.
- Set to cooling mode. Listen for the outdoor unit to start (may take 2–3 minutes).
- Check for airflow, cooling, and no leaks.
- Monitor for 15–20 minutes. The indoor unit should cool steadily.
Red flags: Hissing (leak), no airflow, error codes, or the compressor won’t start. Turn it off and troubleshoot.
6. Data Table: Common Split AC Installation Mistakes and Fixes
| Mistake | Why It Happens | How to Fix It | Cost of Fix (Est.) |
|---|---|---|---|
| Refrigerant leak | Loose flare nuts, damaged lines | Re-flare and torque to spec, or replace line | $100–$300 |
| Water dripping indoors | Drain hose not sloped or blocked | Re-route hose, clear clogs, add a trap | $0–$50 |
| Unit won’t power on | Wrong voltage, loose wire | Check breaker, verify wiring, test voltage | $0–$100 |
| Poor cooling | Low refrigerant, dirty coil | Recharge refrigerant, clean coils | $150–$400 |
| Outdoor unit vibration | Unstable base, missing rubber mounts | Install vibration pads or concrete pad | $20–$100 |
Conclusion: You’ve Got This—But Know Your Limits
Installing an air conditioner split system isn’t a weekend warrior project for the faint of heart. But with the right tools, patience, and attention to detail, you can do it—safely and effectively. The key is respecting the process. Don’t rush the vacuuming. Don’t ignore electrical safety. And never, ever skip the manual.
Remember, every pro was once a beginner. I’ve seen homeowners go from nervous first-timers to confident DIYers after one successful install. You’ll make mistakes—maybe a leak, a loose wire, or a misaligned unit. But that’s part of the journey. Learn from it, fix it, and move on.
In 2024, split ACs are smarter, greener, and more accessible than ever. But the fundamentals haven’t changed: precision, planning, and patience. Whether you’re cooling a bedroom, a garage, or your entire home, doing it yourself can save you hundreds—and give you a real sense of accomplishment.
So go ahead. Grab your tools, read the manual, and install air conditioner split like a pro. And if you hit a snag? Don’t beat yourself up. Call a pro. There’s no shame in knowing your limits. After all, the goal isn’t to be a superhero—it’s to stay cool, comfortable, and in control.
Frequently Asked Questions
How do I install an air conditioner split system myself?
Installing an air conditioner split system yourself requires careful planning, proper tools, and adherence to safety guidelines. While possible for DIY enthusiasts, hiring a licensed technician for refrigerant handling and electrical connections ensures compliance with local regulations and warranty requirements.
What tools are needed to install an air conditioner split unit?
Essential tools include a drill, level, pipe bender, vacuum pump, manifold gauge, and screwdrivers. You’ll also need copper tubing, insulation, mounting brackets, and a refrigerant scale—many of which are often included in pre-packaged split AC installation kits.
How long does it take to install a split air conditioner?
A professional can typically install an air conditioner split system in 4–8 hours, depending on wall type, refrigerant line length, and electrical setup. DIY installations may take longer due to unfamiliarity with the process and troubleshooting.
Can I install a split AC without drilling a hole in the wall?
No, installing a split air conditioner requires a 2–3 inch hole to run refrigerant lines, drain pipes, and wiring between the indoor and outdoor units. Alternatives like ductless mini-splits still need this penetration for proper operation.
Is it cheaper to install a split air conditioner myself?
DIY split AC installation saves labor costs but risks improper refrigerant charging or electrical errors, which can void warranties or damage equipment. Professional installation often includes post-installation support and guarantees, making it a safer long-term investment.
What’s the best location to install an air conditioner split indoor unit?
Mount the indoor unit on an exterior wall, at least 7 feet high, with unobstructed airflow and away from direct sunlight or heat sources. Ensure it’s level and near the outdoor unit to minimize refrigerant line length and efficiency losses.