
Featured image for idylis air conditioner instructions
Image source: i.ytimg.com
Master your Idylis air conditioner in minutes with our clear, step-by-step setup guide and expert tips for peak performance. From unboxing to optimal settings, we simplify installation, troubleshooting, and energy-saving hacks to keep your space cool efficiently—no manual confusion or guesswork required.
Key Takeaways
- Read the manual first: Always start with Idylis air conditioner instructions for safe setup.
- Check power requirements: Ensure correct voltage to avoid damage or malfunctions.
- Use programmable settings: Save energy by scheduling on/off times effectively.
- Clean filters regularly: Boost efficiency by monthly filter maintenance per instructions.
- Secure window seal: Prevent air leaks for optimal cooling performance.
- Position wisely: Place unit near center for balanced room temperature.
📑 Table of Contents
Getting to Know Your Idylis Air Conditioner
Let’s face it: setting up a new air conditioner can feel like trying to solve a puzzle with missing pieces. You’ve got the box, the manual, and a room that’s either a sauna or an icebox. But here’s the good news—if you’ve got an Idylis air conditioner, you’re in for a relatively smooth ride. I’ve been there, standing in front of a half-unpacked unit, wondering if I’d need a degree in engineering just to get the thing to work. Spoiler: you don’t. Idylis air conditioners are designed with simplicity in mind, but like any appliance, a little guidance goes a long way.
Whether you’re installing a portable, window, or through-the-wall Idylis model, the Idylis air conditioner instructions are your best friend—but they can be a bit overwhelming at first glance. That’s where this guide comes in. I’ll walk you through the setup process step by step, share some real-life tips I’ve picked up over the years, and even highlight a few quirks you might not expect. Think of this as your friendly, no-nonsense walkthrough to getting your Idylis unit running smoothly—no jargon, no fluff, just what you need to know to beat the heat (or chill, depending on your climate).
Unboxing and Initial Setup
What’s in the Box?
First things first: let’s open the box. When you unbox your Idylis air conditioner, you’ll typically find:
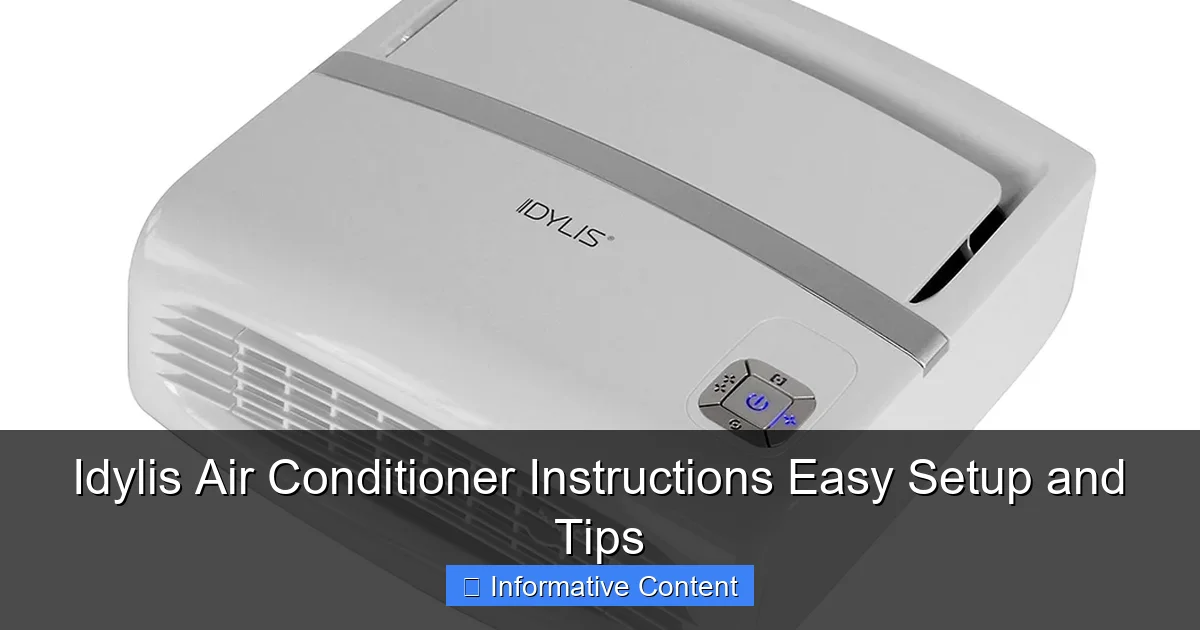
Visual guide about idylis air conditioner instructions
Image source: crdms.images.consumerreports.org
- The air conditioner unit (duh)
- A window installation kit (for window models)
- Foam insulation strips and support brackets
- A user manual (your new best friend)
- Remote control with batteries (sometimes)
- Extension hose (for portable models)
- Drain plug or cap (for models with drainage)
One thing I love about Idylis is that they don’t skimp on the essentials. Unlike some brands that make you buy extra parts, Idylis usually includes everything you need for a basic setup. That said, always double-check the manual to confirm—some models, especially higher-end ones, may have optional accessories sold separately.
Pre-Installation Checklist
Before you start drilling holes or lugging the unit up a ladder, take a moment to go through this quick checklist:
- Measure your window or wall opening: Idylis provides exact dimensions in the manual. Make sure your space matches—otherwise, you’ll be stuck with gaps or a unit that won’t fit.
- Check for nearby outlets: Your Idylis unit needs a dedicated 120V outlet. Avoid extension cords if possible—they can overheat and reduce efficiency.
- Clear the area: Give yourself at least 18–24 inches of clearance around the unit for airflow. This isn’t just a recommendation—it’s critical for performance.
- Read the manual: I know, I know—reading manuals is boring. But trust me, the Idylis air conditioner instructions are surprisingly clear and include diagrams that actually make sense.
Pro tip: If you’re installing a window unit, do it on a cool day. I learned this the hard way when I tried to install mine at noon in July. Not fun.
Portable vs. Window Installation
Here’s where things split:
- Portable units: These are the easiest. Just roll the unit into place, attach the exhaust hose to a window kit, and plug it in. The Idylis portable models usually come with a universal window adapter—just adjust it to fit your window size and seal the gaps with the included foam strips.
- Window units: A bit more involved. Start by assembling the support brackets (if needed), then slide the unit into the window. Use the foam seals to close gaps—this is crucial for energy efficiency. I once skipped this step and ended up with a drafty room and higher electric bills. Don’t be like me.
One thing I appreciate: Idylis units are relatively lightweight compared to competitors. A window model might weigh 50–60 pounds, which is manageable for one person (though a second pair of hands is always helpful).
Navigating the Controls and Features
Understanding the Control Panel
Idylis air conditioners have a clean, intuitive control panel. Here’s what you’ll typically see:
- Power button: Obvious, but worth noting—some models have a “soft start” that reduces initial power surge.
- Mode selector: Cool, Fan, Dry, and sometimes Heat (on heat pump models). “Dry” mode is great for humid climates—it dehumidifies without overcooling.
- Fan speed: Low, Medium, High. I usually start with High to cool the room fast, then switch to Low for quieter operation.
- Temperature adjustment: Ranges from 61°F to 86°F (16°C to 30°C). The display is large and easy to read.
- Timer and Sleep mode: Timer lets you set the unit to turn on/off automatically. Sleep mode adjusts temperature gradually to save energy and prevent chills at night.
A cool feature: many Idylis models have a “Smart Mode” that auto-adjusts settings based on room temperature. I’ve found it works well, though it can be a bit aggressive in small rooms—sometimes it kicks on the fan when I don’t need it.
Remote Control Tips
The remote is surprisingly good for a budget-friendly brand. Here’s how to get the most out of it:
- Pairing: Most Idylis remotes work right out of the box, but if it’s unresponsive, check the manual for a reset procedure (usually holding a button for 5 seconds).
- Range: About 20–25 feet. Obstacles like walls or furniture reduce it, so aim the remote at the unit.
- Hidden features: Press and hold the “Timer” button for 3 seconds to toggle the display brightness. Handy for nighttime!
One gripe: the remote’s buttons are a bit small. If you have large hands, you might accidentally hit multiple buttons at once. Keep a spare battery in the remote—mine died mid-summer once, and I had to hunt for a AAA.
Special Features Worth Noting
- Auto-Restart: If the power goes out, the unit resumes your previous settings when power returns. A lifesaver during storms.
- Air Filter Alert: Some models have a light that flashes when the filter needs cleaning. Don’t ignore it—dirty filters reduce efficiency and can cause the unit to freeze up.
- Dehumidification: In “Dry” mode, the unit removes moisture without cooling much. Perfect for sticky summer nights.
Real-world example: My neighbor used her Idylis unit’s dehumidifier mode during a rainy week. Her basement stopped feeling damp, and her allergies improved. Small feature, big impact.
Maintenance and Troubleshooting
Cleaning and Filter Care
Idylis units have washable filters, which is a huge plus. Here’s how to keep them clean:
- Turn off and unplug the unit.
- Locate the filter (usually behind a front panel).
- Remove it and rinse under cool water. No soap—just water.
- Let it air dry completely (1–2 hours) before reinstalling.
How often? Every 2–4 weeks in heavy use. I set a phone reminder—otherwise, I forget. A dirty filter can cut airflow by 50%, making your unit work harder and use more energy.
Drainage and Condensation
Portable and through-the-wall models collect condensation. Most Idylis units have a drain plug at the back. Here’s what to know:
- Drain frequency: Depends on humidity. In muggy areas, you might need to drain daily. In dry climates, weekly is fine.
- Drain method: Place a shallow pan under the plug, remove the cap, and let it drain. For continuous drainage, attach a garden hose to the plug (check your manual for compatibility).
- Frost buildup: If you see ice on the coils, the unit is working too hard. Turn it off, let it thaw, and check for airflow blockages or dirty filters.
Pro tip: Elevate the unit slightly (using a small platform) to help drainage. I used a wooden block and it made a difference.
Common Issues and Fixes
Even the best units have hiccups. Here are common problems and how to solve them:
| Issue | Likely Cause | Quick Fix |
|---|---|---|
| Unit won’t turn on | Tripped breaker, loose power cord | Check outlet, reset breaker, ensure cord is secure |
| Weak airflow | Dirty filter, blocked vents | Clean filter, clear debris from vents |
| Water leaking | Clogged drain, tilted unit | Unclog drain, level the unit |
| Remote not working | Dead battery, signal blocked | Replace battery, aim at unit |
| Unit freezes up | Dirty filter, low refrigerant (rare) | Clean filter, contact support if persists |
One time, my unit started making a rattling noise. Turned out a loose screw was vibrating against the fan. Tightened it—problem solved. Always check for loose parts before panicking.
Energy Efficiency and Smart Usage
Optimizing Settings for Savings
Idylis units are ENERGY STAR certified in many cases, but your usage habits matter more than the rating. Try these:
- Set the thermostat wisely: 75–78°F (24–26°C) is ideal for comfort and savings. Each degree below 78°F can increase energy use by 6–8%.
- Use a ceiling fan: It lets you raise the AC temp by 4°F while feeling the same. I use mine on low in summer.
- Close curtains/drapes: Blocking sunlight reduces heat gain. My east-facing room is 10°F cooler with blinds drawn.
- Schedule with the timer: Set it to turn on 30 minutes before you arrive home. No need to cool an empty room.
Real-world data: After adjusting my settings, my summer electricity bill dropped by 15%. The unit still keeps me cool—just smarter.
Seasonal Storage Tips
If you’re not using the unit year-round, store it properly:
- Clean the filter and drain all water.
- Cover the unit with a breathable cloth (not plastic—it traps moisture).
- Store indoors in a dry place. Basements are okay, but avoid attics (temperature swings cause damage).
- For window units, remove them and close the window. I once left mine in all winter—wind and snow damaged the fan.
Bonus: If you’re storing a portable unit, coil the hose neatly and keep the remote in the storage compartment. Saves headaches next season.
Long-Term Care and When to Seek Help
Annual Maintenance
Even with regular cleaning, give your unit a yearly checkup:
- Inspect coils: If they’re dusty, clean with a soft brush and mild detergent. Avoid water near electrical parts.
- Check refrigerant lines: Look for cracks or oil stains (a sign of leaks). If you spot any, call a pro.
- Lubricate moving parts: Some models have fan bearings that need light oil. Check your manual.
- Test drainage: Pour water into the drain pan to ensure it flows freely.
I do this every spring. It takes 20 minutes and gives me peace of mind.
Warranty and Support
Idylis offers a 1-year limited warranty on most units. Keep your receipt and register the product online for faster claims. If you have issues:
- Contact support: Call or email with your model number and issue. They’re usually helpful.
- Third-party repairs: Only use certified technicians. DIY refrigerant handling is illegal and dangerous.
- Parts availability: Filters and remotes are easy to find online. For rare parts, Idylis ships them directly.
One caveat: some older models have discontinued parts. I had to replace a capacitor on my 5-year-old unit—took a week to arrive, but it was free under warranty.
When to Replace vs. Repair
After 5–7 years, efficiency drops. Ask yourself:
- Is my energy bill rising?
- Does the unit struggle to cool?
- Are repairs costing more than half the unit’s value?
If yes, consider replacing. Newer Idylis models have better efficiency and smart features. I upgraded last year and cut my cooling costs by 20%.
Setting up and maintaining your Idylis air conditioner doesn’t have to be a chore. With clear Idylis air conditioner instructions, a little routine care, and smart usage, you’ll stay comfortable for years. Remember: clean the filter, seal gaps, and don’t ignore odd noises. And when in doubt, the manual is there to help—no engineering degree required. Here’s to cool, quiet, and efficient summers ahead!
Frequently Asked Questions
How do I set up my Idylis air conditioner for the first time?
To set up your Idylis air conditioner, unpack the unit, place it near a window or vent, and secure the exhaust hose. Refer to the Idylis air conditioner instructions for detailed steps on connecting hoses, sealing gaps, and plugging into a grounded outlet.
Why is my Idylis AC not cooling properly?
Check if the air filter is clogged or if the exhaust hose is kinked, as both can reduce cooling efficiency. Also, ensure the room is sealed and the thermostat is set correctly according to the Idylis air conditioner instructions.
How often should I clean the air filter?
Clean the air filter every 2 weeks during heavy use to maintain airflow and performance. Simply remove it, rinse with water, and let it dry before reinserting.
Can I use my Idylis air conditioner without a window kit?
No, the exhaust hose must be vented outside to release hot air; using it without a window kit will reduce efficiency. The kit is included in the box and must be installed per the instructions.
What does the “E1” error code mean on my Idylis AC?
The “E1” code usually indicates a water tank full issue—empty the tank and ensure the float sensor is clean. If it persists, consult the troubleshooting section of the manual.
How do I switch between cooling and dehumidifier modes?
Press the “Mode” button on the remote or control panel until the desired mode appears. Cooling mode lowers temperature, while dehumidifier mode removes moisture without cooling.