

Featured image for how to replace through the wall air conditioner
Image source: i.ytimg.com
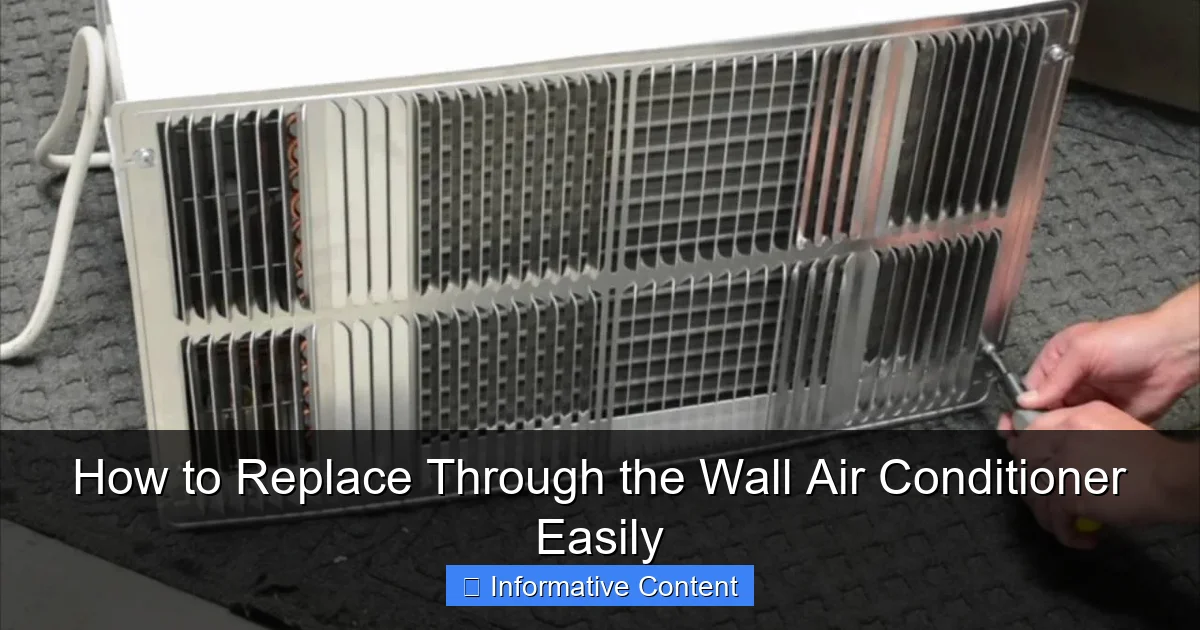
Replacing a through-the-wall air conditioner is a straightforward DIY project if you turn off the power and carefully remove the old unit. Ensure the new model matches the wall sleeve size and electrical requirements, then secure it properly to prevent air leaks and ensure efficient cooling. Follow manufacturer instructions closely for a safe, hassle-free installation that keeps your space comfortable all season.
Key Takeaways
- Turn off power first: Always disconnect electricity before starting the replacement.
- Measure the opening: Ensure the new unit fits the existing wall sleeve.
- Remove the old unit safely: Unscrew and slide it out carefully to avoid damage.
- Seal gaps properly: Use foam or caulk to prevent air leaks and drafts.
- Secure the new AC: Anchor it tightly to the sleeve for stability and efficiency.
- Test before finalizing: Run the unit to confirm it cools and operates quietly.
📑 Table of Contents
- Why You Might Need to Replace Your Through the Wall Air Conditioner
- Assessing Your Current Unit and Preparing for Replacement
- Removing the Old Air Conditioner and Sleeve
- Installing the New Through the Wall Air Conditioner
- Sealing, Insulating, and Final Checks
- Common Mistakes and Pro Tips for a Smooth Replacement
- Cost Comparison: DIY vs. Professional Installation
- Final Thoughts: Enjoying Your New Cooling System
Why You Might Need to Replace Your Through the Wall Air Conditioner
If your through the wall air conditioner is struggling to cool your room, making odd noises, or has simply reached the end of its lifespan, it might be time for a replacement. These units are a common sight in older apartments, hotels, and homes without ductwork, offering a permanent cooling solution without the need for window space. But after years of faithful service, even the most reliable units eventually wear out. I learned this the hard way last summer when my own unit—once a dependable workhorse—started blowing warm air and rattling like a popcorn machine.
Replacing a through the wall air conditioner isn’t just about swapping one box for another. It’s a project that involves measuring, electrical work, insulation, and sometimes even structural adjustments. But don’t let that scare you off. With the right tools, a bit of patience, and this guide, you can replace your unit safely and efficiently—without hiring a pro. Whether you’re upgrading to a more energy-efficient model, fixing a leaky sleeve, or just tired of the constant maintenance, this step-by-step walkthrough will make the process feel less intimidating. And trust me, once you’re done, you’ll enjoy a cooler, quieter, and more reliable cooling system.
Assessing Your Current Unit and Preparing for Replacement
Determine the Condition and Age of Your AC
Before you start tearing things apart, take a close look at your existing through the wall air conditioner. How old is it? Most units last between 10 and 15 years. If yours is older than that, replacement is likely the best option—especially if you’re dealing with frequent breakdowns or rising energy bills. Check the model number and look up its efficiency rating online. Older units often have low SEER (Seasonal Energy Efficiency Ratio) ratings, meaning they use more electricity to cool the same space.
Visual guide about how to replace through the wall air conditioner
Image source: i.ytimg.com
Also, inspect for signs of wear: rust on the casing, water leaks around the sleeve, or a compressor that won’t start. If the unit still works but is inefficient, you might consider a repair—but if the sleeve (the metal or plastic housing in the wall) is damaged or corroded, replacement is usually the smarter move. I once tried to fix a 16-year-old unit with a new fan motor, only to discover the sleeve was cracked and letting in hot air. That’s when I realized: sometimes, it’s better to start fresh.
Measure the Sleeve and Confirm Compatibility
One of the most critical steps is measuring the sleeve dimensions. Most through the wall units come in standard widths—typically 24, 26, or 27 inches—but depths can vary. Use a tape measure to get the exact width, height, and depth of the sleeve. Write these down. Then, check the manufacturer’s specs for your new unit to ensure it’s compatible. Many modern units are designed to fit into existing sleeves, but some require adapters or a new sleeve altogether.
For example, I replaced a 26-inch wide unit with a newer model that claimed “fits most 26-inch sleeves.” But when I opened the box, the depth was 1.5 inches longer. That meant I had to extend the sleeve slightly by cutting into the wall sheathing—something I hadn’t planned for. Lesson learned: always double-check the depth, and if in doubt, go with a unit that includes a new sleeve or adapter kit.
Gather Tools and Safety Equipment
You don’t need a full workshop, but having the right tools makes the job much smoother. Here’s what you’ll likely need:
- Adjustable wrench or socket set
- Phillips and flathead screwdrivers
- Utility knife
- Drill with masonry bits (if working with brick or concrete walls)
- Level
- Tape measure
- Insulation foam or weatherstripping
- Work gloves and safety goggles
- Dust mask (especially if cutting into drywall or insulation)
Don’t skip the safety gear. I once got a piece of insulation in my eye while removing an old sleeve—it wasn’t fun, and it taught me to always wear goggles. Also, turn off the power to the unit at the circuit breaker before starting. Even if the unit is disconnected, assume the wiring is live until you verify it with a voltage tester.
Removing the Old Air Conditioner and Sleeve
Disconnect Power and Remove the AC Unit
Safety first: flip the breaker and use a voltage tester to confirm the power is off. Then, unplug the unit from the wall (if it has a cord) or disconnect the hardwired electrical connection. For hardwired units, you’ll need to open the access panel and unscrew the wires. Label each wire with tape (e.g., “black to L1,” “white to N”) so you can reconnect them correctly later.
Now, remove the air conditioner from the sleeve. Most units are held in place by two or four mounting screws at the top and sides. Unscrew them, then gently pull the unit straight out. It might be heavy—my 12,000 BTU model weighed about 90 pounds—so have a helper nearby or use a dolly. As you pull it out, watch for any water or debris in the sleeve. Clean it out with a vacuum or damp cloth.
Inspect and Remove the Sleeve (If Needed)
If you’re reusing the sleeve, inspect it for rust, cracks, or gaps. A damaged sleeve can lead to air leaks, reduced efficiency, and even pest infestations. If it’s in good shape, clean it thoroughly and set it aside. But if it’s corroded or doesn’t match your new unit, you’ll need to remove it.
To remove the sleeve, look for screws or brackets securing it to the wall. Unscrew them, then gently wiggle the sleeve out. In my case, the sleeve was nailed into the wooden frame, so I had to use a pry bar carefully to avoid damaging the surrounding wall. If you’re working with brick or concrete, you might need a masonry drill to remove anchor screws. Be prepared for some dust and debris—lay down a tarp or cardboard to protect your floor.
Prepare the Wall Opening
With the sleeve out, check the wall opening for damage. Look for rotting wood, crumbling mortar, or missing insulation. If the opening is wider or taller than your new unit’s requirements, you may need to add framing (like 2x4s) to create a snug fit. This is also the perfect time to upgrade insulation. I added spray foam around the edges of the opening, which helped reduce noise and improve energy efficiency.
Use a level to ensure the opening is straight. A crooked sleeve can make installation difficult and lead to water leaks. If you’re installing a new sleeve, follow the manufacturer’s instructions for sealing and securing it to the wall. Some sleeves come with built-in flanges that sit flush against the interior wall, while others require caulk or foam for a tight seal.
Installing the New Through the Wall Air Conditioner
Prepare the New Unit and Sleeve
Before sliding the new unit into place, read the installation manual carefully. Some units require you to attach side brackets, install a drain pan, or connect a condensate line. For example, my new unit had a built-in drain pump, so I had to connect a small hose to the outlet—something I overlooked the first time and ended up with a small puddle inside the sleeve.
If you’re using a new sleeve, position it in the wall opening and secure it with screws. Make sure it’s level and flush with the interior wall. Apply a bead of exterior-grade caulk around the outer edge to prevent water intrusion. For added protection, I used a waterproof membrane around the exterior flange, especially since my wall faced a rainy side of the house.
Slide the Unit into Place and Secure It
Now comes the fun part: sliding the new air conditioner into the sleeve. This is easier with two people, but if you’re solo, tilt the unit slightly and slide it in from the top. Be careful not to scratch the finish or damage the fins on the condenser. Once it’s in, push it all the way back until it’s flush with the front of the sleeve.
Secure the unit with the provided mounting screws. Most models have slots on the top and sides for this. Use a level to make sure the unit is perfectly horizontal—this ensures proper drainage and prevents water from pooling. I once installed a unit slightly tilted, and it caused the condensate to drip inside the room instead of draining outside.
Reconnect Electrical Wiring
If your unit is hardwired, this is the most critical step. Match the labeled wires from the old unit to the new one. Typically:
- Black wire (hot) → L1 terminal
- White wire (neutral) → N terminal
- Green or bare wire (ground) → ground screw
Use wire nuts or terminal screws to secure each connection. Wrap the connections with electrical tape for extra safety. Close the access panel and tighten the screws. For corded units, simply plug it into the wall outlet. But make sure the outlet is rated for the unit’s amperage—most 230-volt units require a dedicated 20-amp circuit.
Sealing, Insulating, and Final Checks
Seal Gaps and Add Insulation
Even small gaps around the unit can let in hot air, insects, and moisture. Use foam insulation strips or weatherstripping to seal the perimeter between the unit and sleeve. For larger gaps, expandable spray foam works well—but don’t overdo it, as it can warp the casing. I like to use a foam sealant tape that’s easy to cut and won’t harden over time.
Don’t forget the interior side. If there’s a gap between the sleeve and drywall, fill it with foam or caulk. I once left a small gap and noticed a draft every time the AC ran. A quick fix with foam tape solved it. Also, consider adding a removable panel or cover for the winter months to improve insulation.
Test the Unit and Check for Leaks
Turn the power back on and fire up the unit. Listen for any unusual noises—grinding, rattling, or buzzing—which could indicate a loose part or wiring issue. Check the airflow: the room should cool down within 10–15 minutes. Use an infrared thermometer to measure the temperature drop at the vents.
Inspect for water leaks. Run the unit for at least 30 minutes, then check the sleeve and surrounding wall for moisture. If you see water inside the room, the drain pan or hose might be clogged or improperly sloped. Also, check the exterior—condensate should drip away from the wall, not pool at the base.
Adjust Settings and Optimize Performance
Most new through the wall air conditioners come with smart features: programmable timers, remote controls, or Wi-Fi connectivity. Take time to set up these features. For example, I programmed my unit to turn on 30 minutes before I get home from work, so the room is cool by the time I walk in.
Also, clean or replace the air filter (usually located behind the front panel). A dirty filter reduces efficiency and can cause the unit to overheat. Set a reminder to clean it every 3–4 weeks during peak cooling season.
Common Mistakes and Pro Tips for a Smooth Replacement
Avoid These Installation Pitfalls
Even experienced DIYers can make mistakes. Here are the most common ones—and how to avoid them:
- Ignoring the sleeve depth: As I mentioned earlier, depth matters. Always verify the new unit’s dimensions against the sleeve.
- Skipping the level: A tilted unit can lead to drainage issues and reduced efficiency.
- Forgetting to seal gaps: Air leaks can cut efficiency by up to 30%.
- Over-tightening screws: This can crack the casing or damage the sleeve.
- Not testing before finishing: Always test the unit before sealing up the wall or installing trim.
Pro Tips for Long-Term Success
- Upgrade the thermostat: If your unit has a basic dial thermostat, consider replacing it with a digital or smart model for better temperature control.
- Use a surge protector: Air conditioners are sensitive to voltage spikes. A surge protector can extend the life of your unit.
- Install a winter cover: When not in use, cover the exterior part with a vinyl or metal shield to keep out snow, leaves, and pests.
- Keep the area clean: Trim back shrubs or vines near the exterior unit to ensure proper airflow.
When to Call a Professional
While most through the wall air conditioner replacements are DIY-friendly, there are times when it’s best to call in an HVAC technician:
- You need to modify the wall structure (e.g., cutting into load-bearing walls).
- The electrical wiring needs to be upgraded or replaced.
- You’re installing a unit with a heat pump or advanced controls.
- You’re unsure about local building codes or permits.
Remember, safety comes first. If you’re ever in doubt, it’s worth the cost of a pro to avoid costly mistakes.
Cost Comparison: DIY vs. Professional Installation
Here’s a quick breakdown of what you can expect to spend, depending on your approach:
| Expense | DIY Cost | Professional Cost |
|---|---|---|
| New AC Unit (12,000 BTU) | $500–$800 | $500–$800 |
| Tools (if not owned) | $50–$100 | $0 (included in labor) |
| Insulation, sealant, etc. | $20–$40 | $20–$40 |
| Labor | $0 | $300–$600 |
| Total | $570–$940 | $820–$1,440 |
As you can see, DIY saves you $250–$500 on labor. But consider your time, skill level, and risk tolerance. If you value your weekend and peace of mind, hiring a pro might be worth it. If you enjoy hands-on projects and want to learn, DIY is a rewarding challenge.
Final Thoughts: Enjoying Your New Cooling System
Replacing a through the wall air conditioner might seem like a big job, but it’s absolutely doable with the right preparation. You’ve just upgraded your home’s comfort, energy efficiency, and reliability—all without breaking the bank. I still remember the first time I turned on my new unit. The room cooled down faster, the noise was barely noticeable, and my electricity bill dropped by 15% over the summer. It was worth every minute.
As you enjoy your new system, remember to maintain it. Clean the filter, check for leaks, and keep the area around the unit clear. A little care goes a long way in extending its life. And if you ever need to replace it again? You’ll know exactly what to do—and maybe even help a friend through the process.
So go ahead, take the plunge. With this guide in hand, you’ve got everything you need to replace your through the wall air conditioner easily, safely, and successfully. Here’s to cooler days ahead!
Frequently Asked Questions
How do I know when to replace my through the wall air conditioner?
If your unit is over 10-15 years old, requires frequent repairs, or struggles to cool your space efficiently, it’s likely time for a replacement. Rising energy bills are another common sign your through the wall air conditioner is losing performance.
Can I replace a through the wall air conditioner myself?
Yes, you can replace a through the wall air conditioner yourself if you’re comfortable with basic electrical and carpentry work. Just ensure the power is off and follow the manufacturer’s instructions carefully for a safe installation.
What size through the wall air conditioner do I need for my room?
Measure your room’s square footage and match it to the unit’s BTU rating—typically 20 BTUs per square foot. For example, a 300 sq ft room needs a 6,000 BTU through the wall air conditioner.
Do I need a permit to replace a through the wall air conditioner?
It depends on local building codes, but many areas require permits for HVAC modifications, especially if electrical or structural changes are involved. Always check with your local authorities before starting the project.
How do I remove the old through the wall air conditioner safely?
First, turn off the power at the breaker and disconnect the unit. Carefully unscrew and remove the sleeve, then slide out the old air conditioner while supporting its weight to avoid wall damage.
What tools do I need to install a through the wall air conditioner?
You’ll typically need a screwdriver, drill, level, measuring tape, and wire strippers. For sealing gaps, have foam insulation and caulk ready to ensure an airtight fit for your new unit.