

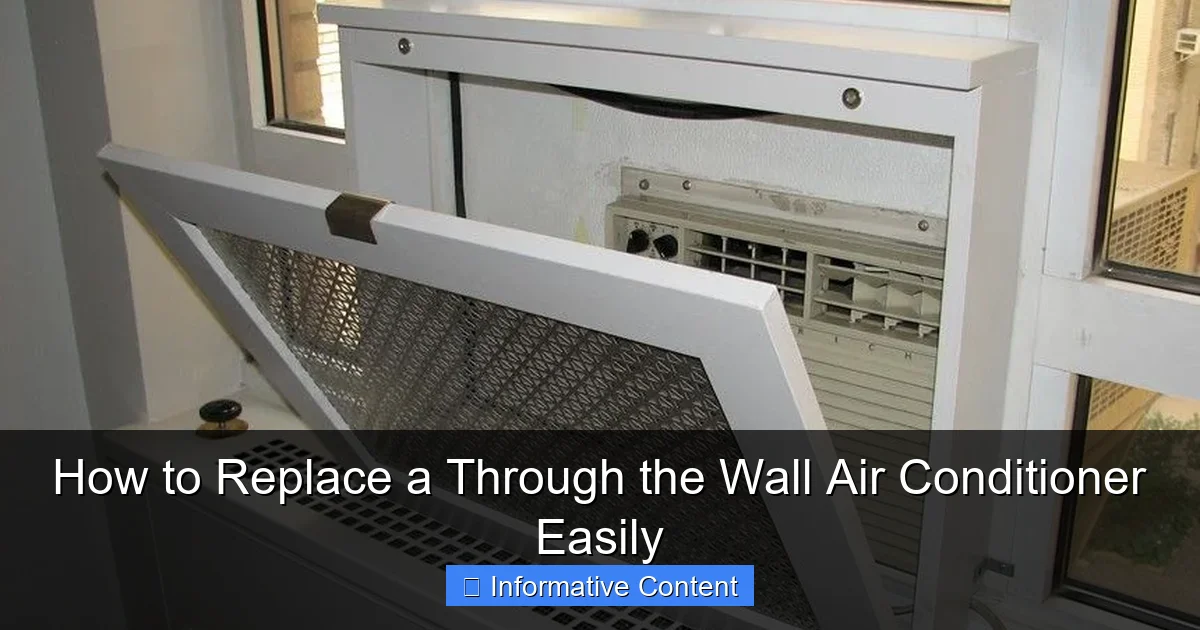
Featured image for how to replace a through the wall air conditioner
Image source: indoorclime.com
Replacing a through-the-wall air conditioner is a straightforward DIY project if you choose the right size and type for your existing sleeve. Ensure the new unit matches the sleeve dimensions and electrical requirements to avoid costly modifications. With basic tools and careful attention to sealing and insulation, you can upgrade your cooling system efficiently and safely in just a few hours.
Key Takeaways
- Measure carefully: Ensure the new unit matches the existing wall sleeve dimensions.
- Disconnect power: Always turn off electricity before removing the old AC unit.
- Remove old unit safely: Use a helper to avoid injury or wall damage.
- Seal gaps properly: Apply weatherstripping to prevent air leaks and drafts.
- Test before finishing: Power on and check cooling before sealing permanently.
- Follow manufacturer instructions: Adhere to installation guidelines for optimal performance.
📑 Table of Contents
- How to Replace a Through the Wall Air Conditioner Easily
- Assessing Your Current Setup and Choosing the Right Replacement
- Gathering Tools and Preparing for Installation
- Removing the Old Air Conditioner
- Installing the New Through the Wall Air Conditioner
- Maintenance Tips to Keep Your New AC Running Smoothly
- Common Mistakes to Avoid
- Cost Comparison: DIY vs. Professional Installation
- Final Thoughts: You’ve Got This!
How to Replace a Through the Wall Air Conditioner Easily
So, your through the wall air conditioner has finally called it quits. Maybe it’s making weird noises, not cooling like it used to, or just won’t turn on at all. You’ve tried cleaning the filter, checking the thermostat, and even unplugging it for a reset—but nothing works. Now you’re staring at that bulky unit in your wall, wondering: “Do I really have to replace this whole thing?”
The good news? Yes, you do—but it’s not as scary as it looks. Replacing a through the wall air conditioner is totally doable for most homeowners, even if you’re not a DIY expert. With the right tools, a little patience, and this step-by-step guide, you can swap out your old unit for a new one in just a few hours. No need to call in expensive HVAC pros unless you’re dealing with electrical complications or structural issues.
In this post, I’ll walk you through the entire process—from assessing your current setup to installing your new unit safely and efficiently. Whether you’re upgrading to a more energy-efficient model or just replacing a broken one, you’ll feel confident tackling this project yourself. Plus, I’ll share practical tips, common pitfalls to avoid, and how to make sure your new AC runs smoothly for years to come.
Assessing Your Current Setup and Choosing the Right Replacement
Before you even think about removing your old air conditioner, take a moment to evaluate what you’re working with. This step is crucial—it ensures your new unit fits properly and performs well. Skipping this could lead to gaps, leaks, or even damage to your wall.
Visual guide about how to replace a through the wall air conditioner
Image source: i.pinimg.com
Measure the Existing Opening
Grab a tape measure and check the width and height of the sleeve or opening in your wall where the current AC sits. Most through the wall units are designed to fit standard sizes, but there’s no universal standard. Common widths range from 24 to 30 inches, and heights from 14 to 18 inches. Measure both the interior and exterior dimensions, especially if your wall is thick or has siding.
Pro tip: Take photos of the opening from both sides. These will help you compare when shopping for a new unit and can be useful if you need to consult with a salesperson or installer later.
Check Electrical Requirements
Through the wall air conditioners typically require a dedicated 240-volt circuit, unlike window units that plug into standard 120-volt outlets. Look at the electrical panel or the wiring behind your current unit to confirm the voltage and amperage. Most units need a 20- or 30-amp circuit.
If your current setup uses a hardwired connection (no plug), your new unit should match that. Some newer models come with a plug, but you’ll need to ensure your outlet matches the plug type (usually NEMA 6-15 or 6-20). If you’re unsure, consult an electrician before proceeding.
Determine the Right BTU Size
BTU (British Thermal Unit) measures cooling power. Too small, and your room won’t cool properly. Too large, and the unit will cycle on and off too frequently, wasting energy and reducing comfort.
As a general rule:
- 100–300 sq. ft.: 5,000–6,000 BTUs
- 300–500 sq. ft.: 7,000–8,000 BTUs
- 500–700 sq. ft.: 10,000–12,000 BTUs
- 700+ sq. ft.: 14,000+ BTUs
Keep in mind that factors like ceiling height, insulation, sun exposure, and number of windows can affect cooling needs. If your room gets a lot of afternoon sun, consider going one size up.
Choose Energy-Efficient Features
Modern through the wall air conditioners come with features that can save you money and improve comfort:
- Energy Star certification: Look for units with this label—they use 15% less energy than standard models.
- Inverter technology: Adjusts cooling output instead of turning on and off, leading to quieter operation and better temperature control.
- Remote control and smart features: Some models connect to Wi-Fi, letting you control them via smartphone apps.
- Washable filters: Easier to maintain and more eco-friendly than disposable ones.
While these features may cost a bit more upfront, they often pay for themselves in energy savings and convenience over time.
Gathering Tools and Preparing for Installation
Once you’ve picked out your new air conditioner, it’s time to get your workspace ready. A little prep goes a long way in making the installation smooth and safe.
Essential Tools and Materials
Here’s what you’ll need:
- Socket wrench or adjustable wrench
- Screwdrivers (Phillips and flathead)
- Level
- Measuring tape
- Caulk and caulk gun
- Foam weatherstripping or backer rod
- Duct tape or foil tape
- Work gloves and safety glasses
- Vacuum or brush for cleaning
- Helper (optional but recommended)
You may also need a drill if you’re securing the unit with screws, though many models come with mounting brackets that slide into place.
Safety First
Before you start, turn off the power to the air conditioner at the circuit breaker. This is non-negotiable—working on live wires is extremely dangerous. Use a voltage tester to double-check that the power is off.
Wear gloves and safety glasses when handling the old unit. Air conditioners can be heavy and have sharp edges. If your unit is more than 10 years old, it may contain refrigerant, which should only be removed by a licensed technician. However, most through the wall units are sealed systems, and you can usually remove them without dealing with refrigerant—just be cautious.
Clear the Area
Move furniture, rugs, and anything else near the AC unit out of the way. You’ll need space to work both inside and outside. If possible, cover the floor with a drop cloth to catch dust and debris.
On the exterior side, trim any overgrown bushes or vines that might block access. You’ll need a clear path to slide the old unit out and the new one in.
Inspect the Wall Sleeve
Take a close look at the metal sleeve or frame in your wall. Is it rusted, bent, or damaged? If so, you may need to repair or replace it before installing the new unit. A damaged sleeve can cause air leaks, water intrusion, or even structural issues over time.
If the sleeve is in good shape, clean it thoroughly. Use a vacuum and brush to remove dust, dirt, and any nesting insects. This ensures a tight seal with your new unit.
Removing the Old Air Conditioner
Now comes the fun part—taking out the old unit. With the right approach, this can be done safely and efficiently.
Disconnect Power and Drain
Double-check that the power is off at the breaker. Then, locate the drain hose or pan inside the unit. Some models have a drain plug or hose that you can disconnect to prevent water from spilling when you remove the unit.
If your unit has a condensate pump, unplug it and drain any remaining water. This prevents messes and potential water damage.
Remove Interior Trim and Mounting Screws
Most through the wall units are secured with screws on the interior side. These are usually hidden behind a front panel or trim. Remove the panel (often held by clips or screws), then locate and remove the mounting screws along the top and sides of the unit.
Some models also have brackets that slide into the sleeve. If yours does, loosen the screws holding the brackets in place.
Carefully Slide Out the Unit
This is where having a helper really helps. Through the wall air conditioners can weigh 80 to 150 pounds, depending on the size. Have someone assist you in gently sliding the unit out from the wall.
Tip: Tilt the unit slightly downward as you pull it out to prevent water from the drain pan spilling inside your home.
Once the unit is free, set it aside on a flat surface. Be careful not to damage the exterior wall or siding.
Inspect and Clean the Opening
With the old unit removed, take a good look at the opening. Check for signs of water damage, mold, or pests. If you see any, address them before installing the new unit.
Clean the interior of the sleeve thoroughly. Use a vacuum, brush, and mild detergent if needed. Let it dry completely before proceeding.
Seal Any Gaps Temporarily
If you’re not installing the new unit right away, cover the opening with plywood or a tarp to prevent drafts, insects, and weather from getting in. This is especially important if you’re waiting for delivery or doing the job over multiple days.
Installing the New Through the Wall Air Conditioner
You’ve prepped, you’ve removed the old unit—now it’s time to install the new one. This is the most critical part of the process, so take your time and follow the manufacturer’s instructions closely.
Test Fit the New Unit
Before securing anything, slide the new air conditioner into the sleeve to ensure it fits properly. It should go in smoothly without forcing. If it’s too tight, check your measurements and the sleeve dimensions. You may need to adjust the opening slightly with a file or saw, but avoid enlarging it too much—this can create gaps.
If the unit is too loose, you’ll need to add shims or weatherstripping to fill the space and prevent air leaks.
Secure the Unit in Place
Once the unit is seated correctly, secure it using the provided mounting brackets or screws. Most models have screw holes on the top and sides that align with the sleeve. Use a level to make sure the unit is straight—this ensures proper drainage and prevents water from pooling.
Tip: Don’t overtighten the screws, as this can warp the unit or damage the sleeve. Snug is enough.
Seal the Interior and Exterior
Air leaks are the enemy of efficiency. To prevent conditioned air from escaping and outdoor air from sneaking in, seal all gaps around the unit.
On the interior side, apply a bead of silicone caulk around the edges where the unit meets the wall. Use foam weatherstripping or backer rod for larger gaps. On the exterior, do the same—caulk around the sleeve and unit to create a weathertight seal.
For extra protection, you can also install an exterior cover or awning to shield the unit from rain and snow.
Reconnect Electrical Wiring
If your new unit is hardwired, carefully connect the wires to the terminal block inside the unit. Match the colors (black to black, white to white, green or bare to ground). Tighten the terminal screws securely and ensure no bare wire is exposed.
If your unit has a plug, simply plug it into the dedicated outlet. Make sure the outlet is rated for the correct voltage and amperage.
Never attempt to modify wiring unless you’re qualified. If you’re unsure, hire a licensed electrician.
Test the Unit
Turn the power back on at the breaker. Set the thermostat to cool and turn the unit on. Listen for unusual noises and check that air is blowing properly. Feel the air coming out—it should be noticeably cooler within a few minutes.
Check for leaks around the unit and ensure the drain is working. Some models have a test mode or indicator light for the condensate pump.
If everything looks good, reinstall the front panel and enjoy your cool, comfortable room!
Maintenance Tips to Keep Your New AC Running Smoothly
Installing your new through the wall air conditioner is just the beginning. To get the most out of it—and avoid future replacements—regular maintenance is key.
Clean or Replace Filters Monthly
Dirty filters restrict airflow, reduce efficiency, and can cause the unit to freeze up. Most through the wall units have washable filters that you can rinse with water. Let them dry completely before reinstalling.
If your model uses disposable filters, replace them every 1–3 months, depending on usage and air quality.
Keep the Coils Clean
The evaporator and condenser coils can collect dust and debris over time. Every 6–12 months, use a soft brush or coil cleaner to gently clean them. Be careful not to bend the delicate fins.
On the exterior side, clear away leaves, dirt, and vegetation that might block airflow.
Check the Drainage System
Clogged drains are a common cause of water leaks. Inspect the drain pan and hose regularly. Flush the drain with a mixture of water and vinegar to prevent mold and algae buildup.
If your unit has a condensate pump, test it periodically to ensure it’s working.
Inspect Seals and Insulation
Over time, caulk and weatherstripping can crack or shrink. Check the seals around the unit every season and reapply as needed. This keeps your energy bills low and prevents pests from entering.
Consider adding extra insulation around the sleeve if you live in a cold climate. This reduces heat loss in winter and keeps the unit more efficient year-round.
Schedule Professional Maintenance
Even with regular DIY care, it’s a good idea to have a professional inspect your unit every 2–3 years. They can check refrigerant levels, test electrical components, and catch potential issues before they become major problems.
Common Mistakes to Avoid
Even experienced DIYers can make errors when replacing a through the wall air conditioner. Here are some common pitfalls and how to avoid them.
Buying the Wrong Size
It’s tempting to go bigger for more cooling power, but oversized units cycle too frequently, leading to humidity problems and higher energy bills. Stick to the recommended BTU range for your room size.
Ignoring Electrical Requirements
Plugging a 240-volt unit into a 120-volt outlet—or vice versa—can damage the unit or create a fire hazard. Always match the voltage and amperage.
Skipping the Seal
A loose or poorly sealed installation lets air leak in and out, reducing efficiency and inviting pests. Take the time to caulk and weatherstrip properly.
Rushing the Removal
Forcing the old unit out can damage the wall, sleeve, or the unit itself. Work slowly and carefully, and don’t hesitate to ask for help.
Not Testing Before Finalizing
Always test the new unit before sealing everything up. If there’s a problem, it’s much easier to fix it now than after you’ve caulked and painted.
Cost Comparison: DIY vs. Professional Installation
One of the biggest questions homeowners have is whether to tackle this project themselves or hire a pro. Here’s a breakdown to help you decide.
| Factor | DIY Installation | Professional Installation |
|---|---|---|
| Cost | Free (labor only) | $200–$500+ |
| Time | 3–6 hours | 1–3 hours |
| Skill Required | Basic DIY skills | None (handled by pro) |
| Risk | Moderate (if inexperienced) | Low |
| Warranty | May void if installed incorrectly | Often included with service |
For most homeowners, DIY is the more cost-effective option—especially if you’re comfortable with basic tools and electrical work. However, if you’re unsure about wiring, structural integrity, or refrigerant handling, it’s worth paying for professional help.
Final Thoughts: You’ve Got This!
Replacing a through the wall air conditioner might seem like a big job, but with the right preparation and a calm mindset, it’s absolutely within your reach. You’ve learned how to assess your current setup, choose the right replacement, remove the old unit safely, and install the new one with confidence.
Not only will you save hundreds of dollars on labor, but you’ll also gain valuable skills and the satisfaction of doing it yourself. Plus, your new, energy-efficient AC will keep you cool and comfortable for years to come.
Remember: Take your time, follow safety precautions, and don’t hesitate to ask for help when needed. Whether you’re upgrading for better performance or just replacing a broken unit, this project is a win for your home and your wallet.
So go ahead—grab your tools, turn off that breaker, and get started. Your cooler, more comfortable home is just a few steps away.
Frequently Asked Questions
How do I know when to replace my through the wall air conditioner?
If your unit is over 10-15 years old, requires frequent repairs, or struggles to cool efficiently, it’s likely time to replace your through the wall air conditioner. Rising energy bills or unusual noises are also red flags.
Can I replace a through the wall air conditioner myself, or should I hire a pro?
Replacing a through the wall air conditioner is doable for DIYers with basic tools and electrical knowledge, but hiring an HVAC technician ensures safety and proper installation. Always turn off power at the breaker before starting.
What size through the wall air conditioner do I need for my space?
Measure the room’s square footage and match it to the unit’s BTU rating (e.g., 250 sq. ft. needs ~8,000 BTUs). A properly sized through the wall air conditioner ensures optimal cooling and energy efficiency.
How do I remove an old through the wall AC unit safely?
First, disconnect power and remove the front panel. Then unscrew the mounting brackets and gently slide the unit out, supporting its weight to avoid damaging the wall or window frame.
What tools are needed to replace a through the wall air conditioner?
Basic tools include a screwdriver, level, tape measure, caulk gun, and adjustable wrench. For sealing gaps, use weatherstripping or foam insulation to improve efficiency.
Are through the wall air conditioners hard to install compared to window units?
They require more precision due to permanent wall placement, but modern through the wall AC units often include mounting kits for easier installation. Proper sealing is key to prevent drafts and leaks.