
Featured image for how to remove in wall air conditioner
Image source: ae01.alicdn.com
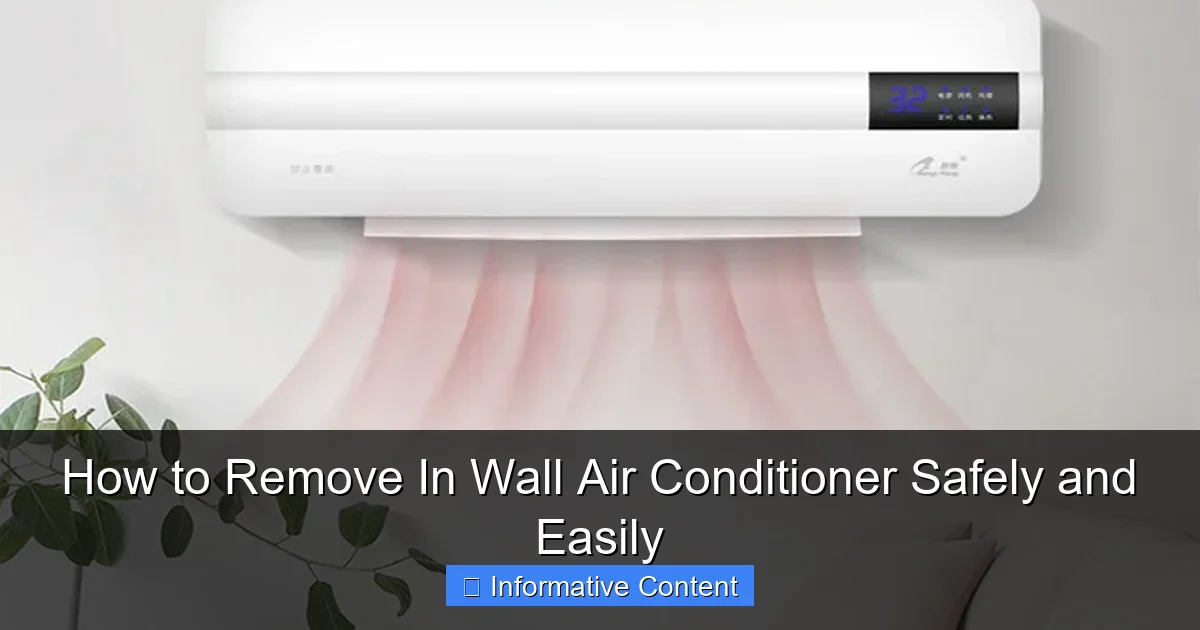
Removing an in-wall air conditioner safely starts with turning off the power at the circuit breaker to prevent electrical hazards. Once powered down, carefully remove the front panel, unscrew the unit from the wall sleeve, and gently pull it out while supporting its weight to avoid damage or injury. For a clean, easy removal, enlist a helper and protect surrounding areas with drop cloths—this ensures a smooth process and preserves your wall for future use or repairs.
Key Takeaways
- Turn off power first: Always shut off electricity at the circuit breaker to prevent shocks.
- Remove the front panel: Unscrew and gently detach the cover to access internal components.
- Disconnect electrical wiring: Carefully unplug or unscrew wires, noting connections for reinstallation.
- Support the unit: Have someone help hold the AC while removing mounting screws.
- Slide out slowly: Gently pull the unit from the wall to avoid damaging surrounding structure.
- Seal the opening: Install a cover or insulation to prevent drafts and pests.
📑 Table of Contents
- How to Remove In Wall Air Conditioner Safely and Easily
- Why Remove an In Wall Air Conditioner?
- Tools and Safety Gear You’ll Need
- Step-by-Step Guide to Removing the Unit
- Dealing with the Aftermath: The Empty Wall Cavity
- Disposal and Recycling: What to Do with the Old Unit
- When to Call a Pro (And When You Can DIY)
How to Remove In Wall Air Conditioner Safely and Easily
Let’s be honest—removing an in wall air conditioner isn’t exactly a walk in the park. I learned this the hard way when I tried to take out an old unit from my rental apartment last summer. I thought it would be a simple pull-and-out job, but within five minutes, I was staring at a dusty, cobweb-filled hole in the wall with wires dangling like spaghetti. Not my proudest DIY moment.
If you’ve ever stared at your in wall air conditioner and wondered, “How do I even *start* removing this thing without wrecking my wall or getting electrocuted?”—you’re not alone. Whether you’re upgrading to a newer model, renovating your space, or just trying to reclaim some wall real estate, removing an in wall air conditioner safely and cleanly is possible with the right steps. And no, you don’t need to be a licensed electrician or a construction pro to do it. With a little patience, the right tools, and some solid guidance, you can get the job done without calling in the cavalry.
Why Remove an In Wall Air Conditioner?
Common Reasons for Removal
Before we dive into the how, let’s talk about the *why*. Why would anyone want to remove an in wall air conditioner in the first place? Here are a few real-life scenarios I’ve heard (and experienced):

Visual guide about how to remove in wall air conditioner
Image source: i.pinimg.com
- Upgrading to a newer model: Older units can be noisy, inefficient, and lack modern features like Wi-Fi control or eco modes. Replacing them with a newer, energy-efficient model is a smart move.
- Renovating the space: Whether you’re converting a basement into a home office or turning a guest room into a nursery, sometimes that AC unit just doesn’t fit the new layout.
- Moving out or selling the property: Landlords or sellers may want to remove the unit to make the space look more open or to avoid leaving behind a bulky appliance.
- Unit is broken or inefficient: If your AC is constantly freezing up, leaking, or just not cooling well, it might be time to retire it—especially if repairs cost more than a new unit.
- Switching to a different HVAC system: Some homeowners opt for ductless mini-splits or central air, making the in wall unit obsolete.
Benefits of Proper Removal
You might think, “Why not just leave it in and cover it up?” While that’s technically possible, removing it properly has several advantages:
- Better aesthetics: A clean wall looks more modern and professional, especially if you’re selling or renting.
- Improved energy efficiency: Leaving an old unit in place—even if unused—can create drafts or allow hot air in during summer.
- More usable space: Removing the unit frees up wall area for shelves, artwork, or furniture.
- Prevents future issues: Old units can leak, attract pests, or cause mold if left unattended.
One friend of mine tried to just seal the hole with drywall, but six months later, she noticed a musty smell and found mold growing behind the patch. Lesson learned: proper removal prevents long-term problems.
Tools and Safety Gear You’ll Need
Essential Tools for the Job
You don’t need a full workshop, but having the right tools makes a huge difference. Here’s what I always keep in my toolkit when tackling an in wall air conditioner removal:
- Insulated screwdrivers (flathead and Phillips): For removing faceplates and securing screws.
- Adjustable wrench or pliers: Useful for disconnecting refrigerant lines (if applicable).
- Utility knife: To cut through old caulk, paint, or sealant around the unit.
- Vacuum with a crevice tool: For cleaning out dust, debris, and dead bugs (yes, they love AC units).
- Work gloves: Protect your hands from sharp metal edges and grime.
- Flashlight or headlamp: The space behind the unit is usually dark and cramped.
- Drop cloth or tarp: To protect your floor from falling debris.
- Stud finder (optional but helpful): To identify wall framing before patching.
- Wire strippers (if rewiring): Only if you’re planning to cap or reroute electrical lines.
Safety First: Protect Yourself
This is where many DIYers cut corners—and that’s a mistake. Removing an in wall air conditioner involves electricity, heavy lifting, and potentially hazardous materials. Here’s how to stay safe:
- Turn off the power at the breaker box: This is non-negotiable. Even if the unit is unplugged, it’s hardwired to the electrical system. Label the breaker and use a non-contact voltage tester to confirm it’s off.
- Wear safety goggles: Dust, insulation, and small metal shards can fly up unexpectedly.
- Use a respirator or mask: Older units may contain mold, asbestos (in very old models), or dust mites. A basic N95 mask helps, but a respirator is better.
- Have a helper: These units are heavy. A 10,000 BTU unit can weigh 70–90 pounds. Don’t risk back injury trying to pull it out alone.
- Check for refrigerant lines: If the unit is a through-the-wall or ductless split type, it may have refrigerant lines. Do not cut these yourself—only a licensed HVAC technician should handle refrigerant due to environmental regulations.
I once tried to rush through a removal without turning off the power. The screwdriver slipped, sparked, and tripped the breaker. Scary? Yes. Avoidable? Absolutely.
Step-by-Step Guide to Removing the Unit
Step 1: Shut Off Power and Prepare the Area
Start by turning off the circuit breaker that powers the air conditioner. Use a voltage tester on the unit’s electrical connections to double-check it’s dead. Then, lay down a drop cloth or tarp to catch debris. Clear the area in front of the unit—move furniture, rugs, and anything fragile.
Pro tip: Take a photo of the wiring before disconnecting anything. This makes reinstallation (if needed) or future repairs much easier.
Step 2: Remove the Front Panel and Faceplate
Most in wall units have a removable front cover held by screws or clips. Use your screwdriver or gently pry it off. Set it aside—you might want to keep it for a replacement unit later.
Inside, you’ll see the fan, filters, and control panel. If there are control knobs or digital displays, carefully disconnect the wiring harness (usually a plastic connector) before proceeding.
Example: In my last removal, the faceplate was stuck due to years of dust buildup. A few taps with the handle of a screwdriver loosened it enough to pry open without breaking the plastic.
Step 3: Disconnect Electrical Wiring
Locate the electrical junction box inside the unit. You’ll see wires connected to terminals—usually black (hot), white (neutral), and green or bare (ground). Loosen the terminal screws and disconnect the wires. Cap each wire with a wire nut for safety.
Important: If you’re not comfortable working with electrical wiring, call an electrician. Better safe than sorry.
Step 4: Loosen the Unit from the Wall
Use your utility knife to cut through any caulk, paint, or sealant around the outer frame. Then, remove any screws securing the unit to the wall (usually on the sides or top). Some units have brackets or mounting rails—check the manual if you’re unsure.
Gently rock the unit back and forth to break the seal. If it’s stuck, don’t force it. Use a pry bar with a piece of wood to protect the wall.
Step 5: Carefully Pull the Unit Out
This is the heavy part. With a helper, grip the unit firmly by the sides or bottom (never by the top, which can break). Slowly pull it straight out. Watch for:
- Hanging wires: Make sure they’re not snagged.
- Sharp edges: Use gloves and go slow.
- Debris falling: The cavity often holds years of dust, insulation, and even old newspapers (true story).
Once out, set the unit on the tarp. You can now assess the hole and plan your next steps.
Dealing with the Aftermath: The Empty Wall Cavity
Inspect and Clean the Cavity
Now that the unit is out, take a good look inside the hole. You’ll likely find:
- Dust, insulation, and debris
- Old wiring (if not fully disconnected)
- Pest nests (mice, insects, birds)
- Moisture or mold
Use your vacuum to clean out everything. If you spot mold, wear a respirator and use a mold-killing solution (like diluted bleach or vinegar). Let the area dry completely before sealing.
Tip: Take this opportunity to inspect the wall cavity for structural issues. Are the studs intact? Is there insulation? This is the perfect time to fix small problems before patching.
Cap or Remove Electrical Wires
If the wires are no longer needed, cap them securely with wire nuts and push them back into the junction box. You can also have an electrician remove the circuit entirely for a cleaner look.
If you’re installing a new unit, label the wires clearly (e.g., “AC Unit – 20A Circuit”) for future reference.
Seal the Hole (Optional but Recommended)
Leaving a large hole in the wall isn’t ideal. Here are your options:
- Drywall patch: Cut a piece of drywall to fit, secure it with screws, tape the seams, and mud over. Sand and paint to match the wall.
- Wooden plug: For a more rustic look, cut a wooden frame and insert a panel.
- Leave it open for future use: If you might reinstall an AC, cover the opening with a removable access panel.
I prefer a drywall patch with a texture match. It’s clean, seamless, and increases resale value.
Disposal and Recycling: What to Do with the Old Unit
Can You Just Throw It in the Trash?
Not so fast. Air conditioners contain refrigerants (like R-22 or R-410A), which are harmful to the ozone layer and regulated by the EPA. You cannot legally dispose of a refrigerant-containing unit in regular trash.
Here’s what to do instead:
- Check local e-waste programs: Many cities have drop-off centers that accept HVAC units.
- Contact a certified HVAC recycler: They’ll safely recover the refrigerant and recycle metal, plastic, and electronics.
- Call your utility company: Some offer rebates or free pickup for old appliances.
- Donate if functional: Charities like Habitat for Humanity ReStore may take working units.
Data Table: Disposal Options by Region
| Region | Recommended Disposal Method | Estimated Cost | Notes |
|---|---|---|---|
| Urban (e.g., NYC, LA) | E-waste drop-off or utility pickup | Free–$25 | Many cities offer free appliance recycling events. |
| Suburban | HVAC recycler or municipal bulk pickup | $0–$50 | Check local ordinances; some require refrigerant recovery. |
| Rural | Private recycler or scrap yard | $20–$75 | Scrap yards may pay for metal, but verify refrigerant handling. |
| California | CalRecycle-certified facility | Free–$40 | Strict state regulations; must use certified recyclers. |
Personal note: I once tried to haul my old unit to a scrap yard. They turned me away because I hadn’t removed the refrigerant. Lesson learned—always call ahead and ask about their process.
When to Call a Pro (And When You Can DIY)
DIY-Friendly Scenarios
You can safely remove an in wall air conditioner yourself if:
- It’s a self-contained unit (no refrigerant lines to a compressor outside).
- You’re comfortable turning off power and handling basic wiring.
- The unit is accessible and not buried behind drywall or cabinets.
- You have a helper for lifting.
I’ve done three removals solo (with a friend for lifting), and it took about 2–3 hours each. Totally doable with patience.
Call a Professional If…
Don’t risk it if any of these apply:
- The unit is a split-type or ductless mini-split: These have refrigerant lines that must be recovered by a licensed technician.
- You’re unsure about electrical work: One wrong move can cause a fire or electrocution.
- The wall is load-bearing or insulated with spray foam: You might need structural repairs.
- You suspect asbestos or lead paint: Common in homes built before 1980. A pro can test and safely remove it.
One of my neighbors tried to remove a split AC unit himself. He cut the refrigerant line, released gas into the air, and got hit with a $2,000 fine from the EPA. Ouch.
Cost Comparison: DIY vs. Pro
- DIY: $0–$100 (tools you already own, maybe a drywall patch kit).
- Pro removal (basic unit): $150–$300 (includes labor and disposal).
- Pro removal (split unit): $300–$600+ (includes refrigerant recovery).
While hiring a pro costs more, it’s worth it for peace of mind—especially if you’re not 100% confident in your skills.
Removing an in wall air conditioner doesn’t have to be a nightmare. With the right prep, tools, and a healthy respect for safety, you can do it yourself—saving money and avoiding the stress of a botched job. Just remember: turn off the power, protect yourself, and never cut refrigerant lines.
After the unit is out, take a moment to appreciate the clean, open wall. Whether you patch it, repurpose the space, or install a new AC, you’ve reclaimed part of your home. And if you ever need to do it again? You’ll be a pro.
So go ahead—grab your tools, call a friend, and get to work. Your wall (and your wallet) will thank you.
Frequently Asked Questions
How do I safely remove an in-wall air conditioner without damaging the wall?
To safely remove an in-wall air conditioner, first turn off the power at the circuit breaker and unplug the unit. Carefully unscrew the mounting brackets and slide the AC out, supporting its weight to avoid cracking drywall or insulation.
What tools do I need to remove an in-wall air conditioner?
You’ll need a screwdriver, adjustable wrench, utility knife, and possibly a pry bar to remove an in-wall air conditioner. Have a helper on hand to stabilize the unit during removal for added safety.
Can I remove an in-wall air conditioner by myself?
While possible, it’s safer to have a second person assist when you remove an in-wall air conditioner, as units can be heavy and awkward to handle alone. Always prioritize electrical safety and proper lifting techniques.
How do I seal the hole after removing an in-wall air conditioner?
After removing the unit, insulate the cavity with foam or fiberglass, then patch the opening with drywall or a custom cover plate. This prevents drafts and maintains energy efficiency.
Do I need to hire a professional to remove an in-wall air conditioner?
If the unit is hardwired or you’re uncomfortable with electrical work, hire a licensed electrician or HVAC technician. For simple plug-in models, DIY removal is often straightforward with proper precautions.
What should I do with the old in-wall air conditioner after removal?
Recycle the unit responsibly by contacting local e-waste facilities or HVAC recycling programs. Some retailers also offer take-back options when purchasing a new air conditioner.