
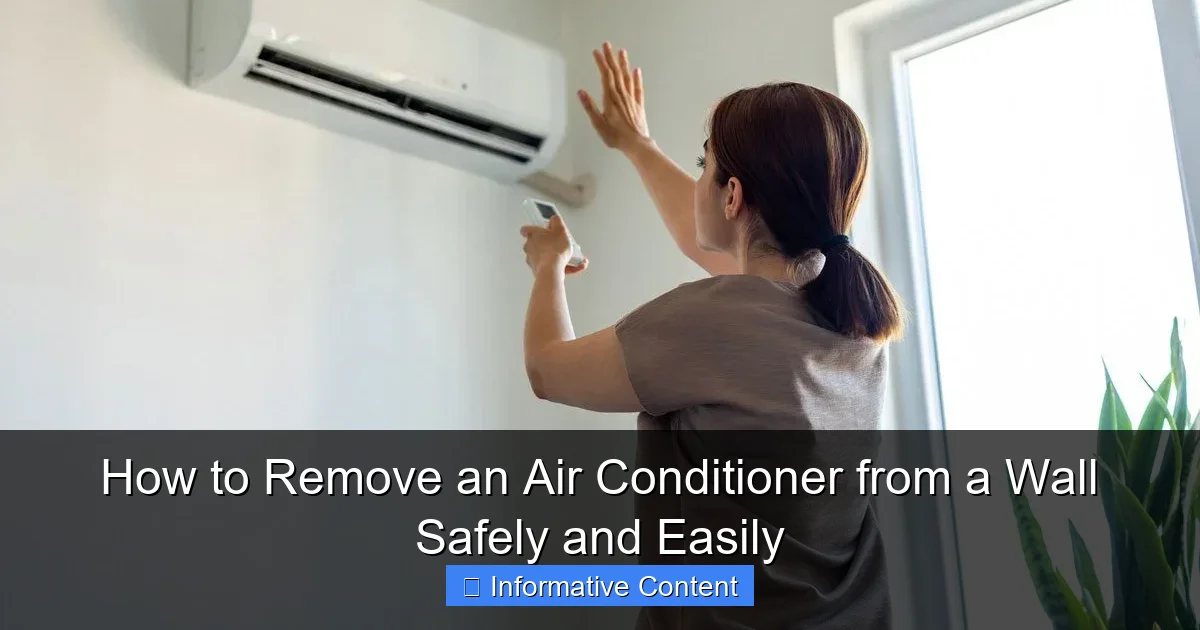
Featured image for how to remove an air conditioner from a wall
Image source: familyhandyman.com
Always turn off the power and disconnect the unit from the electrical source before attempting to remove an air conditioner from a wall to prevent shocks or injuries. Carefully unscrew mounting brackets, support the unit’s weight, and gently slide it out while checking for hidden screws or seals that may require extra attention. Following these steps ensures a safe, damage-free removal every time.
Key Takeaways
- Turn off power first: Prevent shocks by disconnecting electricity before removal.
- Support the unit fully: Use a brace to avoid drops during disassembly.
- Seal the opening: Cover gaps post-removal to block drafts and pests.
- Check for hidden screws: Inspect casing thoroughly to avoid damage.
- Label wires before disconnecting: Simplify reinstallation by marking connections clearly.
- Use proper tools: A pry bar and screwdriver prevent wall damage.
- Clean the area after: Remove debris and inspect for leftover hazards.
📑 Table of Contents
- Why You Might Need to Remove a Wall Air Conditioner
- Step 1: Safety First—Preparing for the Job
- Step 2: Disconnecting the Air Conditioner
- Step 3: Removing the Unit from the Wall
- Step 4: Post-Removal Cleanup and Wall Repair
- Step 5: Preventing Future Problems
- Data Table: Average Wall AC Removal Costs
- Final Thoughts: You’ve Got This!
Why You Might Need to Remove a Wall Air Conditioner
Let’s be real—air conditioners are like that one guest who overstayed their welcome. They cool your home like champs in summer, but when it’s time to move, renovate, or replace them, you’re left scratching your head. Maybe you’re upgrading to a ductless mini-split, or perhaps the old unit is making weird noises (and not the “I need ice cream” kind). Whatever the reason, removing a wall air conditioner doesn’t have to feel like defusing a bomb. With the right tools and a little patience, it’s totally doable—and safer than you think.
I learned this the hard way. A few years ago, I tried yanking out my AC unit with a screwdriver, a prayer, and zero planning. Spoiler: The wall looked like a cheese grater, and my back hurt for days. Since then, I’ve helped friends, neighbors, and even my overly confident cousin (who still won’t admit he needed help). The takeaway? Preparation is 90% of the battle. Whether you’re a DIY newbie or a seasoned tinkerer, this guide will walk you through how to remove an air conditioner from a wall safely, without turning your living room into a disaster zone.
Step 1: Safety First—Preparing for the Job
Turn Off Power and Unplug the Unit
Before you even glance at that AC unit, cut the power. Trust me, “I’ll just be quick” is the mantra of every DIY disaster. Here’s how to do it right:
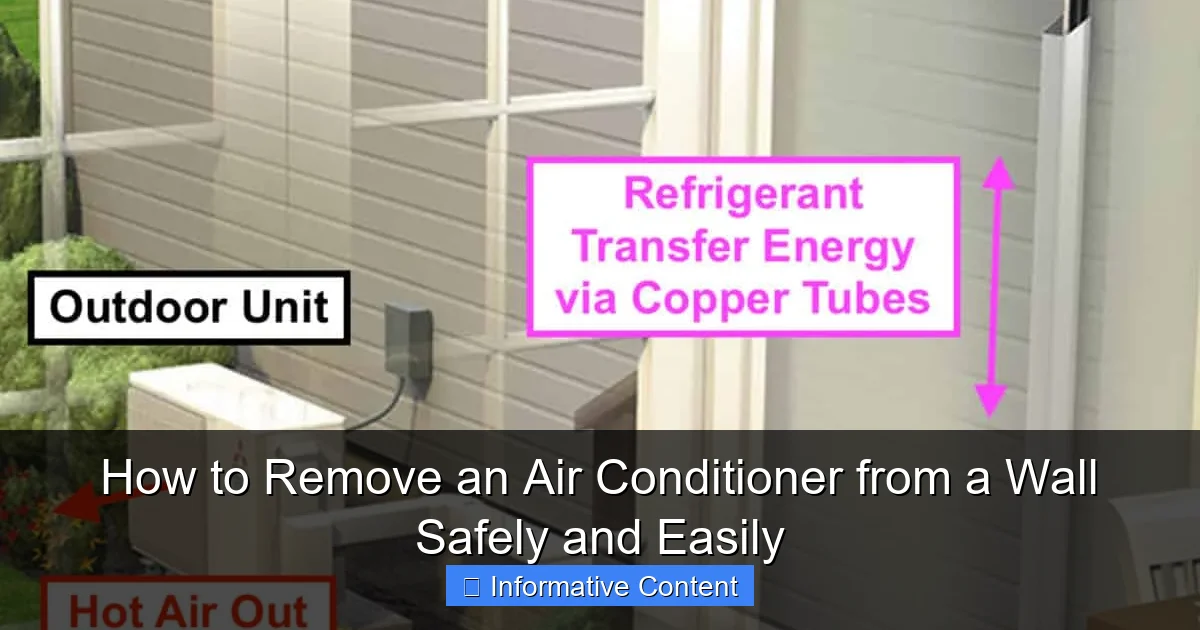
Visual guide about how to remove an air conditioner from a wall
Image source: aircondlounge.com
- Locate your electrical panel and flip the breaker labeled for the AC (or the room it’s in). If you’re unsure, turn off the main breaker.
- Unplug the AC from the wall outlet. For hardwired units, you’ll need to shut off the dedicated circuit breaker.
- Use a non-contact voltage tester (about $10 at hardware stores) to double-check that wires are dead. Better safe than sorry!
Pro tip: If the unit is hardwired, consider hiring an electrician to disconnect it. Messing with live wires is a risk not worth taking.
Gather Your Tools and Supplies
You’ll need more than a screwdriver and hope. Here’s your checklist:
- Screwdrivers (Phillips and flathead)
- Adjustable wrench or socket set
- Utility knife
- Vacuum or damp cloth
- Drop cloth or cardboard (to protect floors)
- Gloves and safety goggles
- Flashlight (for tight spaces)
- Plastic sheeting or trash bags (for refrigerant lines)
Real talk: I once forgot gloves and spent an hour pulling tiny metal splinters out of my hand. Don’t be me. Wear gloves—even if you think you’re “tough.”
Clear the Area and Protect Your Space
Move furniture, rugs, and anything fragile at least 3 feet away. Lay down a drop cloth or cardboard to catch dust, screws, and that mysterious goo ACs sometimes leak. If you’re working near a window, cover the sill with plastic to avoid water damage when you remove the unit.
Step 2: Disconnecting the Air Conditioner
Drain Condensation and Disconnect Water Lines
Most wall ACs collect condensation in a drip pan. To avoid a mini flood:
- Place a shallow pan under the unit’s exterior (outside the wall).
- Remove the front panel and locate the drain plug or hose. Unscrew it and let water drain for 5–10 minutes.
- Wipe up spills immediately with a microfiber cloth.
Example: My friend ignored this step and ended up with a soaked patio. Not cool (pun intended).
Disconnect Electrical Wiring (For Hardwired Units)
Only attempt this if you’re 100% confident in your skills. Otherwise, call an electrician. For DIYers:
- Remove the electrical cover plate on the AC unit (usually secured with screws).
- Take photos of the wiring setup before disconnecting anything. Label wires with tape if needed.
- Unscrew wire nuts and gently pull wires apart. Cap exposed ends with new wire nuts for safety.
Warning: If wires are frayed or the junction box looks corroded, stop. This is a job for a pro.
Detach the Exterior Mounting Brackets
Wall ACs are held in place by:
- Interior brackets (screwed into the unit and wall studs)
- Exterior support rails (often hidden behind siding or trim)
Start outside. Use a utility knife to cut caulk around the unit’s perimeter. Remove trim or siding if needed. Then, unscrew the exterior brackets with a wrench. Inside, remove screws securing the unit to the interior frame. Have a helper hold the AC from the inside as you work—units can weigh 50–100 lbs!
Step 3: Removing the Unit from the Wall
Work the Air Conditioner Out Slowly
Once all brackets are loose, it’s time to extract the unit. This is where patience pays off:
- Have a helper support the AC’s weight from the inside.
- Gently wiggle the unit side-to-side to break any remaining sealant.
- Slide it out in one smooth motion. Avoid jerking—this can damage the wall or the unit.
Pro tip: If the unit sticks, don’t force it. Use a pry bar with a scrap wood buffer to gently push it out from the inside. I learned this after my cousin’s “gentle push” turned into a wall-sized hole.
Handling Refrigerant Lines (If Applicable)
Most modern wall ACs are self-contained, but older units may have refrigerant lines. Never cut these yourself—refrigerant is toxic and illegal to release without a license. If you spot copper lines:
- Call an HVAC technician to safely recover the refrigerant.
- Cap the lines with plastic sheeting to prevent leaks.
Data point: The EPA fines up to $44,539 for improper refrigerant handling. Not a risk worth taking.
Dealing with Stubborn Seals or Adhesives
Old ACs are often sealed with foam, caulk, or expanding foam. To break the seal:
- Use a utility knife to slice through caulk around the edges.
- For foam, insert a thin putty knife and wiggle it to create gaps.
- Apply heat with a hair dryer (low setting) to soften stubborn adhesives.
Example: My neighbor used a crowbar to “speed things up” and ended up with a cracked window. Heat and patience work better.
Step 4: Post-Removal Cleanup and Wall Repair
Inspect the Wall Cavity
Once the unit is out, you’ll see a gaping hole. Don’t panic—this is fixable. Check for:
- Water damage (mold, rot, or damp insulation)
- Electrical wiring that needs capping or removal
- Insulation gaps that need filling
Tip: Use a flashlight to peer into the cavity. If you spot mold, call a professional—DIY mold removal is risky.
Repairing the Wall Opening
Your goal: Restore the wall to a safe, weatherproof state. Here’s how:
- Frame the hole: Cut a 2×4 board to fit the opening. Screw it into wall studs to create a support.
- Patch the drywall: Cut a drywall patch slightly larger than the hole. Secure it with drywall screws and tape the seams.
- Insulate: Fill the cavity with foam board or spray foam to prevent drafts.
- Seal exterior gaps: Use exterior-grade caulk to seal around the frame.
Real-world fix: My sister skipped the framing step and her patch collapsed in a month. Don’t cut corners here.
Disposing of the Old Air Conditioner
ACs contain refrigerants, metals, and sometimes hazardous materials. Never toss it in the trash. Instead:
- Contact your local waste management service for appliance pickup.
- Check with retailers—many offer free recycling when you buy a new unit.
- For working units, sell or donate them to thrift stores or Craigslist.
Data point: The U.S. recycles 85% of appliance metals, saving 1.5 billion kWh of energy annually. Do your part!
Step 5: Preventing Future Problems
Sealing the Wall for Energy Efficiency
An unpatched AC hole is like leaving a window open year-round. To prevent heat loss:
- Apply expanding foam sealant around the interior frame (don’t overfill—foam expands!)
- Use weatherstripping on any exterior gaps.
- Install a removable wall panel if you plan to reinstall an AC later.
Example: My neighbor sealed their hole with duct tape. Spoiler: It peeled off in a month. Use quality materials.
Upgrading Your Cooling System
If you’re ditching the wall AC, consider these alternatives:
- Ductless mini-split: Energy-efficient, quiet, and easy to install (but pricier).
- Central AC: Best for whole-home cooling (requires ductwork).
- Portable AC: Temporary fix for renters or small spaces.
Tip: A mini-split can cut cooling costs by 30% compared to window/wall units. Worth the investment!
When to Call a Professional
DIY is great, but some jobs are better left to pros. Call an HVAC technician or handyman if:
- The unit is hardwired or has refrigerant lines.
- You find structural damage (rot, mold, or electrical issues).
- You’re uncomfortable with heavy lifting (ACs can weigh 100+ lbs).
Cost comparison: Pro removal costs $150–$300—cheap compared to hospital bills or wall repairs.
Data Table: Average Wall AC Removal Costs
| Task | DIY Cost | Pro Cost | Time Required |
|---|---|---|---|
| Power disconnection | $0 (if you own tools) | $75–$150 | 30 mins |
| Unit removal | $0 | $100–$200 | 1–2 hours |
| Wall repair | $20–$100 (materials) | $200–$500 | 2–4 hours |
| Refrigerant handling | N/A (illegal to DIY) | $150–$300 | 1–2 hours |
| Disposal | $0–$50 (municipal pickup) | $50–$100 | 30 mins |
Final Thoughts: You’ve Got This!
Removing a wall air conditioner isn’t rocket science, but it does demand respect for safety, patience, and a little elbow grease. Think of it like baking a cake: Skip a step (like draining condensation or capping wires), and you’ll end up with a messy disaster. But follow the process, and you’ll save money, protect your home, and maybe even impress your neighbors.
Remember: Safety trumps speed. If you’re unsure about wiring, refrigerant, or structural repairs, call a pro. And when in doubt, take photos at every stage—they’ll save you when you’re reassembling or troubleshooting. Whether you’re upgrading to a sleeker system or just reclaiming wall space, you’re one step closer to a cooler, calmer home. Now go grab those tools—and maybe an ice-cold drink to celebrate afterward!
Frequently Asked Questions
How do I safely remove an air conditioner from a wall without damaging it?
To safely remove an air conditioner from a wall, first turn off the power and disconnect the unit from any electrical sources. Carefully unscrew mounting brackets and support the AC’s weight while sliding it out to avoid dropping or scratching the wall.
What tools do I need to remove an air conditioner from a wall?
You’ll typically need a screwdriver, adjustable wrench, drill (for stubborn screws), level, and a helper to support the unit. For window-mounted units, a putty knife can help break weather sealant. Always wear work gloves for protection during the removal process.
How to remove an air conditioner from a wall sleeve or window frame?
For wall sleeve or window units, first remove interior mounting screws or brackets, then detach any exterior support. Gently push the AC inward from the outside (with assistance) while stabilizing it from the inside to avoid sudden shifts or damage to the wall sleeve.
Can I reuse my air conditioner after removing it from the wall?
Yes, if the unit is in good condition and the removal process was careful. Clean the condenser coils, check refrigerant levels, and inspect for damage before reinstalling. Store it in a dry place to prevent corrosion or mold growth.
How to remove an air conditioner from a wall when it’s stuck or rusted?
For stuck units, spray penetrating oil (like WD-40) on rusted screws and let it sit for 10–15 minutes. Gently wiggle the AC to loosen it, using a pry bar if needed—but avoid excessive force to prevent wall damage.
Do I need professional help to remove an air conditioner from a wall?
Most DIYers can handle removal, but consult a professional if the AC is heavy (e.g., central wall units), hardwired, or in a hard-to-reach location. Professionals can also safely dispose of refrigerant if required by local regulations.