
Recharging your LG LP1015WNR air conditioner can restore cooling performance when refrigerant levels drop. This guide walks you through the process safely, legally, and efficiently—even if you’re a beginner.
Key Takeaways
- Only certified technicians should handle refrigerant: In most regions, including the U.S., it’s illegal for unlicensed individuals to recharge AC units due to environmental regulations.
- Low cooling doesn’t always mean low refrigerant: Dirty filters, blocked coils, or fan issues are common culprits—check these first.
- Use the right tools: A manifold gauge set, vacuum pump, and compatible R-410A refrigerant are essential for a proper recharge.
- Safety first: Always wear gloves and safety goggles when handling refrigerants or working near electrical components.
- Recharge only after leak detection: Adding refrigerant without fixing leaks wastes money and harms the environment.
- Consider professional help: For most homeowners, calling an HVAC pro is safer, faster, and ensures compliance with 2026 EPA standards.
- Regular maintenance prevents future issues: Clean filters monthly and schedule annual inspections to avoid refrigerant loss.
How to Recharge a LG LP1015WNR Air Conditioner
If your LG LP1015WNR portable air conditioner isn’t cooling like it used to, you might be wondering if it needs a refrigerant recharge. While this model uses R-410A refrigerant—a common, eco-friendlier option—it’s important to understand that recharging isn’t always the solution. In fact, in 2026, strict environmental laws and safety standards make DIY refrigerant handling risky and often illegal without proper certification.
This comprehensive guide will walk you through everything you need to know about recharging your LG LP1015WNR, including when it’s necessary, how to diagnose the real problem, and—if you’re qualified—how to safely perform the recharge yourself. We’ll also cover essential safety tips, required tools, and when it’s best to call a professional. By the end, you’ll have the knowledge to make informed decisions about your AC’s performance and longevity.
Understanding Your LG LP1015WNR Air Conditioner
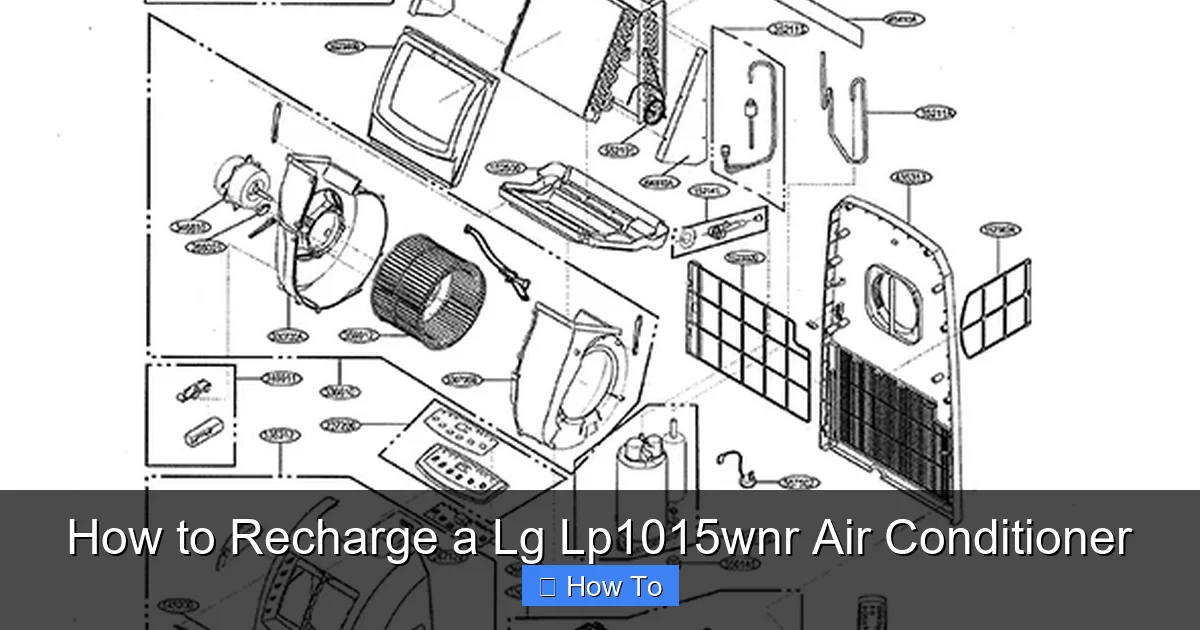
Visual guide about How to Recharge a Lg Lp1015wnr Air Conditioner
Image source: d3j17a2r8lnfte.cloudfront.net
The LG LP1015WNR is a popular 10,000 BTU portable air conditioner designed for rooms up to 450 square feet. It features dual-hose technology, which improves efficiency by drawing in outside air for the condenser while expelling hot air separately. This design helps maintain better indoor pressure and cooling power compared to single-hose models.
Like all modern AC units, the LP1015WNR uses R-410A refrigerant, a hydrofluorocarbon (HFC) blend that replaced older, ozone-depleting R-22. While R-410A doesn’t harm the ozone layer, it still contributes to global warming if released into the atmosphere—which is why handling it requires care and, in many cases, certification.
One key thing to remember: **air conditioners are sealed systems**. Under normal operation, refrigerant shouldn’t need topping off. If your unit is low on refrigerant, it likely means there’s a leak. Simply adding more gas without fixing the leak is like putting a bandage on a broken pipe—it might work temporarily, but the problem will return.
Signs Your AC Might Need a Recharge
Before jumping into a recharge, it’s crucial to confirm that low refrigerant is actually the issue. Many homeowners assume poor cooling equals low gas, but that’s often not the case. Here are the most common signs that your LG LP1015WNR might need attention:
- Reduced cooling power: The room isn’t getting as cold as it used to, even after running for hours.
- Longer cooling cycles: The unit runs continuously but struggles to reach the set temperature.
- Ice buildup on coils: Frost or ice forming on the evaporator or condenser coils can indicate low refrigerant.
- Hissing or bubbling sounds: These noises may suggest a refrigerant leak.
- Higher energy bills: An inefficient system works harder, increasing electricity use.
However, these symptoms can also stem from other issues. For example, a clogged air filter restricts airflow, making the unit work harder and potentially causing ice buildup. Similarly, a dirty condenser coil or blocked exhaust hose can mimic low refrigerant symptoms.
Common Causes of Poor Cooling (Other Than Low Refrigerant)
Before considering a recharge, rule out these common, easily fixable problems:
Dirty or Clogged Air Filter
The air filter traps dust, pet hair, and allergens. Over time, it becomes clogged, reducing airflow and forcing the compressor to work harder. This can lead to overheating, ice formation, and reduced cooling.
How to fix it: Turn off the unit, remove the front panel, and locate the filter. Wash it with mild soap and water, let it dry completely, and reinstall. Do this every 4–6 weeks during heavy use.
Blocked Exhaust Hose or Vent
The LP1015WNR expels hot air through a flexible hose that vents to the outside. If this hose is kinked, blocked, or improperly installed, hot air can’t escape, reducing efficiency.
How to fix it: Check the hose for bends or obstructions. Ensure the window kit is sealed tightly to prevent hot air from re-entering the room.
Dirty Evaporator or Condenser Coils
Dust and debris can accumulate on the internal coils, insulating them and reducing heat exchange. This makes the system less efficient and can cause freezing.
How to fix it: Use a soft brush or coil cleaner spray to gently clean the coils. Be careful not to bend the delicate fins.
Fan Motor Issues
If the internal fan isn’t spinning properly, airflow drops, and cooling suffers. This could be due to dirt, wear, or electrical problems.
How to fix it: Listen for unusual noises or weak airflow. If the fan seems sluggish, it may need lubrication or replacement—best handled by a technician.
Thermostat or Sensor Problems
The thermostat tells the unit when to cool. If it’s malfunctioning or placed near a heat source (like a lamp), it may not read temperatures accurately.
How to fix it: Keep the unit away from direct sunlight, heaters, or electronics. If issues persist, the sensor may need calibration or replacement.
When Is a Recharge Actually Necessary?
A refrigerant recharge is only needed if:
- There’s a confirmed leak in the system.
- The refrigerant level is below the manufacturer’s specified range.
- All other potential causes have been ruled out.
In 2026, the Environmental Protection Agency (EPA) enforces strict regulations under Section 608 of the Clean Air Act. These rules require anyone handling refrigerants to be certified. Unlicensed individuals caught recharging AC units can face fines up to $44,539 per violation.
Moreover, portable air conditioners like the LP1015WNR are typically sealed units with no service ports for easy access. Unlike window or central ACs, they’re not designed for frequent maintenance. Attempting to open the casing without proper tools can damage the unit or void the warranty.
Tools and Materials You’ll Need
If you’re a certified technician or working under one, here’s what you’ll need for a proper recharge:
- Manifold gauge set: Measures pressure in the low- and high-side lines.
- Vacuum pump: Removes air and moisture from the system before recharging.
- Refrigerant scale: Ensures you add the correct amount of R-410A.
- R-410A refrigerant cylinder: Must be EPA-approved and properly labeled.
- Leak detection kit: Includes electronic detectors or UV dye to find leaks.
- Safety gear: Nitrile gloves, safety goggles, and long sleeves.
- Wrenches and screwdrivers: For accessing service panels.
- Thermometer and multimeter: To check temperatures and electrical components.
Note: These tools can cost $200–$500. For most homeowners, this investment isn’t practical for a one-time repair.
Step-by-Step Guide to Recharging the LG LP1015WNR
Warning: This procedure should only be performed by EPA-certified technicians. Attempting it without certification is illegal and dangerous. The following steps are for informational purposes only.
Step 1: Turn Off and Unplug the Unit
Safety is paramount. Shut off the AC at the thermostat, then unplug it from the wall. Wait at least 15 minutes to allow capacitors to discharge.
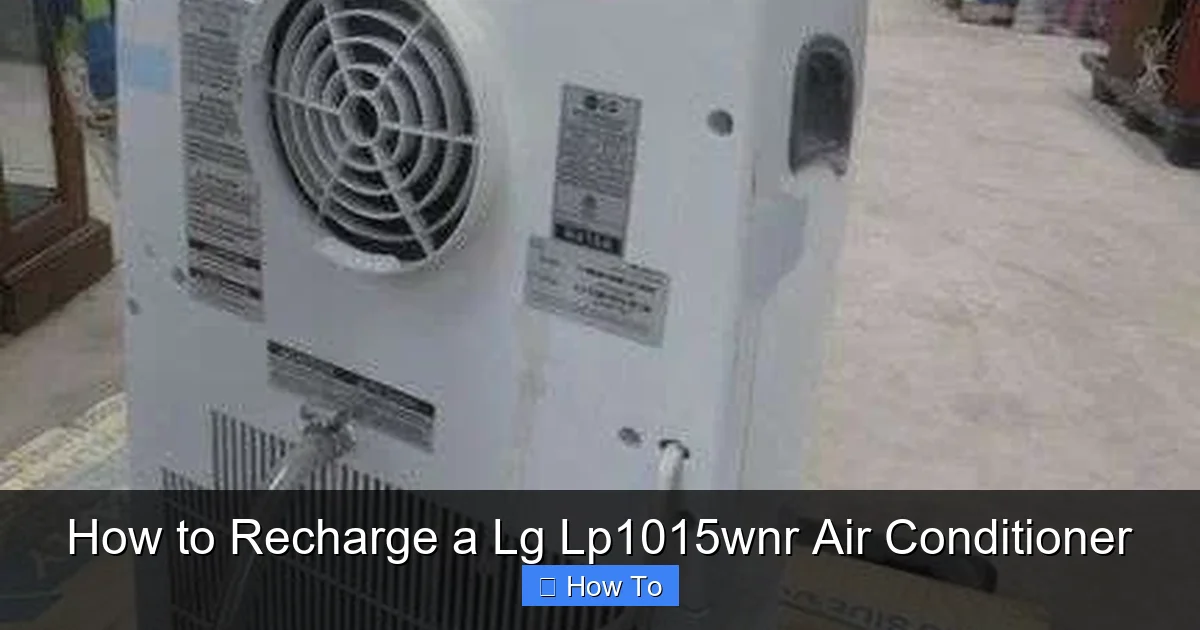
Step 2: Locate the Service Valves
The LP1015WNR doesn’t have external service ports like larger systems. You’ll need to access the internal refrigerant lines, usually behind the rear or side panel. Use a screwdriver to remove the casing carefully.
Step 3: Install the Manifold Gauge Set
Attach the blue hose to the low-pressure (suction) line and the red hose to the high-pressure (discharge) line. The yellow hose connects to the vacuum pump or refrigerant cylinder.
Step 4: Check for Leaks
Before adding refrigerant, use a leak detector or UV dye to find any leaks. Common leak points include:
- Schrader valve cores
- Welded joints
- Compressor seals
- Evaporator or condenser coils
If a leak is found, it must be repaired before recharging. This may involve brazing, replacing O-rings, or swapping components.
Step 5: Evacuate the System
Connect the vacuum pump to the yellow hose and run it for at least 30–60 minutes. This removes air and moisture, which can cause corrosion and reduce efficiency. Use the gauges to confirm the system reaches a vacuum of 500 microns or lower.
Step 6: Add Refrigerant
Weigh the refrigerant cylinder and record the starting weight. Open the valve slowly and allow the R-410A to flow into the system. Monitor the low-side pressure—it should stay within the manufacturer’s recommended range (typically 110–130 psi for R-410A at room temperature).
Add refrigerant in small increments. Overcharging can damage the compressor.
Step 7: Monitor Performance
Once charged, close the valves, remove the gauges, and reassemble the unit. Plug it in and run a test cycle. Check:
- Temperature drop across the evaporator (should be 15–20°F)
- Stable pressure readings
- No unusual noises or vibrations
Step 8: Seal and Document
Cap all service ports and reattach the casing. Keep a record of the recharge, including date, amount added, and technician name (if applicable). This helps with future maintenance and warranty claims.
Safety Precautions
Working with refrigerants and electrical systems carries risks. Follow these safety guidelines:
- Wear protective gear: Gloves and goggles prevent skin and eye contact with refrigerant, which can cause frostbite.
- Work in a well-ventilated area: R-410A is non-toxic but can displace oxygen in confined spaces.
- Never open a pressurized system: Always depressurize before servicing.
- Dispose of old refrigerant properly: Never release it into the atmosphere. Use recovery equipment and certified recyclers.
- Follow local laws: Check EPA and state regulations before proceeding.
Troubleshooting Common Recharge Issues
Even with careful steps, problems can arise. Here’s how to handle them:
Unit Still Not Cooling After Recharge
Possible causes:
- Undetected leak
- Clogged capillary tube
- Faulty compressor
- Incorrect refrigerant charge
Solution: Recheck for leaks and verify pressure readings. If the compressor isn’t running, it may need replacement.
Ice Buildup Persists
This suggests low airflow or a refrigerant imbalance. Clean the filter and coils, and ensure the fan is working properly.
Gauges Show Abnormal Pressures
- High pressure: Could indicate overcharging, blocked condenser, or non-condensable gases.
- Low pressure: May mean undercharging, leak, or expansion valve issue.
Consult a technician if pressures don’t stabilize.
Refrigerant Won’t Flow
Check for:
- Closed valves
- Frozen lines
- Clogged filter drier
Ensure the cylinder is upright and not empty.
When to Call a Professional
Given the complexity, legal requirements, and risks, most homeowners should call a licensed HVAC technician. Here’s when it’s essential:
- You’re not EPA-certified
- The unit has a confirmed leak
- Internal components need repair
- You lack the proper tools
- The warranty is still active
A professional can perform a full diagnostic, repair leaks, and recharge the system safely. In 2026, many HVAC companies offer smart diagnostics using IoT sensors to monitor refrigerant levels remotely, making service faster and more accurate.
Preventing Future Refrigerant Loss
The best way to avoid recharges is through regular maintenance:
- Clean the filter monthly: Use a vacuum or wash with water.
- Inspect hoses and seals: Look for cracks or wear every season.
- Keep the area around the unit clear: Ensure at least 2 feet of space for airflow.
- Schedule annual inspections: A technician can check for leaks and performance issues.
- Avoid moving the unit frequently: Vibration can loosen connections.
Conclusion
Recharging your LG LP1015WNR air conditioner isn’t a simple DIY task—especially in 2026, when environmental and safety standards are stricter than ever. While low refrigerant can cause poor cooling, it’s often a symptom of a leak that requires professional repair. Before considering a recharge, rule out common issues like dirty filters, blocked hoses, or fan problems.
If a recharge is truly needed, only certified technicians should perform it using the right tools and procedures. Attempting it yourself risks injury, legal penalties, and further damage to your unit.
For most users, the best course of action is to maintain the AC regularly and call a licensed HVAC professional when performance declines. This ensures safety, compliance, and long-term efficiency.
By following this guide, you’ll be better equipped to understand your LG LP1015WNR’s needs and make smart decisions about its care. Stay cool, stay safe, and breathe easy knowing your AC is running at its best.