
This guide walks you through how to open LG window air conditioner units safely and correctly in 2026. Whether you’re cleaning, repairing, or replacing parts, we cover every step with clear instructions and expert tips.
Key Takeaways
- Safety first: Always unplug the unit and wear protective gear before opening your LG window air conditioner.
- Know your model: LG offers various window AC designs—identify yours (e.g., LW8016ER, LW1216ER) to follow the correct steps.
- Use the right tools: A Phillips screwdriver, flathead screwdriver, and socket wrench are typically needed for disassembly.
- Clean regularly: Opening the unit allows you to clean filters, coils, and fans—improving efficiency and air quality.
- Avoid damage: Never force panels or components; if something doesn’t move, recheck instructions or consult the manual.
- Reassemble carefully: Ensure all screws are tightened and panels are securely closed to prevent air leaks or electrical issues.
- When to call a pro: If you encounter refrigerant lines or complex wiring, consider professional help to avoid injury or damage.
How to Open LG Window Air Conditioner: A Complete 2026 Guide
If you own an LG window air conditioner, you know how reliable and energy-efficient these units can be. But over time, dust, debris, and wear can affect performance. Whether you’re cleaning the filters, inspecting the coils, replacing a fan motor, or troubleshooting a strange noise, knowing how to open LG window air conditioner safely is essential.
In this comprehensive guide, updated for 2026 models, we’ll walk you through every step of opening your LG window AC unit—from preparation to reassembly. We’ll cover safety precautions, tool requirements, model-specific tips, and troubleshooting advice. By the end, you’ll feel confident handling basic maintenance and repairs on your own.
Let’s get started!
Why You Might Need to Open Your LG Window Air Conditioner
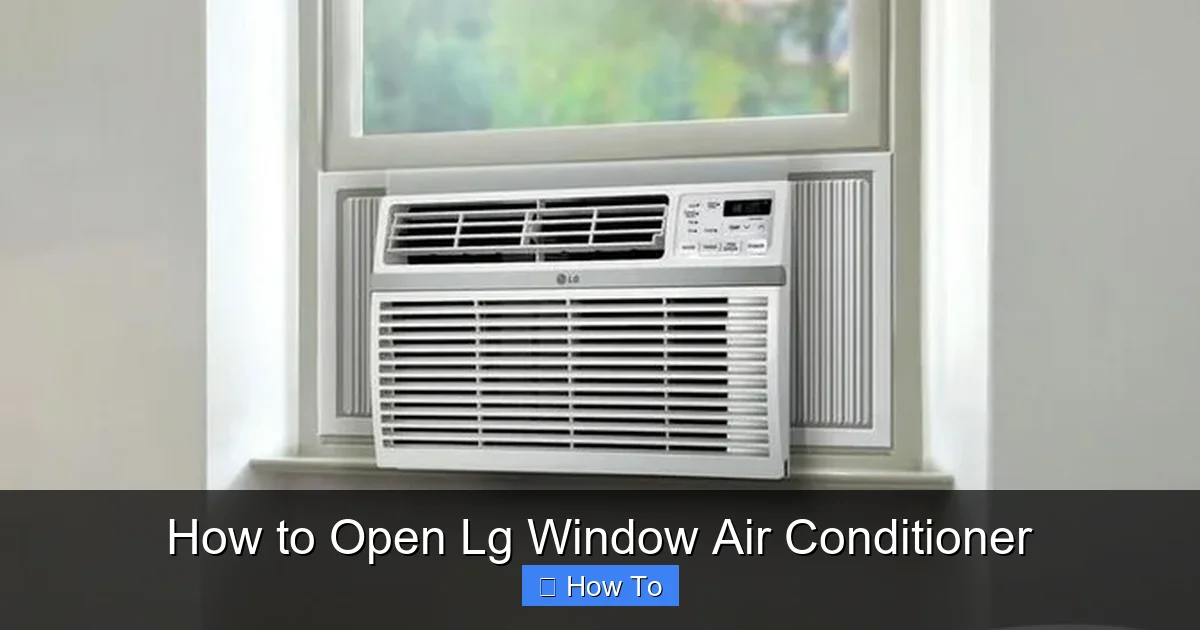
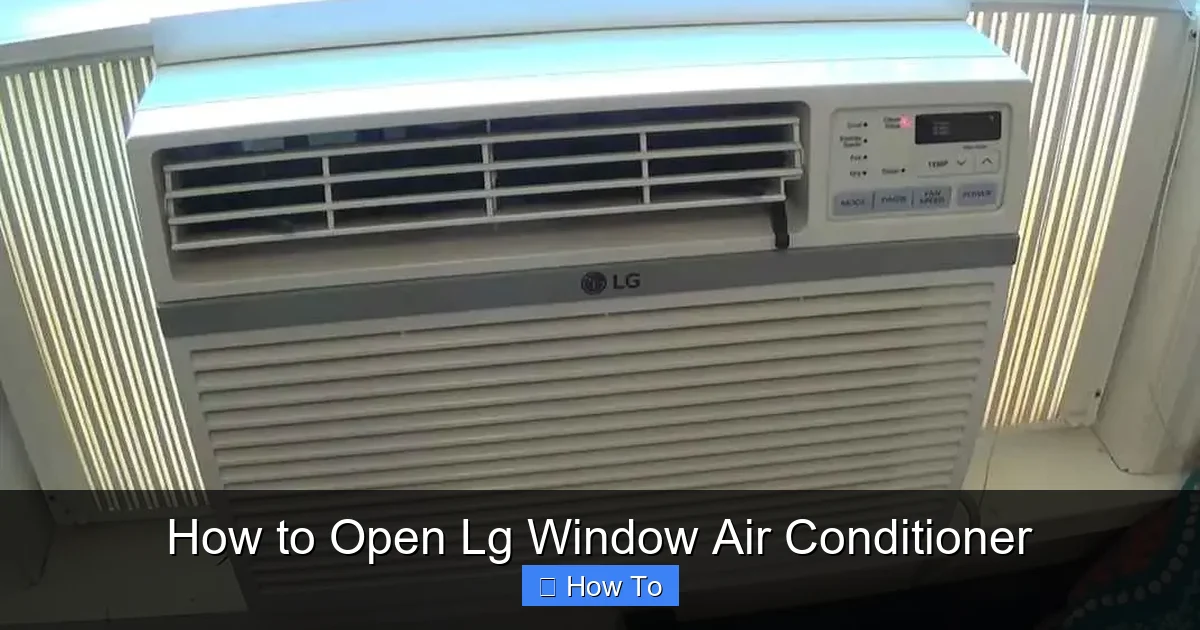
Visual guide about How to Open Lg Window Air Conditioner
Image source: mobileimages.lowes.com
Before diving into the steps, it’s important to understand why you’d want to open your AC unit in the first place. Regular maintenance not only extends the life of your appliance but also ensures it runs efficiently, saving you money on energy bills.
Here are the most common reasons people open their LG window air conditioners:
- Cleaning the air filter: Clogged filters reduce airflow and force the unit to work harder. Cleaning or replacing them every 1–2 months is recommended.
- Cleaning the evaporator and condenser coils: Dust buildup on coils reduces heat exchange efficiency. Annual cleaning can improve performance by up to 15%.
- Inspecting the fan blades: Bent or dirty fan blades can cause noise and reduce cooling power.
- Replacing worn parts: Over time, capacitors, motors, or thermostats may fail and need replacement.
- Troubleshooting issues: If your AC isn’t cooling, making strange noises, or leaking water, opening it can help identify the problem.
- Preparing for storage: If you remove your window AC during winter, opening it allows you to clean and dry internal components before storing.
Now that you know why it’s important, let’s move on to the step-by-step process.
Tools and Materials You’ll Need
Before you begin, gather the right tools. Having everything ready will make the process smoother and safer.
Here’s a checklist of what you’ll typically need:
- Phillips-head screwdriver (size #2 is most common)
- Flathead screwdriver (for prying panels if needed)
- Socket wrench or adjustable wrench (for某些 models with bolt-secured panels)
- Work gloves (to protect your hands from sharp edges)
- Safety goggles (to protect eyes from dust and debris)
- Soft brush or vacuum with brush attachment
- Microfiber cloth
- Compressed air (optional, for blowing out dust)
- Replacement parts (if you’re repairing or upgrading)
- Owner’s manual (highly recommended—download from LG’s website if you don’t have it)
Tip: If you’re unsure about your model number, check the label inside the front grille or on the side of the unit. Most LG window ACs have model numbers like LW8016ER, LW1216ER, or LW1517IVSM.
Safety Precautions Before Opening Your LG Window AC
Safety should always come first when working with electrical appliances. Air conditioners contain live components, refrigerants, and sharp metal edges—so take these precautions seriously.
1. Turn Off and Unplug the Unit
Never attempt to open your air conditioner while it’s plugged in. Even if it’s turned off at the remote or control panel, there may still be residual power in the capacitors.
- Turn off the AC using the remote or control panel.
- Unplug the power cord from the wall outlet.
- Wait at least 10–15 minutes before starting. This allows capacitors to discharge.
2. Wear Protective Gear
Air conditioners collect dust, mold, and sharp metal fragments. Protect yourself:
- Wear work gloves to avoid cuts from metal edges.
- Put on safety goggles to shield your eyes from dust and debris.
- Consider wearing a dust mask, especially if you’re sensitive to allergens.
3. Work in a Clean, Well-Lit Area
If possible, remove the unit from the window and place it on a stable work surface like a table or bench. This gives you better access and reduces the risk of dropping parts.
If you can’t remove it, make sure the area around the window is clear and well-lit. Use a flashlight if needed.
4. Avoid Contact with Refrigerant Lines
LG window ACs use sealed refrigerant systems. Tampering with refrigerant lines is dangerous and illegal without proper certification. If you see copper lines, leave them alone. Only qualified technicians should handle refrigerant.
Step-by-Step Guide: How to Open LG Window Air Conditioner
Now that you’re prepared, let’s go through the process of opening your LG window air conditioner. We’ll cover the most common models, but always refer to your owner’s manual for model-specific instructions.
Step 1: Remove the Front Panel
The front panel is the easiest part to access and usually houses the air filter.
- Locate the front grille or panel. It’s typically held in place by clips or screws.
- If your model uses screws (common in older LG units), use a Phillips screwdriver to remove them. Keep screws in a small container so you don’t lose them.
- If it’s clip-based (common in newer models like the LW1517IVSM), gently pull the bottom of the panel outward. The top usually lifts out first.
- Set the panel aside carefully. Avoid bending or scratching it.
Tip: Some models have a filter access door instead of a full panel. In that case, simply open the door to remove the filter.
Step 2: Remove the Air Filter
Once the front panel is off, you’ll see the air filter.
- Gently pull the filter straight out. It should slide out easily.
- Inspect it for dust, dirt, or mold. If it’s reusable (most LG filters are), rinse it under warm water. Let it air dry completely before reinserting.
- If it’s damaged or too dirty to clean, replace it with a compatible LG filter (check your model number).
Note: Cleaning the filter regularly can improve airflow by up to 30% and reduce energy consumption.
Step 3: Access the Interior Components
Now that the filter is out, you can see the evaporator coil and fan. To access deeper components, you’ll need to remove additional panels.
Step 4: Remove the Top and Side Panels (If Needed)
Depending on your model, you may need to remove the top or side covers to access the compressor, capacitor, or control board.
- Look for screws along the top edge of the unit. Use your Phillips screwdriver to remove them.
- Some models have side panels secured with screws or clips. Remove them carefully.
- Gently lift the top panel upward. It may be attached with wires or hoses—don’t force it.
Warning: If you see wires connected to the panel, do not disconnect them unless you’re experienced. Take a photo before removing anything so you can reconnect it correctly later.
Step 5: Remove the Rear Panel (For Full Access)
For deep cleaning or repairs, you may need to remove the rear panel to access the condenser coil and compressor.
- Unscrew the rear panel using a socket wrench or screwdriver.
- Be cautious—this panel is often heavier and may have sharp edges.
- Set it aside on a soft surface to avoid scratching.
Note: Not all models require rear panel removal for basic maintenance. Only do this if you’re cleaning coils or inspecting the compressor.
Step 6: Inspect and Clean Internal Components
With the unit open, you can now clean and inspect key parts.
Clean the Evaporator Coil
The evaporator coil is located behind the front panel. It’s usually covered in dust.
- Use a soft brush or vacuum with a brush attachment to remove loose dust.
- For stubborn grime, use a coil cleaner spray (available at hardware stores). Spray lightly and let it foam—don’t oversaturate.
- Wipe gently with a microfiber cloth.
Clean the Condenser Coil
The condenser coil is at the back of the unit. It’s exposed to outdoor air and gets dirty quickly.
- Use compressed air to blow out debris from between the fins.
- If accessible, use a coil cleaner spray and a soft brush.
- Be gentle—the fins are thin and can bend easily.
Check the Fan Blades
Spin the fan blades by hand to check for obstructions or damage.
- Look for bent blades, cracks, or excessive wobbling.
- Clean blades with a damp cloth.
- If the fan is damaged, consider replacing it.
Inspect Electrical Components
Look for signs of wear, burns, or corrosion on the capacitor, wiring, and control board.
- If you see burnt marks or melted wires, stop and consult a technician.
- Do not touch live components unless you’re trained.
Reassembling Your LG Window Air Conditioner
Once you’ve cleaned or repaired the unit, it’s time to put it back together.
Step 1: Replace the Rear Panel
- Align the rear panel with the unit.
- Secure it with screws. Tighten evenly to avoid warping.
Step 2: Reattach the Top and Side Panels
- Lower the top panel into place.
- Reconnect any wires if you disconnected them (refer to your photo).
- Screw the panel back in place.
- Reattach side panels if removed.
Step 3: Reinstall the Air Filter and Front Panel
- Insert the clean or new air filter into the slot.
- Snap or screw the front panel back into place.
- Ensure it’s secure and doesn’t rattle.
Step 4: Plug In and Test
- Plug the unit back into the wall outlet.
- Turn it on using the remote or control panel.
- Listen for unusual noises and check for proper cooling.
If everything works, you’re done! If not, see the troubleshooting section below.
Troubleshooting Common Issues When Opening LG Window AC
Even with careful steps, you might run into problems. Here’s how to handle common issues.
Problem: Panels Won’t Come Off
- Double-check for hidden screws or clips.
- Some models have screws behind the front grille or under rubber feet.
- Never force a panel—this can crack plastic or damage clips.
Problem: Wires Are in the Way
- Take a photo before disconnecting anything.
- Label wires with tape if needed.
- If unsure, leave wires connected and work around them.
Problem: Unit Doesn’t Work After Reassembly
- Check that all panels are securely closed.
- Ensure the air filter is properly inserted.
- Verify the power cord is plugged in and the outlet is working.
- If it still doesn’t work, a component may be damaged—consult a technician.
Problem: Strange Noises After Reassembly
- Check that fan blades aren’t hitting the housing.
- Ensure all screws are tight.
- Make sure no tools or debris are left inside.
Maintenance Tips to Keep Your LG Window AC Running Smoothly
Now that you know how to open your LG window air conditioner, use this knowledge to maintain it regularly.
- Clean the filter monthly: This is the easiest and most effective maintenance task.
- Clean coils annually: Do this before the cooling season starts.
- Check for leaks: Water pooling inside the unit could indicate a clogged drain or refrigerant issue.
- Inspect the window seal: Gaps can let warm air in and reduce efficiency.
- Schedule professional service every 2–3 years: A technician can check refrigerant levels and electrical components.
When to Call a Professional
While many tasks are DIY-friendly, some require expert help.
Call a licensed HVAC technician if:
- You suspect a refrigerant leak (hissing sounds, oily residue).
- The compressor isn’t starting.
- You find burnt or melted electrical components.
- The unit trips the circuit breaker repeatedly.
- You’re uncomfortable handling electrical parts.
Safety and proper repair are more important than saving a few dollars.
Conclusion
Knowing how to open LG window air conditioner units gives you greater control over your home’s comfort and energy use. With the right tools, safety precautions, and step-by-step guidance, you can clean, inspect, and maintain your AC like a pro.
Regular maintenance not only improves performance but also extends the life of your unit. Whether you’re tackling a simple filter change or a deeper coil cleaning, this guide has equipped you with the knowledge to do it safely and effectively in 2026 and beyond.
Remember: when in doubt, consult your owner’s manual or contact LG customer support. And if a repair feels beyond your skill level, don’t hesitate to call a professional.
Stay cool, stay safe, and enjoy the refreshing air from your well-maintained LG window air conditioner!