
This guide walks you through how to open an LG air conditioner remote control safely and correctly. Whether you’re replacing batteries, fixing buttons, or cleaning internals, you’ll find clear, easy-to-follow steps designed for 2026 models.
Key Takeaways
- Always power off and remove batteries first: This prevents short circuits and protects internal components during disassembly.
- Use the right tools: A small Phillips screwdriver and plastic prying tool are essential to avoid damaging the remote’s casing.
- Identify your remote model: LG remotes vary by AC unit series (e.g., Dual Inverter, Window, Smart ThinQ), so check the back label before starting.
- Handle the circuit board gently: Avoid touching exposed circuits with bare fingers to prevent static damage.
- Reassemble in reverse order: Take photos during disassembly to ensure correct reassembly and functionality.
- Test after reassembly: Always test all buttons and functions before considering the job complete.
- Seek professional help if unsure: If the remote uses sealed or glued components, consider contacting LG support instead of forcing it open.
Introduction: Why You Might Need to Open Your LG Air Conditioner Remote
In 2026, LG air conditioners continue to lead the market with smart features, energy efficiency, and sleek designs. But even the most advanced systems rely on a simple piece of hardware: the remote control. Over time, these remotes can develop issues—sticky buttons, unresponsive screens, or dead batteries that won’t hold a charge. When that happens, knowing how to open an LG air conditioner remote control safely can save you time, money, and frustration.
You might need to open your remote to replace worn-out batteries, clean dust buildup, fix a malfunctioning button, or even replace a damaged circuit board. Unlike older models, many 2026 LG remotes are designed with modular components and user-friendly access panels, making DIY repairs more feasible than ever. However, improper handling can lead to permanent damage, so it’s crucial to follow the right steps.
This guide is designed for homeowners, renters, and tech-savvy users who want to troubleshoot their LG remote without calling a technician. We’ll walk you through every step—from identifying your model to reassembling the device—with clear instructions, safety tips, and troubleshooting advice. By the end, you’ll have the confidence to maintain your remote and keep your AC running smoothly all year long.
Step 1: Identify Your LG Remote Model
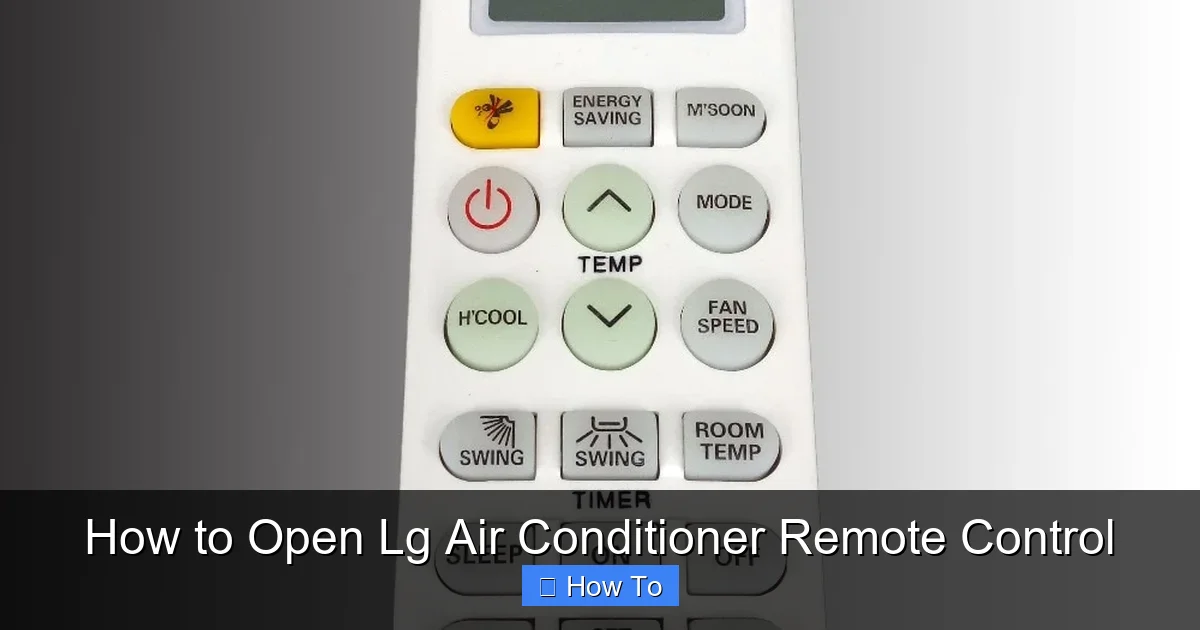
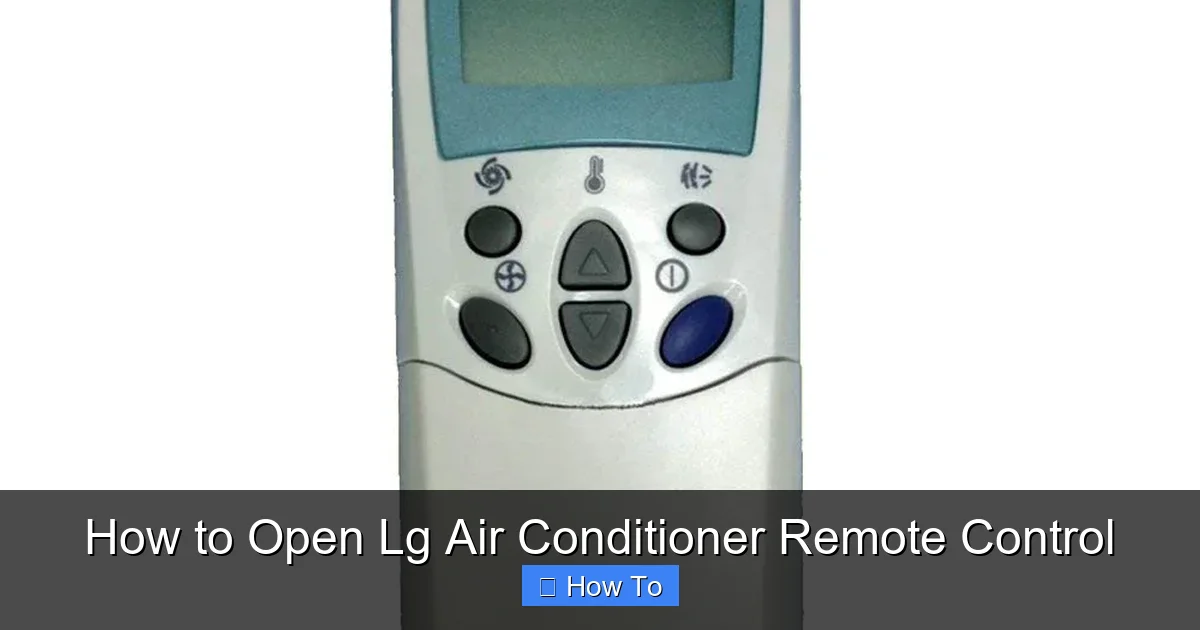
Visual guide about How to Open Lg Air Conditioner Remote Control
Image source: cf.shopee.ph
Before you begin, it’s essential to know which LG remote you’re working with. LG produces several remote models for different air conditioner lines, including the Dual Inverter, Window Units, Smart ThinQ-enabled systems, and portable ACs. Each may have slight design differences that affect how they open.
Check the Back Label
Turn your remote over and look at the back panel. Most LG remotes have a sticker or engraved label that includes:
– Model number (e.g., AKB75675601, RMLT002)
– Power requirements (usually 2x AAA or AA batteries)
– FCC ID and manufacturing date
For example, the 2026 LG Dual Inverter Smart Window AC often uses the AKB75675601 remote, while newer ThinQ models may use the RMLT002 with Bluetooth connectivity. Knowing your model helps you find compatible replacement parts and ensures you follow the correct disassembly method.
Consult the User Manual
If you still have the original manual, check the “Remote Control” section. It may include diagrams or notes about battery replacement or internal access. If you’ve lost the manual, visit LG’s official support website and search for your AC model. Most 2026 manuals are available as downloadable PDFs and include remote-specific instructions.
Use the LG ThinQ App (For Smart Models)
If your AC is connected to the LG ThinQ app, you can often identify your remote model through the app’s device settings. Open the app, select your AC unit, and navigate to “Accessories” or “Remote Info.” This is especially helpful for smart remotes with firmware updates or diagnostic features.
Step 2: Gather the Right Tools
Using the correct tools prevents damage to your remote and makes the process smoother. Here’s what you’ll need:
Essential Tools
- Small Phillips-head screwdriver (size #0 or #1): Most LG remotes use tiny screws that require precision.
- Plastic prying tool or spudger: A thin, flat plastic tool helps separate the casing without scratching or cracking it.
- Tweezers (optional): Useful for handling small screws or ribbon cables.
- Soft cloth or microfiber towel: Place this under the remote to protect it from scratches during disassembly.
Optional but Helpful
- Magnifying glass: Helps you see tiny screws and connectors.
- Digital camera or smartphone: Take photos at each step to guide reassembly.
- Isopropyl alcohol and cotton swabs: For cleaning contacts or sticky buttons.
Avoid using metal prying tools like butter knives or flathead screwdrivers, as they can scratch or crack the plastic casing. Similarly, don’t use excessive force—LG remotes are designed to open with gentle pressure.
Step 3: Power Down and Remove Batteries
Safety comes first. Before opening your remote, you must disconnect its power source to avoid electrical shorts or damage to the circuit board.
Turn Off the Remote
Press and hold the power button for 3–5 seconds to ensure the remote is fully off. Some 2026 LG models have a sleep mode or low-power state that may still draw minimal current.
Remove the Battery Cover
Locate the battery compartment on the back of the remote. Most LG remotes have a sliding cover that releases when you push it in the direction of the arrow. Slide it gently until it pops off.
Take Out the Batteries
Carefully remove the batteries (usually 2x AAA or AA). Note their orientation—take a quick photo or draw a diagram showing which way the positive (+) and negative (–) ends face. This ensures correct reinstallation later.
Inspect for Corrosion
Check the battery contacts for white or green residue, which indicates corrosion. If present, clean the contacts with a cotton swab dipped in isopropyl alcohol. Let them dry completely before proceeding.
Step 4: Locate and Remove Screws
Most LG remotes are held together with small screws hidden under the battery cover or beneath rubber feet.
Check Under the Battery Cover
After removing the battery cover, look for one or two tiny screws. These are often Phillips-head and may be labeled with a small “+” symbol. Use your screwdriver to carefully unscrew them. Place the screws on a soft cloth or in a small container so they don’t get lost.
Look for Hidden Screws Under Rubber Feet
Some 2026 LG remotes have rubber feet or pads on the back that conceal screws. Gently peel back the rubber foot using tweezers or your fingernail. You’ll likely find a screw underneath. Remove it and set it aside with the others.
Note the Screw Sizes
LG often uses screws of different lengths in the same remote. Take a photo or label them (e.g., “top left,” “bottom right”) to ensure correct reassembly. Mixing up screw lengths can damage the casing or strip the threads.
Step 5: Separate the Remote Casing
With the screws removed, it’s time to open the remote. This step requires patience and gentle pressure.
Use a Plastic Prying Tool
Insert the tip of your plastic prying tool into the seam where the front and back casings meet. Start at the bottom edge near the battery compartment, as this area is usually less tightly sealed. Gently twist the tool to create a small gap.
Work Around the Edges
Slowly move the prying tool around the perimeter of the remote, applying even pressure. Avoid prying near buttons or the LCD screen, as these areas are more fragile. If you encounter resistance, stop and check for additional screws you may have missed.
Lift the Front Panel
Once the clips are released, carefully lift the front panel (the side with the buttons) away from the back. Be cautious—some models have a ribbon cable connecting the button membrane to the circuit board. If you feel tension, stop and look for a connector that needs to be unplugged.
Step 6: Disconnect Internal Components (If Necessary)
Some LG remotes have internal connections that must be disconnected before fully separating the halves.
Locate the Ribbon Cable
Look for a thin, flat cable (usually black or gray) that runs from the button panel to the main circuit board. This is the ribbon cable that transmits button presses.
Release the Connector
Gently lift the small plastic latch on the connector using your fingernail or tweezers. Once the latch is up, the ribbon cable should slide out easily. Do not pull on the cable itself—only on the connector.
Handle the Circuit Board with Care
The circuit board is sensitive to static electricity. Avoid touching the gold contacts or chips with your fingers. If you must handle it, ground yourself by touching a metal object or wear an anti-static wrist strap.
Step 7: Perform Your Repair or Maintenance
Now that the remote is open, you can address the issue that prompted you to open it.
Replace Batteries
If you’re simply replacing old batteries, insert the new ones in the correct orientation. Use high-quality alkaline or lithium batteries for longer life. Avoid rechargeable NiMH batteries unless specified, as they may not provide consistent voltage.
Clean Sticky or Unresponsive Buttons
Over time, dirt, oil, or spilled liquids can cause buttons to stick. Use a cotton swab dipped in isopropyl alcohol to clean the rubber button contacts and the corresponding pads on the circuit board. Let everything dry completely before reassembling.
Inspect for Physical Damage
Check the circuit board for cracks, burnt components, or loose solder joints. If you see damage, it may be time to replace the remote. LG offers replacement remotes through their website or authorized dealers.
Replace the Button Membrane (Advanced)
If a specific button isn’t working, the rubber membrane beneath it may be worn. You can order a replacement membrane online (search your remote model + “button membrane”). Carefully peel off the old one and align the new one with the circuit board.
Step 8: Reassemble the Remote
Reassembly is the reverse of disassembly, but attention to detail is crucial.
Reconnect the Ribbon Cable
Slide the ribbon cable back into the connector and press the latch down until it clicks. Ensure the cable is fully seated and not bent or twisted.
Align the Front and Back Casings
Carefully place the front panel over the back, making sure all buttons and the LCD screen align properly. Press gently around the edges to snap the clips back into place.
Reinsert the Screws
Replace all screws in their original positions. Tighten them just enough to secure the casing—over-tightening can crack the plastic.
Reattach the Battery Cover
Slide the battery cover back into place until it clicks. Insert the batteries in the correct orientation.
Step 9: Test the Remote
Before declaring success, test all functions to ensure everything works.
Power On the Remote
Press the power button. The LCD screen should light up, and you should hear a beep (if your model has audio feedback).
Test Every Button
Press each button—temperature up/down, mode, fan speed, timer, and any smart features like Wi-Fi or voice control. Make sure they respond quickly and accurately.
Check Signal Transmission
Point the remote at your AC unit and press the power button. The unit should turn on or off. If it doesn’t, the infrared (IR) LED may be misaligned or damaged.
Troubleshooting Common Issues
Even with careful handling, problems can arise. Here’s how to fix them:
Remote Won’t Turn On After Reassembly
– Double-check battery orientation.
– Ensure the battery contacts are clean and making proper contact.
– Verify the ribbon cable is fully connected.
Buttons Are Unresponsive
– Recheck the button membrane alignment.
– Clean the circuit board contacts again.
– Ensure no debris is trapped under the buttons.
LCD Screen Is Blank or Flickering
– The ribbon cable may be loose or damaged.
– The screen itself could be faulty—consider a replacement remote.
Remote Works Intermittently
– Weak batteries are a common cause. Replace them.
– The IR LED may be partially blocked—clean the front lens with a soft cloth.
Safety Tips and Best Practices
– Always work in a well-lit, static-free environment.
– Keep small parts organized to avoid losing them.
– Never force components apart—if something won’t budge, recheck for hidden screws.
– If your remote is under warranty, opening it may void the warranty. Check LG’s policy first.
When to Call a Professional
While most LG remotes can be opened safely at home, some situations require expert help:
– The remote is sealed with adhesive (common in ultra-slim models).
– You suspect water damage or internal corrosion.
– The circuit board shows visible damage.
– You’re uncomfortable handling electronics.
In these cases, contact LG customer support or visit an authorized service center.
Conclusion
Knowing how to open an LG air conditioner remote control empowers you to maintain your AC system and resolve common issues without professional help. With the right tools, careful steps, and attention to detail, you can safely replace batteries, clean components, or troubleshoot problems in 2026 and beyond.
Remember to always power down the remote, use gentle techniques, and test thoroughly after reassembly. By following this guide, you’ll extend the life of your remote and keep your home comfortable all year long.