
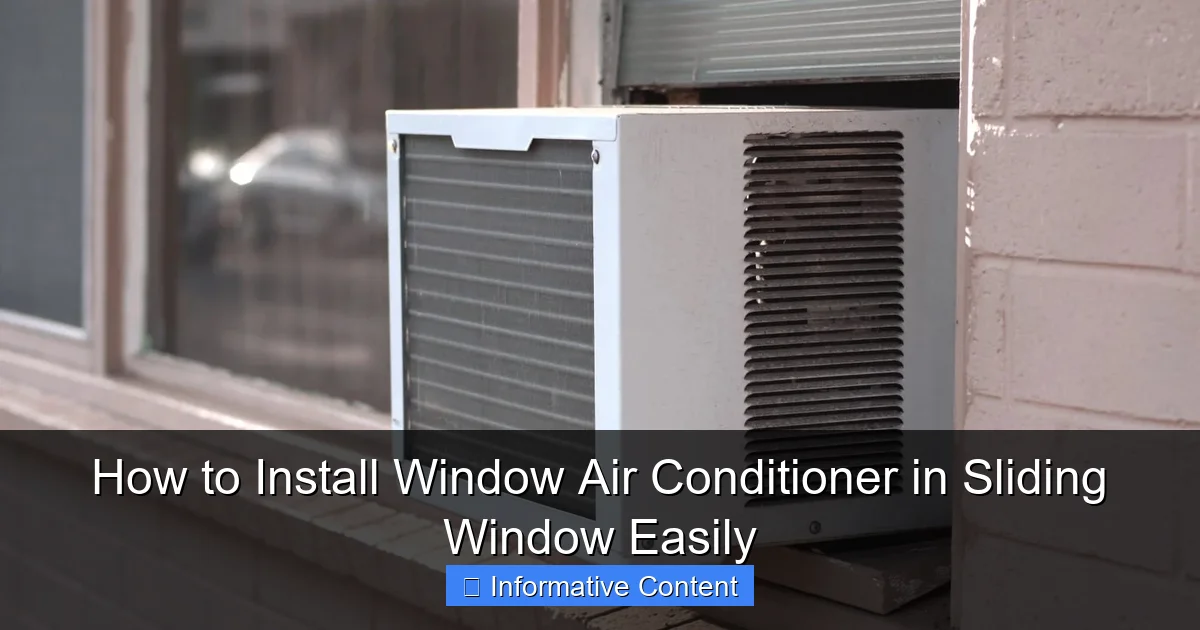
Featured image for how to install window air conditioner in sliding window
Image source: bobsrepair.com
Installing a window air conditioner in a sliding window is simple with the right tools and a secure mounting approach. Use a sturdy support bracket and sliding window seal kit to ensure a snug, weatherproof fit that prevents leaks and keeps the unit stable. Always follow manufacturer instructions and prioritize safety by checking window frame strength and avoiding electrical hazards.
Key Takeaways
- Measure carefully: Ensure the AC unit fits your sliding window’s dimensions before purchasing.
- Secure the frame: Use brackets or locks to stabilize the window and prevent movement.
- Seal gaps tightly: Apply foam or weather stripping to block air leaks and improve efficiency.
- Angle for drainage: Slightly tilt the unit outward to allow proper condensation runoff.
- Check local codes: Verify if permits or safety regulations apply to your installation area.
- Test before use: Run the AC briefly to confirm secure fit and correct operation.
📑 Table of Contents
- Why Installing a Window AC in a Sliding Window is Trickier (But Totally Doable)
- Understanding Your Sliding Window and AC Compatibility
- Essential Tools and Materials for the Job
- Step-by-Step Installation Process
- Creative Solutions for Challenging Sliding Windows
- Maintenance and Long-Term Care
- Data Table: AC Installation Checklist by Window Type
- Final Thoughts: You’ve Got This!
Why Installing a Window AC in a Sliding Window is Trickier (But Totally Doable)
Let’s be honest: when summer hits, nothing feels better than stepping into a cool, air-conditioned room. But if you live in an apartment or older home, you might not have central AC. That’s where a window air conditioner becomes your best friend. Most people think these units only fit in double-hung windows—those classic up-and-down sash types. But what if you have a sliding window? You know, the kind that opens side to side? Don’t worry, you’re not out of luck. In fact, installing a window air conditioner in a sliding window is absolutely possible, and once you know the right tricks, it’s easier than you think.
I remember my first attempt. I bought a brand-new 8,000 BTU unit, all excited, only to realize my window slides horizontally. I spent an entire weekend Googling, frustrated, and nearly gave up. But after a few trial runs, some creative thinking, and a few YouTube videos, I cracked it. Now, I’ve installed AC units in sliding windows in three different apartments. The key? It’s not about forcing the unit into the wrong space—it’s about adapting the space to fit the unit. With the right tools, a little patience, and a solid plan, you can do it too. And the best part? You don’t need to be a handyman. Whether you’re a renter, a DIY newbie, or just someone trying to survive a heatwave, this guide will walk you through every step, with real-life tips and no-nonsense advice.
Understanding Your Sliding Window and AC Compatibility
Before you even unbox your air conditioner, take a moment to understand your sliding window. Not all sliding windows are created equal, and the success of your installation starts here. The first thing to check is the window type and dimensions. Measure the width and height of your window opening—not the glass, but the actual opening where the sash moves. Most sliding windows range from 36 to 72 inches wide and 20 to 30 inches high. Your AC unit needs to fit securely within these limits, with room for support and sealing.
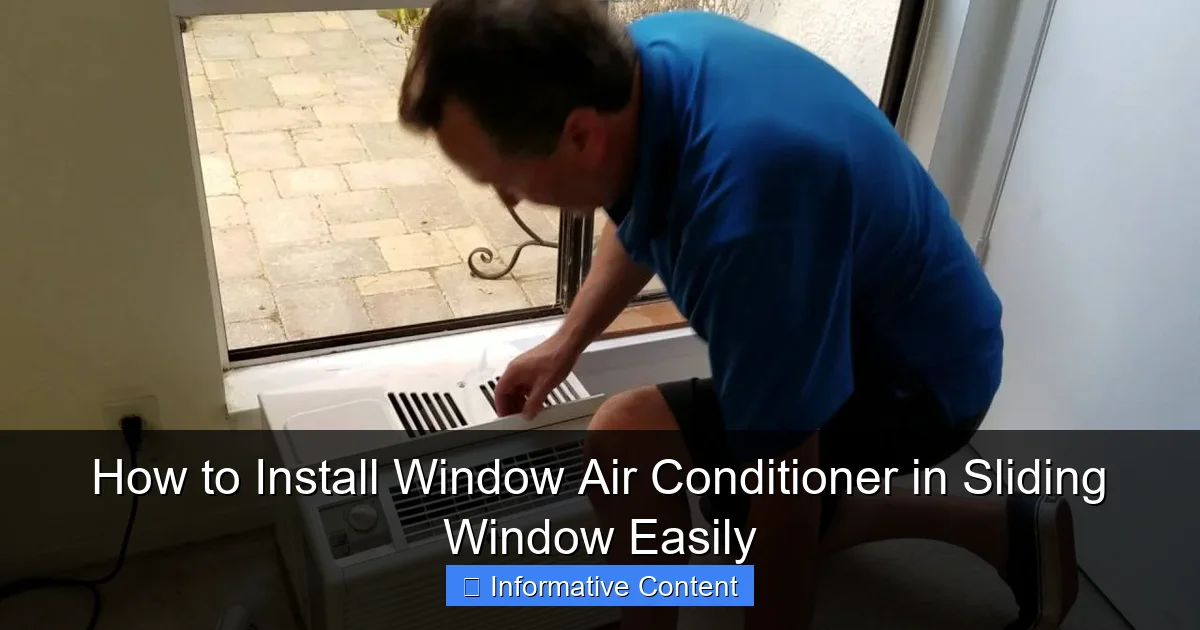
Visual guide about how to install window air conditioner in sliding window
Image source: i.ytimg.com
Types of Sliding Windows
There are two main types of sliding windows: horizontal sliding (left/right) and vertical sliding (up/down in a track). The horizontal kind is far more common, especially in apartments and newer homes. The vertical sliding ones are less frequent but still exist, usually in older buildings. For this guide, we’ll focus on horizontal sliders—the most typical scenario.
Here’s a quick way to tell: open your window halfway. If the moving panel slides left or right along a track, it’s horizontal. If it lifts up and slides down in a track, it’s vertical. Most AC units are designed for horizontal airflow (they vent out the sides and back), so horizontal sliders work best. Vertical sliders are trickier and may require special mounting kits or even professional help.
AC Unit Size and BTU Requirements
Next, check your AC unit. Look for the minimum and maximum window width listed in the manual or on the box. Most window ACs are designed for 22 to 36-inch openings. If your sliding window is wider than 36 inches, you’ll need to build a support frame (more on that later). Also, consider the BTU rating. A general rule: 20 BTUs per square foot of room. For example, a 150 sq ft bedroom needs about 3,000 BTUs. An 8,000 BTU unit works well for 300–400 sq ft. Over-sizing leads to short cycling (the unit turns on/off too fast), while under-sizing means it can’t keep up. I once bought a 5,000 BTU unit for a 400 sq ft room—it ran nonstop and never cooled properly. Learn from my mistake: size matters.
Check for Obstructions
Look around the window. Are there window locks, handles, or screens that might interfere? You’ll need to remove the screen (usually snaps out) and may need to temporarily disable locks or handles. Also, check if the window track is level. A slightly tilted track can make sealing difficult. Use a level tool to confirm. If it’s off by more than 1/4 inch, you may need to adjust your mounting strategy.
Essential Tools and Materials for the Job
You don’t need a full toolbox, but having the right gear makes all the difference. Here’s what I keep in my “AC installation kit” after years of trial and error.
Basic Tools You’ll Need
- Measuring tape – For accurate window and AC dimensions.
- Level – Ensures the unit sits flat (prevents leaks and vibration).
- Screwdriver (Phillips and flathead) – For securing brackets and panels.
- Drill with bits (optional but helpful) – For pre-drilling holes in wood frames.
- Utility knife – To cut insulation foam or weather stripping.
- Straightedge or ruler – Helps align panels and supports.
Materials for a Secure Fit
- Adjustable support brackets – These are game-changers. They attach to the window frame and support the AC from below. I use the AC-Safe Universal Support Bracket—it fits most units and handles up to 160 lbs. No drilling into the window sill!
- Foam insulation panels – Cut to size to fill gaps around the AC. I prefer closed-cell foam (like Great Stuff Window & Door), which expands slightly and seals airtight. Avoid cheap foam that crumbles.
- Aluminum or plexiglass side panels – Most ACs come with side panels, but sliding windows often need custom cuts. I’ve used 1/8-inch plexiglass from Home Depot—it’s easy to cut with a jigsaw and looks clean.
- Weather stripping or V-strip – For sealing gaps between the window frame and the AC unit. Adhesive-backed foam strips work well for small gaps.
- Screws, washers, and anchors (if needed) – Use stainless steel screws for durability. For vinyl or metal frames, use self-tapping screws. For wood, pre-drill to avoid splitting.
Optional (But Helpful) Add-Ons
- AC window seal kit – Some brands sell all-in-one kits with foam, brackets, and panels. The Frigidaire Window AC Installation Kit is decent for basic setups.
- Drain pan or drip tray – If your window sill is sloped or you’re worried about condensation, a small tray catches runoff.
- Extension cord (if needed) – Only if your outlet isn’t within 3–4 feet. Use a heavy-duty, 14-gauge cord rated for AC use. Never use a regular household extension cord—it’s a fire hazard.
Pro tip: Buy materials a day ahead. Nothing’s worse than starting the job and realizing you’re missing a screw or a bracket. I once spent two hours driving around town for a $3 foam strip—lesson learned.
Step-by-Step Installation Process
Now for the fun part: the actual installation. I’ll walk you through each step, with tips from my own experiences. Remember: safety first. If your window is high up, have someone help you. AC units are heavy—most 8,000 BTU models weigh 50–70 lbs. Lifting them alone risks injury.
Step 1: Prepare the Window Area
Clear everything from the window sill—plants, knick-knacks, anything fragile. Remove the screen by gently pressing the tabs or screws holding it in. Then, open the window about halfway. This gives you space to work and ensures the moving panel won’t interfere.
Step 2: Install the Support Bracket
This is critical. Without support, your AC will tilt, leak, or even fall. Place the support bracket under the window opening. Adjust it so the top of the bracket sits just below the sill (about 1–2 inches). Most brackets have a lip that hooks over the sill’s edge. If your sill is sloped, use shims (small wood or plastic wedges) to level it. Tighten the bracket’s screws into the wall or frame—not the window sash. I once made that mistake and cracked the sash. Oops.
Step 3: Position the Air Conditioner
With help, lift the AC unit and place it on the support bracket. Slide it back until it’s flush against the window frame. The unit should extend about 6–8 inches outside—this is normal. Use your level to check if it’s flat. If not, adjust the bracket or add shims. Never install the AC at an angle—it can cause water leaks and compressor damage.
Step 4: Secure the Side Panels
Most ACs come with adjustable side panels. Extend them to fill the gap between the unit and the window frame. If the gap is too wide (common in sliding windows), cut plexiglass or foam to fit. For plexiglass, measure the gap, add 1/4 inch for overlap, and cut with a jigsaw. Sand the edges smooth. Attach the panels with screws or the clips provided. Seal the edges with foam or weather stripping to prevent air leaks.
Step 5: Close and Seal the Window
Slide the window closed against the AC unit. The frame should press against the side panels. If there’s a gap, add more foam or use a V-strip seal. Then, use the window’s locking mechanism to secure it in place. Some people add a secondary lock (like a wooden dowel or sliding bar) for extra security—especially if you live in a high-crime area.
Step 6: Final Sealing and Testing
Go around the edges with foam or weather stripping. Pay attention to the top and sides—these are common leak spots. Plug in the AC and turn it on. Check for vibrations, odd noises, or air leaks. If it’s noisy, double-check the level and support. If it’s leaking air, add more foam. Let it run for 15 minutes and feel the airflow. It should be steady and strong.
Real-life tip: I once installed an AC in a windy coastal apartment. The unit vibrated like crazy. The fix? I added rubber pads under the support bracket to absorb movement. Problem solved.
Creative Solutions for Challenging Sliding Windows
Not every sliding window is textbook perfect. Here are real-world fixes I’ve used for tricky situations.
Extra-Wide Windows (Over 48 Inches)
Most ACs won’t span this width. The solution? Build a custom support frame using 2×4 lumber. Cut two vertical 2x4s to match the window height. Place them inside the frame, one on each side of the AC. Secure them to the wall with screws. Then, add horizontal 2x4s across the top to hold the AC. Cover the frame with foam or plexiglass for a clean look.
Slanted or Uneven Sills
Older windows often have sills that slope outward. This can make sealing tough. Use adjustable support brackets with longer arms or add wooden shims under the bracket to level it. For the seal, use expanding foam (like Great Stuff) and shape it with a putty knife once it dries.
Windows with Obstructed Tracks
If the track has a lip or handle that blocks the AC, consider a partial install. Open the window only 60–70%, leaving space for the AC. Use a custom-cut panel to fill the remaining gap. It won’t open fully, but it’ll still cool the room.
Noise Reduction Tips
AC units in sliding windows can be noisier due to vibrations. Try these:
- Place rubber or neoprene pads under the support bracket.
- Use acoustic foam inside the side panels.
- Add a window seal with sound-dampening strips (like Frost King).
I used these in a studio apartment and cut the noise by half.
Maintenance and Long-Term Care
Installation is just the start. To keep your AC running smoothly, follow these maintenance tips.
Monthly Checks
- Clean the filter – Wash it with soapy water every 2–4 weeks. A dirty filter reduces efficiency and strains the motor.
- Inspect the seal – Look for gaps, cracked foam, or loose panels. Re-apply weather stripping as needed.
- Check for leaks – If water drips inside, the unit might be tilted or the drain hole clogged.
Seasonal Care
- Pre-season (spring) – Clean the coils with a coil cleaner (like Frost King AC Coil Cleaner). Remove dust and debris.
- End-of-season (fall) – Uninstall the AC or cover it with a custom AC cover (like AC-Safe). This prevents drafts, pests, and snow buildup.
Troubleshooting Common Issues
If your AC isn’t cooling well:
- Check if the thermostat is set correctly (usually 68–72°F for comfort).
- Ensure the exhaust vents aren’t blocked (don’t place furniture too close).
- Verify the power supply—sometimes a loose plug causes weak airflow.
I once had an AC that wouldn’t cool. Turns out, the filter was clogged with pet hair. A 10-minute wash fixed it.
Data Table: AC Installation Checklist by Window Type
| Window Type | Max AC Width | Support Needed? | Sealing Method | Special Notes |
|---|---|---|---|---|
| Horizontal Sliding | 36 inches | Yes (bracket or frame) | Foam + side panels | Most common; easy install |
| Vertical Sliding | 24 inches | Yes (frame only) | Custom plexiglass | Rare; may need pro help |
| Wide Sliding (48″+) | 48 inches | Yes (2×4 frame) | Foam + wood frame | Requires carpentry skills |
| Tilted Sill | 36 inches | Yes (shimmed bracket) | Expanding foam | Check level carefully |
Final Thoughts: You’ve Got This!
Installing a window air conditioner in a sliding window isn’t just possible—it’s a skill that gives you control over your comfort, especially in rental spaces where you can’t modify the HVAC system. The key is preparation: measure twice, buy the right support gear, and don’t rush the sealing process. I’ve seen people skip the support bracket and regret it when their AC started leaking or vibrating. A little extra time upfront saves headaches later.
Remember, every sliding window is different. What worked in my old apartment might not fit yours—and that’s okay. Use this guide as a foundation, but adapt it to your space. And if you hit a snag? Take a breath. Step away. Come back with fresh eyes. I’ve had to redo installs because I misaligned the bracket, but each time, I learned something new.
At the end of the day, the goal is a cool, quiet, efficient space. And with the right approach, you’ll get there. Whether you’re cooling a small bedroom or a studio apartment, your sliding window AC can be just as effective as one in a double-hung. So grab your tools, measure your window, and get ready to beat the heat—one smart install at a time.
Frequently Asked Questions
How do I install a window air conditioner in a sliding window safely?
To install a window air conditioner in a sliding window, first ensure the unit is centered and supported with a mounting bracket or support legs. Use foam side panels to seal gaps and prevent air leaks, ensuring a secure and energy-efficient fit.
What tools do I need to install a window air conditioner in a sliding window?
You’ll need a measuring tape, screwdriver, level, foam weatherstripping, and possibly a support bracket or L-shaped mounting hardware. These tools help ensure a snug, safe, and leak-free installation for your sliding window setup.
Can I install a window air conditioner in a sliding window without drilling holes?
Yes, many sliding window air conditioner installations use no-drill methods like tension rods, adjustable support legs, or clamp-on brackets. These options provide stability while preserving your window frame and simplifying future removal.
How do I seal gaps when installing a window air conditioner in a sliding window?
Use expandable foam side panels or adhesive weatherstripping to close gaps between the AC unit and the window frame. Proper sealing improves cooling efficiency and keeps out hot air, insects, and dust.
Is it possible to install a large window air conditioner in a sliding window?
Yes, but ensure the sliding window opening is wide enough to accommodate the unit and that the frame can support its weight. Use a heavy-duty support bracket and check the manufacturer’s weight and installation guidelines.
How do I ensure my window air conditioner is secure in a sliding window?
Anchor the unit with a support bracket or anti-tip brackets, and use sliding window locks or safety brackets to prevent the window from being opened accidentally. Always double-check stability after installation for safe operation.