
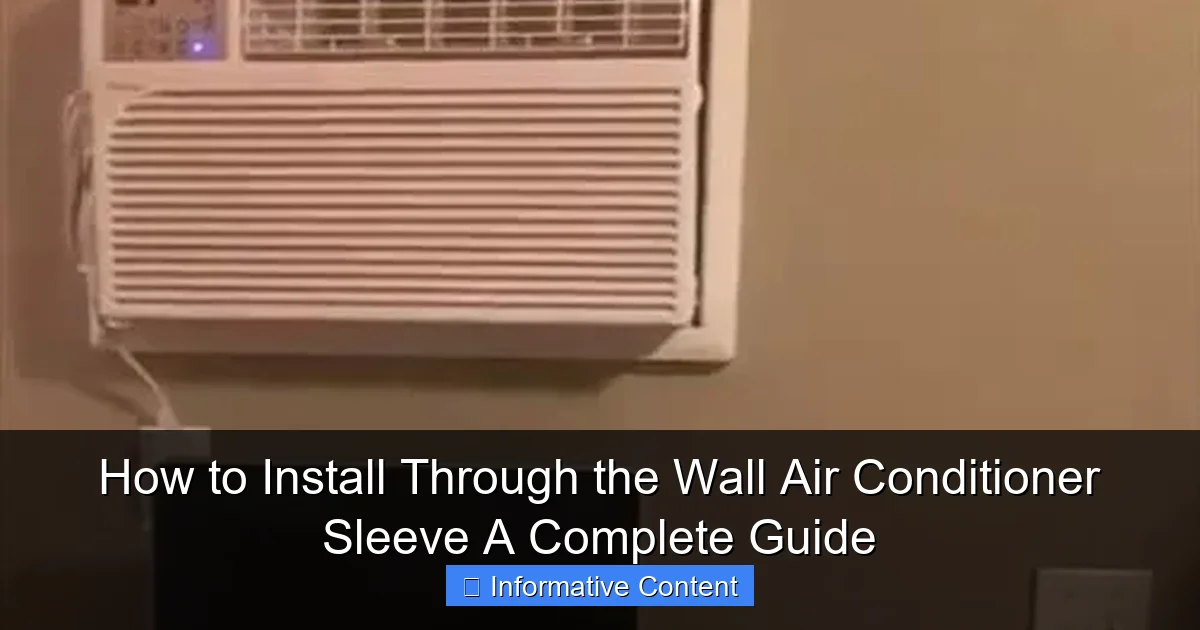
Featured image for how to install through the wall air conditioner sleeve
Image source: hvachowto.com
Installing a through-the-wall air conditioner sleeve requires precise wall preparation and secure framing to ensure optimal performance and weatherproofing. Begin by cutting the correct-sized opening and anchoring the sleeve with screws and sealant to prevent air leaks and water damage. Always follow manufacturer guidelines and local building codes for a safe, long-lasting installation.
Key Takeaways
- Measure twice: Ensure accurate wall and sleeve dimensions before cutting to avoid fit issues.
- Choose the right sleeve: Select a model compatible with your AC unit and wall thickness.
- Seal all gaps: Use weatherproof caulk and insulation to prevent air leaks and moisture.
- Secure the sleeve: Anchor firmly with screws and flashing to support AC weight and prevent movement.
- Check local codes: Verify building and electrical regulations before installation for safety compliance.
- Test after install: Run the AC to confirm proper operation and check for drafts or vibrations.
📑 Table of Contents
- Why a Through-the-Wall Air Conditioner Sleeve Is a Game-Changer
- Understanding the Through the Wall Air Conditioner Sleeve
- Preparing for Installation: Tools, Materials, and Safety
- Step-by-Step Installation Process
- Troubleshooting Common Installation Challenges
- Maintaining Your Through-the-Wall AC Sleeve
- Final Thoughts: Is It Worth the Effort?
Why a Through-the-Wall Air Conditioner Sleeve Is a Game-Changer
Let’s face it—summer heat can turn your home into a sauna. While portable ACs and window units are popular, they often come with drawbacks: noise, limited cooling power, or blocking your view. That’s where a through the wall air conditioner sleeve comes in. It’s a permanent, efficient, and sleek solution for cooling your space without sacrificing comfort or aesthetics.
Installing one might sound intimidating, especially if you’ve never tackled a project like this before. I remember my first time—standing in the hardware store, staring at a wall sleeve kit, wondering if I’d end up with a gaping hole in my living room wall. But after a weekend of trial (and a few minor errors), I realized it’s not rocket science. With the right tools, a bit of patience, and a clear guide, anyone can do it.
Understanding the Through the Wall Air Conditioner Sleeve
Before you start cutting into your wall, it’s essential to understand what a through the wall air conditioner sleeve actually is—and why it’s worth the effort.
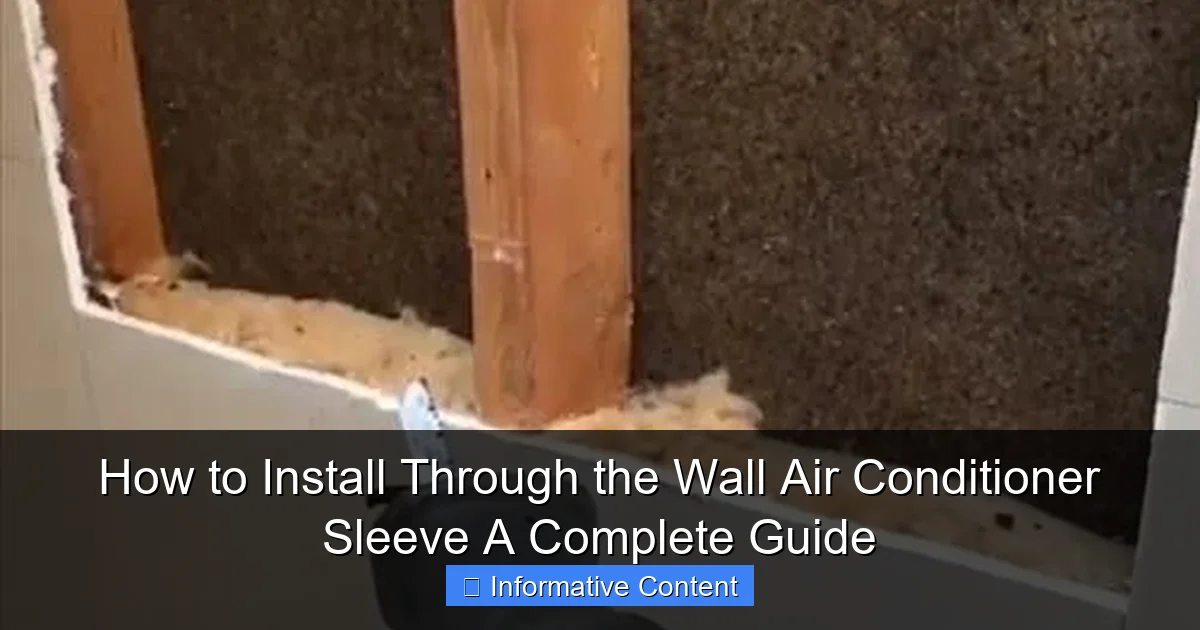
Visual guide about how to install through the wall air conditioner sleeve
Image source: hvachowto.com
What Is a Wall Sleeve?
A wall sleeve is a metal or plastic housing that’s installed directly into an exterior wall. Think of it as a permanent “socket” for your air conditioner. Unlike window units that sit in a sill, a wall sleeve is flush with the wall, providing a secure, weatherproof fit. It supports the AC unit, seals out drafts, and keeps pests and moisture from sneaking in.
Most sleeves are designed to fit standard AC units (typically 26″ to 28″ wide), and they come in fixed or adjustable models. The sleeve is installed once, and then you can swap out AC units as needed—no need to reinstall the housing every time.
Benefits of Using a Wall Sleeve
- Better Insulation: A properly installed sleeve minimizes air leaks, keeping your home more energy-efficient.
- Stability: AC units are heavy. A sleeve holds them securely, reducing the risk of shifting or falling.
- Weather Resistance: Seals and drip pans in the sleeve protect your wall from rain, snow, and condensation.
- Aesthetic Appeal: No bulky unit hanging out of a window. It looks clean and professional.
- Long-Term Investment: Once installed, it’s ready for future AC upgrades.
For example, my neighbor installed a sleeve in her sunroom. She went from using a noisy portable AC (that barely cooled the room) to a quiet, powerful through-the-wall unit. Her energy bills dropped, and she finally got to enjoy her view without a unit blocking it.
Types of Sleeves
Not all sleeves are created equal. Here are the most common types:
- Fixed-Size Sleeves: Designed for one AC model. Great if you plan to keep the same unit long-term.
- Adjustable Sleeves: Expand or contract to fit different AC sizes. Ideal if you might upgrade later.
- Metal vs. Plastic: Metal is more durable but can rust if not sealed. Plastic is lightweight and rustproof but less sturdy.
- Pre-Insulated Sleeves: Include built-in insulation to reduce heat transfer—perfect for extreme climates.
Pro tip: If you live in a humid or rainy area, go for a sleeve with a built-in drip pan and weep holes to prevent water damage.
Preparing for Installation: Tools, Materials, and Safety
Installing a through the wall air conditioner sleeve isn’t a one-tool job. You’ll need the right gear to do it safely and correctly. Let’s break it down.
Essential Tools
- Measuring tape: For precise sizing.
- Level: To ensure the sleeve is perfectly horizontal.
- Stud finder: To locate framing and avoid cutting into structural beams.
- Circular saw or reciprocating saw: For cutting through drywall and sheathing.
- Jigsaw or keyhole saw: For trimming tight spots (like around pipes or wires).
- Drill with masonry bits: If you’re working on a brick or concrete wall.
- Utility knife: For cutting vapor barriers or trim.
- Caulk gun: For sealing gaps with silicone or foam.
- Safety gear: Goggles, gloves, dust mask, and ear protection.
Materials You’ll Need
- Wall sleeve kit: Includes the sleeve, mounting brackets, and sometimes a trim ring.
- Exterior-grade caulk or foam sealant: For weatherproofing.
- Insulation (if not pre-insulated): Rigid foam or spray foam to fill gaps.
- Exterior trim or flashing: To cover the gap between sleeve and wall (e.g., aluminum or vinyl).
- Screws or anchors: For securing the sleeve to the wall.
- Interior trim: To finish the look inside (optional).
Safety First: What to Watch Out For
Cutting into a wall isn’t like drilling a hole for a picture frame. You could hit wiring, plumbing, or structural elements. Here’s how to stay safe:
- Turn off power: Shut off electricity to the room. Use a voltage tester to confirm no live wires are in the cutting zone.
- Check for pipes: Use a stud finder with a pipe-detection mode, or consult building plans if available.
- Avoid load-bearing walls: If you’re unsure, hire a structural engineer. Cutting a support beam could be catastrophic.
- Wear PPE: Dust from drywall, insulation, or masonry can irritate your lungs and eyes.
- Work with a partner: The sleeve is heavy. Having someone to hold it in place makes installation much easier.
Personal story: When I installed my first sleeve, I forgot to turn off the power. I accidentally nicked a low-voltage cable (for my security camera). It didn’t cause a fire, but it fried the camera and taught me to always check for wires first.
Step-by-Step Installation Process
Now for the fun part—actually installing the sleeve. Follow these steps carefully, and you’ll have a professional-looking result.
Step 1: Choose the Right Location
Pick a spot that:
- Is on an exterior wall (not an interior wall).
- Has enough clearance (at least 2 feet from furniture or obstacles).
- Avoids windows, doors, or structural elements.
- Is close to an electrical outlet (or plan to run a dedicated circuit).
Use a stud finder to locate framing. You’ll want to center the sleeve between two studs if possible, or cut through them if necessary (but avoid cutting more than 50% of a stud’s depth).
Step 2: Measure and Mark the Cutout
Measure the sleeve’s outer dimensions. Most are around 26″–28″ wide and 16″–18″ tall. Use a level and pencil to mark the cutout on the interior wall. Then, go outside and mark the same spot on the exterior.
Tip: Double-check your measurements. It’s much easier to cut a little more than to fix a sleeve that’s too big.
Step 3: Cut the Interior and Exterior Holes
- Start with the interior. Cut along your marks with a circular saw (for drywall) or reciprocating saw (for lath and plaster).
- Remove the drywall to expose the sheathing and insulation.
- Go outside. Drill a pilot hole in each corner of the marked area.
- Use a reciprocating saw to cut through the sheathing and siding. For brick or stone, use a masonry drill and chisel.
Pro tip: If you’re working on a multi-story home, tie a rope around the cutout to prevent it from falling and causing injury below.
Step 4: Install the Sleeve
- Insert the sleeve from the outside. It should fit snugly in the opening.
- Check the level. Use shims (thin wood or plastic strips) to adjust until it’s perfectly horizontal.
- Secure the sleeve with screws or brackets. Most kits include metal straps or L-brackets. Attach them to the wall framing or sheathing.
- For added support, you can screw through the side flanges of the sleeve into the studs (if accessible).
Example: My brother installed his sleeve in a vinyl-sided home. He used stainless steel screws to avoid rust and added a bead of exterior caulk around the edges before tightening the screws. This kept water from seeping in.
Step 5: Weatherproof and Insulate
This step is crucial for energy efficiency and preventing water damage.
- Exterior: Apply a thick bead of exterior-grade silicone or foam sealant around the sleeve’s edge. Cover with aluminum flashing or vinyl trim to shed water.
- Interior: Fill any gaps between the sleeve and wall with rigid foam or spray foam. Avoid compressing insulation—it loses effectiveness when squished.
- Drip pan: If your sleeve has a built-in drip pan, ensure it’s angled slightly outward to drain condensation.
Step 6: Add Interior Trim (Optional)
For a polished look, add a plastic or wood trim ring around the sleeve. This covers gaps and gives a clean finish. Most sleeves have a snap-on trim, but you can also use caulk and paint to blend it in.
Troubleshooting Common Installation Challenges
Even with careful planning, things can go sideways. Here’s how to handle common issues.
Uneven Wall or Sloped Siding
If your wall isn’t perfectly flat (common in older homes), the sleeve might not sit flush. Solution:
- Use shims behind the sleeve to level it.
- For sloped siding, cut the opening at an angle to match the slope. Then, install a custom flashing piece to bridge the gap.
Tip: Test-fit the sleeve before securing it. Adjust as needed.
Hitting Pipes or Wires
If you accidentally cut into a pipe or wire:
- Stop immediately.
- Turn off water or power.
- Call a plumber or electrician to repair it.
- Relocate the sleeve if possible, or install it in a different spot.
Lesson learned: Always scan the wall with a stud finder that detects pipes and wires—even if you think it’s safe.
Sleeve Not Level or Secure
A wobbly sleeve can cause leaks and damage. Fix it by:
- Adding more shims.
- Using longer screws to anchor into studs.
- Installing metal support brackets on the sides (available at hardware stores).
Condensation or Leaks
If water drips inside, check:
- Sleeve angle: Should tilt slightly outward (about 1/4″ per foot).
- Sealant: Reapply if cracked or missing.
- Drip pan: Ensure it’s clean and draining properly.
My first sleeve leaked because I didn’t tilt it enough. A quick adjustment with shims fixed it—no need to remove the whole thing.
Maintaining Your Through-the-Wall AC Sleeve
Once installed, your sleeve needs minimal maintenance—but don’t ignore it.
Seasonal Checks
- Spring: Inspect sealant and flashing for cracks. Clean the drip pan.
- Fall: Remove the AC unit (if removable). Check for pests or debris inside the sleeve.
Cleaning the Sleeve
- Turn off the AC and unplug it.
- Remove the unit (if possible) or clean around it with a damp cloth.
- Vacuum dust from the sleeve’s interior.
- Check weep holes—clear them with a wire if clogged.
Re-Sealing Every Few Years
Sealant degrades over time. Every 3–5 years, reapply exterior caulk and inspect insulation. This prevents energy loss and water damage.
Data Table: Maintenance Schedule
| Task | Frequency | Tools/Materials Needed |
|---|---|---|
| Inspect sealant & flashing | Annually (spring) | Caulk gun, exterior silicone |
| Clean drip pan | Annually (spring) | Damp cloth, vacuum |
| Check weep holes | Bi-annually | Wire or paperclip |
| Re-seal gaps | Every 3–5 years | Spray foam, rigid insulation |
| Remove AC unit (if removable) | Annually (fall) | Wrench, gloves |
Final Thoughts: Is It Worth the Effort?
Installing a through the wall air conditioner sleeve is a weekend project that pays off for years. Yes, it requires more effort than plugging in a window unit. But the results—quieter cooling, better energy efficiency, and a cleaner look—are hard to beat.
I’ve done this in three homes now, and each time, it’s been one of my favorite upgrades. The key is preparation: measure twice, cut once, and don’t rush the sealing process. If you’re unsure about structural or electrical aspects, don’t hesitate to call a pro. But for most homeowners, this is totally doable.
Remember, the sleeve isn’t just a housing—it’s a long-term investment in comfort. So grab your tools, put on some music, and get ready to enjoy a cooler, more efficient home. And when your neighbors ask how you did it? You can say, “I followed a simple guide—and a little trial and error!”
Frequently Asked Questions
What is a through the wall air conditioner sleeve and why do I need one?
A through the wall air conditioner sleeve is a metal or plastic housing installed in an exterior wall to securely hold your AC unit and provide insulation. It ensures proper support, prevents air leaks, and maintains structural integrity around the opening. Most manufacturers require a sleeve for safe and efficient operation.
How do I choose the right size sleeve for my through-the-wall air conditioner?
Measure the width, height, and depth of your AC unit and match them to the sleeve’s specifications listed in the manual. Always confirm compatibility with your model, as sleeves are often brand- or size-specific for a secure fit.
Can I install a through the wall air conditioner sleeve myself?
Yes, if you have basic DIY skills and tools like a level, drill, and reciprocating saw. However, if your wall has electrical wiring, plumbing, or structural concerns, hiring a professional is recommended for safety.
What tools do I need to install a through the wall air conditioner sleeve?
You’ll typically need a reciprocating saw, drill, level, tape measure, caulk gun, screws, and safety gear. Additional materials like shims, insulation, and exterior-grade caulk help ensure a weathertight seal.
How do I ensure the sleeve is properly sealed during installation?
Apply exterior-grade caulk around the sleeve’s exterior flange before securing it, and use insulation or foam gaskets inside to prevent drafts. Check for gaps with a flashlight after installation to confirm a snug fit.
What are common mistakes to avoid when installing a through the wall air conditioner sleeve?
Failing to level the sleeve, not sealing gaps properly, or misaligning the sleeve with the AC unit can cause leaks or instability. Always follow manufacturer guidelines and double-check measurements before cutting into the wall.