
This guide walks you through how to install a through the wall air conditioner LG safely and correctly. You’ll learn everything from measuring your space to securing the unit and testing performance, all in 2026-ready steps.
Key Takeaways
- Measure twice, cut once: Accurate measurements of the wall opening and AC unit are critical to ensure a snug, energy-efficient fit.
- Choose the right location: Pick a spot with strong structural support, minimal obstructions, and easy access to power and drainage.
- Use proper tools and safety gear: A drill, level, screwdriver, and safety goggles are essential—don’t skip personal protection.
- Seal gaps to prevent air leaks: Use foam insulation and weatherstripping around the unit to maintain cooling efficiency and reduce energy bills.
- Follow LG’s installation manual: Always refer to the 2026 model-specific instructions for wiring, mounting, and safety requirements.
- Test before finalizing: Run the AC before sealing everything permanently to catch issues early.
- Consider professional help if unsure: If electrical work or structural changes are needed, hire a licensed technician.
How to Install Through the Wall Air Conditioner LG: A Complete 2026 Guide
Installing a through the wall air conditioner LG might sound intimidating, but with the right tools, planning, and patience, it’s a manageable DIY project—even in 2026. Whether you’re upgrading an old unit or installing your first LG wall AC, this guide will walk you through every step to ensure a safe, efficient, and long-lasting setup.
LG’s 2026 through-the-wall air conditioners are designed for quiet operation, energy efficiency, and smart home integration. But even the best AC won’t perform well if it’s installed incorrectly. That’s why following proper installation steps is crucial. From measuring your wall to sealing the unit and testing performance, we’ll cover it all.
By the end of this guide, you’ll know exactly how to install through the wall air conditioner LG without calling a professional—unless you want to. We’ll also share safety tips, troubleshooting advice, and answers to common questions so you can enjoy cool, comfortable air all summer long.
What You’ll Need Before Starting
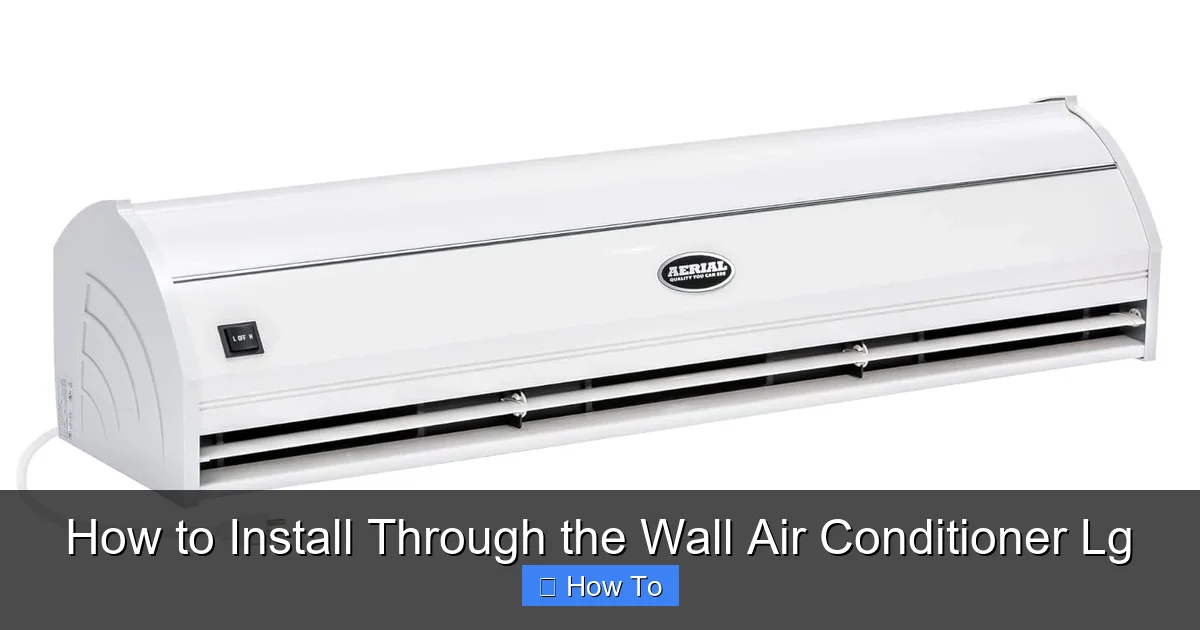
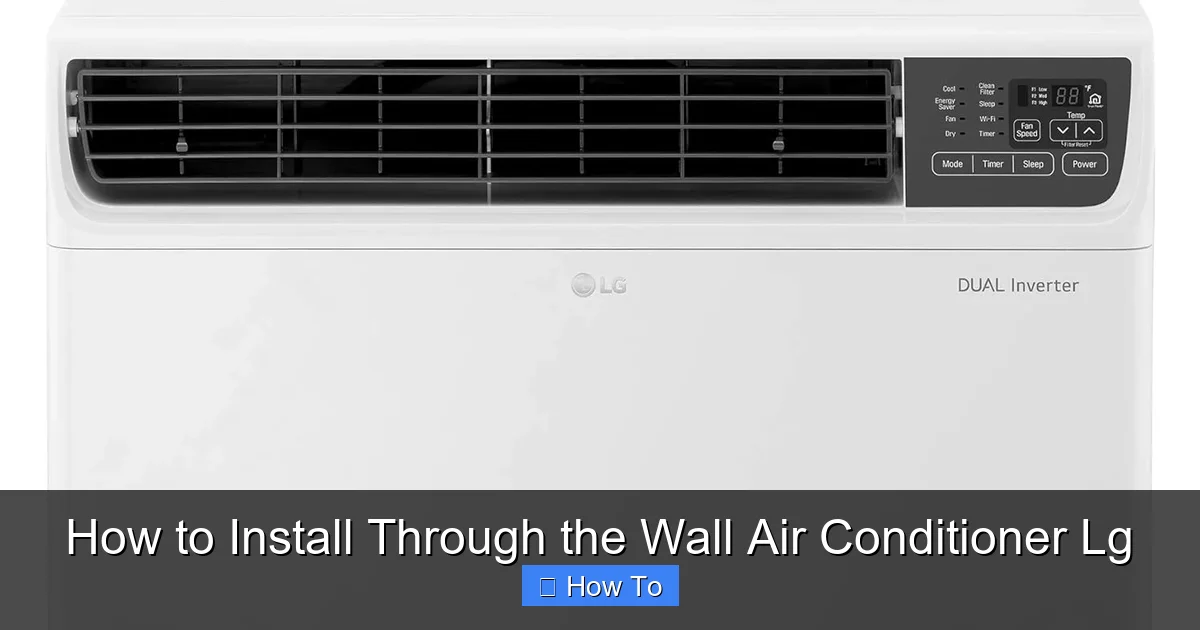
Visual guide about How to Install Through the Wall Air Conditioner Lg
Image source: images-na.ssl-images-amazon.com
Before you grab your drill, gather all the tools and materials. Having everything ready saves time and reduces mistakes.
Essential Tools
- Cordless drill with drill bits (including masonry bits if drilling into concrete or brick)
- Level (a 24-inch level works best)
- Measuring tape
- Pencil or marker
- Screwdrivers (Phillips and flathead)
- Adjustable wrench
- Utility knife
- Caulk gun
- Stud finder (for locating wall studs)
- Safety goggles and work gloves
Materials and Supplies
- LG through the wall air conditioner (2026 model)
- Mounting brackets (usually included with the unit)
- Foam insulation strips or backer rod
- Silicone or exterior-grade caulk
- Weatherstripping or foam tape
- Screws and wall anchors (check LG manual for size and type)
- Duct tape (for temporary sealing during installation)
- Electrical wire (if hardwiring is required—check local codes)
- J-channel or trim (optional, for a finished look)
Safety Gear
- Safety goggles
- Work gloves
- Dust mask (especially if cutting drywall or concrete)
- Sturdy ladder (if working above ground level)
Optional but Helpful
- Second person to help lift and position the unit
- Smartphone or tablet to view the LG manual online
- Flashlight or work light
Step 1: Choose the Right Location
Picking the perfect spot for your LG through the wall air conditioner is the foundation of a successful installation.
Look for Structural Support
The wall must be strong enough to support the weight of the AC unit. Avoid installing over windows, doors, or weak sections. Use a stud finder to locate studs—ideally, the unit should be mounted between two studs or anchored securely into them.
Avoid Obstructions
Make sure there’s nothing blocking the front (indoor side) or back (outdoor side) of the unit. This includes furniture, curtains, plants, or outdoor structures like decks or fences. LG recommends at least 12 inches of clearance on all sides for proper airflow.
Consider Power Access
The unit needs a dedicated electrical circuit. Check if there’s an outlet nearby or if you’ll need to run a new line. In 2026, many LG models support smart features that may require Wi-Fi access, so ensure the location has a strong signal.
Think About Drainage
LG wall ACs have built-in drainage systems, but the outdoor side should slope slightly downward to allow condensation to flow out. Avoid flat or upward-sloping installations.
Check Local Building Codes
Some areas require permits for wall modifications or electrical work. Contact your local building department to confirm requirements.
Step 2: Measure and Mark the Opening
Accuracy here prevents headaches later.
Check the LG Manual
Every 2026 LG through the wall model has specific dimensions. Find the “installation dimensions” in the manual—this includes the width, height, and depth of the sleeve or opening.
Measure the Unit
Use a measuring tape to confirm the actual size of your AC unit. Compare it to the manual to ensure consistency.
Mark the Wall
On the interior wall, use a pencil and level to draw the outline of the opening. Start from the floor or a reference point. Double-check measurements before cutting.
Account for Slope
The opening should slope slightly outward (about 1/4 inch per foot) to allow water drainage. Mark this slope on your outline.
Locate Studs and Wiring
Use a stud finder to avoid cutting into studs or electrical wires. If you must cut through a stud, reinforce the area with a header or consult a contractor.
Step 3: Cut the Wall Opening
Now it’s time to make the hole—carefully.
Drill Starter Holes
At each corner of your marked outline, drill a pilot hole large enough to insert a jigsaw or reciprocating saw blade.
Cut the Opening
Use a jigsaw for drywall or wood, or a reciprocating saw for tougher materials. For concrete or brick, use a masonry drill bit and hammer drill. Go slow and steady.
Remove the Cut Section
Once the outline is cut, carefully remove the piece. Have a trash bag ready—drywall dust and debris can be messy.
Inspect the Cavity
Look inside the wall for wires, pipes, or insulation. If you find anything, stop and consult a professional.
Clean the Edges
Use a utility knife to smooth rough edges. This helps with sealing later.
Step 4: Prepare the Opening and Frame
A well-prepared opening ensures a tight, weatherproof fit.
Install a Sleeve (If Required)
Some LG models come with a metal sleeve that fits into the wall. Slide it into the opening and secure it with screws. Make sure it’s level and flush with the interior wall.
Reinforce the Frame
If the opening is large, add wooden framing around the edges for support. Use 2x4s or plywood, and secure them with screws.
Seal the Interior Edges
Apply a bead of silicone caulk around the inside edge of the opening. This prevents air leaks and moisture intrusion.
Install Backer Rod (Optional)
For larger gaps, insert foam backer rod before caulking. It provides a better seal and reduces caulk usage.
Step 5: Install the Mounting Brackets
Most LG wall ACs use brackets to secure the unit in place.
Attach Brackets to the Unit
Follow the manual to attach the mounting brackets to the sides or bottom of the AC. Use the provided screws and tighten securely.
Position the Unit
With a helper, carefully slide the AC into the opening. The brackets should rest on the interior wall or sleeve.
Level the Unit
Use a level to ensure the AC is perfectly horizontal. Adjust by adding shims under the brackets if needed.
Secure the Brackets
Drill pilot holes into the wall or sleeve, then screw the brackets in place. Use wall anchors if not hitting studs.
Step 6: Connect the Electrical Supply
This step requires caution—electricity is dangerous.
Turn Off Power
At the circuit breaker, turn off power to the area. Use a voltage tester to confirm it’s off.
Check Wiring Requirements
LG wall ACs typically require 208/230V circuits. Refer to the manual for amperage and wire gauge. In 2026, some models may support smart plugs or Wi-Fi connectivity, but hardwiring is still common.
Run the Wiring
If not using an existing outlet, run a new electrical line from the breaker panel. Use conduit if required by code. Hire an electrician if you’re not experienced.
Connect the Wires
Inside the AC’s electrical compartment, connect the wires (black to L1, red to L2, white to neutral, green to ground). Use wire nuts and secure connections. Close the compartment.
Test the Connection
Turn the power back on briefly to test. If the unit powers up, turn it off again before finalizing installation.
Step 7: Seal and Insulate the Unit
A tight seal keeps cool air in and hot air out.
Apply Foam Insulation
Cut foam insulation strips to fit around the sides and top of the unit. Press them into the gaps between the AC and the wall.
Use Weatherstripping
Apply self-adhesive foam tape to the interior flange of the unit. This creates a snug seal when the front panel is attached.
Caulk the Exterior
On the outdoor side, apply a bead of exterior-grade silicone caulk around the edges. Smooth it with a finger or tool for a clean finish.
Install Trim (Optional)
For a polished look, attach J-channel or decorative trim around the interior opening. Use screws or adhesive.
Step 8: Test the Air Conditioner
Before calling it done, make sure everything works.
Turn On the Power
Restore power at the breaker.
Set the Thermostat
Turn on the AC and set it to cool. Choose a low temperature to test performance.
Check Airflow
Feel the air coming from the vents. It should be cool and strong. Listen for unusual noises like rattling or grinding.
Monitor Drainage
Check the outdoor side for water dripping. If no water appears, the unit may not be level or the drain is clogged.
Test Smart Features (If Applicable)
If your 2026 LG model has Wi-Fi or app control, download the LG ThinQ app and connect the unit. Test remote control, scheduling, and energy monitoring.
Run for 30 Minutes
Let the AC run to ensure it cools the room effectively and cycles properly.
Troubleshooting Common Installation Issues
Even with careful planning, problems can happen.
Unit Won’t Turn On
Check the circuit breaker and wiring connections. Ensure the thermostat is set correctly. If hardwired, verify voltage with a multimeter.
Weak Airflow
Make sure the filter is clean and the vents aren’t blocked. Check for kinks in the duct (if applicable) or obstructions in the outdoor unit.
Water Leaking Indoors
This usually means the unit isn’t level or the drain is clogged. Re-level the AC and clean the drain line with a pipe cleaner.
Rattling or Vibrating Noise
Tighten all mounting screws and brackets. Add rubber pads under the unit to reduce vibration.
Air Leaks Around the Unit
Reapply foam insulation and caulk. Use weatherstripping on the interior panel.
Wi-Fi Connection Fails
Move your router closer or use a Wi-Fi extender. Ensure the AC is within range and not blocked by metal walls.
Safety Tips and Best Practices
Safety should always come first.
Never Work Alone
Have someone nearby in case of emergency, especially when lifting heavy units.
Use Proper Lifting Techniques
Bend your knees, keep your back straight, and lift with your legs. LG wall ACs can weigh 80–120 pounds.
Avoid Overloading Circuits
Ensure the electrical circuit can handle the AC’s load. Don’t plug into an outlet shared with other high-wattage appliances.
Keep Children and Pets Away
During installation, keep the work area clear to prevent accidents.
Dispose of Old Units Responsibly
If replacing an old AC, recycle it through an e-waste program. Many retailers offer take-back services.
Maintenance Tips for Long-Term Performance
Once installed, keep your LG AC running smoothly.
Clean the Filter Monthly
Remove and wash the filter with mild soap and water. Let it dry completely before reinstalling.
Inspect the Outdoor Unit
Clear leaves, dirt, and debris from the back and sides. Trim nearby plants.
Check Seals Annually
Inspect foam and caulk for cracks or gaps. Reapply as needed.
Schedule Professional Service
Have a technician check refrigerant levels and electrical components every 2–3 years.
Update Firmware
For 2026 smart models, check for firmware updates via the LG ThinQ app.
Conclusion
Installing a through the wall air conditioner LG in 2026 doesn’t have to be overwhelming. With careful planning, the right tools, and attention to detail, you can complete the job safely and efficiently. From choosing the perfect location to sealing the unit and testing performance, every step matters for optimal cooling and energy savings.
Remember, how to install through the wall air conditioner LG correctly means following the manual, prioritizing safety, and not rushing the process. If you’re ever unsure—especially with electrical work—don’t hesitate to call a professional.
Once your LG AC is up and running, you’ll enjoy quiet, efficient cooling with the latest smart features. And with regular maintenance, your unit will keep you comfortable for years to come.
Now grab your tools, take your time, and stay cool all summer long.