

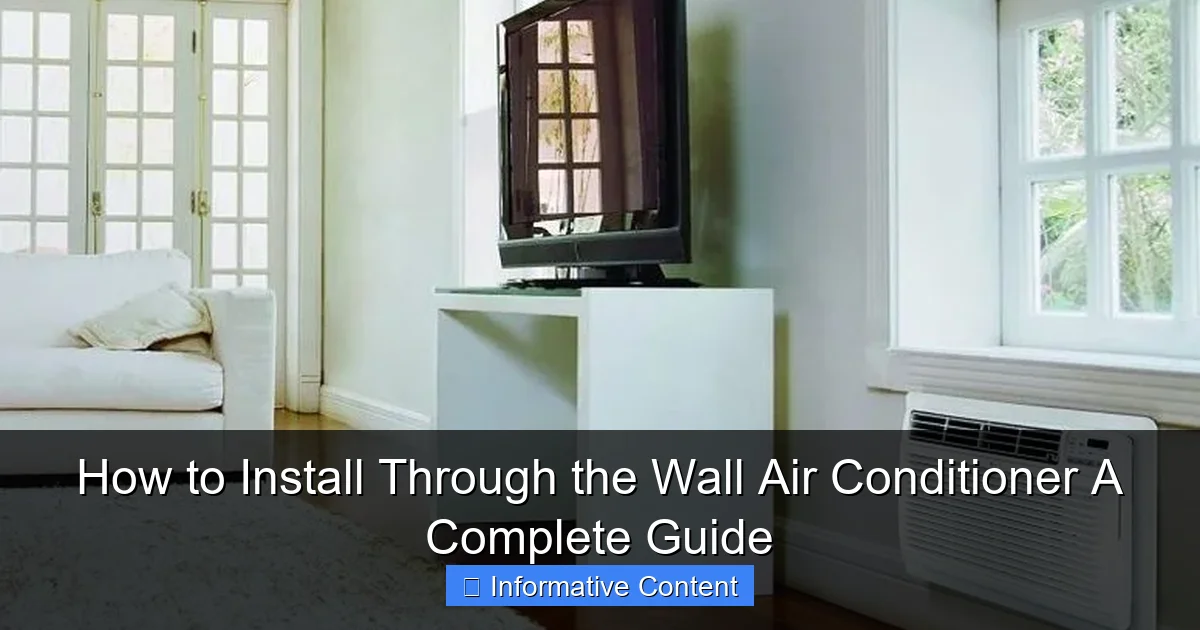
Featured image for how to install through the wall air conditioner
Image source: appliancesforlife.com
Installing a through-the-wall air conditioner requires precise wall preparation and secure mounting to ensure optimal performance and safety. Begin by selecting the right-sized unit, cutting a properly measured opening, and sealing gaps with insulated sleeves—never rely on window AC methods. Always connect to a dedicated electrical circuit and verify local building codes to avoid hazards.
Key Takeaways
- Measure carefully: Ensure the wall opening matches the AC unit’s dimensions for a secure fit.
- Choose the right location: Install away from sunlight and heat sources to maximize efficiency.
- Seal gaps properly: Use weatherstripping and foam to prevent air leaks and energy loss.
- Secure the unit firmly: Anchor the AC with brackets to avoid vibration and movement.
- Check electrical requirements: Verify circuit capacity and use a dedicated outlet for safety.
- Test before finalizing: Run the AC to confirm proper operation and cooling performance.
📑 Table of Contents
- Why Installing a Through-the-Wall Air Conditioner Might Be the Coolest DIY Project You’ll Ever Do
- Choosing the Right Through-the-Wall Air Conditioner for Your Space
- Tools and Materials You’ll Need for Installation
- Preparing the Wall: Measuring, Cutting, and Safety
- Installing the Wall Sleeve and AC Unit
- Finishing Touches: Sealing, Insulating, and Safety Checks
- Data Table: Common Through-the-Wall AC Specifications
- Final Thoughts: Enjoy Cool, Quiet, Permanent Comfort
Why Installing a Through-the-Wall Air Conditioner Might Be the Coolest DIY Project You’ll Ever Do
Let’s be honest: summer heat can turn your home into a sauna faster than you can say “I need AC.” If you’ve ever spent a July night sweating through your sheets, you’ve probably considered a window unit—but what if I told you there’s a better option? Enter: the through-the-wall air conditioner. It’s sleek, powerful, and built to last—without blocking your view or letting in drafts like a window unit might. Plus, once it’s in, it’s in for good. No seasonal wrestling with heavy units or worrying about them falling out of the window.
I learned this the hard way. A few summers ago, I installed a window AC unit in my bedroom, and every spring, I’d dread the ritual: dragging it out of storage, cleaning it, hoisting it into the window, and hoping it wouldn’t crash onto the sidewalk below. Then, one year, I discovered through-the-wall units. After installing one in my home office, I was hooked. Not only did it cool the room more evenly, but it also freed up my window space and looked way more permanent—like it belonged. If you’re tired of the seasonal AC shuffle and want a clean, efficient cooling solution, this guide is for you. I’ll walk you through how to install a through-the-wall air conditioner—step by step, with real tips from real experience (and a few mistakes I’ll help you avoid).
Choosing the Right Through-the-Wall Air Conditioner for Your Space
Before you start drilling holes in your wall, you need to pick the right unit. This isn’t like grabbing a fan off the shelf—there are a few key factors that determine whether your AC will cool efficiently or just waste energy (and your money).
Visual guide about how to install through the wall air conditioner
Image source: coolandportable.com
Know Your Room Size (BTUs Matter!)
The first thing you need to figure out is the size of the space you’re cooling. Through-the-wall air conditioners are rated in BTUs (British Thermal Units), and the right size makes all the difference. Too small, and it’ll run constantly. Too big, and it’ll cycle on and off too quickly, leaving the room humid and uncomfortable.
- 100–250 sq. ft.: 5,000–6,000 BTUs
- 250–400 sq. ft.: 7,000–8,000 BTUs
- 400–600 sq. ft.: 9,000–10,000 BTUs
- 600–800 sq. ft.: 12,000–14,000 BTUs
For example, my home office is about 350 sq. ft., and I went with an 8,000 BTU unit. It cools the room perfectly in about 15 minutes on a hot day. But if I’d picked a 10,000 BTU unit, it would’ve cooled too fast and left the air sticky—exactly what I experienced when I tried that in my guest room once. Lesson learned: size matters.
Check for Through-the-Wall Compatibility
Not all AC units are designed for through-the-wall installation. Some are built for windows only, and trying to install them in a wall can lead to leaks, poor airflow, or even electrical issues. Look for models labeled “through-the-wall” or “wall sleeve compatible.” These usually come with a wall sleeve—a metal or plastic housing that fits into the wall opening and holds the unit securely.
Pro tip: Some models, like the Koldfront WTC8001W, include the sleeve in the box. Others require you to buy it separately. Always check the product description. I once bought a “wall-ready” unit only to realize the sleeve was $120 extra—ouch.
Electrical Requirements: 115V vs. 230V
This is critical. Most through-the-wall units run on standard 115V outlets (like the ones in your living room). But larger units (12,000+ BTUs) often need a 230V circuit—the same kind used for electric dryers or ovens.
- 115V units: Plug into standard outlets. Great for bedrooms, offices, and small living rooms.
- 230V units: Require a dedicated circuit and a special outlet (usually NEMA 6-15 or 6-20). You may need an electrician to install it.
I made the mistake of assuming my 14,000 BTU unit would work with a regular outlet. Spoiler: it didn’t. The breaker tripped instantly. I ended up hiring an electrician to install a 230V line, which added $300 to the project. So, check the voltage before you buy.
Look for Energy Efficiency (EER and SEER)
An Energy Efficiency Ratio (EER) of 10 or higher is good. The higher the EER, the less electricity it uses to cool the same space. Some units also list SEER (Seasonal Energy Efficiency Ratio), which is common in mini-splits but sometimes used for larger ACs. Aim for EER ≥ 10.5 if possible. My 8,000 BTU unit has an EER of 11.2, and my electric bill didn’t spike like it did with my old window unit.
Tools and Materials You’ll Need for Installation
Now that you’ve picked your unit, it’s time to gather your gear. I’ve done this twice—once with a full toolbox and once with just a screwdriver and a prayer (don’t do that). Here’s what you actually need.
Essential Tools
- Stud finder: To locate wall studs and avoid cutting through them. I use a magnetic one—it’s cheap and never failed me.
- Tape measure: For precise hole dimensions. Measure twice, cut once, right?
- Level: A 2-foot level helps keep the sleeve straight. Crooked sleeves lead to crooked units—and leaks.
- Power drill: With a 3/8” drill bit for pilot holes and a screwdriver bit.
- Circular saw or reciprocating saw: For cutting the wall opening. A circular saw works best on wood siding; a reciprocating saw is better for brick or stucco.
- Caulking gun: For sealing gaps around the sleeve.
- Safety gear: Gloves, safety glasses, and a dust mask. Trust me, wall dust gets everywhere.
Materials
- Wall sleeve: Usually comes with the AC unit or sold separately.
- Exterior-grade caulk: Silicone or polyurethane. I like GE Silicone II—it’s weatherproof and stays flexible.
- Flashing tape or metal flashing: To direct water away from the wall. Essential for preventing leaks.
- Screws and anchors: Usually included with the sleeve. Use exterior-grade screws if possible.
- Insulating foam sealant: For sealing small gaps around the sleeve (optional but recommended).
Pro Tip: Rent a Rotary Hammer for Masonry
If you’re installing in a brick, stucco, or concrete wall, a regular circular saw won’t cut it. You’ll need a rotary hammer drill with a masonry blade. I borrowed one from a friend for my stucco wall—it made the job 10x easier. Most hardware stores rent them for $20–$40/day.
One thing I learned: don’t skip the level. I once installed a sleeve slightly tilted because I was in a hurry. The AC unit didn’t sit flush, and condensation started dripping down the wall. Took me a weekend to fix it. Take your time—this isn’t a race.
Preparing the Wall: Measuring, Cutting, and Safety
This is where the real work begins. But don’t panic—if you’ve ever hung a shelf or installed a TV mount, you’ve got the basics down. The key is precision and patience.
Step 1: Find the Perfect Spot
- Height: Install the sleeve 6–12 inches above the floor. This keeps the unit out of reach of kids/pets and allows for better airflow.
- Clearance: Leave at least 12 inches of clearance on all sides for airflow. Avoid placing it behind furniture or drapes.
- Drainage: The unit should tilt slightly backward (about 1/4 inch) so condensation drains outside. Your sleeve should have pre-drilled holes for this.
I installed mine in an exterior bedroom wall—away from direct sunlight and not behind the bed. It’s worked perfectly for two summers now.
Step 2: Locate Studs and Utilities
Use your stud finder to map out the wall. You want to avoid cutting through studs, electrical wires, or plumbing. If you hit a stud, you’ll need to either relocate the hole or notch the stud (which requires framing knowledge). I once hit a stud and had to move the hole 8 inches to the left. Not ideal, but doable.
Turn off the power to the room at the breaker box. Even if you’re not near outlets, it’s a safety must. Better safe than sorry.
Step 3: Mark and Cut the Opening
- Measure the sleeve dimensions (usually 26” x 17” or similar).
- Use a level to draw the outline on the wall. Double-check with a measuring tape.
- Drill pilot holes in each corner.
- Cut along the lines with your saw. For wood siding: circular saw. For brick: rotary hammer with masonry blade.
- Remove the cut-out section. Wear a mask—dust is inevitable.
When I cut my stucco wall, I used painter’s tape along the cutting line to prevent chipping. It worked like a charm. Also, keep a shop vac nearby to clean up as you go.
Step 4: Check for Moisture and Insulation
Before installing the sleeve, peek inside the wall. Look for insulation, vapor barriers, or moisture. If there’s insulation, you may need to cut a small access hole to adjust it. I found fiberglass batts behind my wall and trimmed them slightly so the sleeve could fit snugly.
Installing the Wall Sleeve and AC Unit
Now comes the fun part: putting it all together. This is where your prep pays off.
Step 1: Install the Wall Sleeve
- Slide the sleeve into the opening from the outside.
- Use the level to ensure it’s straight and tilted slightly backward (1/4 inch).
- Secure it with screws through the pre-drilled holes. Don’t overtighten—this can warp the sleeve.
- Apply exterior-grade caulk around the outside flange. This seals out water and pests.
- Add flashing tape or metal flashing above the sleeve to direct rainwater away. I used Grace Vycor flashing tape—it’s sticky, durable, and invisible once painted.
One mistake I made: I forgot to tilt the sleeve. The first time it rained, water pooled inside and dripped into the room. I had to remove the sleeve, re-level it, and re-caulk. Lesson: tilt matters.
Step 2: Insert the AC Unit
- Slide the AC unit into the sleeve from the inside.
- Most units have clips or screws to secure them. Follow the manual.
- Connect the drain tube (if included) to the outside drain port. This prevents condensation buildup.
- Seal any small gaps with insulating foam sealant. Don’t overfill—it expands.
My unit had a simple slide-in design with two side latches. It took me 10 minutes. But I’ve heard some models require you to bolt the unit to the sleeve—read the instructions!
Step 3: Test for Leaks and Gaps
After installation, run the unit for 30 minutes. Check:
- No water dripping inside
- No air drafts around the unit
- No unusual vibrations or noises
I used a dollar bill test: slide it around the edges. If it moves easily, there’s a gap. Seal it with caulk.
Finishing Touches: Sealing, Insulating, and Safety Checks
You’re almost done! But don’t skip these final steps—they ensure your AC runs efficiently and safely for years.
Seal All Exterior Gaps
Apply a continuous bead of exterior caulk around the sleeve flange. Then, cover the caulk with flashing tape for extra protection. I also added a small metal drip edge above the sleeve to prevent water from running down the wall.
Insulate the Interior
Use foam weatherstripping or a custom trim piece to seal the gap between the AC and the wall inside. This prevents hot air from leaking in. I used peel-and-stick foam tape—it’s cheap and effective.
Electrical Safety
If you’re using a 230V unit, ensure the outlet is properly grounded and the circuit is dedicated. For 115V units, plug it into a GFCI outlet if possible—especially in humid areas like basements or bathrooms.
One last check: turn the power back on and test the unit. Listen for odd sounds. If the breaker trips, turn it off immediately and call an electrician.
Trim and Aesthetics
Install the included interior trim panel. Some units let you paint the trim to match your wall. I used a matte white paint—it blends in perfectly.
Data Table: Common Through-the-Wall AC Specifications
| BTU Range | Room Size (sq. ft.) | Voltage | Typical Sleeve Size (W x H) | EER (Avg.) | Installation Difficulty |
|---|---|---|---|---|---|
| 5,000–6,000 | 100–250 | 115V | 26″ x 17″ | 10.5 | Easy |
| 7,000–8,000 | 250–400 | 115V | 26″ x 17″ | 11.0 | Easy |
| 9,000–10,000 | 400–600 | 115V | 26″ x 20″ | 10.8 | Moderate |
| 12,000–14,000 | 600–800 | 230V | 26″ x 20″ | 10.5 | Moderate to Hard |
Final Thoughts: Enjoy Cool, Quiet, Permanent Comfort
Installing a through-the-wall air conditioner isn’t just about beating the heat—it’s about upgrading your home. Unlike window units, these ACs don’t block your view, they’re quieter (since the noisiest parts are outside), and they look clean and permanent. After I installed mine, my home office felt like a professional space—not a summer sauna.
Yes, it takes time. Yes, there’s dust and drilling. But if you follow the steps—measure carefully, cut precisely, seal thoroughly—you’ll end up with a system that lasts 10+ years with minimal maintenance. And unlike window units, you won’t have to store it every fall or worry about it falling out of the window.
My biggest takeaway? Take your time. Rushing leads to leaks, gaps, and frustration. I’ve been there. But when you’re done, and that cool air hits your face on a 95°F day, you’ll know it was worth it. So grab your tools, pick the right unit, and get ready to enjoy a cooler, more comfortable home—permanently.
Frequently Asked Questions
What tools do I need to install a through the wall air conditioner?
To install a through the wall air conditioner, you’ll need a drill, level, tape measure, screwdriver, wrench, and possibly a saw for cutting the wall opening. Having a helper is also recommended for safely lifting and positioning the unit.
How do I choose the right location for a through the wall AC unit?
Select a location on an exterior wall that’s near an electrical outlet and away from direct sunlight or heat sources. Ensure there’s enough space for proper airflow and that the wall can support the unit’s weight.
Can I install a through the wall air conditioner myself, or do I need a professional?
Many homeowners can install a through the wall air conditioner themselves if they follow the manufacturer’s instructions carefully. However, if electrical work or structural modifications are needed, hiring a professional is safer and recommended.
How do I prepare the wall opening for a through the wall air conditioner?
Measure your AC unit’s dimensions and mark the opening on the wall, then use a saw to cut through the siding and wall framing. Make sure the opening is level and slightly larger than the unit for easy insertion and insulation.
Do I need to seal a through the wall air conditioner after installation?
Yes, sealing is essential to prevent air leaks and improve energy efficiency. Use weatherproof caulk or foam insulation around the exterior and interior edges of the unit where it meets the wall.
What size through the wall air conditioner do I need for my room?
Choose a unit based on the room’s square footage—typically, 20 BTUs per square foot is a good rule of thumb. Check the manufacturer’s sizing chart to ensure optimal cooling performance and energy efficiency.