
Installing your LG portable air conditioner doesn’t have to be complicated. This guide walks you through every step—from unboxing to final testing—ensuring a smooth, efficient setup. Perfect for 2026 models, it includes tips, tools, and troubleshooting advice.
Key Takeaways
- Read the manual first: Always start with the user manual that comes with your LG portable AC. It contains model-specific instructions and safety warnings.
- Choose the right location: Place the unit near a window for exhaust hose ventilation and ensure at least 20 inches of clearance on all sides for proper airflow.
- Use the included window kit: LG provides a window installation kit with adjustable panels and foam seals—use it to securely vent hot air outside.
- Check power requirements: Plug the unit into a dedicated 120V outlet. Avoid extension cords to prevent overheating or power issues.
- Test before full use: Run the AC for 10–15 minutes after installation to confirm cooling, airflow, and drainage are working properly.
- Maintain regularly: Clean filters monthly and check the drain hose to prevent clogs and maintain efficiency.
- Contact support if needed: If the unit doesn’t cool or makes unusual noises, refer to LG’s 2026 customer support or warranty services.
How to Install the LG Portable Air Conditioner
Welcome to your complete guide on how to install the LG portable air conditioner in 2026! Whether you’re beating the summer heat or just upgrading your home cooling system, setting up your LG portable AC correctly is key to enjoying quiet, efficient, and reliable performance. This step-by-step walkthrough is designed for beginners and experienced users alike—no technical degree required.
In this guide, you’ll learn everything from unboxing and choosing the best location to connecting the exhaust hose, securing the window kit, and troubleshooting common issues. We’ll also share practical tips to maximize cooling efficiency and extend the life of your unit. By the end, you’ll have your LG portable air conditioner up and running smoothly, keeping your space cool and comfortable all season long.
Let’s get started!
What You’ll Need Before Installation
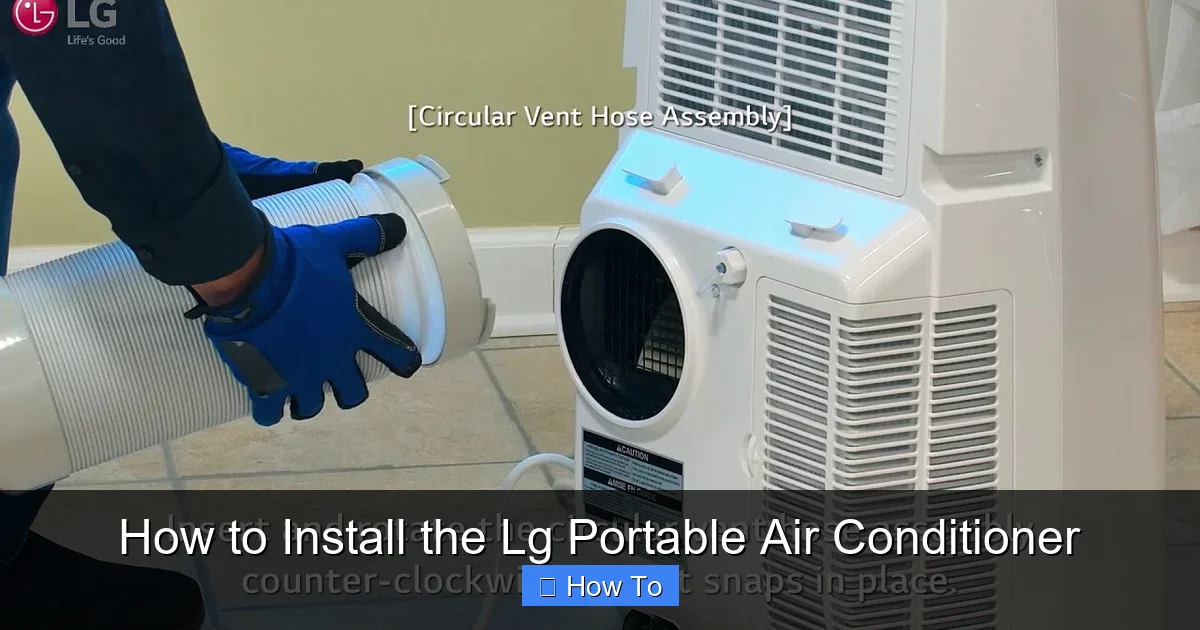
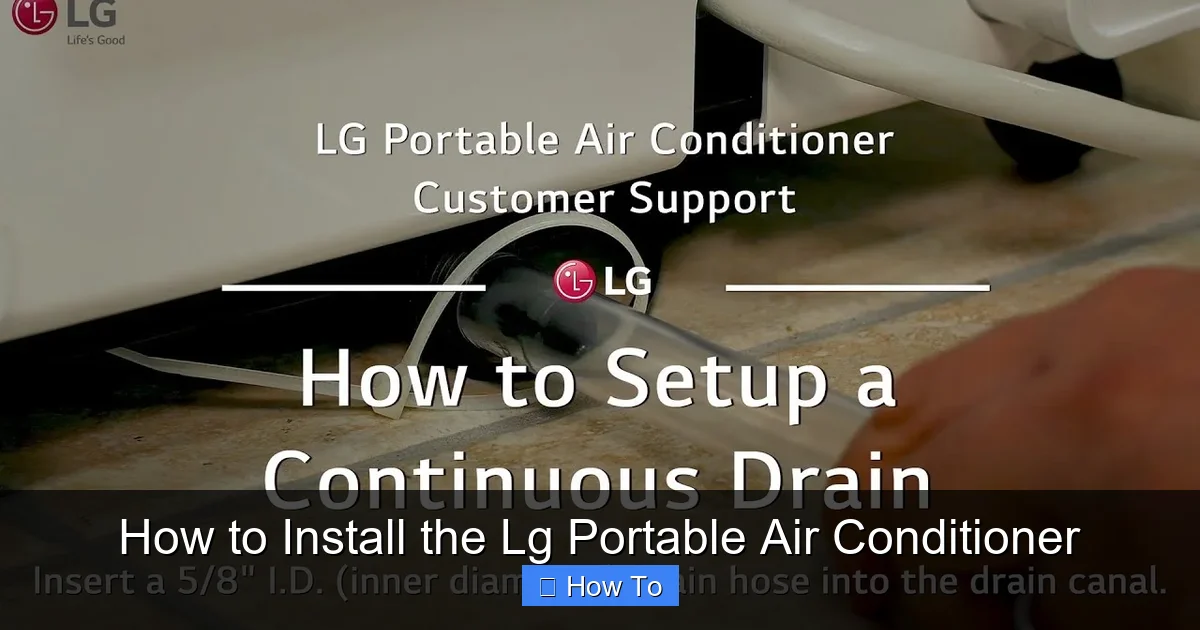
Visual guide about How to Install the Lg Portable Air Conditioner
Image source: i.ytimg.com
Before you begin, make sure you have all the necessary tools and materials. Most of what you need comes in the box, but a few household items will make the process easier.
Included in the Box
- LG portable air conditioner unit
- Exhaust hose (usually 5–7 feet long)
- Window installation kit (adjustable panels, foam seals, screws)
- Remote control with batteries
- User manual and quick start guide
- Drain hose (for dehumidifying mode, if applicable)
Additional Tools You May Need
- Measuring tape
- Screwdriver (Phillips head)
- Scissors or utility knife
- Duct tape (optional, for sealing gaps)
- Level (to ensure the window panel is straight)
Safety First
Always unplug the unit before handling any parts. Make sure the area around the installation site is dry and free of clutter. Never install the AC in a damp or wet location, such as a bathroom or near a leaky pipe.
Step 1: Choose the Right Location
Picking the perfect spot for your LG portable air conditioner is crucial. A good location ensures efficient cooling, proper ventilation, and minimal noise.
Ideal Placement Tips
- Near a window: The exhaust hose must vent hot air outside, so place the unit within 5–7 feet of a window.
- Flat, stable surface: Set the AC on a level floor. Avoid carpets or rugs that could block the intake vent.
- Clearance space: Leave at least 20 inches of open space on all sides—especially the front and back—for airflow.
- Avoid direct sunlight: Don’t place the unit in direct sun, as this can reduce efficiency and increase energy use.
- Close to an outlet: Use a dedicated 120V electrical outlet. Never plug into an extension cord or power strip.
Example Scenario
Imagine you’re installing the AC in a bedroom. The best spot might be near the window on the side wall, away from the bed to reduce noise. Make sure the window can open wide enough to fit the installation kit.
Step 2: Prepare the Window for Venting
The exhaust hose removes hot air from the room, so a secure window seal is essential. LG includes a custom window kit designed to fit most single-hung or sliding windows.
Measure Your Window
Use a measuring tape to check the width of your window opening. The LG window kit typically adjusts from 20 to 47 inches. If your window is outside this range, you may need to purchase an extension kit from LG or a third-party supplier.
Assemble the Window Panel
- Lay out the adjustable panels from the kit.
- Slide the panels together to match your window width.
- Secure them with the included screws or locking mechanism.
- Attach the foam weather stripping to the edges of the panel to create a tight seal.
Install the Exhaust Hose Adapter
Most LG models have a pre-attached hose connector on the back of the unit. If not, attach the hose to the exhaust port using the provided clamp. Make sure it’s tight to prevent air leaks.
Cut a Hole for the Hose (If Needed)
Some window kits require you to cut a small hole in the foam seal for the hose. Use scissors or a utility knife to make a clean, straight cut. Don’t make it too big—just enough for the hose to fit snugly.
Step 3: Install the Window Kit
Now it’s time to secure the window panel and connect the exhaust hose.
Open the Window
Carefully open your window to the height needed for the panel. For sliding windows, slide it open just enough to insert the kit.
Insert the Panel
Place the assembled window panel into the opening. Slide it down (for vertical windows) or push it in (for horizontal sliders) until it fits securely.
Secure the Panel
Use the included screws or brackets to fasten the panel to the window frame. This prevents it from shifting or falling. If your kit uses tension rods, tighten them until the panel is snug.
Attach the Exhaust Hose
Connect one end of the hose to the back of the AC unit and the other end to the adapter on the window panel. Make sure both connections are tight and sealed. Use duct tape if needed to reinforce the seal.
Check for Gaps
Look around the edges of the panel. If you see gaps, add extra foam tape or weather stripping. Air leaks reduce efficiency and can cause the unit to work harder.
Step 4: Plug In and Power Up
With the venting system in place, it’s time to connect your LG portable air conditioner to power.
Use a Dedicated Outlet
Plug the AC directly into a grounded 120V outlet. Avoid using extension cords, power strips, or surge protectors. These can overheat or cause voltage drops, especially during startup.
Check the Circuit
Make sure the outlet is on a dedicated circuit. If other high-power devices (like microwaves or space heaters) are on the same circuit, they may trip the breaker when the AC starts.
Turn On the Unit
Press the power button on the unit or use the remote. The display should light up, and you should hear the fan start. If nothing happens, double-check the power connection and circuit breaker.
Step 5: Configure Settings and Test
Now that your LG portable air conditioner is powered on, let’s set it up for optimal performance.
Select the Mode
Use the remote or control panel to choose your desired mode:
- Cool: Lowers room temperature.
- Fan: Circulates air without cooling.
- Dry: Removes moisture (great for humid days).
- Auto: Adjusts settings based on room conditions.
Set the Temperature
Use the up/down arrows to set your target temperature. Most LG models cool between 60°F and 86°F. A setting of 72°F–76°F is comfortable for most people.
Adjust Fan Speed
Choose between low, medium, or high fan speeds. Higher speeds cool faster but are louder. Use low or medium for quiet nighttime operation.
Enable Timer (Optional)
Set the timer to turn the unit on or off automatically. For example, program it to start cooling 30 minutes before you get home.
Test the Unit
Let the AC run for 10–15 minutes. Feel the air coming from the front—it should be noticeably cooler. Listen for unusual noises like rattling or grinding. Check the exhaust hose to ensure hot air is flowing outside.
Step 6: Manage Condensation and Drainage
Portable air conditioners remove moisture from the air, which can collect inside the unit. Most LG models use an internal tank or auto-evaporation system.
Auto-Evaporation Models
Many 2026 LG portable ACs use advanced auto-evaporation technology. This means most condensation is expelled through the exhaust hose, so you rarely need to drain the tank.
Manual Drainage (If Needed)
If the unit displays a “Full” or “Drain” indicator:
- Turn off and unplug the AC.
- Locate the drain plug at the bottom rear of the unit.
- Place a container underneath and remove the plug.
- Let the water drain completely, then reinsert the plug.
Use the Drain Hose
Some models include a drain hose for continuous drainage. Attach it to the drain port and run it to a floor drain or bucket. This is useful in high-humidity areas.
Step 7: Maintain Your LG Portable Air Conditioner
Regular maintenance keeps your AC running efficiently and extends its lifespan.
Clean the Air Filter Monthly
- Turn off and unplug the unit.
- Remove the front panel or filter cover.
- Take out the filter and rinse it under warm water.
- Let it air dry completely before reinstalling.
A dirty filter reduces airflow and cooling power.
Wipe Down the Exterior
Use a damp cloth to clean the outside of the unit. Avoid harsh chemicals that could damage the plastic.
Inspect the Exhaust Hose
Check the hose every few months for kinks, cracks, or blockages. Replace it if damaged.
Store Properly in Off-Season
When not in use (e.g., winter), clean the unit, drain all water, and store it in a dry place. Cover it to prevent dust buildup.
Troubleshooting Common Issues
Even with proper installation, you might run into a few hiccups. Here’s how to fix the most common problems.
Unit Won’t Turn On
- Check the power outlet—try plugging in another device.
- Make sure the circuit breaker hasn’t tripped.
- Verify the remote batteries are working.
Not Cooling Enough
- Ensure the exhaust hose is properly connected and not blocked.
- Check that the air filter is clean.
- Close windows and doors to prevent warm air from entering.
- Set the temperature lower and fan speed higher.
Loud or Unusual Noises
- Rattling: Check if the unit is level or if objects are touching it.
- Humming: Could indicate a loose part—contact LG support.
- Gurgling: Normal during startup as refrigerant flows.
Water Leaking Inside
- Make sure the unit is level—tilting can cause water to spill.
- Check if the drain plug is secure.
- Ensure the exhaust hose isn’t trapping condensation.
Remote Not Working
- Replace the batteries.
- Make sure nothing is blocking the sensor on the unit.
- Reset the remote by removing batteries for 1 minute.
Tips for Maximum Efficiency in 2026
Your LG portable air conditioner is packed with smart features. Use these tips to get the most out of it.
Use Smart Features
Many 2026 LG models support Wi-Fi and the LG ThinQ app. Download the app to:
- Control the AC from your phone.
- Set schedules and receive maintenance alerts.
- Monitor energy usage.
Close Curtains and Blinds
Block sunlight during the day to reduce heat gain. This helps the AC cool faster and use less energy.
Use a Fan to Circulate Air
Place a ceiling or floor fan near the AC to help distribute cool air throughout the room.
Avoid Heat Sources
Keep ovens, lamps, and electronics away from the AC. These generate heat and make the unit work harder.
Upgrade Insulation
If your room is hard to cool, consider adding weather stripping to doors and windows or using insulating curtains.
Conclusion
Installing your LG portable air conditioner in 2026 is a straightforward process when you follow the right steps. From choosing the best location and setting up the window kit to configuring settings and maintaining the unit, this guide has covered everything you need for a successful installation.
Remember, proper setup not only ensures effective cooling but also improves energy efficiency and extends the life of your appliance. With regular care and smart usage, your LG portable AC will keep you comfortable for years to come.
If you ever run into issues, don’t hesitate to consult the user manual or contact LG customer support. They offer excellent service for 2026 models, including remote diagnostics and warranty assistance.
Now that you’re all set, sit back, relax, and enjoy the cool, refreshing air. Stay cool, stay comfortable, and beat the heat with confidence!