
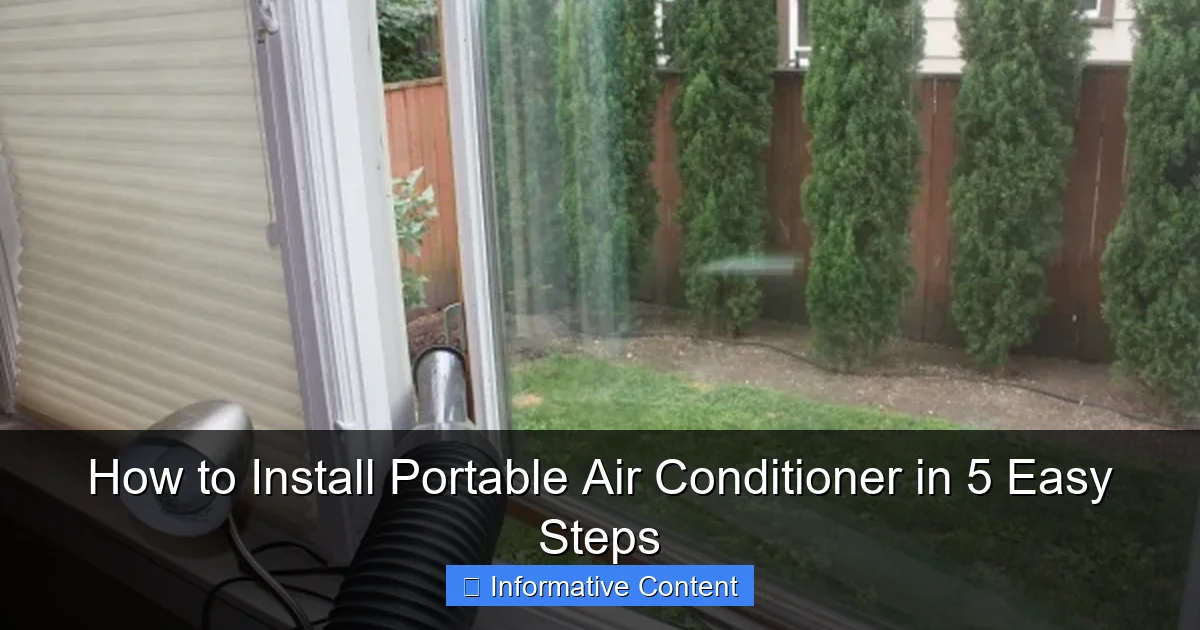
Featured image for how to install portable air conditioner
Image source: reviewstream.com
Installing a portable air conditioner is quick and hassle-free when you follow the right steps. Choose a window-compatible exhaust kit, position the unit near a window and power source, then securely attach the hose to vent hot air outside. With proper setup, your portable AC will cool efficiently in under 15 minutes—no permanent installation needed.
Key Takeaways
- Choose the right window kit: Match it to your window type for a secure fit.
- Seal gaps tightly: Prevent hot air leaks with foam or tape for efficiency.
- Position the exhaust hose: Keep it short and straight to maximize cooling performance.
- Drain water regularly: Empty the tank or use continuous drainage to avoid overflow.
- Place near a window: Ensures optimal exhaust and avoids overworking the unit.
- Check power requirements: Use a grounded outlet to prevent electrical hazards.
📑 Table of Contents
- Why Installing a Portable Air Conditioner Is Easier Than You Think
- Step 1: Choose the Right Location and Prepare Your Space
- Step 2: Unbox and Assemble the Window Kit
- Step 3: Connect the Exhaust Hose and Vent Through the Window
- Step 4: Set Up the Drainage System (If Needed)
- Step 5: Plug In, Power Up, and Optimize Settings
- Data Table: Portable AC Installation Checklist
- Final Thoughts: Cool Comfort in No Time
Why Installing a Portable Air Conditioner Is Easier Than You Think
Let’s face it—summer heat can be brutal. I remember one particularly sticky July when my old window unit finally gave up the ghost. The apartment felt like a sauna, and I was desperate for relief. That’s when I discovered portable air conditioners. They’re compact, flexible, and (best of all) don’t require permanent installation. But like most people, I had one burning question: how to install a portable air conditioner without calling in a pro?
Turns out, it’s way simpler than I imagined. With the right tools, a bit of planning, and a few easy steps, you can have cool air flowing in under an hour. Whether you’re in a rental, a small apartment, or just want a no-hassle cooling solution, this guide will walk you through the entire process. We’ll cover everything from choosing the right spot to sealing your window kit like a pro—no jargon, no fluff, just real talk from someone who’s been there.
Step 1: Choose the Right Location and Prepare Your Space
The secret to a successful portable AC install starts before you even unbox the unit. Where you place it matters—a lot. Think of it like Goldilocks: not too hot, not too cold, just right.
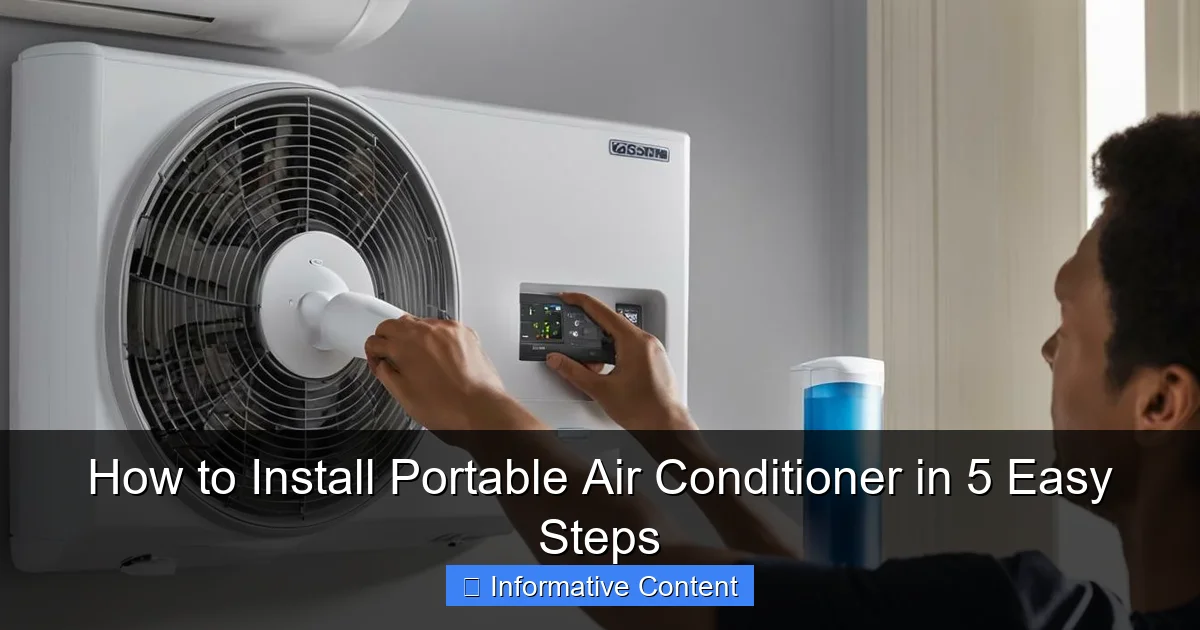
Visual guide about how to install portable air conditioner
Image source: breezeboss.com
Find a Spot Near a Window and Outlet
Your portable air conditioner needs two things: a window to vent hot air and a power outlet to run. Look for a location where both are within 6–8 feet. I once tried setting mine up across the room with an extension cord (spoiler: it didn’t end well). The manual warned against it, but I ignored it—and tripped the circuit breaker twice. Lesson learned.
- Proximity matters: Keep the exhaust hose as short and straight as possible. Every bend reduces efficiency.
- Power check: Use a grounded outlet (three-prong). Avoid power strips or extension cords unless the manual explicitly allows them.
- Clear the area: Remove furniture, curtains, or decor blocking airflow around the unit. At least 2–3 feet of space is ideal.
Assess Window Type and Size
Not all windows are created equal. Most portable ACs work with double-hung, sliding, or casement windows, but each requires a slightly different approach.
- Double-hung windows: Most common. The window kit usually includes a sliding panel that adjusts to your sash height.
- Sliding windows: Use a horizontal adapter. Measure the window width to ensure the kit fits.
- Casement or crank windows: These open outward and can be tricky. Some kits include a special bracket, or you may need to install a temporary panel.
Example: My friend in a high-rise had casement windows. We used a plexiglass panel cut to size, sealed with foam tape—worked perfectly and cost under $20.
Clear and Clean the Area
Before unboxing, vacuum the floor near the window and wipe down the sill. Dust and debris can interfere with the window kit seal. Trust me, a clean workspace saves headaches later.
Step 2: Unbox and Assemble the Window Kit
Now the fun begins. Most portable ACs come with a window venting kit—a plastic or foam panel with a hole for the exhaust hose. This is your first real task, and it’s easier than assembling IKEA furniture (I promise).
Inventory Your Kit
Open the box and lay out all parts. You’ll typically find:
- Adjustable vent panel(s)
- Foam seal strips
- Exhaust hose with connectors
- Mounting brackets or screws (for some models)
- Instruction manual (keep this handy!)
Check for damage. I once got a kit with a cracked hose connector—luckily, the store replaced it, but it delayed my cooling by a day.
Assemble the Vent Panel
Most kits are modular. Follow these steps:
- Snap or slide the panels together to match your window height/width.
- Insert the foam seals into the grooves around the edges. These create an airtight seal.
- For sliding windows, attach the horizontal adapter if needed.
Tip: If the panel feels flimsy, reinforce it with duct tape (temporarily). I used this trick when my kit’s plastic cracked—it held for the whole summer.
Test the Fit Before Final Installation
Place the assembled panel in the window and close it. It should fit snugly with no gaps. If it’s too tall (common in older homes), you can:
- Trim the foam seal slightly with scissors.
- Use a wooden or plastic shim to fill gaps (sanded to fit).
Don’t force it—this can damage your window frame. If the fit is terrible, contact the manufacturer. Some offer custom kits for non-standard windows.
Step 3: Connect the Exhaust Hose and Vent Through the Window
This is where the magic happens. The exhaust hose removes hot air from your room—without it, your AC is just a fan with a heater attached (yes, that’s a real risk).
Attach the Hose to the AC Unit
Locate the exhaust port on the back or side of your portable AC. It’s usually marked with a label like “Exhaust” or “Vent.”
- Twist or snap one end of the hose into the port. It should click or lock in place.
- Secure with the included clamp if provided. Some models use a threaded collar—hand-tighten only.
Warning: Don’t over-tighten. I cracked a plastic port once by using pliers. Hand-tight is plenty.
Connect the Hose to the Window Kit
Now, attach the other end to the vent panel:
- Insert the hose into the hole on the panel.
- Secure with the clamp or collar. Ensure it’s airtight—no wiggling or gaps.
For sliding windows: If your kit has a horizontal adapter, slide it into place first, then connect the hose.
Venting Tips for Maximum Efficiency
- Keep it straight: Avoid kinks or sharp bends. A 45-degree bend is okay; a 90-degree turn reduces airflow by up to 30%.
- Insulate the hose: In hot climates, wrap the hose with foam pipe insulation. This prevents condensation and improves efficiency.
- Seal gaps: Use foam tape or weatherstripping around the panel edges. I used pool noodles cut lengthwise—cheap and effective!
Real-world test: After sealing gaps, my AC’s cooling time dropped from 45 minutes to 25 minutes. That’s a big difference when you’re sweating.
Step 4: Set Up the Drainage System (If Needed)
Portable ACs remove moisture from the air, and that water has to go somewhere. Some units handle this automatically; others need manual help.
Check Your Model’s Drainage Type
There are three common systems:
- Self-evaporative: Most modern units. They recycle condensation to cool the exhaust, reducing drainage needs. Great for humid climates.
- Manual drain: Older or high-capacity models. You’ll need to empty a water tank periodically.
- Continuous drain: Attach a hose to drain water outdoors or into a bucket. Ideal for 24/7 use.
Install a Drain Hose (For Continuous Drain)
If your AC has a drain port:
- Attach a 1/4-inch or 3/8-inch vinyl hose (sold separately).
- Route it to a floor drain, bucket, or out the window.
- Ensure the hose slopes downward—no uphill sections.
Tip: For window drainage, cut a small hole in the vent panel’s foam seal. Feed the hose through and seal with silicone caulk.
Empty the Tank (For Manual Drain)
If your unit has a water tank:
- Check the manual for the tank location (usually at the bottom).
- Place a shallow pan under it before removing.
- Empty it every 8–12 hours in humid conditions. Less often in dry climates.
Bonus trick: Add a few drops of vinegar to the tank. It prevents algae and odors.
Step 5: Plug In, Power Up, and Optimize Settings
You’re almost there! Now it’s time to turn on your AC and make sure it’s working perfectly.
Plug In and Test the Unit
- Plug the AC into the outlet. No extension cords!
- Press the power button. Listen for the fan and compressor.
- Check the exhaust hose: you should feel hot air blowing out.
If nothing happens:
- Verify the outlet works (test with a lamp).
- Check the circuit breaker.
- Ensure the water tank isn’t full (some units won’t start if it is).
Set the Right Temperature and Fan Speed
Don’t crank it to 60°F. Here’s how to optimize:
- Temperature: Set to 72–75°F. Each degree below 75°F increases energy use by 6–8%.
- Fan speed: Start with “Medium.” “High” is noisier and less efficient unless the room is very hot.
- Mode: Use “Cool” for standard cooling. “Dehumidify” is great for muggy days (no cold air, just moisture removal).
Example: In my 500 sq ft apartment, 74°F with medium fan kept the room comfortable without overworking the unit.
Fine-Tune for Efficiency
- Close doors: Cool one room at a time. Open doors let heat sneak in.
- Use curtains: Close blinds or blackout curtains during the day. Sunlight heats rooms fast.
- Clean the filter: Most portable ACs have a washable filter. Clean it monthly with water and mild soap.
Pro move: Run the AC for 15 minutes before you need it. Pre-cooling saves energy and keeps temps steady.
Data Table: Portable AC Installation Checklist
| Step | Task | Tools Needed | Time Required | Common Mistakes to Avoid |
|---|---|---|---|---|
| 1 | Choose location near window & outlet | Measuring tape, level (optional) | 10–15 mins | Ignoring hose length limits; using extension cords |
| 2 | Assemble window kit | Scissors (for foam), screwdriver (if needed) | 15–20 mins | Forcing panels into window; skipping foam seals |
| 3 | Connect exhaust hose | Clamp (included), foam insulation (optional) | 10 mins | Kinked hose; loose connections |
| 4 | Set up drainage | Bucket, drain hose, vinegar (for tank) | 5–10 mins | Forgetting to empty tank; uphill drain hose |
| 5 | Power on and optimize | None (just your hands!) | 5 mins | Setting temp too low; running in “Fan” mode |
Final Thoughts: Cool Comfort in No Time
Installing a portable air conditioner isn’t rocket science—it’s a DIY project anyone can handle. From picking the right spot to sealing that window kit tight, each step brings you closer to cool, refreshing air. I’ll never forget the relief of feeling that first blast of cold air after my first install. It was worth every minute.
Remember, the key is patience. Read the manual, double-check your work, and don’t rush. A few extra minutes on the window seal can save you hours of frustration later. And if something feels off? Stop and reassess. There’s no shame in calling a friend or checking YouTube—just don’t ignore warning signs (like a tripped breaker or strange noises).
Now, go forth and conquer the heat! Whether you’re in a tiny studio, a sun-baked office, or a rental that bans window units, your portable AC is ready to deliver. Just follow these steps, stay cool, and enjoy the summer—on your terms.
Frequently Asked Questions
How do I install a portable air conditioner for the first time?
To install a portable air conditioner, start by placing it near a window and an electrical outlet. Attach the exhaust hose to the unit and window kit, ensuring a secure fit to vent hot air outside.
What tools do I need to install a portable air conditioner?
Most portable air conditioners require only the included window kit, exhaust hose, and foam seals. No special tools are needed—just follow the manufacturer’s instructions for assembling the parts.
Can I install a portable air conditioner without a window?
No, a window is essential for venting hot air through the exhaust hose. If windows aren’t an option, consider a portable AC with a through-the-wall or drop-ceiling vent kit (sold separately).
How to install portable air conditioner in a sliding window?
Use an adjustable sliding window kit included with your unit. Cut the foam seal to size, place the vent panel in the window track, and secure it with the provided screws or clamps.
Is it safe to leave a portable air conditioner installed overnight?
Yes, as long as the unit is properly vented and the exhaust hose is securely connected. Always empty the drain pan if your model isn’t self-evaporating to prevent leaks.
How do I stop my portable air conditioner from falling out of the window?
Ensure the window kit is tightly sealed with foam strips or brackets. Some models include a safety lock or support arm—use these to stabilize the unit and prevent movement.