
Installing an LG ThinQ air conditioner in 2026 is easier than ever with smart tools and guided setup. This guide walks you through every step—from unboxing to connecting to your home Wi-Fi and voice assistants—so you can enjoy energy-efficient, app-controlled cooling in no time.
Key Takeaways
- Choose the right model: Match your LG ThinQ AC to your room size and window type for optimal performance.
- Prepare your space: Clear the installation area, check electrical requirements, and ensure proper ventilation.
- Use the LG ThinQ app: The app guides installation, connects your AC to Wi-Fi, and enables remote control.
- Secure mounting is critical: Follow the manual to safely install the window or wall bracket to prevent leaks or damage.
- Test before finalizing: Run a cooling test and check for vibrations, noise, or water leaks.
- Enable smart features: Link to Google Assistant or Alexa for voice control and schedule cooling with AI modes.
- Maintain regularly: Clean filters monthly and update firmware via the app for peak efficiency.
How to Install LG ThinQ Air Conditioner in 2026: A Complete Step-by-Step Guide
Welcome to your complete guide on how to install an LG ThinQ air conditioner in 2026. Whether you’re upgrading from an older unit or installing your first smart AC, this guide will walk you through every step—safely, efficiently, and with confidence. LG ThinQ air conditioners are among the most advanced on the market, offering Wi-Fi connectivity, voice control, energy-saving AI modes, and remote access via the LG ThinQ app. With the right preparation and a little patience, you can have your new AC up and running in under two hours.
By the end of this guide, you’ll know exactly how to unbox, mount, connect, and configure your LG ThinQ air conditioner. We’ll cover everything from choosing the right location to troubleshooting common issues. No prior experience? No problem. We’ve designed this guide for beginners and DIY enthusiasts alike, using simple language and clear instructions. Let’s get started and turn your home into a cool, smart, and comfortable space.
Why Choose an LG ThinQ Air Conditioner in 2026?
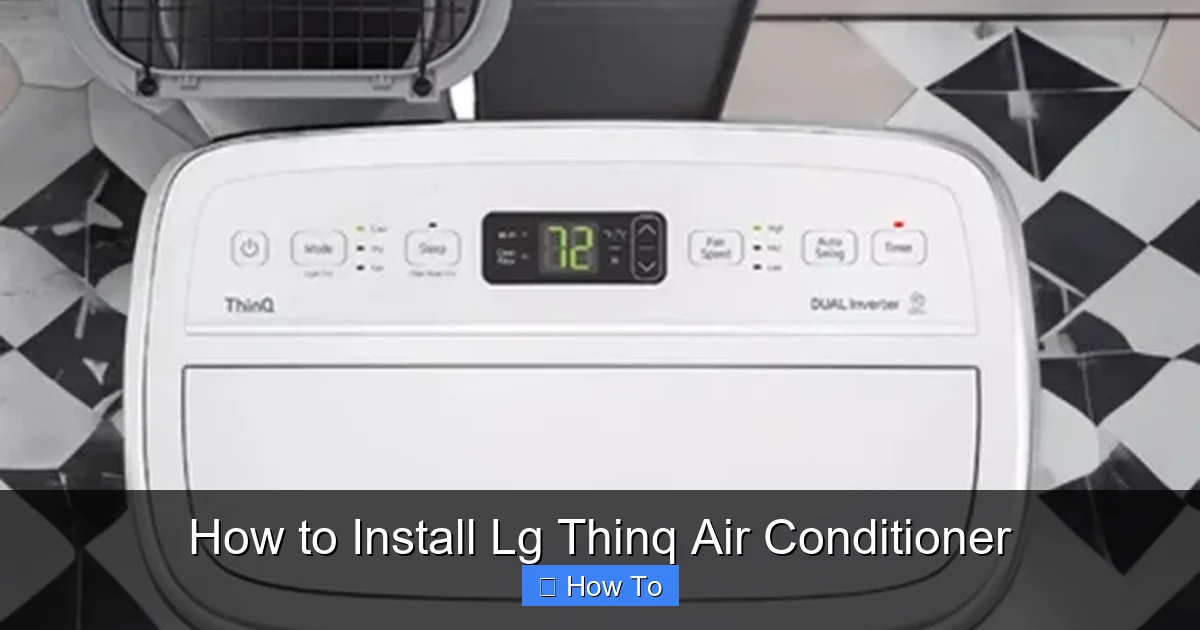
Visual guide about How to Install Lg Thinq Air Conditioner
Image source: machinologist.com
In 2026, smart home technology is no longer a luxury—it’s a standard. LG ThinQ air conditioners lead the market with features like AI-powered cooling, geofencing (so your AC turns on when you’re near home), and integration with Google Home and Amazon Alexa. These units are also designed with energy efficiency in mind, helping you save on electricity bills while reducing your carbon footprint.
The LG ThinQ app, updated regularly in 2026, offers intuitive controls, usage insights, and even predictive maintenance alerts. For example, the app can notify you when it’s time to clean the filter or if the unit detects a refrigerant leak. With over 90% of users reporting improved comfort and convenience, it’s no surprise that LG ThinQ models are among the top-selling smart ACs this year.
What You’ll Need Before Installation
Before you begin, gather all the tools and materials. Most LG ThinQ air conditioners come with an installation kit, but you may need a few extras.
Tools Required
- Drill with masonry and wood bits (for wall or window mounting)
- Screwdriver set (Phillips and flathead)
- Level (to ensure the unit is balanced)
- Measuring tape
- Pencil or marker
- Safety gloves and goggles
- Adjustable wrench (for securing brackets)
Materials Included in the Box
- LG ThinQ air conditioner unit
- Window mounting bracket or wall sleeve (depending on model)
- Foam insulation panels
- Drain hose (for models with built-in dehumidification)
- Screws, anchors, and brackets
- Remote control and batteries
- User manual and quick start guide
- Wi-Fi setup card with QR code
Optional but Helpful
- Second person (for lifting and positioning the unit)
- Extension cord (temporary use only—permanent wiring is recommended)
- Silicone sealant (for extra weatherproofing)
- Smartphone or tablet with the LG ThinQ app installed
Step 1: Choose the Right Location
Picking the right spot is crucial for performance and safety. LG recommends installing your ThinQ AC in a window or through a wall where it can vent hot air outside and draw in cool air efficiently.
Window Installation Tips
- Choose a window that opens fully and is structurally sound.
- Avoid areas with direct sunlight if possible—this reduces cooling load.
- Ensure the window is at least 3 feet away from curtains, furniture, or electronics.
- Check that the window frame can support the weight (most LG ThinQ units weigh 50–80 lbs).
Wall Installation Tips
- Use a professional for wall installations if you’re not experienced with cutting through exterior walls.
- Ensure the wall is load-bearing and free of electrical wires or plumbing.
- Install the sleeve at a slight downward angle (1–2 degrees) toward the outside to allow condensation to drain.
Electrical Requirements
Most LG ThinQ air conditioners require a dedicated 120V or 240V circuit, depending on the model. Check the label on your unit or the manual for exact specs. Never plug into an overloaded outlet or use extension cords permanently. If your home doesn’t have the right circuit, hire a licensed electrician.
Step 2: Prepare the Installation Area
A clean, level, and secure setup ensures your AC runs smoothly and lasts longer.
Clear the Space
Remove any obstacles near the window or wall. Trim back plants, move furniture, and ensure there’s at least 12 inches of clearance on all sides for airflow.
Measure the Opening
Use your measuring tape to confirm the window or wall opening matches the dimensions in the manual. LG ThinQ models typically fit standard double-hung or sliding windows. If the opening is too large, use the included foam panels to seal gaps. If it’s too small, you may need a custom bracket or professional modification.
Install the Mounting Bracket
For window units:
- Place the bracket in the window sill and mark screw holes with a pencil.
- Drill pilot holes and secure the bracket with the provided screws.
- Use a level to ensure it’s perfectly horizontal—this prevents water from pooling inside.
For wall units:
- Cut a hole slightly larger than the sleeve using a reciprocating saw.
- Insert the sleeve and secure it with screws and anchors.
- Apply silicone sealant around the edges to prevent leaks.
Step 3: Install the Air Conditioner Unit
Now it’s time to lift and secure your LG ThinQ AC. This step requires care—especially if you’re working alone.
Lift with Care
Air conditioners are heavy and awkward to handle. If possible, have a helper assist you. Use proper lifting technique: bend your knees, keep your back straight, and lift with your legs. Wear gloves to protect your hands.
Position the Unit
Slide the AC into the bracket or sleeve from the inside. Make sure the front panel faces inward and the exhaust side (usually labeled) faces outside. The unit should sit snugly with no gaps.
Secure the Unit
Once in place:
- Attach the side panels or support brackets as directed in the manual.
- Tighten all screws to prevent movement.
- For window units, close the window sash onto the top of the AC and secure with screws or locking brackets.
Seal the Gaps
Use the included foam insulation panels to fill any spaces around the unit. This prevents hot air from leaking in and improves efficiency. For extra protection, apply a bead of silicone sealant around the edges—especially on the outside.
Step 4: Connect the Drain Hose (If Applicable)
Some LG ThinQ models include a built-in dehumidifier that produces condensation. This water must be drained properly to avoid leaks.
Locate the Drain Port
Check the back or bottom of the unit for a small hose connector. This is where the drain hose attaches.
Attach the Hose
- Slide the hose onto the port and secure it with a zip tie or clamp.
- Route the hose downward so water flows out naturally.
- Direct the end of the hose into a floor drain, bucket, or outside.
Test the Drain
Pour a small amount of water into the drain pan to ensure it flows freely. If it backs up, check for kinks or blockages.
Step 5: Power Up and Initial Setup
Now that your AC is installed, it’s time to turn it on and configure the smart features.
Plug In the Unit
Connect the power cord to a dedicated outlet. Avoid power strips or extension cords for long-term use. If your model requires hardwiring, consult a professional electrician.
Turn On the AC
Press the power button on the unit or remote. The display should light up, and the fan should start. Set the temperature to a low setting (e.g., 68°F) and select “Cool” mode to test basic functionality.
Check for Issues
Listen for unusual noises, vibrations, or leaks. If the unit doesn’t turn on, check the circuit breaker and ensure the outlet is working.
Step 6: Connect to Wi-Fi Using the LG ThinQ App
This is where your AC becomes “smart.” The LG ThinQ app (available on iOS and Android) is your control center.
Download the App
Search “LG ThinQ” in the App Store or Google Play. Install and open it.
Create or Log In to Your Account
If you’re new, sign up with your email. Existing users can log in.
Add Your Air Conditioner
- Tap the “+” icon and select “Air Conditioner.”
- Choose your model from the list or scan the QR code on the Wi-Fi setup card.
- Follow the on-screen prompts to connect the AC to your home Wi-Fi network.
Troubleshoot Wi-Fi Connection
If the app can’t find your AC:
- Make sure the unit is powered on and within 30 feet of your router.
- Restart the AC and your phone.
- Ensure your Wi-Fi is 2.4GHz (most LG ThinQ models don’t support 5GHz).
- Try the “Manual Setup” option in the app.
Step 7: Configure Smart Features
Once connected, unlock the full potential of your LG ThinQ AC.
Set Up Voice Control
Link your LG ThinQ account to Google Assistant or Amazon Alexa:
- In the app, go to “Settings” > “Voice Services.”
- Enable Google Assistant or Alexa and follow the linking steps.
- Say, “Hey Google, turn on the living room AC” to test.
Use AI Cooling Mode
LG’s AI mode learns your schedule and preferences. Over time, it adjusts temperature and fan speed automatically. Enable it in the app under “Smart Settings.”
Schedule Cooling
Set timers to cool your home before you arrive. For example, program the AC to turn on at 5:30 PM every weekday.
Enable Geofencing
This feature uses your phone’s location to turn the AC on when you’re 10 minutes away from home. Go to “Location Services” in the app to activate.
Step 8: Final Checks and Testing
Before you relax, do a full system check.
Run a Cooling Test
Set the AC to 65°F and let it run for 15 minutes. Feel the air coming from the vents—it should be noticeably cool.
Check for Leaks
Inspect the window or wall seal for condensation or water drips. If you see moisture inside, reseal the gaps.
Listen for Noise
The fan should run quietly. Rattling or grinding sounds may indicate loose parts—tighten screws or contact support.
Verify Remote and App Control
Test changing temperature, mode, and fan speed from both the remote and the app.
Troubleshooting Common Issues
Even with careful installation, problems can arise. Here’s how to fix the most common ones.
AC Won’t Turn On
- Check the power cord and outlet.
- Reset the circuit breaker.
- Ensure the remote has batteries and is pointed at the unit.
Poor Cooling
- Clean or replace the air filter (dirty filters block airflow).
- Ensure vents aren’t blocked by furniture.
- Check if the unit is sized correctly for the room.
Water Leaking Inside
- Verify the drain hose is properly attached and unclogged.
- Ensure the unit is level—tilting can cause water to pool.
- Seal gaps around the window or wall.
Wi-Fi Disconnects Frequently
- Move the router closer or use a Wi-Fi extender.
- Reduce interference from microwaves or cordless phones.
- Update the app and AC firmware.
App Can’t Find the AC
- Restart the AC and your phone.
- Ensure both are on the same Wi-Fi network.
- Try resetting the AC’s Wi-Fi module (see manual for reset button location).
Maintenance Tips for Long-Term Performance
To keep your LG ThinQ AC running efficiently in 2026 and beyond, follow these maintenance steps.
Clean the Filter Monthly
A dirty filter reduces airflow and increases energy use. Remove the front panel, take out the filter, and rinse it with water. Let it dry completely before reinserting.
Inspect the Coils Annually
Dust and debris can build up on the evaporator and condenser coils. Use a soft brush or vacuum to clean them. For deep cleaning, consider a professional service.
Check the Drain Line
Every few months, flush the drain hose with a mixture of water and vinegar to prevent mold and clogs.
Update Firmware
LG releases updates to improve performance and security. The ThinQ app will notify you when an update is available. Install it promptly.
Schedule Professional Service
Once a year, have a technician inspect refrigerant levels, electrical connections, and overall system health.
Conclusion
Installing an LG ThinQ air conditioner in 2026 is a smart investment in comfort, convenience, and energy efficiency. With this guide, you’ve learned how to safely mount your unit, connect it to Wi-Fi, and unlock powerful smart features like voice control and AI cooling. Whether you’re cooling a bedroom, living room, or home office, your LG ThinQ AC will keep you comfortable all summer long.
Remember, proper installation is key to performance and longevity. Take your time, follow the steps, and don’t hesitate to call LG support if you run into issues. With regular maintenance and smart usage, your AC will serve you well for years to come. Stay cool, stay connected, and enjoy the future of home climate control.