
Featured image for how to install central air conditioner
Image source: canadaenergysolution.ca
Installing a central air conditioner requires careful planning, proper tools, and adherence to safety codes to ensure optimal performance and efficiency. This step-by-step guide walks you through site assessment, equipment selection, ductwork connection, refrigerant line setup, and electrical wiring—critical stages that prevent costly mistakes. Always hire a licensed HVAC professional for final inspections and refrigerant handling to comply with local regulations and manufacturer warranties.
Key Takeaways
- Choose the right size: Proper sizing ensures efficiency and comfort.
- Turn off power: Always disconnect electricity before installation.
- Seal ducts tightly: Prevent air leaks to maximize performance.
- Hire a pro for refrigerant: Only certified techs should handle it.
- Test system thoroughly: Verify airflow, cooling, and thermostat function.
- Follow local codes: Permits and inspections ensure safety and compliance.
📑 Table of Contents
- How to Install Central Air Conditioner A Step by Step Guide
- 1. Planning and Preparation: Laying the Foundation for Success
- 2. Gather Tools and Materials: What You’ll Need
- 3. Install the Outdoor Condenser Unit
- 4. Install the Indoor Air Handler (or Evaporator Coil)
- 5. Connect Ducts, Test, and Charge the System
- 6. Test the System and Troubleshoot Common Issues
How to Install Central Air Conditioner A Step by Step Guide
It’s the middle of July. You’re sweating through your shirt, your ceiling fan is spinning like it’s in a wind tunnel, and the only relief you’ve found is standing in front of your fridge with the door open. Sound familiar? If you’ve ever lived through a hot, sticky summer without central air, you know how life-changing a proper AC system can be. But what if you could skip the $5,000 installation bill and do it yourself?
Installing a central air conditioner is one of those home improvement projects that feels intimidating at first—like rewiring your entire house or replacing a roof. But with the right tools, a solid plan, and a little patience, it’s absolutely doable. I learned this the hard way after attempting (and failing) my first install in 2018. The unit hummed like a dying lawnmower, and the air barely cooled the living room. But after studying HVAC manuals, watching dozens of YouTube videos, and calling a pro for a few pointers, I finally cracked the code. Now, I can install a central AC in under a weekend—and so can you.
This guide walks you through every step of the process: from choosing the right unit to sealing the ducts and firing up the system. We’ll cover safety, tools, common pitfalls, and how to avoid costly mistakes. Whether you’re replacing an old system or installing central air in a home that’s never had it, this step-by-step guide has you covered. And no—this isn’t a “call a pro” cop-out. We’ll show you exactly how to install central air conditioner safely and efficiently, even if you’re starting from scratch.
1. Planning and Preparation: Laying the Foundation for Success
Assess Your Home’s Cooling Needs
Before you even look at AC units, you need to know *what* you’re cooling. Central air isn’t one-size-fits-all. A 1,200-square-foot bungalow doesn’t need the same capacity as a 3,000-square-foot two-story home. The key is **Manual J load calculation**, a standard method used by HVAC pros to determine how much cooling power your home needs based on square footage, insulation, windows, sun exposure, and local climate.
Visual guide about how to install central air conditioner
Image source: canadaenergysolution.ca
You can use free online calculators (like those from Energy Star or HVAC software companies) to get a rough estimate. For example, a well-insulated 1,500-square-foot home in the Pacific Northwest might need a 2.5-ton unit, while the same home in Arizona could need a 3.5-ton unit due to higher heat loads.
Pro tip: Don’t guess. Oversized units cool too quickly without dehumidifying, leaving you damp and uncomfortable. Undersized units run constantly and wear out faster. Get the load calculation right.
Check Existing Ductwork (Or Plan New Ducts)
If you already have forced-air heating (like a furnace), you’re in luck. You can likely reuse the existing duct system. But it must be clean, properly sized, and sealed. I once installed a new AC only to realize the ducts were full of dust, pet hair, and even a mouse nest—definitely not ideal.
Inspect ducts for:
- Leaks (feel for air escaping or use a smoke pen)
- Dents or kinks restricting airflow
- Mold or debris (especially in older homes)
- Proper insulation (especially in attics and crawl spaces)
If you’re building new ducts, plan the layout carefully. Main trunks should be larger than branches, and vents should be evenly spaced. Avoid sharp bends—use 45-degree angles instead of 90s to reduce air resistance. And always insulate ducts in unconditioned spaces to prevent energy loss.
Choose the Right AC Unit
Central air conditioners come in two main types:
- Split systems: Most common. The condenser (outside unit) and air handler (inside) are separate. Ideal for homes with furnaces.
- Packaged units: Both components in one outdoor box. Great for homes without indoor space for an air handler.
Look for:
- SEER rating: Higher is better (14–26+). A 16 SEER unit uses 20% less energy than a 13 SEER.
- Size (tons): 1 ton = 12,000 BTUs. Match to your load calculation.
- Brand reliability: I’ve had great luck with Carrier, Trane, and Rheem. Avoid no-name brands.
Example: A 3-ton, 18 SEER Carrier unit costs about $2,500–$3,500. Factor in $300–$500 for a new furnace coil if replacing an old system.
2. Gather Tools and Materials: What You’ll Need
Essential Tools
You don’t need a full HVAC shop, but you *do* need the right gear. Here’s what I keep in my AC install toolkit:
- Refrigerant manifold gauge set
- Vacuum pump (1.5 CFM or higher)
- Torque wrench (for refrigerant lines)
- Pipe bender and flaring tool
- Multimeter (for electrical testing)
- Drill with masonry bits (for outdoor pad)
- Insulation tape and foil tape (for sealing ducts)
- Level and measuring tape
- Safety gear: gloves, goggles, respirator (for insulation dust)
Pro tip: Rent a vacuum pump and manifold gauges if you don’t own them. Buying one for a single project isn’t cost-effective.
Materials List
- AC unit (condenser and air handler)
- Refrigerant lines (pre-charged or field-installed)
- Condensate drain line (PVC pipe, ¾” diameter)
- Electrical disconnect box (NEMA 3R rated)
- Thermostat (smart or programmable)
- Duct insulation (R-6 or higher)
- Concrete pad (or composite pad for outdoor unit)
- Refrigerant (if lines aren’t pre-charged)
Real talk: I once tried to save $50 by using old refrigerant lines from a junked AC. Big mistake. The lines were kinked and contaminated. I ended up replacing them anyway—plus a $200 refrigerant charge. Buy new or use pre-charged lines.
3. Install the Outdoor Condenser Unit
Prepare the Pad
The condenser needs a stable, level, and elevated surface. Concrete pads are best, but composite pads work too (especially in flood-prone areas). The pad should be:
- At least 3 feet from walls or shrubs (for airflow)
- 6 inches above ground (to prevent water damage)
- Large enough to extend 2–3 inches beyond the unit on all sides
To install a concrete pad:
- Dig a 6-inch deep hole (larger than the pad size)
- Fill with 4 inches of gravel, level it
- Mix and pour concrete, screed flat
- Let cure for 24–48 hours
Set and Level the Unit
Lift the condenser with a dolly or helper—never drag it. Place it on the pad and check with a level. Use plastic shims under the legs if needed. A tilted unit can cause refrigerant flow issues and compressor failure.
Safety note: Always shut off power to the disconnect box before wiring. Use a multimeter to confirm no voltage.
Connect Electrical and Refrigerant Lines
Run a dedicated 240-volt circuit from your main panel to the condenser. Use copper wire (size depends on unit amps—check the manual). Install a NEMA 3R disconnect box within sight of the unit.
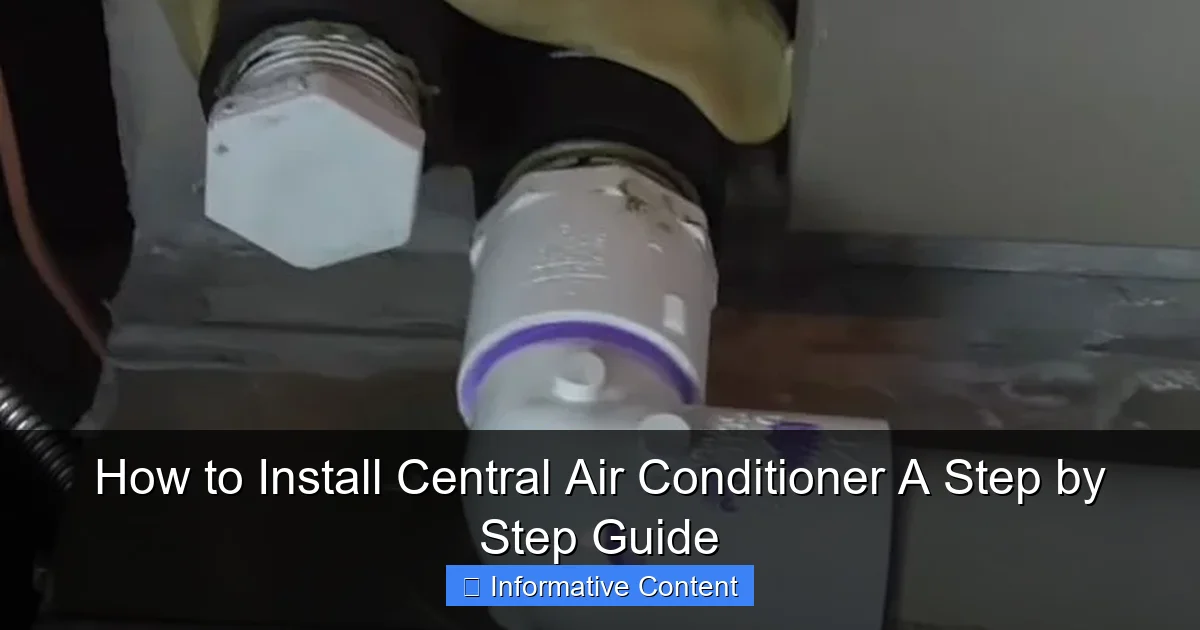
For refrigerant lines:
- Cut lines to length (add 2–3 feet for bends)
- Flare the ends with a flaring tool
- Connect to the service valves (hand-tighten, then use a wrench for 1/4 turn)
- Insulate the suction line (the larger one) with foam pipe wrap
Example: I once forgot to insulate the suction line. The unit ran fine in summer, but in spring, the line froze and caused a refrigerant leak. Insulate it!
4. Install the Indoor Air Handler (or Evaporator Coil)
Mount the Air Handler
The air handler (or coil if using a furnace) goes indoors—usually in the attic, basement, or utility closet. It must be:
- Level and secured to joists or a platform
- Accessible for maintenance (leave 24+ inches of clearance)
- Connected to existing ductwork (if applicable)
For attic installs, reinforce the floor joists if needed. A 3-ton air handler weighs 150+ pounds. Use a pulley system or helper to lift it.
Connect Refrigerant, Drain, and Electrical
Run refrigerant lines from the condenser to the air handler. Use a pipe bender to make smooth curves (no kinks). Connect lines with flare fittings, then torque to specs (usually 25–35 ft-lbs).
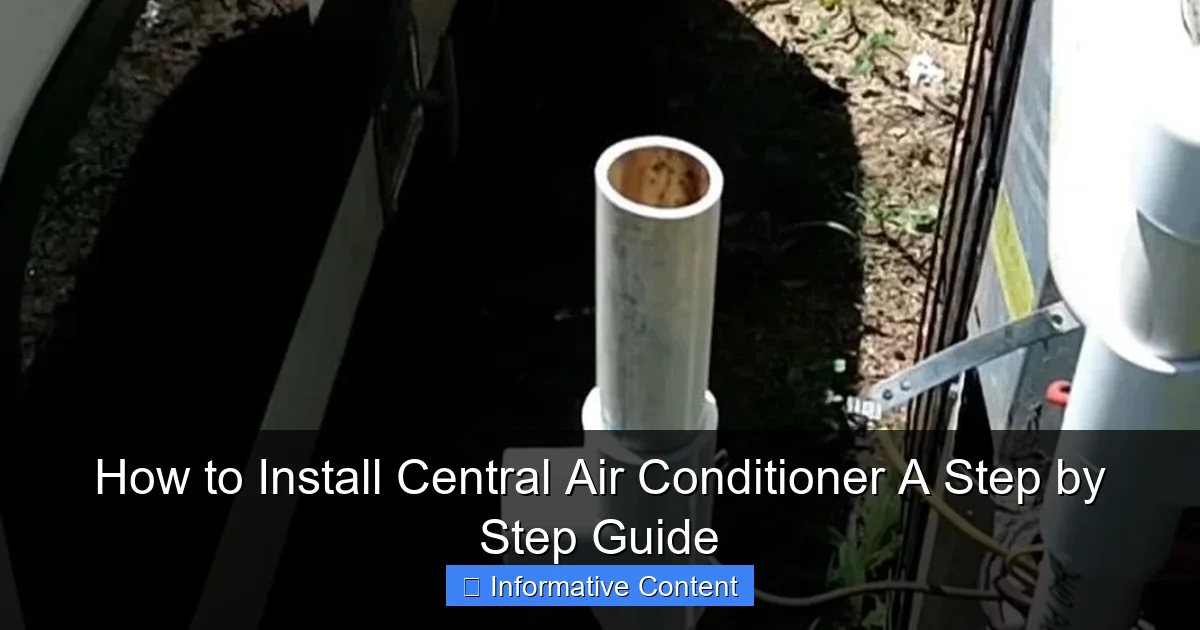
Install a condensate drain line:
- Drill a hole through the wall or floor
- Run ¾” PVC pipe from the drain pan to a floor drain or outside
- Add a P-trap to prevent sewer gas
- Use a condensate pump if gravity won’t work
Wire the air handler to the thermostat and condenser using 18/5 thermostat wire. Follow the wiring diagram in the manual—colors matter!
Pro tip: Label wires as you go. I once mixed up the Y (cooling) and G (fan) wires. The fan ran nonstop, and the AC never turned on. Took me an hour to figure out.
5. Connect Ducts, Test, and Charge the System
Seal and Insulate Ducts
Leaky ducts waste 20–30% of cooling energy. Seal all joints with mastic (not duct tape—it dries out) or foil tape. Insulate ducts in attics, crawl spaces, and garages.
Use R-6 or higher insulation. Wrap it tightly and seal seams with tape. Pay extra attention to elbows and transitions—they’re leak hotspots.
Evacuate the Refrigerant Lines
Before charging, remove air and moisture with a vacuum pump. This is *critical* for efficiency and compressor life.
- Connect manifold gauges to the service ports
- Attach vacuum pump to the center hose
- Open both valves and run the pump for 30–60 minutes
- Check vacuum level: should hold at 500 microns or lower for 15 minutes
Warning: Skipping this step is like filling your car’s engine with dirty oil. It will fail prematurely.
Charge the System with Refrigerant
Only charge with the correct refrigerant (R-410A for most modern units). Use the factory charge or calculate based on line length (check manual). Overcharging causes high pressure and short cycling. Undercharging reduces cooling and damages the compressor.
Charge in liquid form (for R-410A) while the unit is off. Then start the system and fine-tune with the gauges.
Data Table: Refrigerant Charge by Line Length (R-410A)
| Line Length (ft) | Additional Refrigerant (oz per ft) | Example: 3-ton Unit |
|---|---|---|
| 25 ft | 0.6 oz | 15 oz (factory charge + 15 oz) |
| 50 ft | 0.6 oz | 15 oz + 30 oz = 45 oz |
| 75 ft | 0.6 oz | 15 oz + 45 oz = 60 oz |
Note: Always follow the manufacturer’s charging chart. This is a general guide.
6. Test the System and Troubleshoot Common Issues
Power Up and Run Tests
Turn on the main power and thermostat. Set to “cool” mode, 5–10 degrees below room temp. The condenser and air handler should start within 1–2 minutes.
Check for:
- Airflow at vents (use your hand)
- Condensate draining properly
- No strange noises (buzzing, grinding)
- Thermostat communication
Measure temperature drop at supply and return vents. Should be 15–20 degrees cooler. If less, check refrigerant charge or airflow.
Troubleshooting Tips
- No cooling? Check breaker, thermostat settings, and refrigerant charge.
- Water leak? Inspect drain line, P-trap, and condensate pump.
- Short cycling? Could be low refrigerant, dirty coils, or oversized unit.
- High energy bills? Leaky ducts, poor insulation, or low SEER rating.
My fix: Last year, my neighbor’s AC kept freezing up. I found a kinked suction line. A 10-minute fix saved him a $300 service call.
Schedule a Professional Inspection (Optional but Smart)
Even if you install it yourself, have an HVAC tech inspect the system. They can verify refrigerant charge, airflow, and safety. Cost: $100–$200. Worth it for peace of mind.
Installing a central air conditioner isn’t easy, but it’s far from impossible. With careful planning, the right tools, and attention to detail, you can save thousands and enjoy a cool, comfortable home. Remember: measure twice, cut once, and when in doubt, consult the manual or call a pro. You’ve got this. Now go enjoy that sweet, sweet air conditioning.
Frequently Asked Questions
How do I install a central air conditioner for the first time?
Installing a central air conditioner involves assessing your home’s ductwork, selecting the right unit size, mounting the indoor and outdoor components, and connecting refrigerant lines and electrical wiring. Always follow local codes and manufacturer instructions, and consider hiring a professional for complex steps like refrigerant handling.
Can I install a central air conditioner myself, or do I need a professional?
While DIY installation is possible for those with HVAC experience, central air conditioner installation often requires licensed professionals for tasks like refrigerant charging, electrical connections, and ensuring proper airflow. Improper installation can void warranties and reduce efficiency.
What tools are needed to install a central air conditioner?
Basic tools include a drill, wrenches, refrigerant gauges, vacuum pump, level, pipe cutter, and electrical testers. Additional equipment like a ladder, safety gear, and duct sealant are essential for a complete central air conditioner installation.
How long does it take to install a central air conditioning system?
The average installation takes 1-3 days, depending on system complexity, ductwork modifications, and whether the indoor unit (air handler or furnace) needs upgrades. Homes with existing ductwork typically see faster installations.
What are the most common mistakes during central air conditioner installation?
Incorrect sizing, poor refrigerant line sealing, improper drainage, and inadequate electrical wiring are frequent errors. These can lead to inefficiency, breakdowns, or even safety hazards—always verify measurements and connections.
Do I need permits to install a central air conditioner?
Yes, most areas require permits for central air conditioner installation to ensure compliance with safety and energy codes. Your HVAC contractor usually handles permits, but DIYers must check local regulations before starting.