
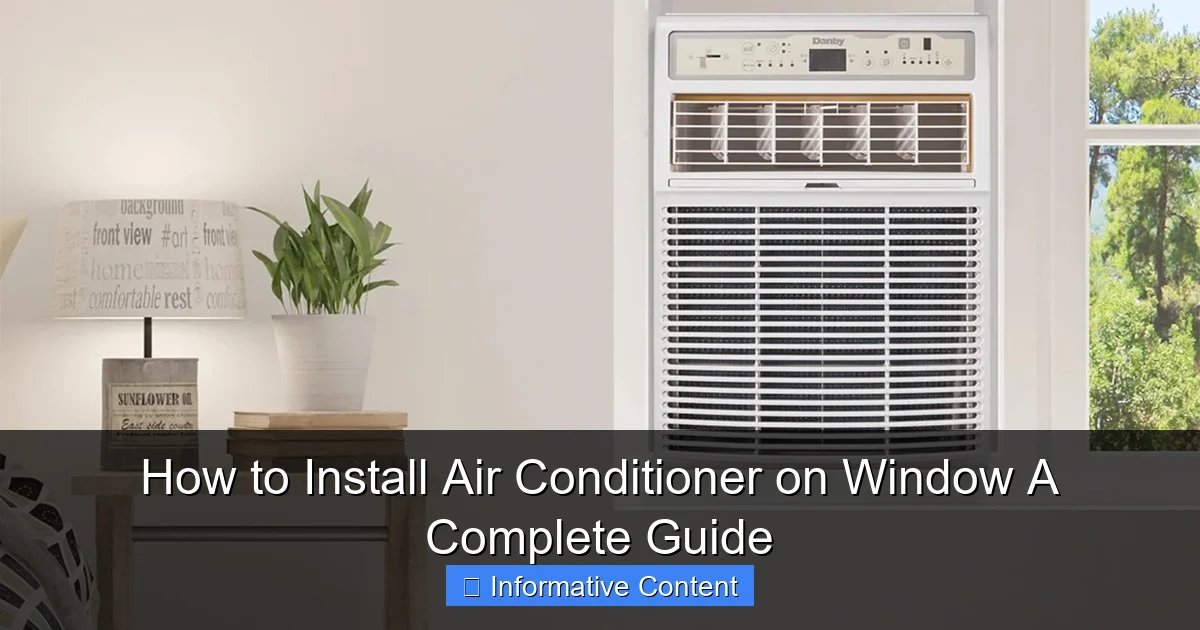
Featured image for how to install air conditioner on window
Image source: mydecorative.com
Installing an air conditioner on a window is a straightforward DIY task when you follow the right steps and prioritize safety. Ensure the unit fits your window type, secure it with support brackets, and seal gaps to prevent energy loss and water leaks. Always disconnect power before starting and double-check stability to avoid accidents.
Key Takeaways
- Measure your window first: Ensure the AC unit fits properly before purchase or installation.
- Secure the mounting bracket: Anchor it firmly to support the AC’s weight safely.
- Seal gaps with foam strips: Prevent air leaks and improve cooling efficiency.
- Tilt the unit slightly outward: Allows condensation to drain outside properly.
- Check electrical requirements: Use a dedicated outlet to avoid circuit overloads.
- Test operation before finalizing: Verify cooling and drainage work correctly.
📑 Table of Contents
- Why Window Air Conditioners Are a Game Changer
- Choosing the Right Window Air Conditioner
- Tools and Materials You’ll Need
- Step-by-Step Installation Guide
- Troubleshooting Common Installation Issues
- Maintenance and Safety Tips for Long-Term Use
- Data Table: Recommended AC Sizes by Room
- Final Thoughts: Enjoy Your Cool Oasis
Why Window Air Conditioners Are a Game Changer
There’s nothing quite like the relief of stepping into a cool, air-conditioned room after a long, sweaty day. For many of us, especially in older homes or rentals, a window air conditioner is the most practical and affordable way to beat the heat. I remember the first time I installed one—nervous, unsure, and armed with nothing but YouTube videos and a prayer. But after a few trial-and-error attempts (and one near-disaster involving a wobbly AC unit), I’ve learned the ropes. Now, I want to share everything you need to know to install your window AC safely and efficiently.
Installing a window air conditioner might seem intimidating, but with the right tools, a clear plan, and a little patience, it’s a DIY project anyone can tackle. Whether you’re a seasoned handyman or a total newbie, this guide will walk you through every step—from choosing the right unit to securing it for long-term use. Let’s get started!
Choosing the Right Window Air Conditioner
Before you even think about installation, you need to pick the right AC unit. Not all window air conditioners are created equal, and choosing the wrong one can lead to inefficiency, noise, or even safety issues. Here’s how to make an informed decision.
Visual guide about how to install air conditioner on window
Image source: thehandymansdaughter.com
Size Matters: BTUs and Room Dimensions
The first thing to consider is the cooling capacity of the unit, measured in British Thermal Units (BTUs). A unit that’s too small won’t cool your room effectively, while one that’s too large will cycle on and off too quickly, wasting energy and failing to dehumidify properly.
- For a 150-square-foot room (e.g., a small bedroom), 5,000–6,000 BTUs are sufficient.
- A 250-square-foot living room might need 7,000–8,000 BTUs.
- Larger spaces (400+ sq ft) require 10,000–12,000 BTUs.
Pro tip: Measure your room’s length, width, and ceiling height. If it’s a sunlit room or has poor insulation, bump up the BTU count by 10–15%. For example, a 300 sq ft room with large windows might need 9,000 BTUs instead of 7,500.
Window Compatibility and Installation Type
Not all windows can accommodate every AC unit. Most window ACs are designed for double-hung or sliding windows, but some models work with casement or awning windows. Check the manufacturer’s specifications to ensure your window type is compatible.
- Double-hung windows: Most common. The AC sits on the lower sash, which is lowered onto the unit.
- Sliding windows: Require a side-mounted AC or a custom bracket.
- Casement windows: Need special models or a wall-mounted unit.
Example: I once tried to install a standard double-hung AC in a sliding window—spoiler: it didn’t work. The unit kept sliding out, and I ended up buying a side-mounted model instead. Lesson learned!
Energy Efficiency and Noise Levels
Look for the Energy Star label and a high Combined Energy Efficiency Ratio (CEER). A CEER of 10+ is excellent. Also, check the decibel (dB) rating—most units range from 50–65 dB. For bedrooms, aim for 55 dB or lower (quieter than a normal conversation).
Tip: Read user reviews for real-world noise feedback. A 55 dB unit might sound louder in a quiet room due to fan vibrations.
Tools and Materials You’ll Need
Before you start, gather everything you need. Having the right tools saves time and prevents last-minute trips to the hardware store.
Essential Tools
- Measuring tape: For checking window dimensions and AC size.
- Level: Ensures the AC is installed evenly (critical for drainage and stability).
- Drill and drill bits: For mounting brackets or side panels.
- Screwdriver (Phillips and flathead): For assembling the AC and securing parts.
- Pencil or marker: For marking drill holes.
Materials
- Window AC unit: With all included hardware (usually side panels, brackets, screws, and weather stripping).
- Foam insulation tape: For sealing gaps around the AC.
- Support brackets (if needed): For heavy units or weak window frames. I once skipped this and ended up with a sagging AC that leaked water—don’t make my mistake!
- Extension cord (optional): Only if your outlet isn’t close enough. Never use a regular power strip—ACs need high amperage.
Safety Gear
- Gloves: Protect your hands from sharp edges.
- Safety glasses: For drilling or handling metal parts.
- Sturdy ladder (for high windows): Never install an AC alone if it’s above the first floor.
Step-by-Step Installation Guide
Now for the main event—installing your window AC. Follow these steps carefully, and you’ll have a cool, secure unit in no time.
1. Prepare the Window and Area
Clear the window sill and surrounding area. Remove any curtains, blinds, or furniture that might get in the way. Open the window and inspect the frame for damage. If the wood is rotting or the sash is loose, reinforce it first (e.g., with a wooden shim).
- Wipe down the window sill to remove dust and debris.
- Check the weather forecast—install on a dry, calm day to avoid water damage or accidents.
2. Assemble the AC Unit
Most window ACs come partially assembled. Follow the manual to:
- Attach the side panels (if included). These slide or snap into place.
- Secure the top rail (a metal or plastic piece that sits under the upper window sash).
- Install any foam gaskets or weather stripping around the unit’s edges.
Pro tip: Do this on the ground or a table—lifting a heavy, partially assembled AC into the window is risky.
3. Position the AC in the Window
This is the trickiest part—and where most people go wrong. Here’s how to do it safely:
- Have a helper: ACs are heavy (30–80 lbs). Never lift one alone, especially above ground level.
- Tilt the unit: Angle the AC so the back (condenser) is slightly lower than the front (evaporator). This ensures proper drainage.
- Slide it in: Gently lower the AC onto the window sill. The top rail should sit under the upper sash, and the side panels should extend to the window edges.
Warning: If the AC feels wobbly, stop! Adjust the side panels or add a support bracket.
4. Secure the Window and AC
Once the AC is in place:
- Lower the upper window sash until it rests on the top rail.
- Attach the side panels to the window frame using the provided screws. Drill pilot holes first to avoid splitting wood.
- Use L-brackets (if included) to anchor the AC to the sash. This prevents it from sliding out.
- Check that the unit is level. If not, adjust the side panels or add shims under the AC.
Example: My first AC installation was crooked because I rushed the leveling step. The unit vibrated loudly and leaked water. A quick fix with a shim saved the day!
5. Seal the Gaps
Use foam insulation tape to seal gaps between the AC, side panels, and window frame. This prevents warm air from sneaking in and improves efficiency.
- Cut the tape to size and press it firmly around all edges.
- For sliding windows, install a side-mounted AC or use a custom foam block.
Troubleshooting Common Installation Issues
Even with careful planning, things can go wrong. Here’s how to fix the most common problems.
The AC Is Leaking Water
Cause: Poor tilt (the AC isn’t angled downward at the back) or a clogged drain pan.
- Fix: Recheck the tilt with a level. If it’s correct, turn off the AC and clean the drain pan (located inside the unit) with a wet/dry vacuum.
- Tip: Place a small tray under the AC to catch drips during the first few days.
The AC Vibrates or Makes Noise
Cause: Unlevel installation, loose screws, or a damaged fan blade.
- Fix: Tighten all screws and recheck the level. If the noise persists, inspect the fan for damage (e.g., bent blades).
- Example: I once ignored a slight rattle—turns out, a loose screw was hitting the fan. A 2-minute fix saved a $50 repair bill.
The Unit Doesn’t Cool Effectively
Cause: Poor insulation, dirty filters, or incorrect BTU size.
- Fix: Seal all gaps with insulation tape. Clean the AC filter (every 2–4 weeks). If the room is still too warm, the unit might be undersized.
The Window Sash Won’t Close
Cause: The AC is too tall or the side panels are misaligned.
- Fix: Adjust the side panels or trim the foam tape. If the AC is still too tall, you may need a different unit or a custom bracket.
Maintenance and Safety Tips for Long-Term Use
Installing your AC is just the beginning. Proper maintenance ensures it lasts for years and runs safely.
Monthly Maintenance
- Clean the filter: Rinse it under water or vacuum it. A dirty filter reduces efficiency and can cause the AC to freeze up.
- Check the drain pan: Look for mold or standing water. Wipe it with a mild bleach solution if needed.
- Inspect the seals: Replace cracked or peeling insulation tape.
Seasonal Care
- Winter storage: Remove the AC in cold months to prevent drafts. Store it indoors (e.g., a closet) with the filter removed to avoid dust buildup.
- Pre-summer check: Before reinstalling, clean the condenser coils (on the back) with a soft brush or compressed air.
Safety First
- Electrical safety: Plug the AC directly into an outlet. If you must use an extension cord, choose a heavy-duty 14-gauge cord rated for 15 amps.
- Child safety: Install a window lock to prevent the sash from being opened from the outside. I added one after my toddler tried to “help” by pushing the AC out!
- Fire risk: Never cover the AC with curtains or furniture. Keep at least 12 inches of clearance on all sides.
Data Table: Recommended AC Sizes by Room
| Room Size (sq ft) | Recommended BTUs | Example Use Case |
|---|---|---|
| 100–150 | 5,000–6,000 | Small bedroom, home office |
| 150–250 | 7,000–8,000 | Medium bedroom, kitchen |
| 250–350 | 9,000–10,000 | Living room, small apartment |
| 350–450 | 10,000–12,000 | Large living room, open-plan space |
| 450–650 | 12,000–14,000 | Master suite, studio apartment |
Final Thoughts: Enjoy Your Cool Oasis
Installing a window air conditioner might seem daunting, but it’s one of the most rewarding DIY projects you’ll ever do. Not only does it save you money on professional installation, but it also gives you the satisfaction of creating a cool, comfortable space with your own hands. From choosing the right BTUs to sealing every gap, each step plays a crucial role in performance and safety.
Remember, patience is key. Take your time, double-check your work, and don’t hesitate to ask for help—especially when lifting heavy units. And once your AC is running smoothly, don’t forget to maintain it! A little care goes a long way in extending its lifespan and keeping your home cool for summers to come.
So go ahead—crank up the cold air, kick back, and enjoy your hard-earned oasis. You’ve earned it!
Frequently Asked Questions
How do I install an air conditioner on a window safely?
To install an air conditioner on a window safely, ensure the unit is centered and level, then secure it with brackets or support arms to prevent tipping. Always follow the manufacturer’s instructions and check that the window frame is sturdy enough to hold the weight.
What tools do I need to install a window air conditioner?
Common tools include a screwdriver, level, measuring tape, and support brackets (often included with the unit). You may also need a drill, shims for uneven frames, and foam weatherstripping to seal gaps and improve efficiency.
How do I measure my window for a window air conditioner?
Measure the width and height of your window opening to ensure the AC unit fits snugly. Check the manufacturer’s recommended size range, leaving 1–2 inches on each side for insulation and support during the window air conditioner installation.
Can I install a window air conditioner by myself?
Yes, most window air conditioners are designed for DIY installation. However, heavier units (over 80 lbs) may require two people for safe lifting and securing to avoid injury or damage.
How do I seal gaps after installing a window air conditioner?
Use foam weatherstripping or side panels (often included) to seal gaps between the unit and window frame. This prevents air leaks, improves cooling efficiency, and keeps out insects or debris.
Do I need a support bracket for window air conditioner installation?
Yes, a support bracket is highly recommended to distribute the unit’s weight and prevent sagging or falling. Some models include brackets, but aftermarket kits are available for added safety during installation.