
Featured image for how to install a window air conditioner in a wall
Image source: i.ytimg.com
Installing a window air conditioner in a wall requires a properly sized, reinforced opening to ensure safe, stable mounting and optimal performance. Always use a wall sleeve designed for your AC model and secure it with sturdy framing and weatherproofing to prevent sagging or leaks. Follow manufacturer instructions and local building codes closely to guarantee a safe, efficient, and long-lasting installation.
Key Takeaways
- Measure carefully: Ensure the wall opening matches your AC unit’s dimensions.
- Reinforce the frame: Use studs and brackets for secure, long-lasting support.
- Seal gaps tightly: Prevent air leaks with foam or weatherstripping.
- Check electrical safety: Verify wiring and circuit capacity before installation.
- Use a support brace: Distribute weight evenly to avoid wall damage.
- Follow the manual: Adhere to manufacturer instructions for optimal performance.
📑 Table of Contents
- Why Installing a Window Air Conditioner in a Wall Is a Smart Move
- Is a Wall-Mounted AC Right for You?
- Tools, Materials, and Safety Gear You’ll Need
- Step-by-Step: How to Install a Window Air Conditioner in a Wall
- Common Mistakes to Avoid (And How to Fix Them)
- Maintenance and Long-Term Care for Wall-Mounted ACs
- Final Thoughts: Your AC, Your Way
Why Installing a Window Air Conditioner in a Wall Is a Smart Move
Let’s be honest: summer heat can be brutal. You’re sweating through your clothes, your dog is panting like he ran a marathon, and even the ice cream melts before it reaches your mouth. That’s when a trusty air conditioner becomes your best friend. But if you’ve ever tried fitting a window AC unit into a narrow or oddly shaped window, you know it can feel like trying to squeeze a square peg into a round hole. That’s where installing a window air conditioner in a wall comes in—it’s a game-changer.
Think about it: instead of blocking your view, taking up window space, or risking a unit falling out during a storm, you’re creating a permanent, secure, and efficient cooling solution. It’s like giving your AC a dedicated home. And no, you don’t need to be a licensed contractor to do it. With the right tools, a little patience, and some practical know-how, you can install a window air conditioner in a wall safely and easily—without turning your living room into a construction zone.
Is a Wall-Mounted AC Right for You?
Before you grab a sledgehammer and start knocking holes in your walls, let’s pause. Not every situation calls for a wall-mounted air conditioner. But if you’re tired of wrestling with flimsy window seals, dealing with drafts, or just want a cleaner, more permanent setup, this might be perfect for you. Here’s how to decide.
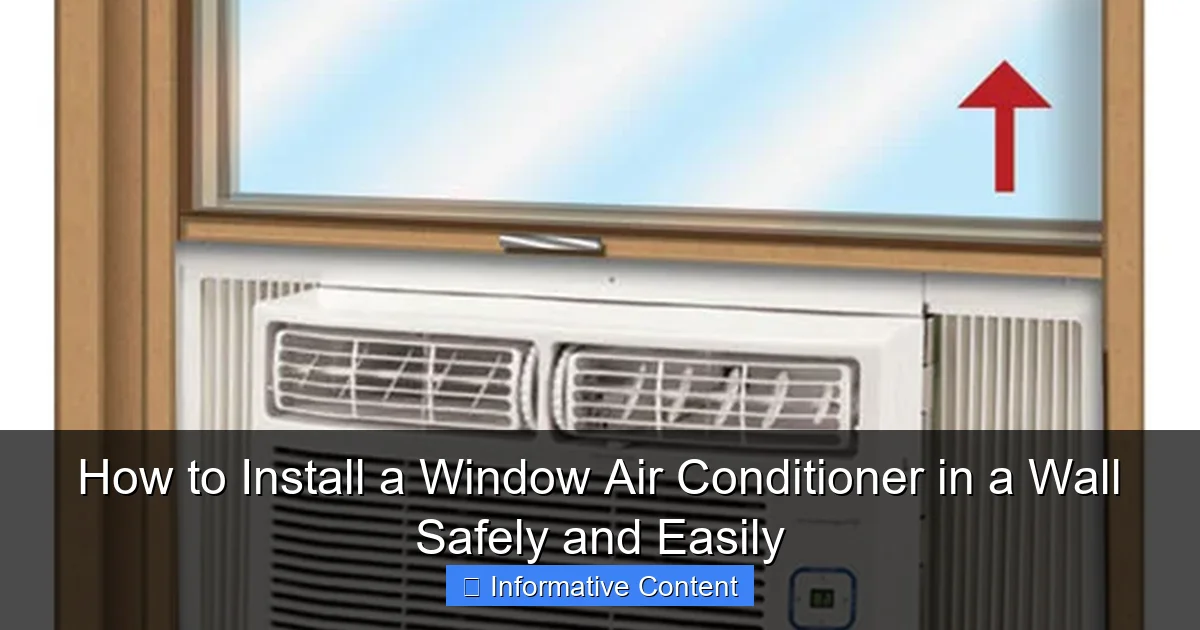
Visual guide about how to install a window air conditioner in a wall
Image source: ajmadison.com
Pros of Installing a Window AC in a Wall
- Better insulation: Wall installations create a tighter seal, reducing air leaks and improving efficiency.
- No seasonal removal: Unlike window units, you don’t have to take it out in winter (great for apartments or rentals).
- Improved security: A unit in the wall is harder to steal or tamper with than one hanging from a window.
- Cleaner look: It’s sleek, unobtrusive, and doesn’t block natural light or views.
- Longer lifespan: Less exposure to weather and vibration means fewer breakdowns.
Cons and Considerations
- Permanent modification: You’re cutting into your wall. If you rent, check with your landlord first.
- Higher upfront effort: More work than a simple window install, but worth it long-term.
- Not all walls are suitable: Exterior walls are ideal. Interior walls won’t work because they don’t lead outside.
- Drainage matters: You’ll need a way for condensation to escape without damaging your wall.
Pro tip: If you’re in a rental, consider a through-the-wall sleeve—it’s designed for renters and can be removed later with minimal patching. More on that later!
Tools, Materials, and Safety Gear You’ll Need
Before you start, gather everything. Nothing kills momentum like realizing halfway through that you don’t have the right drill bit. Here’s your checklist—no surprises, no last-minute runs to the hardware store.
Essential Tools
- Measuring tape – Accuracy is key. Measure twice, cut once.
- Stud finder – Avoid cutting through load-bearing structures.
- Level – A crooked AC unit looks bad and can cause drainage issues.
- Circular saw or reciprocating saw – For cutting through siding, sheathing, or drywall.
- Drill with wood and masonry bits – You’ll need both for pilot holes and mounting.
- Jigsaw – For precise interior cuts, especially if your unit has an odd shape.
- Caulk gun – For sealing gaps with waterproof caulk.
- Utility knife – For trimming insulation or vapor barriers.
- Safety goggles and work gloves – Protect your eyes from debris and your hands from sharp edges.
Materials to Buy
- Through-the-wall sleeve (optional but recommended) – A metal or plastic frame that holds the AC and simplifies installation. Brands like Frigidaire and LG make universal sleeves.
- Exterior-grade caulk (silicone or urethane) – Prevents water infiltration.
- Weatherproof flashing tape – Extra protection around the cut edge.
- Insulating foam sealant (low-expansion) – For sealing small gaps without warping the frame.
- Exterior trim or vinyl siding patch – To match your home’s finish.
- Drain pan or drip line – To manage condensation (if your AC doesn’t have built-in drainage).
Real talk: I once skipped the sleeve because I thought I could “just make it work.” Big mistake. Without a sleeve, the AC wobbled, the seal leaked, and I spent an extra weekend fixing it. Save yourself the headache—get the sleeve. It’s worth every penny.
Step-by-Step: How to Install a Window Air Conditioner in a Wall
Now for the fun part. This process has a few phases: planning, cutting, fitting, sealing, and testing. Let’s walk through each step like we’re doing it together.
Step 1: Choose the Perfect Location
Start inside. Pick a spot on an exterior wall where the AC will cool the room effectively. Avoid:
- Areas with plumbing or electrical wires (use a stud finder to map them).
- Near furniture that blocks airflow.
- Direct sunlight exposure (if possible) to reduce strain on the unit.
Measure your AC unit’s width, height, and depth. Add 1–2 inches to each dimension for clearance and the sleeve (if using). Mark the outline on the wall with a pencil.
Step 2: Cut the Wall Opening
Here’s where things get real. First, turn off power to the room (safety first!). Then:
- Drill pilot holes in each corner of your marked rectangle.
- Use a jigsaw to cut the interior drywall or plaster. Be careful not to cut into studs or joists.
- Move outside. Use your saw to cut through the exterior siding and sheathing. If you have brick or stucco, you may need a masonry blade.
- Remove the cut section. You now have a “window” into your home—literally.
Tip: If you’re nervous about structural damage, cut a small test hole first to check for wires or pipes. Better safe than sorry!
Step 3: Install the Sleeve (If Using)
Slide the sleeve into the hole from the outside. It should fit snugly. Use a level to ensure it’s perfectly horizontal. Secure it with screws through the sleeve’s mounting flanges into the wall framing. Apply exterior-grade caulk around the edges to seal against rain and wind.
No sleeve? Frame the opening with wood or metal to create a stable base for the AC unit. This is more advanced and requires precise carpentry.
Step 4: Position the Air Conditioner
Carefully slide the AC unit into the sleeve. It should sit flat and level. If it wobbles, add thin shims (wood or plastic) under the base. Connect the power cord to a dedicated outlet. Never use an extension cord—it’s a fire hazard.
Step 5: Seal and Insulate
This is critical for efficiency and safety:
- Inside: Use low-expansion foam to fill gaps between the AC and sleeve. Don’t overfill—it can warp the unit.
- Outside: Apply caulk and flashing tape around the sleeve. Cover with trim or a siding patch for a finished look.
- Drainage: If your unit has a drip tray, connect it to a short hose that drains outside. No hose? Tilt the AC slightly backward (1/4 inch) so water flows out naturally.
Step 6: Test and Adjust
Turn on the AC. Listen for unusual noises. Check for drafts around the edges. If the unit vibrates, adjust the shims. Let it run for 30 minutes and monitor the room temperature. If everything works, you’re golden!
Common Mistakes to Avoid (And How to Fix Them)
Even seasoned DIYers make mistakes. Here are the ones I’ve seen—and made—so you don’t have to.
Cutting Too Big or Too Small
Too big? The AC wobbles and leaks. Too small? You can’t fit the unit. Solution: Always add 1–2 inches to your measurements. Use the sleeve as a template. If you already cut too big, frame it with wood strips and seal with foam.
Ignoring Drainage
Condensation builds up and drips inside. Solution: Tilt the unit slightly backward. Install a drip pan with a hose that exits through the wall. Test by pouring a cup of water into the pan—it should drain outside.
Poor Sealing
Air leaks make your AC work harder, driving up energy bills. Solution: Use caulk on the exterior and low-expansion foam inside. Avoid regular spray foam—it expands too much and can damage the unit.
Wrong Wall Type
Cutting into an interior wall? The AC won’t vent properly. Solution: Only use exterior walls. If you’re unsure, knock on the wall—interior walls sound hollow; exterior ones sound solid.
Overlooking Electrical Safety
Using an extension cord or overloading a circuit? Solution: Plug directly into a dedicated 15–20 amp outlet. Check your AC’s voltage requirements (most are 115V). If in doubt, call an electrician.
Maintenance and Long-Term Care for Wall-Mounted ACs
You’ve done the hard part. Now, keep your AC running smoothly for years. Think of it like car maintenance—regular care prevents big breakdowns.
Monthly Checks
- Clean the filter: Remove and rinse it with water. Let it dry before reinstalling. A dirty filter reduces airflow and efficiency.
- Inspect seals: Look for cracks in caulk or gaps around the sleeve. Re-caulk if needed.
- Check drainage: Ensure the drip line isn’t clogged. Pour water through it to test.
Seasonal Tasks
- Before summer: Wipe the exterior, clean the condenser coils (with a soft brush), and test the thermostat.
- Before winter: If you live in a freezing climate, remove the unit and seal the sleeve with a cover. Or, if it stays in, install a weatherproof cover to protect it from snow and ice.
Troubleshooting Common Issues
| Issue | Likely Cause | Quick Fix |
|---|---|---|
| AC not cooling | Dirty filter or clogged coils | Clean filter and coils. Check for airflow blockage. |
| Water inside the room | Poor tilt or blocked drain | Re-level the unit. Clear the drain line. |
| Loud noise or vibration | Loose mounting or unbalanced unit | Tighten screws. Add shims for stability. |
| Unit won’t turn on | Blown fuse or tripped breaker | Check the circuit breaker. Reset if needed. |
Personal story: Last summer, my AC started dripping water inside. Turns out, the drain hose had a kink. A 10-minute fix saved me a $150 service call. Regular checks really pay off!
Final Thoughts: Your AC, Your Way
Installing a window air conditioner in a wall isn’t just about beating the heat—it’s about taking control of your comfort, efficiency, and peace of mind. You’ve gone from a temporary, drafty setup to a permanent, professional-looking installation that’s safer, quieter, and more effective.
Remember, the key is patience. Measure carefully. Cut precisely. Seal thoroughly. And don’t rush the sealing and drainage—those small details make all the difference. Whether you’re a first-time DIYer or a seasoned handyman, this project is totally doable. And when you’re sitting in your cool, comfortable room, sipping iced tea with the sun blazing outside? You’ll know it was worth every minute.
So grab your tools, put on some music, and get started. Your perfect summer oasis is just a few steps away. And hey—once you’re done, invite me over. I’ll bring the lemonade.
Frequently Asked Questions
Can you install a window air conditioner in a wall instead of a window?
Yes, you can install a window air conditioner in a wall, but it requires cutting an opening and proper framing to support the unit. This method is often used when window placement isn’t ideal or for a more permanent, streamlined look.
What tools do I need to install a window air conditioner in a wall?
You’ll need a saw (preferably a reciprocating or circular saw), drill, level, measuring tape, screws, and insulation materials. A helper is also recommended to safely lift and position the AC unit during installation.
Is it safe to install a window air conditioner in a wall?
Yes, it can be safe if done correctly with proper support, sealing, and ventilation. Ensure the wall structure can handle the weight and that the unit is securely mounted to prevent sagging or falling.
How do I seal a window air conditioner installed in a wall?
Use weatherstripping around the edges and fill gaps with foam insulation or caulk to prevent air leaks. Proper sealing improves efficiency and keeps pests and moisture out.
Do I need a special bracket to install a window AC in a wall?
While not always required, a support bracket or shelf is highly recommended to bear the weight of the unit. This ensures long-term stability and reduces strain on the wall structure.
Can I install a window air conditioner in a wall myself?
DIY installation is possible if you have basic carpentry skills and follow safety precautions. However, if you’re unsure about electrical or structural work, hiring a professional is the safest choice.