

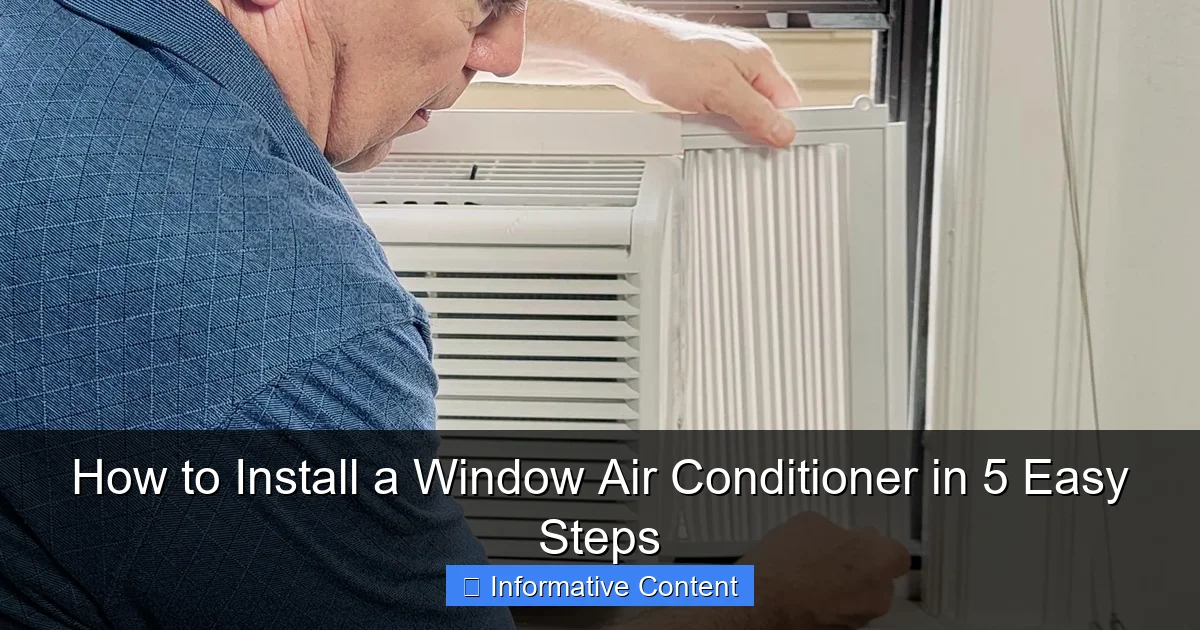
Featured image for how to install a window air conditioner
Image source: i.ytimg.com
Installing a window air conditioner is a quick, DIY-friendly task that takes less than an hour with the right tools and preparation. Start by measuring your window opening and securing the mounting brackets to ensure a stable, level fit before sliding in the unit and sealing gaps with foam or weather stripping. Always follow the manufacturer’s instructions for safe electrical connections and optimal performance.
Key Takeaways
- Measure your window to ensure the AC unit fits securely and safely.
- Clear the area of obstructions for smooth installation and operation.
- Use support brackets to stabilize the unit and prevent accidents.
- Seal gaps properly with foam or weatherstripping to maximize efficiency.
- Check electrical safety and use a dedicated outlet to avoid overloads.
- Test the unit immediately after installation for leaks or unusual noises.
📑 Table of Contents
- Why Window Air Conditioners Are a Game Changer
- Step 1: Choose the Right Window and Air Conditioner
- Step 2: Gather Your Tools and Safety Gear
- Step 3: Prepare the Window and Install the Frame
- Step 4: Position and Secure the Air Conditioner
- Step 5: Seal, Plug In, and Test
- Maintenance and Seasonal Tips for Longevity
- Final Thoughts: Cool, Confident, and Ready
Why Window Air Conditioners Are a Game Changer
Let’s be honest—there’s nothing quite like the first blast of cool air after a sweltering day. Whether you’re sweating through a heatwave or just trying to get a good night’s sleep, a window air conditioner can be a total lifesaver. I remember my first summer in a third-floor walkup with no central AC. The sun baked the apartment like an oven, and I spent more time in the library than my own bedroom. Then I bought a window AC unit. Game. Changer.
But here’s the thing: installing a window air conditioner can feel intimidating if you’ve never done it before. You might be picturing a complex setup with tools, measurements, and maybe even a call to a handyman. The good news? Installing a window air conditioner is easier than you think. In fact, with a little prep and the right guidance, you can have your unit up and running in under an hour. And no, you don’t need to be a DIY expert. I’ve helped my mom install hers, and she once thought a “screw” was just a coffee order.
Step 1: Choose the Right Window and Air Conditioner
Before you even unbox your AC unit, you need to make sure you’re pairing it with the right window. This isn’t just about fit—it’s about efficiency, safety, and comfort. Let’s break it down.
Visual guide about how to install a window air conditioner
Image source: familyhandyman.com
Measure Your Window Opening
Grab a tape measure and check the width and height of your window opening. Measure from the inside of the frame, not the glass. Most window AC units are designed for double-hung windows, which are the most common in North America. But if you have a casement or sliding window, don’t worry—there are models and kits made just for those.
For example, my friend Sarah has a casement window (the kind that opens like a door). She thought she was out of luck until she found a casement window AC unit with a side-mounted design. It fit perfectly and didn’t block her view. So always check your window type before buying.
Calculate the Right BTU Size
BTUs (British Thermal Units) measure cooling power. Too few BTUs, and your room will still feel like a sauna. Too many, and you’re wasting energy and creating a chilly, dry environment. Here’s a quick guide:
- 100–150 sq ft: 5,000–6,000 BTUs
- 150–250 sq ft: 6,000–7,000 BTUs
- 250–350 sq ft: 8,000–9,000 BTUs
- 350–450 sq ft: 10,000–12,000 BTUs
- 450–550 sq ft: 12,000–14,000 BTUs
Pro tip: If your room gets a lot of sun or you have high ceilings, go one size up. My living room is 200 sq ft, but it faces west and gets afternoon sun. I went with a 7,000 BTU unit instead of 6,000, and it made all the difference.
Check Window AC Unit Dimensions
Once you know your BTU needs, check the actual dimensions of the AC unit—not just the BTUs. Look at the manufacturer’s specs. Most window ACs list the “window opening width” they fit. For example, a unit might say: “Fits windows 23–36 inches wide.” Make sure your window falls within that range.
Also, check the depth. If your window sill is narrow, some units might hang out too far and be a tripping hazard. I once saw a neighbor’s AC unit leaning dangerously because it wasn’t properly supported—scary!
Step 2: Gather Your Tools and Safety Gear
You don’t need a full toolbox, but having the right supplies makes the job smoother and safer. Here’s what I always keep in my “window AC installation kit.”
Essential Tools and Materials
- Tape measure – for double-checking everything
- Level – ensures your unit doesn’t tilt (which can cause leaks)
- Adjustable wrench or screwdriver – for tightening brackets and screws
- Drill with drill bits – if your kit requires drilling into wood or vinyl
- Pencil or marker – for marking screw holes
- Work gloves – AC units are heavy and sharp in places
- Safety goggles – especially if drilling
- Drop cloth or towel – to protect your floor and window sill
Optional but Helpful
- Helper – AC units weigh 40–80 pounds. I once tried to install one alone and nearly dropped it. A friend made it a breeze.
- Foam insulation strips – for sealing gaps (more on this later)
- Weather stripping – to reduce drafts and noise
- AC cover – for winter storage (if you remove it)
Safety first: Always unplug the unit before installing or moving it. And if your window is above the first floor, use a safety strap or have someone spot you. I learned this the hard way when I installed my unit on the second floor—my dog barked, I jumped, and the AC wobbled. Not fun.
Step 3: Prepare the Window and Install the Frame
Now comes the fun part: getting your window ready. This step is all about creating a secure, weather-tight fit. Think of it like building a nest for your AC—safe, snug, and draft-free.
Remove the Window Sash
For double-hung windows, lower the bottom sash and remove it completely. Some windows have a tilt-in feature—just tilt the sash inward and lift it out. If yours doesn’t, you might need to unscrew the side tracks. Don’t force it. If it’s stuck, a little WD-40 can help.
Pro tip: Take a photo of how the sash fits before removing it. That way, if you need to reinstall it later (like for winter), you’ll know exactly how it goes back.
Install the Mounting Bracket (If Included)
Many modern window AC units come with a side support bracket or a slide-out frame. These are lifesavers—they take the weight off the window frame and prevent sagging.
Here’s how to install one:
- Place the bracket on the window sill, flush against the bottom track.
- Use the level to make sure it’s perfectly horizontal.
- Mark the screw holes with a pencil.
- Drill pilot holes (this prevents wood from splitting).
- Secure the bracket with screws. Tighten firmly, but don’t overdo it.
I installed a bracket on my vinyl window frame. The screws went in smoothly, but I made sure not to overtighten—vinyl can crack. A little patience goes a long way.
Attach the Side Panels
Most AC units come with expandable side panels (sometimes called accordion panels). These fill the gap between the unit and the window frame.
- Slide the panels into the tracks on the AC unit.
- Expand them to fit your window width.
- Secure them to the window frame with the provided screws or clips.
My unit came with foam seals on the panels. I pressed them firmly against the frame to seal out hot air and bugs. No one wants a fly chilling in their AC!
Step 4: Position and Secure the Air Conditioner
This is the moment of truth. You’re lifting the AC unit into place. Take a deep breath. You’ve got this.
Lift the Unit into the Window
With your helper (or alone, if you’re strong and careful), lift the AC unit and slide it into the window opening. The back (condenser side) should be outside, and the front (evaporator side) should be inside.
Important: Never let the unit tilt forward. That can damage the compressor. Keep it level as you slide it in. I use a piece of cardboard under the unit to protect the window sill and make sliding easier.
Lower the Window Sash
Once the unit is in, lower the window sash until it rests securely on top of the AC unit. Most units have a top mounting rail or lip that the sash sits on. Make sure it’s snug—there should be no gaps.
If there’s a gap, you can use a piece of wood (like a 1×2 board) as a shim. Cut it to fit, place it on top of the AC, and lower the sash onto it. This prevents the sash from sliding down and keeps the unit stable.
Secure the Unit
Now it’s time to lock everything down:
- Attach the side panels to the window frame with screws.
- If your kit includes a top bracket, attach it to the window sash and the AC unit. This prevents the sash from being lifted by wind or kids.
- Use the level again to double-check that the unit is perfectly horizontal. A slight tilt (about 1/4 inch) toward the outside is okay—it helps with condensation drainage.
My neighbor once installed his unit perfectly level, and it leaked water inside because the condensation couldn’t drain properly. A tiny tilt makes all the difference.
Step 5: Seal, Plug In, and Test
You’re almost there! Now it’s time to seal out drafts, plug in your unit, and enjoy that sweet, cool air.
Seal the Gaps
Even with side panels, there might be small gaps. Use foam insulation strips or weather stripping to seal them. I like the peel-and-stick foam tape—it’s easy to apply and removes cleanly at the end of the season.
For larger gaps, you can use a foam board cut to size. Just make sure it doesn’t block airflow or the window’s operation. And never seal the bottom completely—some airflow under the unit is normal and helps with drainage.
Bonus tip: If you’re in a noisy area, sealing gaps also reduces outside noise. My street is busy, but my sealed AC unit keeps the apartment quiet and cool.
Plug It In and Test
Plug the AC into a grounded outlet (three-prong plug). Avoid using extension cords—they can overheat and are a fire hazard. If you must use one, make sure it’s heavy-duty (14-gauge or thicker) and rated for the unit’s wattage.
Turn on the unit. You should hear the fan and compressor kick in. Set the thermostat to a low temperature and wait a few minutes. You should feel cool air blowing from the front vents.
If it doesn’t turn on:
- Check that the circuit breaker hasn’t tripped.
- Make sure the filter isn’t clogged (some units won’t run with a dirty filter).
- Verify that the unit is level and not obstructed.
My first test run was a success—until I realized I’d forgotten to remove the protective film from the filter. Rookie mistake! The unit ran, but airflow was terrible. Took me 10 minutes to fix.
Final Safety Check
Before you celebrate, do a quick safety check:
- Ensure the unit is stable and won’t fall out.
- Confirm there are no loose screws or panels.
- Check that the power cord isn’t pinched or stretched.
- Make sure the window can still be opened in an emergency (important for fire safety).
Maintenance and Seasonal Tips for Longevity
Installing your window AC is just the beginning. To keep it running smoothly and efficiently, a little maintenance goes a long way.
Clean the Filter Monthly
The filter traps dust, pollen, and pet hair. If it’s clogged, airflow drops, and your AC has to work harder—wasting energy and reducing cooling power. Most filters are washable—just rinse with water and let dry before reinserting.
I clean mine every 3–4 weeks. It takes two minutes and makes a huge difference. One summer, I skipped cleaning for two months. The AC ran constantly but felt weak. A quick rinse fixed it instantly.
Inspect the Condenser Coils
The coils on the outside of the unit can get dirty from leaves, pollen, and road grime. At least once a year, turn off the unit and gently clean the coils with a soft brush or coil cleaner (available at hardware stores).
Remove and Store (Or Cover) in Winter
If you live where it snows, consider removing the unit in winter. Leaving it in can let cold air and moisture inside. If you can’t remove it, use a weatherproof AC cover to protect it.
I leave mine in because it’s on the second floor and hard to reach. I cover it with a fitted cover and seal the gaps with extra foam tape. It’s survived three winters so far.
Check for Leaks and Noises
After a heavy rain, check for water inside. If you see leaks, it might be due to poor tilt or clogged drainage. Also, listen for unusual noises—rattling, grinding, or buzzing. These can signal loose parts or mechanical issues.
| Maintenance Task | Frequency | Tools Needed |
|---|---|---|
| Clean filter | Every 3–4 weeks | Water, soft brush |
| Inspect coils | Twice per season | Soft brush, coil cleaner |
| Seal gaps | Before each season | Foam tape, weather stripping |
| Drainage check | Monthly | Bucket, flashlight |
| Cover or remove | Before winter | AC cover, ladder (if needed) |
Remember, a well-maintained AC unit can last 10–15 years. That’s a decade of cool summers!
Final Thoughts: Cool, Confident, and Ready
There you have it—how to install a window air conditioner in 5 easy steps. From measuring your window to sealing the gaps, it’s a straightforward process that anyone can handle with a little care and the right tools. You don’t need to be a handyman or spend a fortune on professional installation. This is one of those rare home tasks where DIY really pays off.
I’ll never forget the first time I turned on my AC after installing it myself. The cool air hit my face, and I thought, “I did this.” It wasn’t just about comfort—it was pride. And every summer since, that unit has been a trusted companion.
So whether you’re cooling a bedroom, home office, or studio apartment, take the leap. Follow these steps, stay safe, and enjoy the breeze. And if you run into a snag? Don’t panic. Most issues are fixable with a quick search or a call to the manufacturer. You’ve got this.
Now go enjoy your cool, quiet, and refreshing space. Summer just got a whole lot better.
Frequently Asked Questions
How do I install a window air conditioner safely?
To install a window air conditioner safely, ensure the unit is properly supported with brackets or a mounting kit to prevent tipping. Always follow the manufacturer’s instructions and check that the window frame is sturdy enough to hold the weight.
What tools do I need to install a window air conditioner?
You’ll typically need a screwdriver, level, measuring tape, and possibly a drill for securing brackets or side panels. Some units come with included hardware, so check the manual before starting your window air conditioner installation.
Can I install a window AC unit by myself?
Yes, most window air conditioners can be installed solo, but having a helper is recommended for heavier units. Ensure you can lift and position the unit safely without straining or dropping it.
How do I seal gaps around the air conditioner in the window?
Use the included side panels or foam insulation strips to fill gaps between the AC and window frame. This prevents hot air from entering and improves cooling efficiency during your window air conditioner installation.
What type of window is best for installing an air conditioner?
Double-hung or sliding windows are ideal for installing an air conditioner. Make sure the window opens wide enough to accommodate the unit and allows for proper drainage and ventilation.
How do I ensure my air conditioner is level during installation?
Use a level tool to check that the unit slopes slightly backward (about 1/4 inch) for proper drainage. Adjust the mounting brackets or use shims to correct the tilt before securing the air conditioner.