
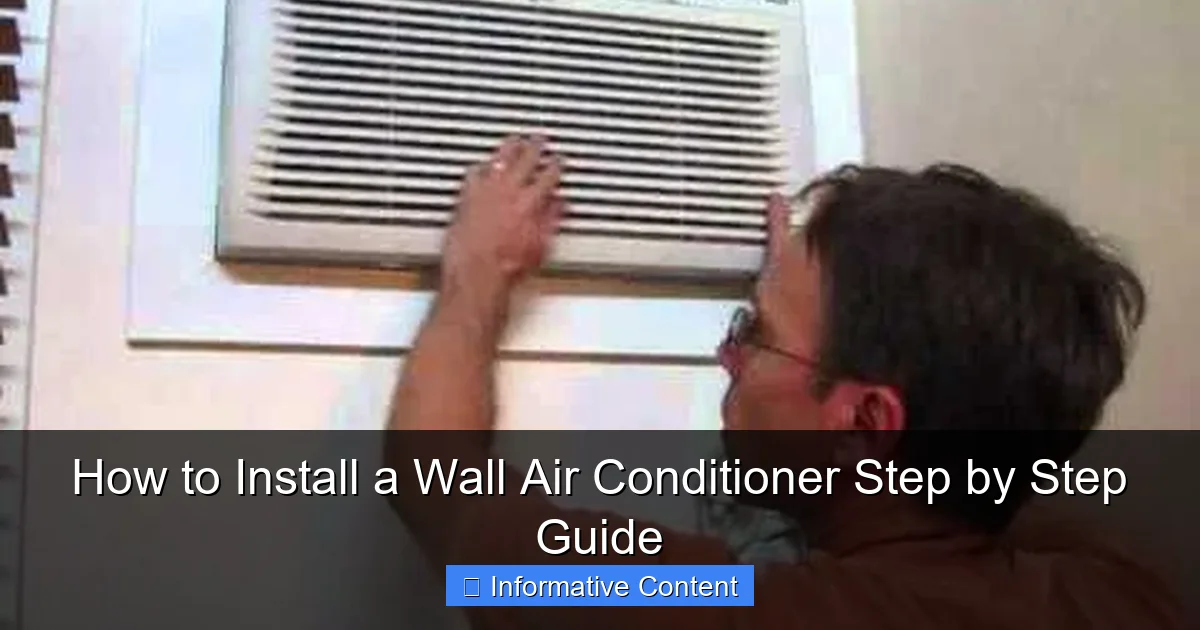
Featured image for how to install a wall air conditioner
Image source: i.ytimg.com
Installing a wall air conditioner starts with choosing the right unit and ensuring your wall can support its weight—safety and proper fit are critical. Follow precise steps: cut the opening, secure the mounting sleeve, connect electrical wiring, and seal gaps to prevent air leaks. Always turn off power before wiring and consult a professional if unsure—DIY saves money, but safety comes first.
Key Takeaways
- Measure carefully: Ensure precise wall opening dimensions for a snug fit.
- Turn off power: Always disconnect electricity before installation for safety.
- Seal gaps properly: Use foam strips to prevent air leaks and drafts.
- Check slope angle: Tilt unit slightly outward for proper drainage.
- Secure mounting brackets: Anchor firmly to support the AC’s weight.
- Test before finishing: Run a quick cycle to confirm functionality.
📑 Table of Contents
- Why Installing a Wall Air Conditioner Is Easier Than You Think
- 1. Choosing the Right Wall Air Conditioner for Your Space
- 2. Gathering Tools and Preparing the Installation Site
- 3. Installing the Air Conditioner Unit
- 4. Sealing and Insulating the Installation
- 5. Final Checks, Testing, and Maintenance Tips
- 6. Data: Wall AC Installation Checklist and Cost Breakdown
- Wrapping Up: You’ve Got This!
Why Installing a Wall Air Conditioner Is Easier Than You Think
Let’s be honest: when you first think about installing a wall air conditioner, it might sound like a job for a licensed HVAC technician. You picture drills, electrical wiring, and maybe even a ladder on a hot day. But here’s the good news—many modern wall air conditioners are designed with DIYers in mind. I learned this the hard way when I moved into a third-floor apartment in a 1970s building with no central AC. The landlord wouldn’t pay for installation, so I had to figure it out. After a weekend of sweat, YouTube tutorials, and a few (minor) mistakes, I had a cool, efficient unit humming away. And guess what? You can do it too.
Installing a wall air conditioner isn’t just about staying cool—it’s about control. You get to pick where the unit goes, how it’s mounted, and whether it blends with your decor. Plus, it’s often more energy-efficient than window units and doesn’t block your window view. Whether you’re retrofitting an older home, cooling a sunroom, or just want a permanent solution, this step-by-step guide will walk you through the entire process—from choosing the right model to sealing it up and turning it on. I’ll share what worked for me, the tools I used, and the little tricks that saved time and frustration. No jargon, no sales pitch—just real talk from someone who’s been there.
1. Choosing the Right Wall Air Conditioner for Your Space
Before you even think about drilling holes, you need to pick the right unit. This isn’t just about cooling power—it’s about fit, function, and future-proofing your investment. Trust me, I once bought a 12,000 BTU unit for a 150-square-foot bedroom because the salesperson said “bigger is better.” It was overkill. The room cooled in five minutes, then cycled on and off all night, driving up my electric bill. Learn from my mistake.
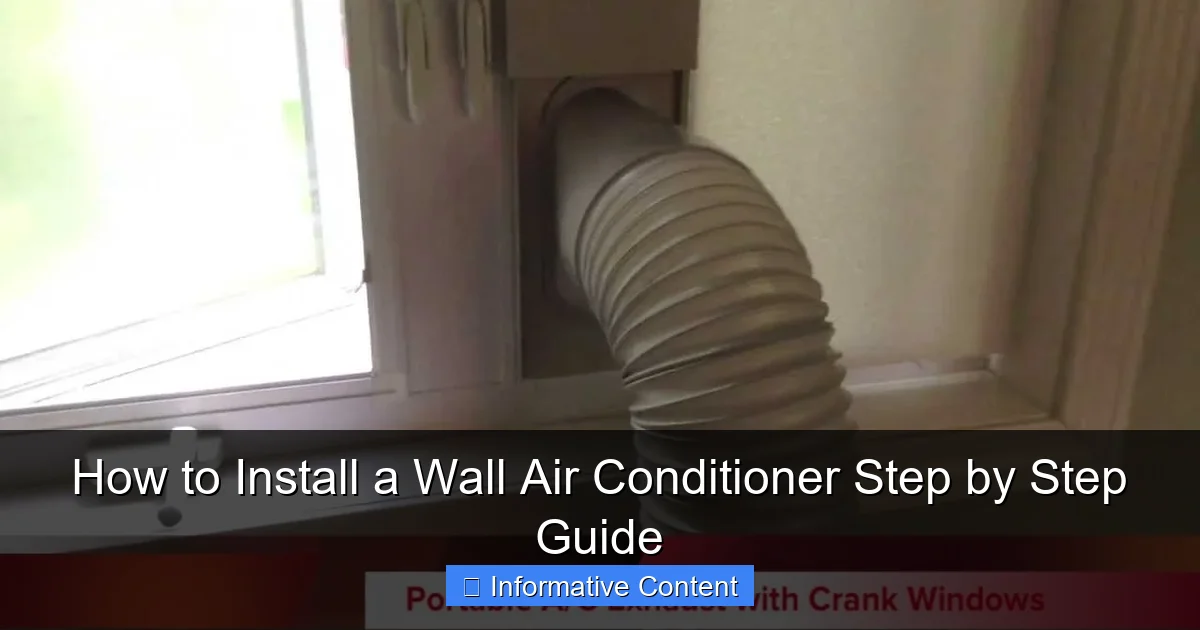
Visual guide about how to install a wall air conditioner
Image source: i.ytimg.com
Calculate the Right BTU Size
BTUs (British Thermal Units) measure cooling power. The general rule is **20 BTUs per square foot** of living space. So, a 300-square-foot room needs about 6,000 BTUs. But don’t stop there. Consider:
- Room height: Ceilings over 8 feet? Add 10% more BTUs.
- Sun exposure: South- or west-facing rooms? Add 10–15%.
- Occupancy: Each person adds ~600 BTUs (bodies generate heat!).
- Kitchens: Add 4,000 BTUs—cooking appliances heat things up fast.
For example, my 250-square-foot living room has two large west-facing windows and gets baked in the afternoon. Using the formula: 250 sq ft x 20 BTUs = 5,000 BTUs, plus 15% for sun = 5,750 BTUs. I rounded up to a 6,000 BTU unit—perfect balance of efficiency and power.
Types of Wall Air Conditioners
Not all wall ACs are created equal. Here are the main types:
- Through-the-wall (TTW) units: Installed directly into a framed wall cavity. Best for permanent setups. Requires structural support and proper insulation.
- Sleeve-mounted units: Slide into a pre-installed metal sleeve (often left by previous owners). Easier to remove and replace. Look for models with “universal” sleeves.
- Wall-hung mini-splits: Ductless systems with an outdoor condenser. More expensive but far more efficient. Requires a licensed pro for refrigerant lines.
Pro tip: If you’re renting, check with your landlord. Some prohibit TTW units because they alter the building’s structure. Sleeve-mounted units are often a safer bet.
Key Features to Look For
When comparing models, prioritize these features:
- Energy Efficiency Ratio (EER): Aim for 10+ (higher = more efficient). My current unit has an EER of 11.2—cuts my summer bill by ~20%.
- Smart controls: Wi-Fi or app-based thermostats let you adjust settings remotely. Great for turning on the AC before you get home.
- Dehumidifier mode: Crucial in humid climates. Reduces moisture without overcooling.
- Quiet operation: Look for decibel ratings (dB). Units under 55 dB are whisper-quiet. My LG model is 52 dB—barely hear it at night.
- Drainage: Condensate drain hose or pump. Avoid units that just drip water—it can damage walls.
2. Gathering Tools and Preparing the Installation Site
Now that you’ve picked your unit, it’s time to prep. This step is *crucial*—rushing leads to crooked mounts, leaks, or even electrical hazards. I once skipped measuring the wall cavity and ended up with a unit that stuck out 2 inches too far. Not a great look.
Essential Tools and Materials
Here’s what you’ll need:
- Tools: Tape measure, level, stud finder, drill with masonry bits (if cutting into brick/concrete), jigsaw or reciprocating saw (for wood/metal), screwdriver, utility knife, caulk gun.
- Safety gear: Work gloves, safety glasses, dust mask (especially if cutting into walls).
- Materials: Weatherproof sealant (silicone or butyl tape), foam insulation strips, shims (for leveling), exterior-grade flashing (to divert water), screws or anchors (check your wall type).
- Optional but helpful: Shop vacuum (for cleanup), ladder (if installing high up), helper (trust me—two people make lifting easier).
Preparing the Wall: A Step-by-Step Prep
Step 1: Find the Perfect Spot
- Choose a wall with access to an exterior side (no attics or crawl spaces).
- Ensure the area is clear of pipes, wires, or ductwork. Use a stud finder with a “deep scan” mode to check behind drywall.
- Leave at least 6 inches of clearance on all sides for airflow.
Step 2: Mark the Template
- Most units come with a paper template. Tape it to the wall, then use a level to ensure it’s straight. I use blue painter’s tape—it leaves no residue.
- Mark the cutting lines and screw holes with a pencil.
Step 3: Cut the Wall Opening
- For drywall or wood: Use a jigsaw. Drill starter holes in corners, then cut along the lines. Go slow—ragged edges are hard to fix.
- For brick or concrete: Use a masonry drill and chisel. Rent a rotary hammer for large openings. Wear a dust mask—silica dust is dangerous.
- For existing sleeve: Skip cutting. Just remove the old unit and clean the sleeve.
Step 4: Frame the Opening (For TTW Units)
- TTW units need a 2×4 or 2×6 frame to support the weight. Cut studs to fit, then secure them to the wall studs with screws. Use a level to ensure the frame is plumb (perfectly vertical).
- Leave a slight downward tilt (1/4 inch per foot) toward the exterior for drainage.
Pro tip: If you’re unsure about structural integrity, consult a carpenter. A poorly framed opening can collapse under the unit’s weight.
3. Installing the Air Conditioner Unit
This is where the magic happens. But take it slow—rushing can lead to leaks, gaps, or even dropping the unit. I once tried to install a 75-pound TTW unit solo. Let’s just say my lower back still remembers that day.
Step 1: Prepare the Unit
- Unbox the AC and lay it on a soft surface (like a blanket). Remove the front panel and check for shipping damage.
- Attach the mounting brackets (usually included). Some units have slide-in brackets; others need screws. Follow the manual.
- If your unit has a drain pan, ensure it’s level. I use a torpedo level for this—it fits in tight spaces.
Step 2: Slide or Lift the Unit Into Place
- For sleeve-mounted units: Slide the unit into the sleeve until it clicks. Secure with the included screws.
- For TTW units: This is a two-person job. Lift the unit (bend your knees!) and guide it into the opening. Use shims to fill gaps and level the unit. My trick: place shims at the top and sides, then tap them gently with a hammer.
Step 3: Secure the Unit
- Drill pilot holes, then screw the unit to the frame or wall. Don’t over-tighten—this can warp the casing.
- For sleeve units, attach the interior trim plate to hide gaps. Some models use magnetic strips—easy to remove for cleaning.
Step 4: Connect the Drain (If Needed)
- Most units have an internal drain pan. Attach a 1/4-inch plastic hose to the outlet and run it outside or to a floor drain. I use a drip pan under the unit just in case.
- In humid areas, consider a condensate pump to lift water to a sink or drain.
Pro tip: Test the unit now (before sealing) to ensure it powers on and drains properly. I’ve caught faulty thermostats early this way.
4. Sealing and Insulating the Installation
Sealing is where most DIYers skimp—and it’s a costly mistake. Gaps let in hot air, pests, and moisture. My first installation had a 1-inch gap around the unit. By July, my AC was working double-time, and my energy bill skyrocketed.
Exterior Sealing: Keep the Elements Out
- Apply exterior-grade caulk around the unit’s exterior flange. I use GE Silicone II—it’s waterproof and flexible.
- Install flashing above the unit to divert rainwater. Aluminum drip caps work well. Secure with roofing nails or screws.
- For brick/concrete, use butyl tape under the flange for extra adhesion.
Interior Sealing: Prevent Air Leaks
- Cut foam insulation strips to fit gaps between the unit and wall. I prefer closed-cell foam—it resists moisture.
- For large gaps, use expanding spray foam (low-expansion type). Spray it in, then trim the excess with a knife after it dries.
- Reattach the front panel and secure it with screws. Some models use snap-on panels—easy to remove for filter changes.
Electrical Safety Check
- Ensure the unit is plugged into a dedicated 20-amp circuit. Most wall ACs need 115V or 230V (check the manual).
- Use a GFCI outlet for safety, especially in damp areas.
- If you’re not confident with wiring, hire an electrician. A wrong connection can fry the unit or cause a fire.
Pro tip: Take photos of your work before final sealing. They’re helpful for future maintenance or if you sell the property.
5. Final Checks, Testing, and Maintenance Tips
You’re almost there! But don’t rush to celebrate yet. A few final checks ensure your AC runs safely and efficiently for years.
Step 1: Power On and Test
- Plug in the unit and turn it on. Listen for unusual noises (grinding, buzzing).
- Set the thermostat to 65°F (18°C). Feel for cool air within 5 minutes.
- Check for leaks. Run the AC for 30 minutes, then inspect the drain hose and exterior for water drips.
Step 2: Calibrate the Thermostat
- Use a standalone thermometer to check the room temperature. If it reads 70°F but the AC says 75°F, adjust the thermostat offset (see the manual).
- For smart units, download the app and sync it with your Wi-Fi.
Step 3: Maintenance Schedule
- Monthly: Clean the air filter with soap and water. A clogged filter reduces efficiency by up to 15%.
- Seasonally: Vacuum the condenser coils (exterior side) to remove dust and leaves.
- Annually: Inspect the drain pan and hose for algae. Flush with a 1:1 vinegar-water mix.
Common Issues and Fixes
- Unit won’t turn on: Check the circuit breaker, GFCI outlet, and thermostat settings.
- No cooling: Clean the filter, check refrigerant levels (requires a pro), or inspect the compressor.
- Water leaks: Clear the drain hose or replace the condensate pump.
6. Data: Wall AC Installation Checklist and Cost Breakdown
To help you plan, here’s a handy table with average costs and time estimates. These are based on my experience and data from HomeAdvisor and EnergyStar.
| Task | Time Required | Cost (DIY) | Cost (Pro Installation) | Notes |
|---|---|---|---|---|
| Unit purchase | 1–2 weeks (shipping) | $300–$800 | N/A | 6,000–12,000 BTU units |
| Tools/materials | 1 day (shopping) | $50–$150 | $100–$300 (included) | Foam, caulk, shims, etc. |
| Wall cutting/framing | 2–4 hours | $0 (if DIY) | $200–$500 | Brick/concrete costs more |
| Unit installation | 1–2 hours | $0 | $150–$300 | Two people recommended |
| Sealing/insulation | 1 hour | $0 | $50–$100 | Critical for efficiency |
| Electrical work | 1–2 hours | $0 (if plug-in) | $100–$400 | Hire a pro for hardwiring |
| Total | 4–9 hours | $350–$950 | $600–$1,600 | DIY saves 40–60% |
Note: Prices vary by region and unit type. Mini-splits cost more (up to $3,000 installed) but last longer and cool more efficiently.
Wrapping Up: You’ve Got This!
Installing a wall air conditioner isn’t just a weekend project—it’s a skill that pays off for years. You’ll save money on energy bills, avoid the hassle of window units, and enjoy a cleaner, quieter home. And the best part? You did it yourself. When friends come over and ask, “Who installed that?” you can smile and say, “I did.”
Remember, every expert was once a beginner. My first attempt wasn’t perfect—I had gaps, a crooked mount, and a minor electrical hiccup. But each mistake taught me something. Now, I can install a unit in under 4 hours. You’ll get there too. Just take it step by step, double-check your work, and don’t be afraid to ask for help (especially when lifting heavy units).
So grab your tools, pick your spot, and get started. The cool air is waiting. And when you’re sitting in your perfectly chilled room, sipping a cold drink, you’ll know it was worth every minute. Happy cooling!
Frequently Asked Questions
How do I install a wall air conditioner safely?
To install a wall air conditioner safely, turn off the power to the area and follow the manufacturer’s instructions carefully. Ensure the wall and mounting frame can support the unit’s weight to prevent accidents. Always use proper tools and consider hiring a professional for electrical or structural concerns.
What tools do I need to install a wall air conditioner?
You’ll need a drill, level, measuring tape, screwdriver, stud finder, and possibly a masonry bit for brick or concrete walls. A helper is also recommended to hold the unit during installation, especially for larger models.
Can I install a wall air conditioner in any exterior wall?
Not all exterior walls are suitable for a wall air conditioner. Choose a wall that’s structurally sound, close to an electrical outlet, and free of obstructions like pipes or wiring. Check local building codes for clearance requirements.
How to install a wall air conditioner without leaking water?
To prevent leaks, ensure the unit is tilted slightly outward (about 1/4 inch) during installation so condensation drains properly. Also, seal gaps around the unit with weatherproof caulk to keep water out.
Do I need a professional to wire my wall air conditioner?
If your unit requires hardwiring (common for 220V models), hiring a licensed electrician is highly recommended to meet electrical codes. For plug-in models, ensure the outlet is grounded and the circuit can handle the load.
How long does it take to install a wall air conditioner?
A DIY wall air conditioner installation typically takes 2–4 hours, depending on wall type and unit complexity. Professional installers may finish faster, especially if electrical or masonry work is involved.