
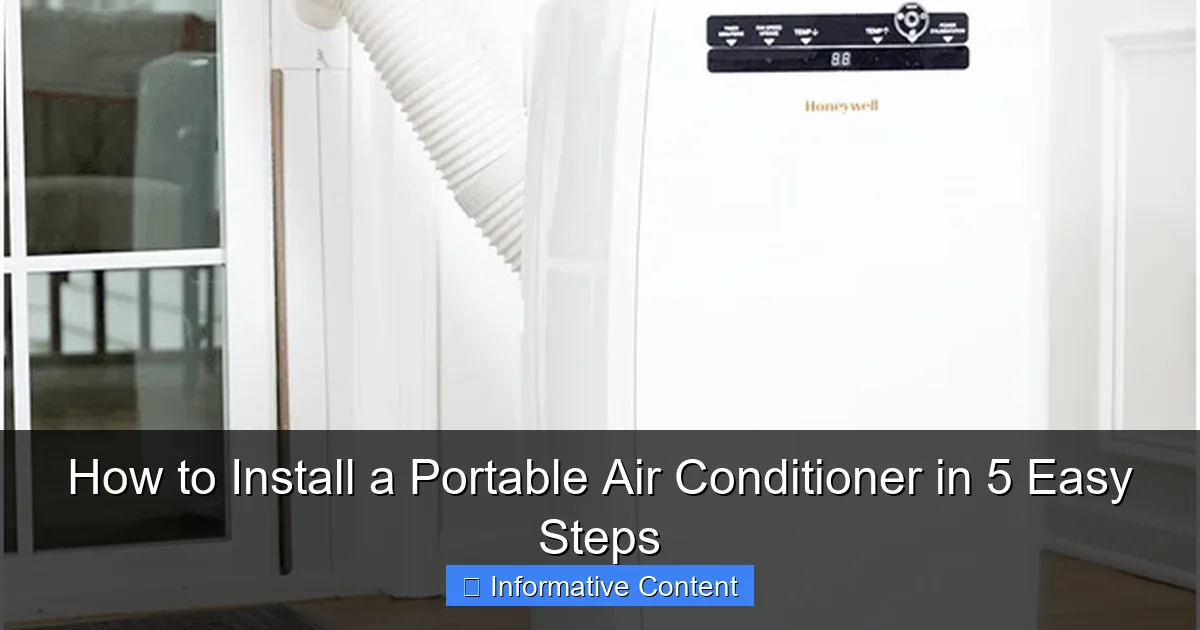
Featured image for how to install a portable air conditioner
Image source: coolandportable.com
Installing a portable air conditioner is quick and tool-free—just position it near a window and power source. Connect the exhaust hose to the window kit to vent hot air, then plug it in and adjust settings for instant cooling. No permanent installation or professional help needed!
Key Takeaways
- Choose the right location: Place near a window and power outlet for efficient operation.
- Seal the exhaust hose: Use the window kit to prevent hot air from re-entering.
- Check hose connections: Ensure tight, secure fits to maximize cooling efficiency.
- Drain water regularly: Empty the tank or use continuous drainage to avoid overflow.
- Insulate the window gap: Block drafts to maintain indoor temperature and efficiency.
- Test before full use: Run for 10 minutes to confirm proper installation and cooling.
📑 Table of Contents
- How to Install a Portable Air Conditioner in 5 Easy Steps
- Step 1: Choose the Right Spot for Your Portable AC
- Step 2: Prepare Your Window and Venting Kit
- Step 3: Connect the Exhaust Hose and Secure It
- Step 4: Set Up Drainage (If Needed)
- Step 5: Power Up, Test, and Optimize Performance
- Common Installation Mistakes (And How to Fix Them)
How to Install a Portable Air Conditioner in 5 Easy Steps
Remember that sweltering afternoon when you opened your fridge just to feel a cool breeze on your face? Or maybe you’ve tried every trick in the book—fans, ice packs, even sleeping on the tile floor—but still couldn’t escape the heat. If you’re reading this, you’re probably considering a portable air conditioner (PAC) as your next summer savior. And you’re not alone. Portable air conditioners have surged in popularity, especially among renters, small-space dwellers, and those who don’t want to commit to a permanent AC unit.
But here’s the thing: buying a portable air conditioner is only half the battle. The real magic happens when you install it correctly. A poorly installed PAC can leak water, overheat, or barely cool a single corner of your room—turning your cooling solution into a noisy, expensive disappointment. The good news? Installing a portable air conditioner isn’t rocket science. With the right tools, a bit of patience, and this step-by-step guide, you can set up your unit in under an hour and enjoy a cool, comfortable space all summer long.
Step 1: Choose the Right Spot for Your Portable AC
Before you even unbox your portable air conditioner, you need to pick the perfect location. Think of this as the foundation of your entire setup. A bad spot can sabotage your cooling efforts, no matter how powerful your unit is. So, let’s talk about what makes a location ideal—and what to avoid.
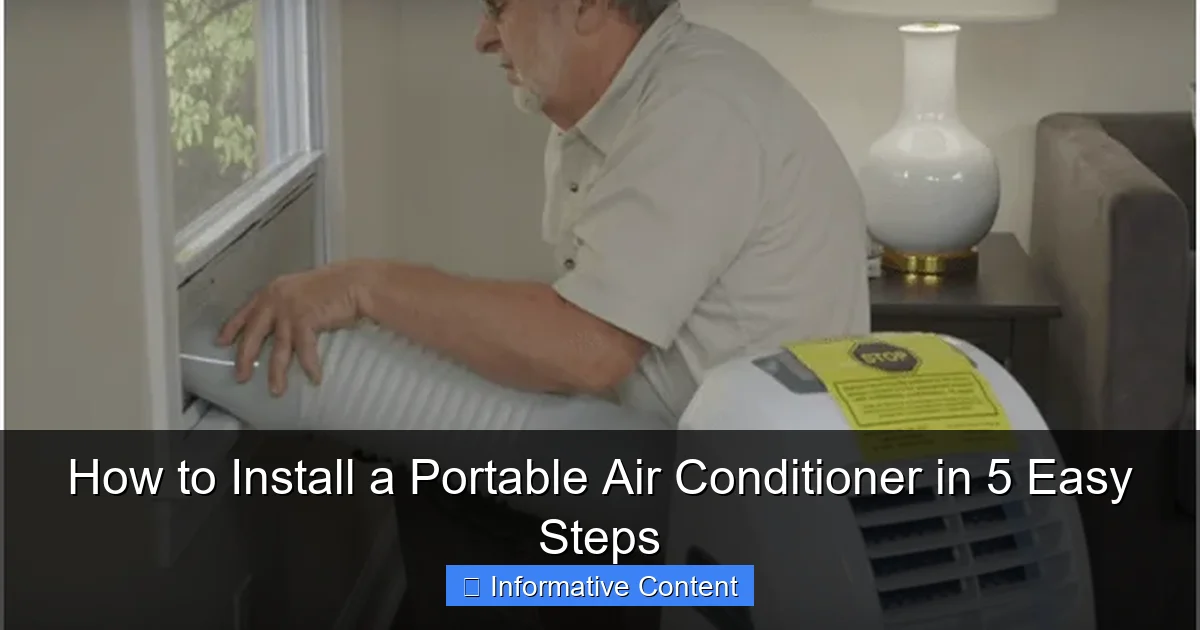
Visual guide about how to install a portable air conditioner
Image source: coolandportable.com
Look for Proximity to a Window
The most important thing? Your PAC needs to vent hot air outside. That means it must be near a window—preferably one you can open easily. Most portable air conditioners come with a window venting kit that includes a hose and an adjustable window panel. The hose (usually 5 to 7 feet long) connects the unit to the window, so the closer your AC is to the window, the better.
Pro tip: Measure the distance between your preferred AC spot and the window. If it’s more than 6 feet, you might need an extension kit (sold separately) or reconsider the location. A longer hose increases the risk of kinks, reduced airflow, and heat loss—all of which make your AC work harder and less efficiently.
Ensure Proper Clearance
Portable air conditioners need breathing room. Most manufacturers recommend at least 12 to 18 inches of clearance on all sides. Why? Because:
- The intake and exhaust vents need space to draw in warm air and expel hot air.
- Blocking the sides or back can cause the unit to overheat or shut off automatically.
- Good airflow improves efficiency and cooling power.
So, avoid tucking your AC into a tight corner behind a dresser or under a low shelf. Think of it like a person—it needs to stretch its arms (or vents) to do its job.
Check Floor Stability and Surface
Your portable AC should sit on a flat, stable surface. Uneven floors can cause the unit to vibrate, leak, or even tip over. If you’re placing it on carpet, make sure the wheels can roll freely. Some people use a small wooden board or anti-slip mat under the unit to prevent carpet compression and improve stability.
Real-life example: My friend once placed her PAC on a thick shag rug. Within a week, the unit started leaking because the carpet absorbed vibrations and tilted the unit slightly. A simple $10 anti-slip mat solved the problem.
Avoid Heat Sources and Drafts
Keep your PAC away from:
- Direct sunlight (which heats the room and makes the AC work harder)
- Ovens, radiators, or space heaters
- Drafty doors or vents that blow warm air into the room
The goal is to cool the room, not fight against it. A little common sense goes a long way.
Step 2: Prepare Your Window and Venting Kit
Now that you’ve found the perfect spot, it’s time to get your window ready. This is where many people hit a snag—especially if they’ve never installed a venting kit before. But don’t worry: it’s easier than it looks.
Unbox and Inspect the Venting Kit
Most portable air conditioners come with a venting kit that includes:
- An exhaust hose (flexible, usually 5–7 feet long)
- An adjustable window panel (plastic or foam-based)
- Hose connectors and clamps
- Sometimes, a foam seal or weather stripping
Unpack everything and lay it out. Check for cracks, tears, or missing parts. If something’s damaged, contact the manufacturer before proceeding. You don’t want to discover a leak halfway through installation.
Measure and Adjust the Window Panel
The window panel is designed to fit into your open window and seal the gap. Most are adjustable—like a sliding ruler—to fit different window widths.
- Open your window and measure the width from frame to frame.
- Extend the panel to match that measurement.
- Test it by sliding it into the window. It should fit snugly but not force the window open too much.
Pro tip: If your window is unusually narrow or wide, some kits allow you to cut the panel with a utility knife. But only do this if the manufacturer says it’s safe—otherwise, you might void the warranty.
Seal the Gaps (Don’t Skip This!)
Even a tiny gap around the window panel can let hot air in and cool air out. That’s like trying to cool a room with the door open. To prevent this:
- Use the included foam strips or weather stripping to seal the sides and top of the panel.
- Press the foam firmly into place so it conforms to the window frame.
- If your kit doesn’t include foam, you can buy inexpensive window seal kits from hardware stores.
Real-life example: A reader once told me her PAC was “barely cooling” her room. We discovered a 1-inch gap at the top of her window panel—letting in hot air from the attic. After sealing it with foam, her room cooled down in 20 minutes.
Double-Check the Hose Connection Point
Look at the window panel. There’s usually a round hole (about 5–6 inches in diameter) where the exhaust hose connects. Make sure it’s clean and undamaged. Some panels have a built-in flap or cover—leave it open during installation.
Step 3: Connect the Exhaust Hose and Secure It
This is the heart of the installation. The exhaust hose carries hot air from your AC to the outside world. If it’s not connected properly, your PAC will recycle hot air back into the room—or worse, overheat and shut down.
Attach the Hose to the AC Unit
Most portable air conditioners have a circular exhaust port on the back or side. Here’s how to connect the hose:
- Slide one end of the hose over the exhaust port.
- Secure it with the included clamp or twist-lock connector.
- Give it a gentle tug to make sure it’s tight. You don’t want it popping off when the unit is running.
Note: Some hoses are directional. Look for an arrow or label indicating “exhaust” or “out.” Point it toward the window.
Route the Hose to the Window
Now, guide the other end of the hose to the window panel. Keep it as straight as possible—bends and kinks reduce airflow and efficiency.
- Avoid sharp turns. Think “gentle curves,” not 90-degree angles.
- If the hose is too long, don’t coil it. Instead, cut it (if the manufacturer allows) or tuck excess behind furniture.
- Never run the hose under rugs or furniture—this traps heat and can damage the hose.
Connect the Hose to the Window Panel
Slide the free end of the hose into the hole in the window panel. Secure it with a clamp or twist-lock. Again, give it a gentle tug to ensure it’s snug.
Pro tip: If the fit feels loose, wrap a layer of duct tape around the hose end before inserting it. This creates a tighter seal and prevents leaks.
Check for Airflow Direction
Once connected, turn on your PAC in “cool” mode. Put your hand near the hose connection at the window. You should feel hot air blowing out. If you don’t, or if you feel cool air, there’s a problem—likely a loose connection or blockage.
Step 4: Set Up Drainage (If Needed)
Here’s a truth bomb: portable air conditioners don’t just cool—they also dehumidify. As they pull moisture from the air, they collect it in an internal tank. Some units auto-drain, others require manual emptying, and a few can be connected to a continuous drain hose. Let’s break it down.
Understand Your Unit’s Drainage Type
Check your owner’s manual. There are three main drainage options:
- Manual Drain: You must empty the tank when it’s full. Most common in smaller, budget models.
- Continuous Drain: You attach a hose to let water drip into a floor drain, sink, or bucket. Best for heavy use.
- Self-Evaporating: The unit reuses moisture to cool the condenser, reducing the need to drain. Ideal for dry climates.
Install a Continuous Drain Hose (Optional)
If your PAC supports continuous drainage, you’ll find a small drain port (usually labeled “condensate”) on the back or bottom. Here’s how to set it up:
- Attach the included drain hose (or a standard garden hose) to the port.
- Route the hose to a nearby floor drain, sink, or bucket.
- Ensure the hose slopes downward—water won’t flow uphill.
- Secure the hose with zip ties or clips to prevent kinks.
Pro tip: If you’re using a bucket, place it on a slightly elevated surface (like a stool) to create gravity flow. Otherwise, the water might back up.
Test the Drainage System
Turn on your PAC and let it run for 10–15 minutes. If you’re using a continuous drain:
- Check the bucket or sink for dripping water.
- Listen for the sound of water flowing.
If nothing happens, check for kinks or blockages. Also, make sure the unit is level—tilted ACs won’t drain properly.
Set a Drain Reminder (For Manual Units)
If your PAC doesn’t have continuous drainage, set a reminder on your phone or calendar. Most units need emptying every 6–12 hours of use, depending on humidity levels. A full tank triggers an automatic shutoff—so don’t ignore it!
Step 5: Power Up, Test, and Optimize Performance
You’re almost there! Now it’s time to plug in your PAC and make sure it’s working like a champ.
Plug Into a Dedicated Outlet
Never use an extension cord or power strip with a portable air conditioner. Why? Because:
- PACs draw a lot of power at startup—extension cords can overheat and catch fire.
- Voltage drops can damage the compressor.
- Most manufacturers void the warranty if you use an extension cord.
Instead, plug directly into a wall outlet. If the cord is too short, rearrange your furniture or use a longer vent hose (if needed).
Turn On and Select Cooling Mode
Power on your PAC. Use the remote or control panel to:
- Set the mode to “Cool” or “Auto.”
- Choose a temperature (start around 72–75°F for balance).
- Adjust the fan speed (“High” for fast cooling, “Low” for quiet operation).
Real-life example: I once set my PAC to 65°F on the first day. It ran nonstop and barely cooled the room. Later, I learned that setting it too low makes the unit work harder—but doesn’t cool faster. Now I aim for 72°F and use a fan to circulate air.
Check for Leaks, Noises, and Airflow
Listen for unusual sounds—grinding, rattling, or gurgling. These could signal a loose part, blockage, or refrigerant leak. Also, feel around the hose and window panel for cool air escaping (which means hot air is leaking in).
Use a thermometer to check the air coming from the unit. It should be 10–15°F cooler than room temperature within 15 minutes.
Optimize for Efficiency
To get the most out of your PAC:
- Close doors and curtains to contain cool air.
- Use a ceiling or floor fan to circulate air (this lets you set the AC 3–5°F higher).
- Clean the air filter every 2–4 weeks (a dirty filter reduces airflow and efficiency).
- Keep the unit away from heat-producing appliances.
Common Installation Mistakes (And How to Fix Them)
Even with the best intentions, things can go wrong. Let’s tackle the most common issues—and how to solve them.
Problem: The AC Isn’t Cooling
- Cause: Poor ventilation, clogged filter, or wrong location.
- Fix: Check the hose for kinks, clean the filter, and ensure the unit has clearance.
Problem: Water Leaking Inside
- Cause: Tilted unit, clogged drain, or full tank.
- Fix: Level the AC, empty the tank, or check the drain hose for blockages.
Problem: Loud Noises or Vibrations
- Cause: Loose parts, uneven floor, or fan imbalance.
- Fix: Tighten all connections, place on a stable surface, and clean the fan.
Problem: Window Panel Doesn’t Fit
- Cause: Non-standard window size.
- Fix: Use foam or tape to seal gaps, or buy a universal window kit.
| Issue | Likely Cause | Quick Fix |
|---|---|---|
| Not cooling | Blocked hose or dirty filter | Clear hose, clean filter |
| Water leaks | Full tank or tilted unit | Empty tank, level AC |
| Loud noises | Loose parts or vibration | Tighten screws, use anti-vibration mat |
| Hose won’t reach | Distance too far | Buy extension hose or relocate AC |
Installing a portable air conditioner doesn’t have to be stressful. By following these five easy steps—choosing the right spot, preparing your window, connecting the hose, setting up drainage, and testing performance—you’ll create a cool oasis in no time. Remember, the key is attention to detail. A few minutes spent sealing gaps, leveling the unit, and checking connections can mean the difference between a quiet, efficient PAC and a noisy, leaking headache.
And here’s the best part: once it’s set up, your portable air conditioner can move with you. Take it from the living room to the bedroom at night. Use it in your home office during the day. With proper care, it can last for years—keeping you cool, comfortable, and in control of your indoor climate. So go ahead, unbox that PAC, roll up your sleeves, and beat the heat—one easy step at a time.
Frequently Asked Questions
How do I install a portable air conditioner for the first time?
To install a portable air conditioner, start by placing it near a window and power outlet. Attach the exhaust hose to the unit and window kit, then secure the kit to prevent hot air leaks. This ensures efficient cooling and proper ventilation.
What tools do I need to install a portable air conditioner?
Most portable air conditioners require no special tools—just the included window kit, exhaust hose, and foam seals. A screwdriver may help secure the window panel, but many kits use adjustable sliders for a tool-free setup.
Can I install a portable air conditioner without a window?
No, a window is essential for venting hot air through the exhaust hose. If a window isn’t available, consider a portable AC with a through-the-wall or ceiling vent kit (sold separately) for proper installation.
How do I seal the window kit to prevent air leaks?
Use the included foam strips or adjustable panels to fill gaps around the window kit. Tighten the seals to ensure no hot air re-enters the room, which improves cooling efficiency and reduces energy waste.
Is it safe to install a portable air conditioner alone?
Yes, portable ACs are lightweight and designed for solo setup. Just follow the manual’s instructions and ensure the unit is stable to avoid tipping during operation.
How often should I check the installation for optimal performance?
Inspect the exhaust hose and window seals weekly to ensure they’re secure and undamaged. Loose connections can reduce cooling efficiency and strain the unit’s motor over time.