
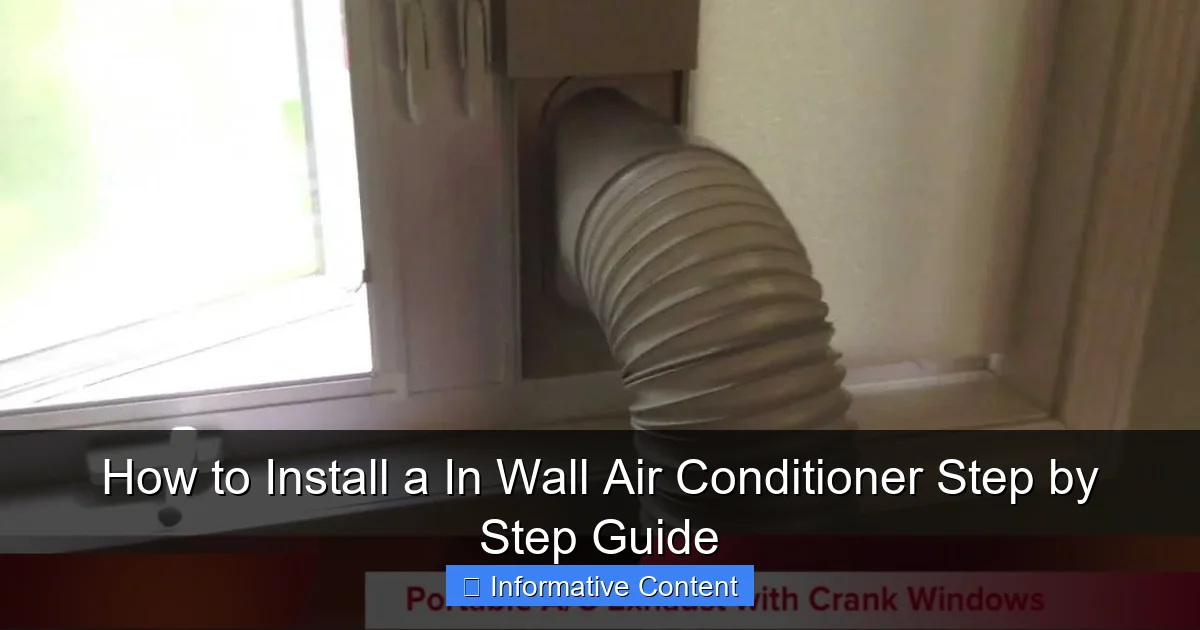
Featured image for how to install a in wall air conditioner
Image source: i.ytimg.com
Installing an in-wall air conditioner requires precise wall preparation, correct unit sizing, and secure mounting to ensure optimal performance and energy efficiency. Always turn off power, follow manufacturer instructions, and seal gaps properly to prevent air leaks and water damage. A professional-grade installation can be achieved with basic tools and attention to detail—saving money without compromising safety or comfort.
Key Takeaways
- Measure carefully: Ensure precise wall opening dimensions for a snug fit.
- Turn off power: Always disconnect electricity before starting installation.
- Use a support bracket: Secure the unit with a sturdy frame to prevent sagging.
- Seal gaps properly: Insulate around edges to block drafts and pests.
- Check drainage slope: Ensure proper tilt for condensate water flow.
- Test before sealing: Run the AC to verify operation and leaks.
- Follow local codes: Adhere to electrical and building regulations for safety.
📑 Table of Contents
- Why an In-Wall Air Conditioner Might Be the Perfect Fit for Your Space
- 1. Choosing the Right In-Wall Air Conditioner for Your Needs
- 2. Preparing Your Tools, Materials, and Work Area
- 3. Cutting the Wall Opening and Installing the Sleeve
- 4. Mounting the Air Conditioner Unit
- 5. Sealing, Insulating, and Final Touches
- 6. Maintenance Tips to Keep Your In-Wall AC Running Smoothly
- Data Table: In-Wall Air Conditioner Installation Checklist
- Final Thoughts: You’ve Got This!
Why an In-Wall Air Conditioner Might Be the Perfect Fit for Your Space
Let me tell you a quick story. A few summers ago, I found myself sweating through another muggy July in my small apartment. My window AC unit was loud, blocked half the natural light, and barely cooled the room. That’s when I discovered in-wall air conditioners—sleek, quiet, and built right into the wall. No more wrestling with heavy units or dealing with seasonal storage. It felt like upgrading from a flip phone to a smartphone. And honestly? It changed my summer experience completely.
If you’ve ever considered ditching your window unit or portable cooler, an in-wall air conditioner could be your best move. These units are designed to be permanently installed through an exterior wall, offering better cooling efficiency, a cleaner look, and more usable window space. But here’s the thing: installing one isn’t as simple as plugging it in. It requires careful planning, the right tools, and a bit of elbow grease. The good news? With the right guidance, you can totally do it yourself—saving hundreds on professional installation fees. In this guide, I’ll walk you through how to install an in-wall air conditioner step by step, sharing real-world tips, common pitfalls, and the tools you’ll actually need. Whether you’re a DIY newbie or a weekend warrior, you’ve got this.
1. Choosing the Right In-Wall Air Conditioner for Your Needs
Before you even think about cutting a hole in your wall, you need to pick the right unit. Not all in-wall ACs are created equal, and choosing poorly could lead to inefficient cooling, high energy bills, or even structural issues. Let’s break this down so you can make a smart choice.
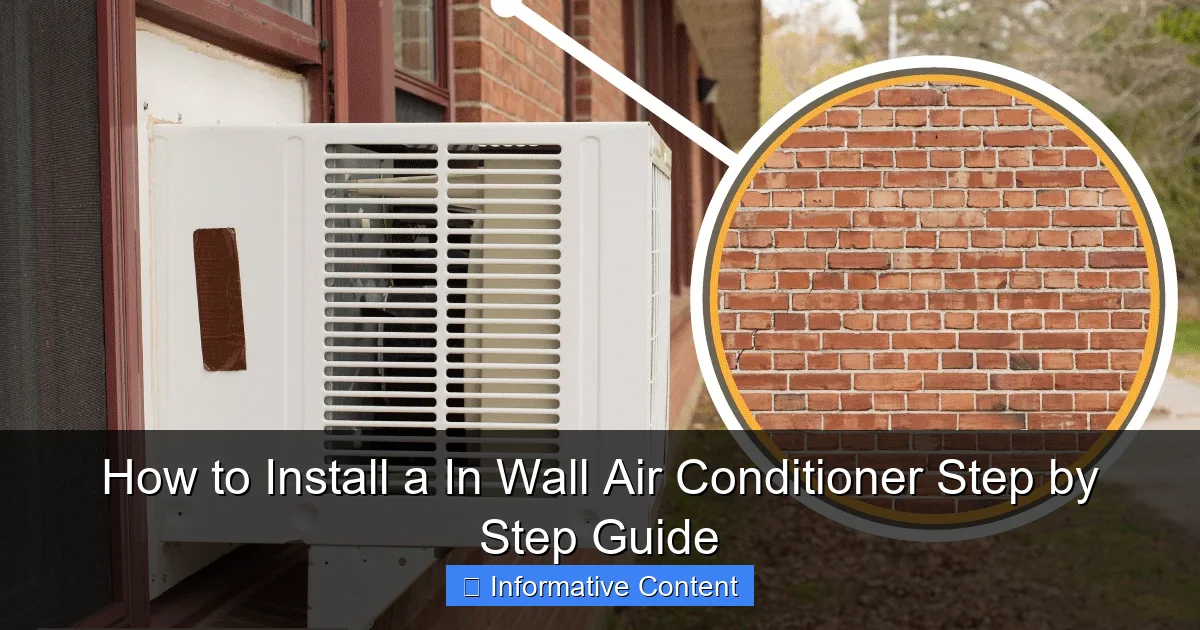
Visual guide about how to install a in wall air conditioner
Image source: hvacseer.com
Understand the BTU Requirement for Your Room
BTU (British Thermal Unit) measures cooling power. Too low? Your room stays hot. Too high? You’ll waste energy and create humidity swings. As a general rule:
- 150–250 sq. ft. → 6,000 BTUs
- 250–350 sq. ft. → 8,000 BTUs
- 350–450 sq. ft. → 10,000 BTUs
- 450–600 sq. ft. → 12,000–14,000 BTUs
For example, my 320 sq. ft. living room needed an 8,000 BTU unit. I went with 9,000 BTUs just to be safe—better slightly overpowered than underpowered. Pro tip: if your room gets direct afternoon sun, add 10% more BTUs. If it’s heavily shaded, subtract 10%.
Check for Wall Sleeve Compatibility
Most in-wall ACs require a metal wall sleeve (also called a chassis sleeve). Some units come with one; others don’t. If you’re replacing an old unit, check if the existing sleeve is standard size (typically 26″ wide x 15.5″ high). If not, you’ll need to buy a compatible one. I learned this the hard way—bought a unit without checking, and ended up returning it because the sleeve didn’t fit. Save yourself the hassle: measure first, buy second.
Look for Energy Efficiency and Smart Features
Check the Energy Efficiency Ratio (EER). A higher EER (10+ is good) means less energy use. Units with Energy Star certification can save you up to 15% on cooling costs. Bonus: look for models with Wi-Fi, programmable timers, or remote controls. My current unit lets me turn it on from my phone before I get home—total game-changer on hot days.
Verify Electrical Requirements
Most in-wall ACs run on 115V (standard household outlet), but higher-capacity models (12,000+ BTUs) may need 230V. Check your breaker panel. If you’re unsure, consult an electrician. I once tried installing a 230V unit in a 115V circuit—spoiler: it didn’t work, and I had to call an electrician to upgrade the wiring. Not cheap.
2. Preparing Your Tools, Materials, and Work Area
Now that you’ve picked your unit, it’s time to gather everything you’ll need. Trust me: running to the hardware store mid-project kills your momentum. Let’s set you up for success.
Essential Tools and Materials
Here’s what I used for my installation (and what I wish I’d had earlier):
- Measuring tape
- Stud finder
- Level (laser or bubble)
- Jigsaw or reciprocating saw (with metal-cutting blade)
- Power drill with masonry bits (for exterior walls)
- Utility knife
- Work gloves and safety goggles
- Dust mask
- Caulk gun and exterior-grade caulk
- Shims (wooden or composite)
- Insulation foam or foam board
- Exterior trim or siding repair kit (if cutting through siding)
- Vacuum or shop vac (for cleanup)
Pro tip: rent a reciprocating saw with a metal blade from a tool library or hardware store if you don’t own one. It’s cheaper than buying, and you’ll only need it once.
Clear the Work Area
Remove furniture, rugs, and anything near the wall. Cover floors with drop cloths. I learned this when drywall dust settled on my couch—took me two days to clean. Also, turn off power to the area at the breaker box. Safety first.
Check for Wall Obstructions
Use a stud finder to locate studs, pipes, and wiring. You’ll cut between studs, so pick a spot with at least 26″ of clear space (standard sleeve width). Avoid areas with electrical outlets, plumbing, or HVAC ducts. I almost cut into a hot water pipe—my stud finder’s deep-scan mode saved me.
Plan the Exterior Access
You’ll need to work from outside too. Make sure you can safely access the wall (e.g., ground level or a sturdy ladder). If your wall is high up, consider hiring a helper or renting scaffolding. I once tried a wobbly ladder—my neighbor had to call me down. Not my proudest moment.
3. Cutting the Wall Opening and Installing the Sleeve
This is the most nerve-wracking part—but also the most exciting. You’re about to transform your wall. Let’s do it right.
Mark the Opening
Measure the sleeve’s dimensions (usually marked on the manual). Use a level to draw a perfectly square outline on the interior wall. Double-check with a measuring tape—measure twice, cut once. I once misaligned by 2 inches and had to re-cut the entire opening. Painful.
Cut the Interior Wall
Use a utility knife to score the drywall along your lines. Then, carefully cut with a drywall saw. Remove the drywall section. You’ll now see the studs and insulation. Cut through the insulation (if any) and remove it temporarily.
Cut the Exterior Wall
Go outside. Use your interior outline to trace the same shape on the exterior. For wood siding: cut with a jigsaw. For brick or stucco: use a masonry drill and reciprocating saw with a carbide blade. Work slowly to avoid cracking. I used a masonry bit for a stucco wall—took 20 minutes, but it was clean.
Install the Wall Sleeve
Slide the metal sleeve into the opening from the outside. It should fit snugly. Use a level to ensure it’s perfectly horizontal. Secure it with screws through the flange into the wall framing. Don’t overtighten—this can warp the sleeve.
Seal and Insulate
Apply exterior-grade caulk around the sleeve’s exterior flange to prevent water leaks. From the inside, stuff insulation (like spray foam or foam board) around the sleeve to seal gaps. I used expanding foam—it filled tiny cracks perfectly. Wipe excess immediately with a damp cloth.
Shim for Stability
If the sleeve isn’t flush with the wall, use shims behind the flange. Adjust until it’s level and snug. This prevents vibration and noise later. My first try was wobbly—shims fixed it in 5 minutes.
4. Mounting the Air Conditioner Unit
You’ve prepped the sleeve—now it’s time to install the AC itself. This part is surprisingly straightforward.
Prepare the Unit
Unbox the AC. Remove any shipping brackets or foam. Check the manual for pre-installation steps (e.g., removing side panels). Some units need the chassis pulled out before mounting. I skipped this step once and couldn’t fit the unit—lesson learned.
Slide the Chassis into the Sleeve
With a helper (or a dolly), lift the AC chassis and slide it into the sleeve. It should glide in smoothly. If it sticks, check for obstructions or misalignment. Don’t force it—this can damage the fins or compressor.
Secure the Unit
Most models use screws through the front panel or side brackets. Tighten until snug, but don’t crush the chassis. Use a level to ensure the unit is horizontal. I once tilted it slightly—condensate dripped inside. A quick re-level fixed it.
Connect Drain Pan (If Required)
Some units have a built-in drain pan. Attach the drain hose to a nearby floor drain or route it outside. I used a flexible hose and a small hole in the sleeve—no leaks since.
Electrical Connection
Plug the unit into a dedicated outlet. If it’s hardwired, connect the wires (black to black, white to white, green to ground) in a junction box. Turn off the power first! I used a voltage tester to double-check—zero voltage. Peace of mind is priceless.
5. Sealing, Insulating, and Final Touches
You’re almost done! This step ensures your AC runs efficiently and looks polished.
Seal Interior Gaps
Apply foam sealant or caulk around the AC’s interior edges. This prevents air leaks and drafts. I used low-expansion foam—it doesn’t push the unit out of alignment.
Install the Front Panel
Snap or screw on the front cover. Adjust the louvers if needed. Some panels have filters—install them now. I clean mine monthly with soapy water—keeps airflow strong.
Weatherproof the Exterior
Apply exterior caulk around the sleeve’s flange. If you cut through siding, patch it with matching material. I used vinyl siding pieces—blended in perfectly.
Test the Unit
Turn on the power. Set the thermostat to “cool” and wait for the compressor to kick in (may take 1–2 minutes). Listen for odd noises or vibrations. Check for airflow and cooling. My unit took 15 minutes to cool the room—worth the wait.
Insulate the Wall Cavity (Optional)
If your wall was poorly insulated, add spray foam or fiberglass behind the sleeve (from inside). This improves efficiency. I did this after noticing cold drafts in winter.
6. Maintenance Tips to Keep Your In-Wall AC Running Smoothly
Congrats! You’ve installed your in-wall AC. But the work isn’t over—regular maintenance keeps it efficient for years.
Clean or Replace Filters Monthly
Dirty filters reduce airflow and strain the motor. Rinse reusable filters with water or replace disposable ones. I set a phone reminder—no more forgetting.
Clear Condensate Drain Annually
Algae can clog the drain. Pour ¼ cup vinegar down it every spring. I do this in April—prevents summer clogs.
Inspect Seals and Caulk
Check for cracks or gaps every 6 months. Re-caulk if needed. I found a tiny crack after a storm—fixed it in 10 minutes.
Check for Vibration and Noise
Loose screws or worn parts cause rattling. Tighten or replace them. My unit started buzzing after 3 years—a loose fan blade was the culprit.
Winterize (If in Cold Climates)
Cover the exterior with a plastic shield or foam board to prevent cold air leaks. I use a custom-fit cover—easy to install and remove.
Data Table: In-Wall Air Conditioner Installation Checklist
| Step | Tools/Materials Needed | Time Required | Pro Tip |
|---|---|---|---|
| Choose AC Unit | Measuring tape, manual | 1–2 hours (research) | Check sleeve compatibility first! |
| Prepare Tools | List above | 30 minutes | Rent specialty tools to save money. |
| Cut Wall Opening | Saw, drill, level | 1–2 hours | Measure twice, cut once. |
| Install Sleeve | Sleeve, caulk, shims | 1 hour | Use shims for perfect level. |
| Mount AC Unit | Helper, dolly | 30 minutes | Don’t force it—align gently. |
| Seal and Test | Caulk, foam, voltage tester | 1 hour | Test cooling before finalizing. |
Final Thoughts: You’ve Got This!
Installing an in-wall air conditioner might seem daunting, but it’s one of those projects that pays off big time—literally and figuratively. You’ll save on energy bills, enjoy a quieter home, and free up your windows. And let’s be honest: there’s a huge sense of pride when you walk into a cool room and think, “I built that.”
Remember, the key to success is preparation. Take your time, follow the steps, and don’t skip safety checks. If you hit a snag (and you might), don’t panic. Most issues—like a misaligned sleeve or a loose screw—are fixable with patience. And if you’re ever unsure about electrical work or structural integrity, call a pro. There’s no shame in prioritizing safety.
Now, go enjoy your cool, quiet, window-unblocked space. Your summer self will thank you. And hey, if you ever need to replace the unit in a few years? You’ll know exactly how to do it—faster, smarter, and with way more confidence. That’s the real win. Happy cooling!
Frequently Asked Questions
What tools do I need to install an in-wall air conditioner?
You’ll need a drill, level, screwdriver, measuring tape, utility knife, and a stud finder. A vacuum or damp cloth is also helpful for cleaning the wall sleeve after installation.
How to install a in-wall air conditioner if my wall lacks a pre-cut opening?
First, measure the unit’s dimensions and mark the area on the wall. Use a drywall saw or jigsaw to cut the opening carefully, ensuring it aligns with the sleeve and exterior access.
Can I install an in-wall AC unit without professional help?
Yes, if you’re comfortable with basic tools and electrical work. However, hiring a professional is recommended if wiring or structural modifications are required for safety and compliance.
Do I need to seal the in-wall air conditioner to prevent leaks?
Yes, always apply weatherproof sealant around the unit’s exterior flange to block air leaks and water intrusion. This improves efficiency and protects your wall from moisture damage.
How do I connect the in-wall AC to my home’s electrical system?
Turn off the power, then connect the unit’s wires to a dedicated circuit using wire nuts, following the manufacturer’s instructions. If unsure, consult a licensed electrician.
What’s the best way to secure the air conditioner in the wall sleeve?
Slide the unit into the sleeve, ensuring it’s level, then use mounting screws through the side brackets. Double-check stability to prevent vibrations or shifting during operation.