
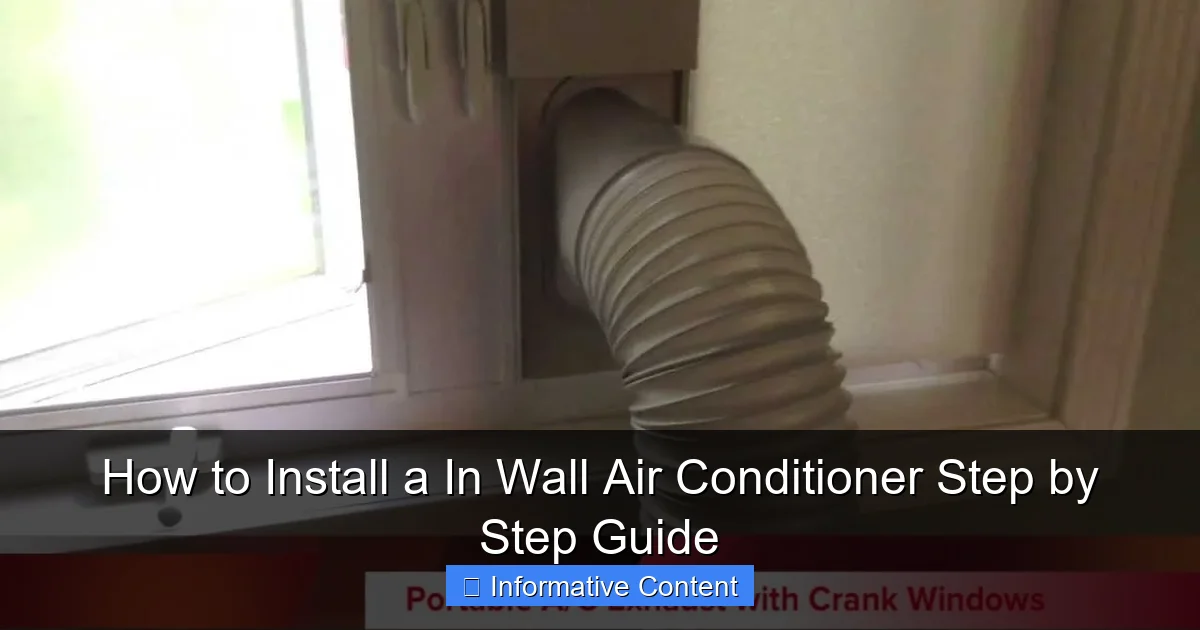
Featured image for how to install a in wall air conditioner
Image source: i.ytimg.com
Installing an in-wall air conditioner requires precise wall preparation and secure mounting to ensure optimal performance and safety. Follow a step-by-step process—from measuring and cutting the opening to connecting electrical wiring and sealing gaps—to avoid common pitfalls and ensure energy efficiency. Always consult local codes and use a dedicated circuit for reliable, long-term operation.
Key Takeaways
- Measure carefully: Ensure precise wall opening dimensions for a secure fit.
- Turn off power: Always disconnect electricity before starting installation.
- Seal gaps properly: Use foam to prevent air leaks and improve efficiency.
- Secure the unit: Anchor brackets tightly to support full weight.
- Check drainage: Verify slope and hose placement to avoid leaks.
- Test operation: Run the AC before finalizing to confirm performance.
📑 Table of Contents
- Why an In-Wall Air Conditioner Might Be Your Summer Hero
- 1. Choosing the Right In-Wall Air Conditioner for Your Space
- 2. Preparing Your Space and Tools
- 3. Cutting the Hole and Installing the Wall Sleeve
- 4. Installing the Air Conditioner Unit
- 5. Sealing, Insulating, and Finishing Touches
- 6. Maintenance Tips to Keep Your AC Running Smoothly
- Data: Common In-Wall AC Sizes and Specs
- Final Thoughts: Your Cool, Calm, and Collected Space Awaits
Why an In-Wall Air Conditioner Might Be Your Summer Hero
Let’s face it: summers are getting hotter. And while portable or window AC units can help, they often feel like a temporary fix. If you’re looking for a more permanent, sleek, and efficient way to beat the heat, an in wall air conditioner might be your best bet. Unlike bulky window units, these fit seamlessly into your wall, saving floor and window space while delivering powerful cooling. I remember the first time I considered one—my apartment’s windows were too narrow for a standard unit, and the thought of a portable AC dragging hot air through a hose was exhausting. Then, I discovered in-wall models. They’re like the hidden gems of home cooling: unobtrusive, efficient, and surprisingly easy to install if you’re handy (or willing to learn).
But here’s the thing: installing an in-wall air conditioner isn’t as simple as plugging in a fan. It requires planning, the right tools, and a bit of patience. Whether you’re a DIY enthusiast or just curious about how it works, this guide will walk you through every step—from choosing the right unit to sealing it up and enjoying that crisp, cool air. No fluff, no sales pitches. Just real, practical advice based on real experiences. By the end, you’ll know exactly how to install a in wall air conditioner safely and efficiently, whether it’s for your bedroom, living room, or home office.
1. Choosing the Right In-Wall Air Conditioner for Your Space
Before you start measuring walls or drilling holes, you need to pick the right unit. Not all in-wall air conditioners are created equal. The wrong choice can mean weak cooling, high energy bills, or a unit that just doesn’t fit. Let’s break it down.
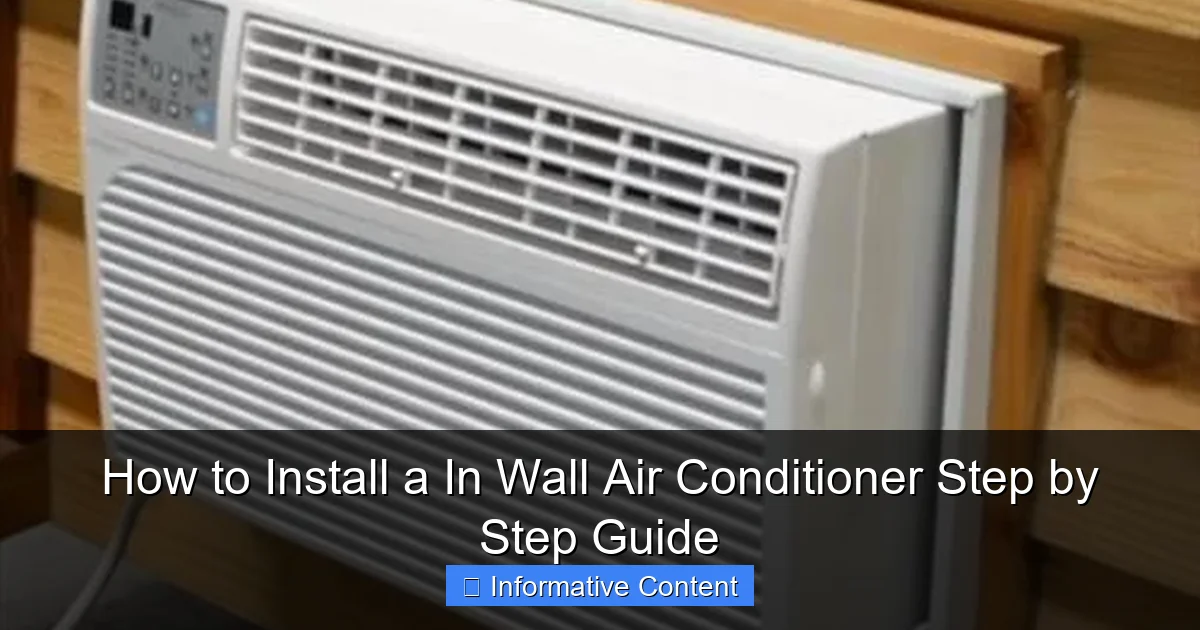
Visual guide about how to install a in wall air conditioner
Image source: hvachowto.com
BTU: The Cooling Power Behind Your AC
BTU stands for British Thermal Units. In simple terms, it’s how much cooling power your AC has. The higher the BTU, the larger the space it can cool. But bigger isn’t always better. Too high, and you’ll waste energy. Too low, and you’ll sweat through the summer.
- 100–150 sq. ft. (e.g., small bedroom): 5,000–6,000 BTU
- 150–250 sq. ft. (e.g., medium bedroom or home office): 7,000–8,000 BTU
- 250–400 sq. ft. (e.g., living room or large bedroom): 9,000–12,000 BTU
- 400–600 sq. ft. (e.g., open-plan area): 14,000–18,000 BTU
Pro tip: If your room gets a lot of sunlight or has poor insulation, go up one size. For example, if your room is 220 sq. ft. and faces south, opt for a 9,000 BTU instead of 8,000.
Voltage Requirements: 115V vs. 230V
This is critical. Most standard outlets are 115V (15–20 amps), but higher BTU units (usually 12,000+ BTU) require 230V, which is like the power used by electric stoves or dryers. Installing a 230V unit on a 115V circuit will not only fail to work—it could damage the unit or even start a fire.
- 115V: Common in homes, uses standard outlets. Good for units up to 8,000–10,000 BTU.
- 230V: Requires a dedicated circuit and a special outlet (often NEMA 6-20 or 6-30). You may need an electrician to install it.
Real-life example: I once bought a 14,000 BTU unit thinking it would cool my living room better. Only later did I realize it needed 230V. I had to hire an electrician, which added $200 to the project. Lesson learned: check voltage before buying.
Features That Matter (and Which Ones You Can Skip)
Modern in-wall ACs come with a ton of features. Some are worth it; others are just fluff.
- Heat pump mode: Lets your unit also heat the room in winter. Great if you live in a mild climate.
- Smart controls: Wi-Fi, app control, voice assistant compatibility. Handy if you love tech, but not essential.
- Remote control: A must for most. No one wants to get up to adjust the temperature.
- Energy efficiency (EER or CEER): Look for 10+ EER. Higher = less electricity used.
- Dehumidify mode: Helps reduce humidity without overcooling. Useful in humid climates.
- Quiet operation (decibels): Under 55 dB is good for bedrooms.
Skip the “turbo cool” or “ionizer” gimmicks—they don’t make a big difference.
2. Preparing Your Space and Tools
Now that you’ve picked your unit, it’s time to prep. A smooth installation starts with good planning.
Measuring the Wall and Studs
Most in-wall ACs require a wall sleeve—a metal or plastic frame that sits in the wall and holds the unit. The sleeve size is usually 26” x 16” or 27” x 18”, but always check your unit’s manual. You’ll need to cut a hole in the wall that matches the sleeve.
- Use a stud finder to locate wall studs. You cannot cut through a stud—it will weaken the wall and may not support the AC’s weight.
- Measure from the floor to the desired height. Most people install 12–18 inches from the floor to allow for airflow.
- Mark the hole using the sleeve as a template. Double-check measurements—measure twice, cut once.
Tip: If you’re installing in an exterior wall, make sure you have access to the outside. You’ll need to remove siding, brick, or stucco to insert the sleeve.
Gathering Your Tools and Materials
Here’s what you’ll need (and why):
- Stud finder: To avoid cutting into studs.
- Jigsaw or reciprocating saw: For cutting drywall and wood.
- Drill and bits: For pilot holes and securing the sleeve.
- Level: To ensure the sleeve is straight.
- Measuring tape: Precision matters.
- Utility knife: For trimming drywall or foam.
- Insulation foam (spray or foam board): To seal gaps and prevent air leaks.
- Silicone caulk: For waterproofing the exterior.
- Screwdrivers, pliers, gloves, safety goggles: Safety first!
Pro tip: Rent a reciprocating saw if you don’t have one. It’s faster and cleaner for wall cuts than a jigsaw.
Checking Electrical Access
If your unit requires 115V, ensure there’s an outlet nearby or plan to run an extension cord (temporarily) to test the unit before permanent wiring. For 230V units, confirm with an electrician that the circuit is installed and properly grounded.
Caution: Never assume the outlet is on a dedicated circuit. Use a circuit tester to check. Overloading a circuit can trip breakers or cause fires.
3. Cutting the Hole and Installing the Wall Sleeve
This is the most intimidating part for many DIYers—but it’s manageable with care. Let’s do it step by step.
Marking and Cutting the Wall (Interior)
- Place the wall sleeve against the wall, centered between studs. Use the level to ensure it’s perfectly horizontal.
- Trace the outline of the sleeve with a pencil. Add a 1/8” margin around the edges to account for minor imperfections.
- Use the jigsaw or reciprocating saw to cut along the line. Start with a small pilot hole to insert the blade. Cut slowly to avoid cracking drywall.
- Remove the drywall section. You’ll see the insulation (and possibly wiring or pipes). Carefully pull back insulation to expose the framing.
Tip: If you hit wiring or pipes, stop immediately. Call a professional. Never cut blindly.
Preparing the Exterior
Go outside and mark the corresponding hole. Remove siding, brick, or stucco as needed. For vinyl siding, use a siding removal tool to unhook a section. For brick, you may need a masonry saw or chisel.
- Clear a 3–4 inch border around the hole for sealing later.
- Ensure the ground is sloped away from the wall to prevent water pooling.
Inserting and Securing the Wall Sleeve
- Slide the sleeve into the hole from the inside. It should fit snugly but not tightly.
- Use shims (thin wood strips) to level the sleeve. Check with a level on all sides.
- Secure the sleeve to the wall studs using the provided screws or brackets. Tighten just enough—over-tightening can warp the sleeve.
- From the outside, apply a bead of silicone caulk around the edges to seal against rain and wind.
- On the inside, use spray foam to fill any gaps between the sleeve and wall. Let it expand, then trim excess with a utility knife.
Real-life example: I once rushed this step and skipped the shims. The AC ended up tilted, causing water to drip inside. It took an extra hour to fix. Lesson: patience pays off.
4. Installing the Air Conditioner Unit
Now for the fun part—putting in the AC itself. This is where your preparation pays off.
Preparing the Unit
- Unbox the AC and remove all packaging. Check for shipping damage.
- Attach any included side panels or trim kits to the unit. These help seal gaps and look neater.
- For units with a remote control, insert the batteries.
Mounting the AC in the Sleeve
- Carefully slide the AC into the sleeve from the inside. Most units have a locking mechanism—listen for a click.
- Secure the unit using the provided screws or clips. Don’t overtighten.
- Connect the drain tube (if your unit has one) to a nearby drain or extend it outside to prevent water buildup.
- For 230V units, connect the power cord to the dedicated outlet. For 115V, plug it into a nearby outlet.
Tip: If the unit feels loose, add foam insulation strips to the sides for a tighter fit.
Testing the Unit
- Turn on the power and test all modes: cool, fan, dehumidify, heat (if applicable).
- Check for airflow, noise, and cooling performance. It should cool the room within 10–15 minutes.
- Look for leaks or condensation inside the room. A small amount is normal; a puddle isn’t.
Pro tip: Run the unit for 30 minutes before sealing the trim. This ensures everything works.
5. Sealing, Insulating, and Finishing Touches
You’re almost done! This step ensures efficiency, safety, and a clean look.
Insulating the Sleeve
- Use foam board or spray foam to insulate the back and sides of the sleeve. This prevents cold air from escaping and warm air from entering.
- For exterior walls, insulate the gap between the sleeve and the outside wall with rigid foam or mineral wool.
Sealing Gaps and Trim
- Apply foam sealant around the inside edges of the sleeve to block air leaks.
- Attach the trim kit or decorative cover plate that came with your unit. This hides gaps and gives a finished look.
- From the outside, apply another layer of silicone caulk to seal any remaining gaps. Smooth it with a wet finger for a clean finish.
Final Checks
- Ensure the unit is level and secure.
- Verify that the drain tube is clear and draining properly.
- Clean the air filter (usually monthly during use).
- Check that the remote control works and the unit responds to commands.
Real-life example: I forgot to insulate the back of the sleeve once. In winter, cold air seeped in, and my heating bill went up. A $10 foam board fixed it.
6. Maintenance Tips to Keep Your AC Running Smoothly
Your in-wall AC can last 10–15 years with proper care. Here’s how to keep it in top shape.
Monthly: Clean the Filter
- Remove the front panel (usually snaps off).
- Take out the filter and rinse it with warm water. Let it dry completely before reinserting.
- Dirty filters reduce airflow and efficiency.
Seasonally: Inspect and Clean
- Check for debris around the outdoor condenser (if accessible).
- Inspect the drain tube for clogs. Flush with vinegar if needed.
- Look for cracks or gaps in the sealant. Reapply silicone if necessary.
Annually: Deep Clean (Optional)
- Turn off power.
- Remove the unit from the sleeve (if easy).
- Clean the coils and fan with a soft brush or AC coil cleaner.
- Vacuum the sleeve interior.
When to Call a Pro
- Strange noises (grinding, banging).
- No cooling despite a clean filter.
- Frequent tripping of the circuit breaker.
- Water leaks inside the room.
Tip: Keep your manual handy. Most manufacturers offer troubleshooting guides online.
Data: Common In-Wall AC Sizes and Specs
| BTU | Recommended Room Size (sq. ft.) | Voltage | Avg. Amps | Energy Efficiency (EER) | Typical Price Range |
|---|---|---|---|---|---|
| 6,000 | 100–150 | 115V | 5.5 | 10–11 | $300–$500 |
| 8,000 | 150–250 | 115V | 7.0 | 10.5–12 | $400–$600 |
| 10,000 | 250–350 | 115V or 230V | 8.5 (115V) / 4.5 (230V) | 11–12.5 | $500–$700 |
| 12,000 | 350–450 | 230V | 5.0 | 11.5–13 | $600–$900 |
| 14,000 | 450–600 | 230V | 6.0 | 12–13.5 | $800–$1,200 |
Final Thoughts: Your Cool, Calm, and Collected Space Awaits
Installing an in wall air conditioner isn’t just about beating the heat—it’s about creating a space where you can relax, work, or sleep without sweating through the night. It’s a project that pays off in comfort, efficiency, and even home value. Yes, it takes time. Yes, there are steps that feel daunting (like cutting into your wall). But with the right tools, preparation, and a bit of confidence, you can absolutely do it.
Remember: every step matters. From choosing the right BTU and voltage to sealing every gap, each detail contributes to how well your AC performs. And once it’s in? That first blast of cool air will make all the effort worth it. You’ll look at your sleek, wall-mounted unit and think, “I did that.” And you’ll know exactly how to install a in wall air conditioner—because you just did.
So, grab your tools, take a deep breath, and get started. Your cool, calm, and collected summer starts now.
Frequently Asked Questions
How do I prepare for installing an in-wall air conditioner?
Start by choosing the right location—away from direct sunlight and heat sources—and ensure the wall can support the unit’s weight. Gather tools like a stud finder, level, drill, and electrical tester to safely prepare for the in-wall air conditioner installation.
Can I install an in-wall air conditioner in an existing wall?
Yes, but you’ll need to cut an opening in the wall to fit the unit, ensuring it aligns with the manufacturer’s specifications. Always check for electrical wiring or plumbing behind the wall before cutting.
Do I need to hire an electrician for an in-wall air conditioner installation?
If the unit requires a dedicated circuit or hardwiring, hiring a licensed electrician is recommended for safety and code compliance. Most DIYers can handle mounting and sealing the unit themselves.
How do I ensure proper drainage for my in-wall air conditioner?
The unit’s drain pan should slope slightly toward the exterior to allow condensation to flow outside. Connect a drain tube if required by the model to prevent water buildup or leaks.
What’s the best way to seal the in-wall air conditioner to prevent drafts?
Use expanding foam or caulk to seal gaps around the unit’s exterior sleeve, and install a weatherproof cover on the outdoor side. This keeps pests out and improves energy efficiency.
How long does it take to install an in-wall air conditioner?
For a DIYer with basic tools, the process typically takes 3–6 hours, including cutting the opening, mounting the unit, and sealing gaps. Complex electrical work may add time.