
Featured image for how to instal a portable air conditioner
Image source: img.staticmb.com
Installing a portable air conditioner is quick and hassle-free with the right setup—start by choosing a window for venting and ensuring your unit is near an electrical outlet. Attach the exhaust hose securely to the unit and window panel, then seal gaps to maximize cooling efficiency. With just five simple steps, your portable AC will be running in under 30 minutes, delivering instant comfort.
Key Takeaways
- Choose the right window: Pick a sliding or double-hung window for easy venting.
- Seal gaps tightly: Prevent hot air leaks with foam or insulation strips.
- Position near power outlet: Avoid extension cords to ensure safe operation.
- Use the included kit: Follow manufacturer’s exhaust hose and bracket instructions.
- Test before full use: Run briefly to check for leaks or unusual noises.
- Maintain airflow: Keep intake and exhaust vents unobstructed for efficiency.
📑 Table of Contents
- Why Portable Air Conditioners Are a Game-Changer for Home Cooling
- Step 1: Choose the Right Spot for Your Portable AC
- Step 2: Prepare the Window for the Exhaust Hose
- Step 3: Set Up the Condensate Drain (If Needed)
- Step 4: Power Up and Test Your Portable AC
- Step 5: Maintain Your Portable AC for Long-Term Performance
- Data Table: Portable AC Setup Checklist
- Final Thoughts: Enjoy Your Cool, Comfortable Space
Why Portable Air Conditioners Are a Game-Changer for Home Cooling
Let’s face it—summer heat can be relentless. Whether you’re renting an apartment, living in a home without central AC, or just trying to cool a single hot room, a portable air conditioner (PAC) can be a lifesaver. I remember my first summer in a tiny Brooklyn studio with no AC. Sweating through my sheets every night, I finally gave in and bought a portable unit. Within an hour of setting it up, I was sleeping like a baby. That’s when I realized: portable ACs aren’t just convenient—they’re essential for comfort, flexibility, and peace of mind.
But here’s the catch: installing a portable air conditioner the right way makes all the difference. A poorly set-up unit can leak, overheat, or barely cool the room—leaving you frustrated and out of pocket. The good news? You don’t need to be an HVAC expert. With just a few tools, some common sense, and a little time, you can install your portable AC like a pro. In this guide, I’ll walk you through how to instal a portable air conditioner in 5 easy steps, based on real-world experience and lessons learned the hard way.
Step 1: Choose the Right Spot for Your Portable AC
Before you even unbox your unit, the first—and most critical—decision is where to place it. This isn’t just about convenience; it’s about efficiency, safety, and performance. Think of your portable AC like a car: it needs the right environment to run smoothly.
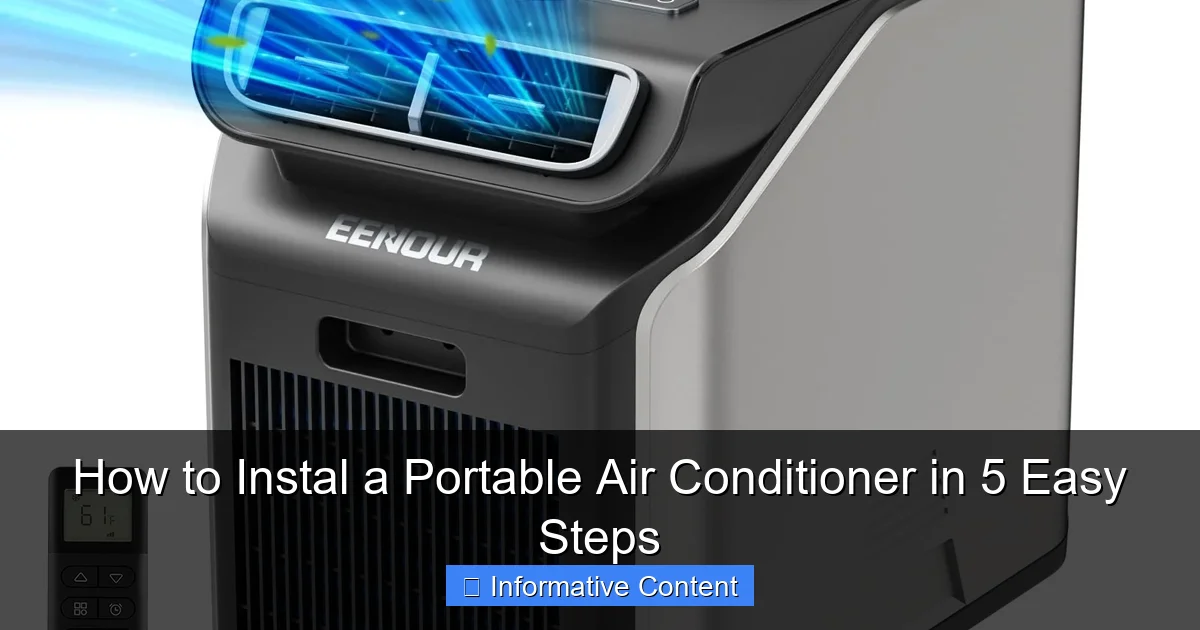
Visual guide about how to instal a portable air conditioner
Image source: m.media-amazon.com
Look for a Window Near an Electrical Outlet
Portable air conditioners need two things: a window for the exhaust hose and access to a grounded electrical outlet. I learned this the hard way when I tried to run an extension cord across my living room. Not only did it look messy, but the voltage drop made the unit run inefficiently. Always plug your PAC directly into a wall outlet. If you don’t have one nearby, consider hiring an electrician to install one—don’t risk using long, thin extension cords, which can overheat.
Pro tip: Choose a window that’s at least 3 feet away from curtains, blinds, or furniture. You want airflow, not obstructions.
Prioritize Ventilation and Airflow
Your portable AC pulls in warm air, cools it, and exhausts hot air outside through a hose. If the intake side (the front of the unit) is blocked, the unit has to work harder—and your energy bill goes up. I once placed my PAC behind a tall bookshelf. It cooled the room, but only by 2 degrees. Once I moved it to an open corner, the temperature dropped 6 degrees in 30 minutes.
Here’s what to look for:
- A clear 3-foot radius around the front and sides
- No direct sunlight hitting the unit (heat makes it work harder)
- Avoid kitchens or bathrooms where humidity is high—unless your PAC has a dehumidifier mode
Check Floor Stability and Weight
Most portable ACs weigh between 50–80 pounds. Make sure the floor can support it—especially if you’re placing it on a second story or over a basement. I once had a unit wobble because I placed it on a slightly warped floor. It wasn’t dangerous, but the vibration made a constant humming noise. A simple shim under one wheel fixed it instantly.
Tip: If your floor is uneven, use a level to check. Most PACs have adjustable casters or rubber feet—use them!
Step 2: Prepare the Window for the Exhaust Hose
The exhaust hose is the lifeline of your portable AC. It carries hot, humid air outside. If it’s not sealed properly, you’ll lose cool air, create condensation, and reduce efficiency. Trust me—I’ve had a hose fall out in the middle of the night, and waking up to a warm, sticky room is no fun.
Measure and Choose the Right Window Kit
Most portable ACs come with a window kit—a plastic or foam insert that fits into your window frame to hold the hose and block air leaks. But not all kits are universal. I once bought a PAC with a “universal” kit that didn’t fit my double-hung window. Ended up using duct tape (not ideal).
Here’s what to do:
- Measure your window opening width and height before buying
- Check if your window is single-hung, double-hung, sliding, or casement
- Buy a kit that matches your window type, or purchase a universal kit with multiple panels
Note: If your window is unusually shaped, consider a window seal kit made of foam or rubber that wraps around the hose and window frame.
Install the Window Kit Securely
For a double-hung window (most common in homes), here’s how to install the kit:
- Lower the bottom sash to the desired height (usually 10–12 inches)
- Place the window kit panel(s) in the gap, extending to the sides
- Use the included screws or clips to secure it (don’t overtighten!)
- Cut the panel to size if needed (most kits are adjustable)
For sliding windows, use a horizontal kit that fits snugly between the window and frame. For casement windows, you may need a custom solution—like a plexiglass panel with a hole for the hose.
Pro tip: Use weather stripping or foam tape around the edges of the kit to seal gaps. A 1/4-inch gap can leak enough air to reduce cooling by 15%!
Connect the Hose and Seal It Tight
Attach one end of the exhaust hose to the back of the PAC (it usually twists or clicks into place). Then, connect the other end to the window kit. Make sure it’s snug—wiggle it gently to check.
Now, here’s a mistake I made early on: I didn’t secure the hose to the window kit. One night, the wind blew the window shut, yanking the hose off. The result? Hot air poured back into my room. Now, I always:
- Use the included hose clamp or zip ties
- Angle the hose slightly downward (to prevent condensation from pooling)
- Keep it as short and straight as possible (long, kinked hoses reduce airflow)
Step 3: Set Up the Condensate Drain (If Needed)
Portable ACs remove moisture from the air—this is called condensate. Some units collect it in an internal tank you must empty. Others have a continuous drain option. If you’re using the tank method, you’ll need to empty it every few days (or more, in humid climates). But if your unit has a drain hose, you can set it up to empty automatically.
Know Your Unit’s Drain Type
There are three main types:
- Self-evaporating: Most modern PACs use this. They reuse condensate to cool the condenser, reducing tank emptying. Great for dry climates.
- Manual tank: You must empty the water tank regularly. Look for a “full tank” indicator light.
- Continuous drain: Use a hose to drain water outside or into a floor drain. Ideal for 24/7 use.
Set Up Continuous Drain (If Available)
If your PAC has a drain hose port (usually a small cap on the back), you can attach a garden hose or vinyl tubing. Here’s how:
- Remove the cap and insert the hose (use a hose clamp for a tight fit)
- Route the hose to a floor drain, sink, or outside
- Make sure the hose slopes downward—no uphill sections!
- Secure the hose with tape or clips to prevent kinks
Warning: Don’t use a continuous drain in freezing temperatures—water in the hose can freeze and crack it.
Empty the Tank Regularly (If Manual)
Even self-evaporating units may need occasional tank emptying, especially in humid areas. I live in Florida, so I empty mine every 3–4 days. Here’s how:
- Turn off and unplug the unit
- Slide out the tank (usually at the bottom front)
- Pour the water into a sink or bucket
- Wipe the tank with a damp cloth (prevents mold)
- Reinsert it securely
Tip: If you’re going on vacation, empty the tank and leave the unit off to avoid overflow.
Step 4: Power Up and Test Your Portable AC
Now comes the fun part—turning it on! But before you hit the power button, double-check everything. A few minutes of prep can prevent hours of frustration.
Plug In and Position the Unit
Roll the PAC into place. Make sure:
- The exhaust hose is still connected and sealed
- The unit is at least 12 inches from the wall (for airflow)
- It’s on a stable, level surface
Then, plug it into the outlet. Never use an extension cord unless it’s heavy-duty (14-gauge or lower) and rated for the unit’s wattage (check the manual).
Turn On and Set the Mode
Most portable ACs have a digital panel or remote control. Start by:
- Setting the mode to “Cool” or “Auto”
- Choosing a temperature (I recommend 72–75°F for comfort and efficiency)
- Selecting fan speed (start with “Medium”)
Wait a few minutes. You should feel cool air blowing from the front and hot air from the exhaust hose.
Check for Leaks, Noise, and Performance
Listen for:
- Unusual noises: Grinding or rattling could mean loose parts
- Water leaks: Check the floor and window area. If you see puddles, the hose may be loose or the unit tilted
- Weak airflow: Clean the air filter (more on that below)
Use a thermometer to check the room temperature. A good PAC should lower the temp by 5–10°F within an hour.
Step 5: Maintain Your Portable AC for Long-Term Performance
Your work isn’t done once it’s running. Regular maintenance keeps your PAC efficient, quiet, and long-lasting. I neglected my first unit’s filter for months—it started blowing warm air and making a grinding noise. A $50 repair could’ve been avoided with simple upkeep.
Clean or Replace the Air Filter Monthly
Most PACs have a washable filter behind the front grille. Here’s how to clean it:
- Turn off and unplug the unit
- Remove the front cover (usually snaps off)
- Pull out the filter
- Rinse it with warm water (no soap!)
- Let it dry completely (24 hours)
- Reinsert it
Tip: If the filter is torn or black with mold, replace it. Most manufacturers sell replacements.
Inspect the Exhaust Hose and Window Kit
Every few weeks, check:
- Is the hose cracked or kinked?
- Is the window kit still sealed? Reapply foam tape if needed
- Is there condensation dripping from the hose? (Normal, but make sure it’s not pooling)
Store It Properly in Off-Season
If you live in a cold climate, store your PAC during winter:
- Drain all water (remove the tank and drain hose)
- Clean the filter and wipe the unit
- Cover the exhaust port with tape to keep bugs out
- Store upright in a dry, temperature-controlled area
Data Table: Portable AC Setup Checklist
| Task | Frequency | Tools Needed | Notes |
|---|---|---|---|
| Choose location near outlet & window | Once (before installation) | Measuring tape | Avoid direct sunlight |
| Install window kit | Once | Screwdriver, foam tape | Seal all gaps |
| Connect exhaust hose | Once | Hose clamps, zip ties | Keep it short & straight |
| Set up drain (tank or hose) | Once | Garden hose (if continuous) | Empty tank every 3–4 days |
| Clean air filter | Monthly | None (washable) | Let it dry completely |
| Check for leaks/noise | Weekly | None | Listen and inspect |
Final Thoughts: Enjoy Your Cool, Comfortable Space
Installing a portable air conditioner doesn’t have to be complicated. By following these 5 easy steps—choosing the right spot, preparing the window, setting up the drain, powering it on, and maintaining it—you’ll get reliable, efficient cooling all season long. I’ve helped friends install their PACs in apartments, garages, and even RVs, and the process is always the same: plan ahead, seal tight, and stay consistent with upkeep.
Remember, a well-installed portable AC isn’t just about surviving the heat—it’s about enjoying your home. No more sweaty nights, no more stuffy rooms, just cool, fresh air whenever you need it. So take your time, follow the steps, and don’t skip the little things (like sealing that window gap). Your comfort—and your energy bill—will thank you.
Now, go enjoy that first cool breeze. You’ve earned it.
Frequently Asked Questions
How do I install a portable air conditioner properly?
To install a portable air conditioner, first place it near a window and power outlet. Attach the exhaust hose to the unit and window kit, then secure it to vent hot air outside for optimal performance. Follow the manufacturer’s instructions for your specific model.
Can I install a portable air conditioner without a window?
While window venting is standard, you can use a sliding door or drop-ceiling vent kit as alternatives. Ensure the exhaust hose is as short and straight as possible to maintain efficiency during your portable AC installation.
What tools do I need for a portable air conditioner installation?
Most portable air conditioners require no tools—just the included window kit, exhaust hose, and foam seals. Some models may need a screwdriver to secure the window bracket, but this varies by brand.
How to install a portable air conditioner in a sliding window?
Use an adjustable sliding window kit designed for horizontal openings. Extend the panel to fit the window width, attach the exhaust hose, and seal gaps with foam tape to prevent hot air leaks.
Why is my portable air conditioner leaking after installation?
Leaks often occur due to improper exhaust hose setup or a tilted unit. Ensure the AC is level, the hose slopes downward toward the window, and the drain plug (if present) is secure.
How long does it take to install a portable air conditioner?
A basic portable air conditioner installation takes 10–20 minutes. Time may increase if you need to customize a window kit or troubleshoot venting issues, but most users find it a quick process.