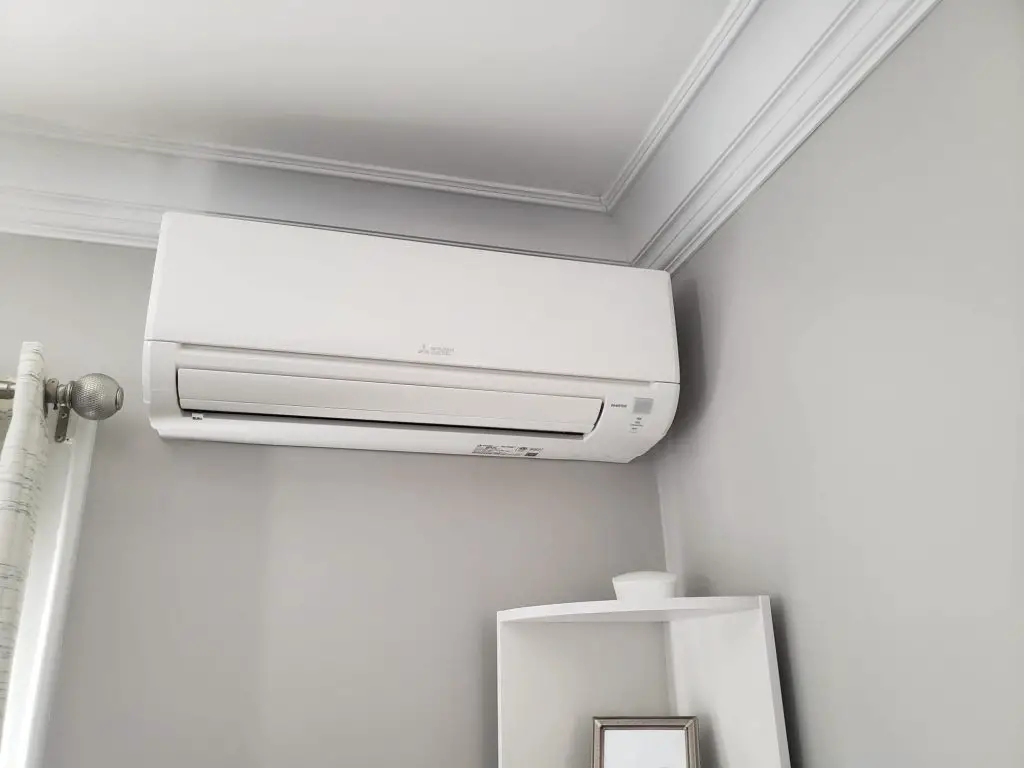
How Long Does It Take to Change Ac Compressor : Expert Guide
How Long Does It Take to Change AC Compressor
Replacing an AC compressor is a complex task that involves several steps. The duration required for this process can vary based on specific circumstances, such as the type of vehicle and the experience of the technician handling the replacement.
Signs You Need a Compressor Replacement
Before committing to a replacement, confirm the compressor is truly at fault. Common indicators include:
- Warm air from vents despite correct thermostat settings
- Unusual clunking or grinding noises when the AC engages
- Tripped circuit breaker or blown fuse for the AC circuit
- Refrigerant leaks around the compressor clutch or housing
- Compressor clutch not engaging at all
If you notice these symptoms, start by diagnosing warm air issues to rule out simpler causes like low refrigerant or a faulty pressure switch.
https://www.youtube.com/watch?v=DzxbAiqxVLM
Step-by-Step Process
When discussing the duration of changing an AC compressor, it's important to understand the step-by-step process involved. A typical replacement process may include the following steps:
Diagnose a bad compressor
Remove refrigerant from the system
Remove the fan belt
Remove refrigerant lines
Install the new compressor
Add oil to the new compressor
Slide the compressor on and secure it
Reinstall the power steering pump
Refill the system with refrigerant
These steps serve as a general guideline for the process, but the specific details can vary based on the particular vehicle and its AC system.

Figure 1: Typical AC compressor and components laid out for replacement
Credit: www.ebay.com
Tools and Materials Needed
Before starting a compressor replacement, gather the following tools and materials to ensure a smooth workflow:
- Refrigerant recovery machine (EPA Section 608 certified)
- Manifold gauge set
- Vacuum pump
- Torque wrench
- Socket and wrench set
- New compressor (OEM or quality aftermarket)
- Compressor oil (type specified by manufacturer)
- Refrigerant (correct type and amount)
- New O-rings and seals
- Safety glasses and gloves
Having these items on hand reduces delays and helps avoid multiple trips to the supply house. For a deeper look at installation best practices, see our guide.
Timeline
According to various sources such as Masters Heating & Cooling, the timeframe for replacing an AC compressor typically ranges from four to six hours. This time frame includes removing and disposing of the remaining refrigerant, disconnecting and removing the old compressor, installing the new one with proper fittings, and recharging the system with refrigerant.
However, the specific duration can also vary based on the technician's experience and the complexity of the replacement process. The expertise and efficiency of the technician can significantly impact the time required to complete the replacement.

Figure 2: Professional technician performing compressor swap
Credit: www.fastacservice.com
Complexity of the Task
Replacing an AC compressor is not a simple DIY task. According to Air Authority, even experienced DIYers might find the task incredibly challenging due to various complex factors. These include the need for a solid understanding of HVAC systems, electrical connections, and refrigerant handling.
The intricate nature of the project, including the knowledge and skills required, contributes to the complexity of replacing an AC compressor. This underscores the importance of seeking professional help for this task.
Safety Precautions and Refrigerant Handling
Working with refrigerant requires strict adherence to safety and environmental regulations. In practice, technicians always:
- Wear protective gloves and eyewear to prevent frostbite and chemical exposure.
- Use a certified recovery machine to capture refrigerant; venting is illegal under EPA Section 608.
- Ensure the work area is well‑ventilated to avoid refrigerant accumulation.
- Verify system pressure is zero before disconnecting any lines.
- Follow manufacturer torque specifications when tightening fittings to prevent leaks.
For official guidelines on refrigerant management, refer to the EPA Section 608 program.
Other Factors Affecting Duration
Other factors that can influence the duration of the replacement process include the specific make and model of the vehicle, accessibility to the compressor, and potential complications that may arise during the installation. Furthermore, additional time may be needed for evacuating and recharging the AC system after the new compressor is installed.
It's important to note that the time taken for the replacement process also varies based on the type of vehicle, with some vehicles requiring more intricate and time-consuming procedures compared to others.
Cost Considerations
The total expense of a compressor replacement breaks down into several categories:
| Item | Typical Range (USD) |
|---|---|
| Compressor (parts) | $300 – $1,200 |
| Refrigerant & oil | $50 – $150 |
| Labor (4–6 hrs @ $80–$150/hr) | $320 – $900 |
| Misc. supplies (O‑rings, seals, flush) | $30 – $80 |
| Total | $700 – $2,330 |
Prices vary by vehicle make, regional labor rates, and whether you choose OEM or aftermarket components. Selecting an efficient replacement unit can lower long‑term operating costs.
DIY vs Professional: What to Know
While a skilled enthusiast might attempt the swap, the job demands specialized tools, EPA certification for refrigerant handling, and a deep understanding of system pressures. A common mistake is under‑evacuating the system, which leads to moisture contamination and premature compressor failure. If you lack a recovery machine, vacuum pump, or manifold gauges, the risk of costly rework outweighs the labor savings. For most owners, hiring a certified technician ensures warranty compliance and proper system performance. Understanding HVAC system types can clarify why professional service is often the safer choice.
Common Mistakes to Avoid
- Skipping the flush: Old debris can destroy a new compressor within hours.
- Over‑ or under‑charging refrigerant: Both reduce efficiency and can damage components.
- Reusing O‑rings: Always install new seals to prevent leaks.
- Not pulling a deep vacuum: Residual moisture causes acid formation and compressor burnout.
- Ignoring torque specs: Loose fittings leak; over‑tightened fittings crack.
Frequently Asked Questions On How Long Does It Take To Change Ac Compressor : Expert Guide
Is An Ac Compressor Easy To Replace?
Replacing an AC compressor can be a complex task and is generally recommended to seek professional help. It requires knowledge of HVAC systems, electrical connections, and refrigerant handling. Even experienced DIYers may find it challenging. The process involves removing and disposing of old compressor, installing the new one with proper fittings, and recharging with refrigerant.
On average, it takes around four to six hours to complete.
How Long Does It Take To Replace Car Ac Compressor?
It typically takes four to six hours to replace a car AC compressor. The process involves removing the old compressor, installing the new one, and recharging the system.
Is Replacing An Ac Compressor Expensive?
Replacing an AC compressor can be costly. It typically takes about four to six hours for the entire process.
Is Changing Ac Compressor Hard Job?
Replacing an AC compressor can be a challenging job, even for experienced DIYers. It requires knowledge of HVAC systems, electrical connections, and refrigerant handling. It is recommended to seek professional help for this task.
Post-Installation Checklist
After the new compressor is installed and the system recharged, verify the following:
- Pressure readings – High and low side pressures match manufacturer specs at current ambient temperature.
- Temperature drop – Supply air should be 15–20 °F cooler than return air.
- Leak test – Use an electronic leak detector or soap‑bubble solution on all fittings.
- Oil level – Confirm the compressor has the correct oil charge (some units come pre‑filled).
- System cycle – Run the AC through several complete cycles to ensure stable operation.
Scheduling regular upkeep helps catch issues early; see our ongoing maintenance schedule for seasonal tips.
Conclusion
Replacing an AC compressor is a complex and time-consuming task that demands careful attention to detail and a thorough understanding of HVAC systems. While the average duration for this process may range from four to six hours, it's crucial to remember that various factors can impact the time required, and seeking professional help is often recommended.
Ready to schedule a professional inspection? Contact a certified HVAC technician today.