
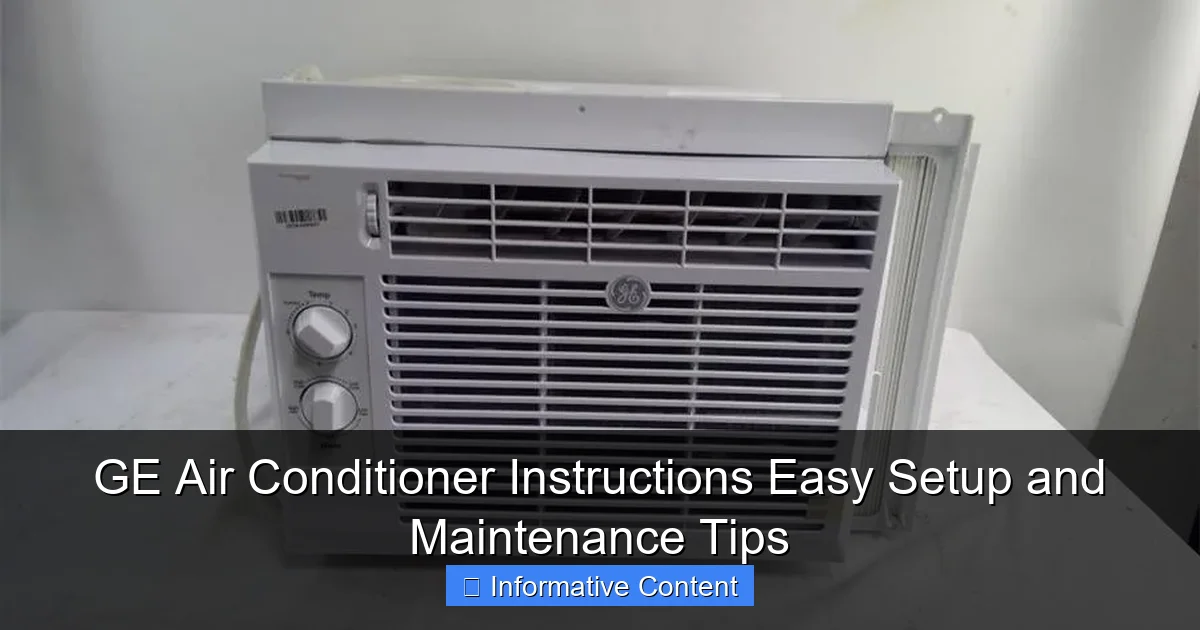
Featured image for ge air conditioner instructions
Image source: content.propertyroom.com
Master your GE air conditioner with simple, step-by-step instructions for quick setup, optimal performance, and hassle-free maintenance. Follow these expert tips to extend your unit’s lifespan and boost energy efficiency—all while staying cool and comfortable year-round.
Key Takeaways
- Read the manual first: Always start with GE’s official guide for model-specific setup steps.
- Clean filters monthly: Prevent airflow issues and maintain efficiency with regular filter care.
- Check drainage often: Avoid leaks by ensuring the condensate drain is clear and functional.
- Use auto mode wisely: Save energy by letting the thermostat adjust cooling automatically.
- Inspect seals yearly: Replace worn door or window seals to improve cooling performance.
- Schedule professional maintenance: Annual HVAC checkups extend lifespan and prevent costly repairs.
📑 Table of Contents
- Why Proper Setup and Maintenance Matter for Your GE Air Conditioner
- Step-by-Step Guide to Setting Up Your GE Air Conditioner
- Understanding Your GE Air Conditioner’s Features and Controls
- Essential Maintenance Tips to Keep Your GE AC Running Smoothly
- Troubleshooting Common GE Air Conditioner Issues
- Energy Efficiency and Cost-Saving Tips
- Conclusion: Stay Cool, Save Money, and Extend Your AC’s Life
Why Proper Setup and Maintenance Matter for Your GE Air Conditioner
When summer hits and the heat becomes unbearable, your GE air conditioner becomes your best friend. But just like any good relationship, it needs a little care and attention to keep things running smoothly. Whether you’re setting up your GE AC for the first time or trying to figure out why it’s not cooling like it used to, having the right GE air conditioner instructions can make all the difference.
I’ve been there—sweating through the night because my AC wasn’t working right, only to discover I’d missed a simple step in the setup. It’s frustrating, but the good news is that most issues are easy to fix with a little know-how. From unboxing to seasonal maintenance, this guide will walk you through everything you need to know to get the most out of your GE air conditioner. No jargon, no fluff—just practical tips to keep you cool all year long.
Step-by-Step Guide to Setting Up Your GE Air Conditioner
Unboxing and Initial Inspection
The first step in setting up your GE air conditioner is unboxing it carefully. I remember when I got my first GE AC, I was so excited that I almost missed the protective foam pieces holding the unit in place. Here’s what to check for:
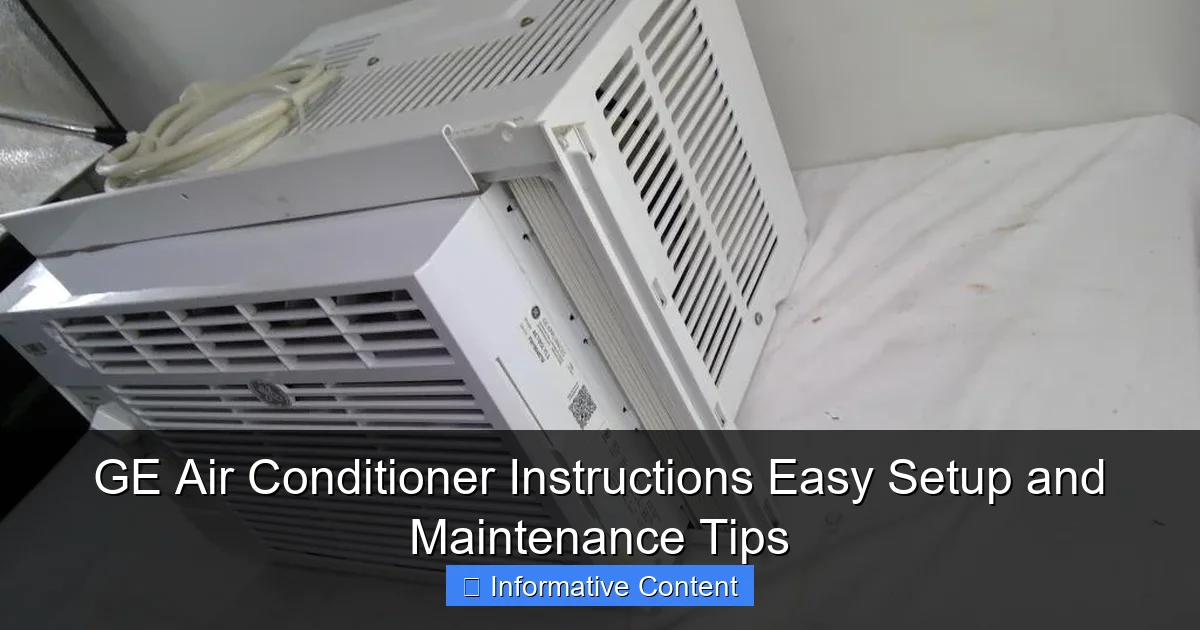
Visual guide about ge air conditioner instructions
Image source: content.propertyroom.com
- Inspect the unit for any visible damage during shipping.
- Ensure all accessories (remote, mounting hardware, window kit) are included.
- Read the user manual—yes, really! It’s not just for warranty claims.
Pro tip: If you’re using a window unit, measure your window opening before unboxing. Nothing’s worse than realizing your AC won’t fit after you’ve already cut the packaging.
Choosing the Right Location
Where you place your AC can make or break its efficiency. For window units, pick a spot where:
- The window is sturdy and can support the weight.
- There’s at least 12 inches of clearance on all sides for airflow.
- It’s away from direct sunlight and heat sources (like lamps or ovens).
For portable ACs, make sure there’s a nearby window for the exhaust hose and an electrical outlet. I learned this the hard way when my portable AC kept tripping the breaker because the cord was stretched too far.
Mounting the Unit Securely
For window units, follow the GE air conditioner instructions for installing the support brackets and side panels. The goal is to create a tight seal to prevent hot air from sneaking in. Here’s how:
- Slide the AC into the window opening, ensuring the front panel faces inside.
- Extend the side panels to fill gaps, then secure them with screws.
- Use the included foam seal to block any remaining gaps.
For portable ACs, attach the exhaust hose to the window kit and ensure it’s not kinked. A friend once told me their portable AC wasn’t cooling because the hose was bent—simple fix, big difference!
Connecting to Power and Testing
Before turning it on, double-check that:
- The power cord is plugged into a dedicated outlet (no extension cords!).
- The circuit breaker is rated for the AC’s amperage (usually 15-20 amps).
- The unit is level (use a bubble level if needed).
Once everything’s set, power it on and test the modes (cool, fan, dehumidify). If it doesn’t start, check the user manual for troubleshooting steps—often, it’s just a loose connection.
Understanding Your GE Air Conditioner’s Features and Controls
Decoding the Control Panel
GE air conditioners come with a range of features, but the control panel can feel overwhelming at first. Here’s what each button does:
- Power: Turns the unit on/off.
- Mode: Cycles between cool, fan, dry, and auto (some models have heat).
- Fan Speed: Adjusts airflow (low, medium, high, or auto).
- Timer: Sets on/off times to save energy.
- Temperature: Sets your desired cooling level.
For example, if you’re trying to cool a room quickly, set the mode to “cool,” fan speed to “high,” and temperature to 68°F. Once the room cools, switch to “auto” to maintain the temperature.
Using the Remote Control
Most GE ACs come with a remote, but it’s not just a fancy add-on—it’s a lifesaver for lazy days. Key features to know:
- Sleep Mode: Gradually raises the temperature overnight to save energy.
- Eco Mode: Reduces power consumption by cycling the compressor.
- Follow Me: Some models let the remote act as a thermostat, so the AC cools based on your location.
Pro tip: If the remote isn’t working, check the batteries and ensure there’s a clear line of sight to the AC’s sensor.
Smart Features (Wi-Fi and App Control)
Newer GE models offer Wi-Fi connectivity, letting you control your AC from your phone. To set it up:
- Download the GE Appliances app.
- Follow the in-app instructions to connect your AC to your home Wi-Fi.
- Use the app to monitor energy usage, set schedules, or adjust settings remotely.
I love using this feature when I’m on vacation—I can turn the AC on before I get home so the house is cool when I walk in.
Essential Maintenance Tips to Keep Your GE AC Running Smoothly
Cleaning the Air Filter (The #1 Maintenance Task)
The air filter is the unsung hero of your AC. A dirty filter restricts airflow, making your unit work harder and less efficiently. Here’s how to clean it:
- Turn off and unplug the AC.
- Remove the front panel (usually by lifting it up).
- Take out the filter and rinse it under lukewarm water.
- Let it air dry completely before reinstalling.
How often should you clean it? Every 2-4 weeks during heavy use, or every 6 weeks in milder weather. I set a monthly reminder on my phone—it takes 5 minutes but saves me from costly repairs.
Checking the Condensate Drain
ACs produce condensate (dripping water) as they cool. If the drain pan clogs, you’ll get leaks or mold. To prevent this:
- Inspect the drain pan for standing water or algae buildup.
- Use a pipe cleaner or vinegar solution to clear any clogs.
- For window units, ensure the back of the AC is slightly tilted outward to help water drain.
One summer, my AC started dripping inside the house—turns out, the drain pan was clogged with leaves (thanks, wind!). A quick clean fixed it.
Inspecting the Coils and Fins
Dirty coils reduce efficiency, and bent fins block airflow. Every 3-6 months, check:
- The evaporator coil (inside the unit) for dust buildup (use a coil cleaner spray).
- The condenser coil (outside) for debris (gently brush with a soft cloth).
- The fins for bends (use a fin comb to straighten them).
Pro tip: Never use a pressure washer—it can damage the fins. A garden hose on a gentle setting works fine.
Seasonal Storage (For Window Units)
If you’re not using your AC year-round, store it properly:
- Clean the filter and coils.
- Remove the unit from the window and dry it thoroughly.
- Cover it with a breathable fabric cover (not plastic, which traps moisture).
Storing it in a dry, temperature-controlled area (like a closet) prevents rust and mold.
Troubleshooting Common GE Air Conditioner Issues
AC Not Cooling
If your AC is running but not cooling, here’s what to check:
- Dirty filter: Clean or replace it.
- Thermostat settings: Ensure it’s set to “cool” and the temperature is lower than the room’s current temp.
- Refrigerant leak: If ice forms on the coils, call a technician—this isn’t a DIY fix.
Once, my AC was blowing warm air because I’d accidentally set the thermostat to “heat” during a cold snap. Doh!
Strange Noises or Vibrations
Odd sounds can signal problems:
- Buzzing: Loose parts or electrical issues. Turn it off and inspect.
- Rattling: Debris in the fan or loose screws. Remove the front panel and check.
- Gurgling: Air in the refrigerant lines (call a pro).
I had a rattling noise last year—turned out a leaf had gotten stuck in the fan. A quick vacuum fixed it.
Water Leaks
Leaks are often caused by:
- Clogged drain: Clear the drain pan and hose.
- Low refrigerant: Causes ice buildup, which melts and leaks. Call a technician.
- Improper tilt: For window units, ensure the back is slightly lower than the front.
When in doubt, check the user manual for error codes (e.g., “E1” might mean a sensor issue).
Energy Efficiency and Cost-Saving Tips
Optimal Temperature Settings
Setting your AC to 78°F (25°C) is the sweet spot for comfort and efficiency. For every degree lower, you increase energy use by 6-8%. Use the table below to estimate costs:
| Temperature Setting | Energy Use Increase | Estimated Cost (Per Hour) |
|---|---|---|
| 78°F (25°C) | Baseline | $0.10 |
| 75°F (24°C) | +6-8% | $0.11 |
| 72°F (22°C) | +12-16% | $0.12 |
Pro tip: Use ceiling fans to circulate cool air—you can set the AC 2-4 degrees higher without sacrificing comfort.
Using Timers and Schedules
Set your AC to turn off when you’re away (e.g., 30 minutes after you leave for work) and back on before you return. This cuts energy use by 10-20%. Smart thermostats can automate this even better.
Sealing Air Leaks
Hot air sneaking in makes your AC work harder. Seal gaps around windows and doors with weatherstripping or foam tape. I once saved 15% on my bill just by sealing the cracks in my bedroom windows.
Conclusion: Stay Cool, Save Money, and Extend Your AC’s Life
Your GE air conditioner is more than just a box that cools the air—it’s a tool that, when set up and maintained properly, can keep you comfortable for years. By following these GE air conditioner instructions, you’ll avoid common pitfalls, save on energy bills, and even extend your unit’s lifespan. Think of it like caring for a car: regular tune-ups (like cleaning the filter) prevent costly breakdowns.
Remember, the key is consistency. A few minutes of maintenance each month can save you hours of frustration (and dollars on repairs) down the road. And if you ever hit a snag, don’t panic—most issues are fixable with a little patience and the right guidance. Stay cool out there, and don’t forget to share these tips with friends who might be sweating it out too!
Frequently Asked Questions
How do I set up my GE air conditioner for the first time?
Follow the GE air conditioner instructions included in the manual: secure the unit in the window, attach the side panels, and connect the exhaust hose (if portable). Ensure a snug fit to prevent air leaks and maximize cooling efficiency.
Why isn’t my GE air conditioner cooling properly?
Check if the filter is clogged or the thermostat is set correctly. Dirty filters or incorrect temperature settings are common issues—clean or replace filters monthly and ensure the unit is in “Cool” mode.
How often should I clean my GE air conditioner’s filter?
Per the GE air conditioner instructions, clean the filter every 2-4 weeks during heavy use. A dirty filter restricts airflow, reducing performance and increasing energy costs.
Can I install a GE portable air conditioner without a window?
No, portable models require a window or sliding door for venting hot air. Use the included exhaust hose and window kit to vent outdoors, as per safety guidelines.
What do the error codes on my GE air conditioner mean?
Refer to your manual’s troubleshooting section—common codes like “E1” or “F1” indicate issues like sensor faults or low refrigerant. Reset the unit or contact GE support if problems persist.
How do I program the timer on my GE air conditioner?
Press the “Timer” button, then use the up/down arrows to set on/off times. The display will confirm your settings—ideal for energy savings and pre-cooling rooms.