
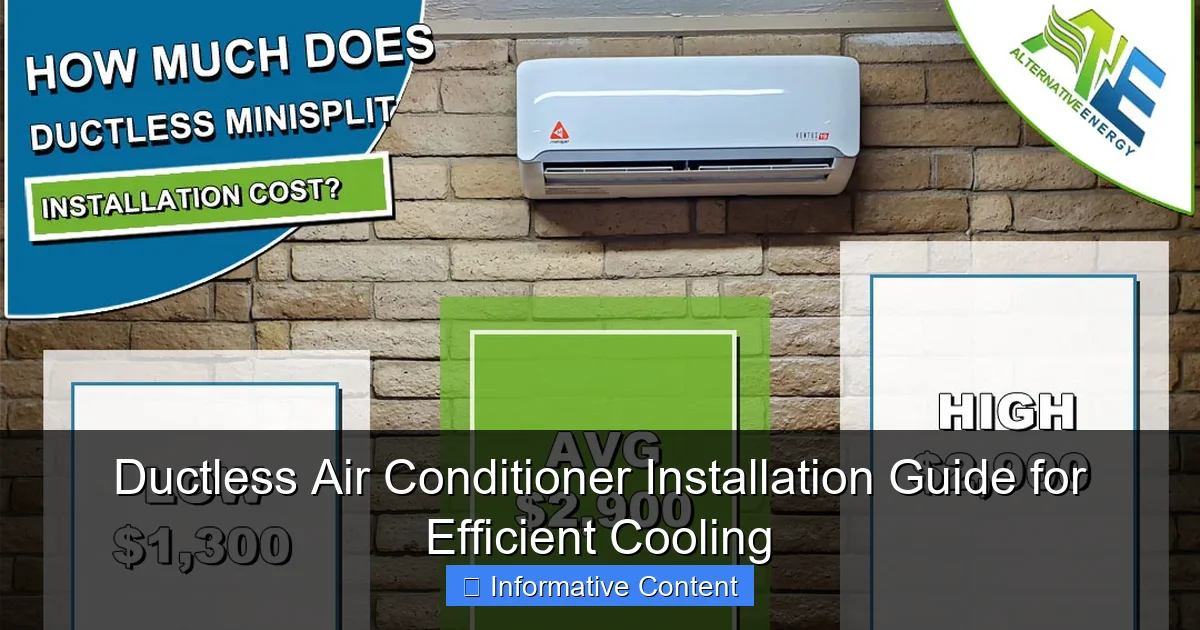
Featured image for ductless air conditioner installation
Image source: powersolarphoenix.com
Proper ductless air conditioner installation ensures maximum energy efficiency and long-term performance. This guide walks you through site assessment, unit placement, refrigerant line setup, and electrical connections to help you avoid costly mistakes. DIYers can handle basic steps, but professional support is recommended for line evacuation and system commissioning.
Key Takeaways
- Plan carefully: Choose the right unit size and optimal indoor/outdoor unit placement.
- Hire a pro: Always use a licensed HVAC technician for refrigerant line and electrical work.
- Seal gaps: Prevent energy loss by sealing all wall penetrations after installation.
- Prioritize drainage: Ensure the condensate line has a proper slope for smooth water flow.
- Test thoroughly: Run system checks to verify cooling, airflow, and thermostat accuracy.
- Maintain access: Keep indoor unit filters reachable for regular cleaning and upkeep.
📑 Table of Contents
- Why Ductless Air Conditioners Are a Game-Changer
- How Ductless Air Conditioners Work: The Basics
- Planning Your Ductless Air Conditioner Installation
- The Installation Process: Step-by-Step
- Common Installation Mistakes (And How to Avoid Them)
- Maintenance and Long-Term Care for Optimal Performance
- Cost, Energy Savings, and ROI: The Numbers
- Final Thoughts: Is Ductless Right for You?
Why Ductless Air Conditioners Are a Game-Changer
Let me tell you a story. A few summers ago, my neighbor, Sarah, was sweating through another hot, humid summer in her 1920s home. Her central AC had given up the ghost, and the thought of tearing up floors and walls to install ductwork made her cringe. Then, a friend suggested a ductless air conditioner. She was skeptical at first—how could one little unit cool an entire house? But after installation, she was stunned. Not only did it cool her home efficiently, but it also slashed her energy bills by nearly 30%. That’s when I realized: ductless systems aren’t just a trend. They’re a smarter, more flexible way to stay cool.
Ductless air conditioners, also called mini-split systems, are perfect for homes without existing ducts, room additions, or spaces where traditional HVAC just doesn’t fit. They’re energy-efficient, quiet, and customizable. But the real magic? Installation. Done right, it’s a breeze. Done wrong, it can lead to inefficiencies, noise, and even water leaks. That’s why I’m here to walk you through the entire ductless air conditioner installation process—from planning to pro tips—so you can enjoy cool, comfortable air without the headaches.
How Ductless Air Conditioners Work: The Basics
Understanding the Components
Before you dive into ductless air conditioner installation, it helps to know what you’re working with. A ductless system has two main parts:
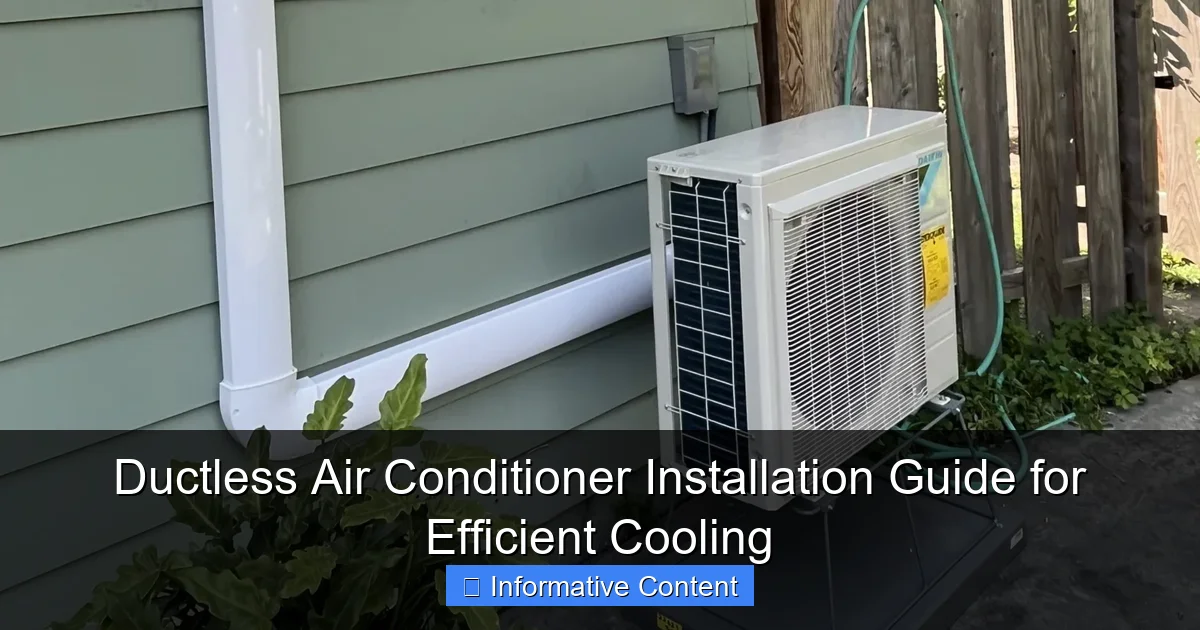
Visual guide about ductless air conditioner installation
Image source: legacyplumbingfm.com
- Outdoor unit (condenser/compressor): This sits outside your home and handles the heat exchange. It’s connected to the indoor unit via refrigerant lines, power cables, and a condensate drain.
- Indoor unit (air handler): Mounted on a wall or ceiling, this blows cooled air into the room. Some systems have multiple indoor units linked to one outdoor unit—great for zoned cooling.
Think of it like a team: the outdoor unit does the heavy lifting (moving heat), while the indoor unit delivers the cool air. Simple, right?
Why Ductless Beats Traditional AC
Ductless systems have some serious advantages over central AC:
- No duct losses: Up to 30% of energy in traditional systems is lost through leaky ducts. Ductless systems deliver air directly—no waste.
- Zoned cooling: Want the bedroom cool but the living room warmer? No problem. Each indoor unit operates independently.
- Easy retrofit: Perfect for older homes, garages, or sunrooms where adding ductwork is impractical.
- Energy efficiency: Most ductless units have high SEER ratings (Seasonal Energy Efficiency Ratio), often 20+.
For example, my cousin installed a ductless system in her converted garage gym. The single indoor unit cools the space efficiently—no ducts, no mess. And she only runs it when she’s working out, saving energy.
Planning Your Ductless Air Conditioner Installation
Step 1: Assess Your Space
Not every room needs the same cooling power. Before buying, ask:
- Room size: Measure the square footage. Most ductless units cool 150–400 sq. ft. per indoor unit. A 12,000 BTU unit typically covers 300–400 sq. ft.
- Sun exposure: South-facing rooms or large windows may need more BTUs.
- Ceiling height: High ceilings mean more air to cool.
- Insulation: Poor insulation? You’ll need a more powerful unit.
Pro tip: Use an online BTU calculator or consult an HVAC pro for a load calculation. Don’t guess—undersizing leads to constant running, and oversizing wastes money.
Step 2: Choose the Right System
Ductless systems come in two flavors:
- Single-zone: One outdoor unit + one indoor unit. Ideal for a single room (e.g., a home office).
- Multi-zone: One outdoor unit + up to 8 indoor units. Great for whole-house cooling.
For example, my friend Mike installed a multi-zone system with four indoor units—one in each bedroom and one in the living room. His outdoor unit is compact, and he controls each zone with a remote.
Step 3: Pick the Perfect Location
Where you install the units matters. Here’s how to decide:
- Indoor unit: Mount it high on an interior wall, at least 6–7 feet above the floor. Avoid direct sunlight, heat sources (like lamps), and furniture that blocks airflow.
- Outdoor unit: Place it on a level surface (concrete pad or brackets), away from debris, snow, and direct sun. Leave at least 12 inches of clearance on all sides for airflow.
- Refrigerant lines: The shorter the distance between units, the more efficient the system. Aim for a 25-foot max if possible.
My neighbor Sarah learned this the hard way. She initially mounted her indoor unit near a window—big mistake. The sun heated the wall, making the unit work harder. After moving it, her efficiency improved instantly.
The Installation Process: Step-by-Step
Step 1: Mount the Indoor Unit
This is where precision matters. Here’s how to do it:
- Mark the wall: Use a level to draw a straight line for the mounting bracket. Drill pilot holes and secure the bracket with anchors.
- Drill the hole: Use a 3-inch hole saw to drill through the wall. Angle it slightly downward (about 15 degrees) so condensation drains outside.
- Hang the unit: Slide the indoor unit onto the bracket and lock it in place. Make sure it’s level.
Tip: Use a vacuum to suck up dust from drilling. It’s a small step, but it keeps your walls clean.
Step 2: Install the Outdoor Unit
The outdoor unit needs a stable, level base:
- Prepare the pad: Pour a concrete pad or use a pre-made mounting bracket. Level it with a spirit level.
- Set the unit: Place the condenser on the pad and secure it with bolts. Leave space around it for airflow.
Warning: Don’t place the unit under a window where rain or snow could splash onto it. I’ve seen units fail early because of this.
Step 3: Connect the Refrigerant Lines, Drain, and Power
This is the trickiest part—and where pros earn their money. But here’s what happens:
- Refrigerant lines: A technician flushes the lines with nitrogen to remove moisture, then connects them to the units. They’ll vacuum the lines to remove air (critical for efficiency).
- Condensate drain: The drain line runs from the indoor unit through the hole and outside. Slope it downward to prevent clogs.
- Power cable: The outdoor unit needs a dedicated circuit (usually 20–30 amps). The indoor unit gets power via a low-voltage wire.
Pro tip: If you’re DIYing, never attempt refrigerant line work yourself. Handling refrigerant requires EPA certification. Leave it to the pros.
Step 4: Test and Charge the System
After connections are made:
- Check for leaks: The technician uses a leak detector or soapy water to find refrigerant leaks.
- Evacuate the lines: A vacuum pump removes air and moisture. This step is crucial—moisture can freeze and damage the compressor.
- Charge the refrigerant: The technician adds the exact amount of refrigerant specified by the manufacturer. Too much or too little = poor performance.
Example: My cousin’s installer spent 45 minutes evacuating the lines. “It’s the difference between a system that lasts 15 years and one that fails in 5,” he said.
Common Installation Mistakes (And How to Avoid Them)
Mistake #1: Poor Indoor Unit Placement
Putting the indoor unit in a bad spot is the #1 error. Avoid:
- Direct sunlight: Heat from the sun makes the unit work harder.
- Airflow blockages: Don’t place it behind curtains or furniture.
- Low mounting: Units mounted too low can blow air directly at people, causing discomfort.
Solution: Follow the 6–7 foot rule. Use a remote to adjust airflow direction if needed.
Mistake #2: Incorrect Refrigerant Line Length
Refrigerant lines must be the right length. Too short? The system struggles. Too long? Efficiency drops.
- Manufacturer specs: Check the manual for max line length (usually 50–100 feet).
- Line insulation: Wrap lines with insulation to prevent condensation and energy loss.
Example: A friend’s installer used a 75-foot line when the max was 50 feet. The system ran constantly and barely cooled the room. A re-installation fixed it.
Mistake #3: Improper Condensate Drain Slope
Water from the indoor unit must drain freely. If the slope is wrong, water can:
- Back up into the indoor unit.
- Cause leaks or mold.
Solution: Use a level to ensure the drain line slopes downward at 1/4 inch per foot.
Mistake #4: Skipping the Vacuum Test
Air and moisture in refrigerant lines cause:
- Reduced cooling capacity.
- Ice buildup on the indoor coil.
- Compressor failure.
Solution: Always evacuate lines for at least 15–30 minutes. Use a micron gauge to confirm vacuum (should read below 500 microns).
Maintenance and Long-Term Care for Optimal Performance
Monthly Tasks: Keep It Clean
Ductless systems are low-maintenance, but they still need care:
- Clean the filters: Wash the indoor unit’s filters monthly (or every 2 weeks during peak use). Clogged filters reduce airflow and efficiency.
- Wipe the indoor unit: Dust the vents and exterior with a damp cloth.
- Check the condensate drain: Pour a cup of vinegar down the drain every 3 months to prevent algae.
Tip: Set a phone reminder. I forget sometimes, but a quick 5-minute clean makes a big difference.
Annual Professional Checkup
Even if your system runs fine, schedule an annual service:
- Inspect refrigerant levels.
- Check electrical connections.
- Clean the outdoor condenser coils.
- Test the thermostat.
Cost: Usually $100–$200. Worth it to extend your system’s life by 3–5 years.
Troubleshooting Common Issues
If your ductless system acts up, try these fixes:
- No cooling? Check the thermostat, clean the filters, and ensure the outdoor unit isn’t blocked.
- Water leaks? Clear the drain line with vinegar or a wet/dry vac.
- Strange noises? Loose mounting screws or a dirty fan can cause rattling. Tighten or clean.
Example: My neighbor’s unit started making a grinding noise. A pro found a loose fan blade—a $50 fix. Without it, the motor could’ve failed.
Cost, Energy Savings, and ROI: The Numbers
Here’s a real-world breakdown of ductless system costs and savings:
| Cost Factor | Single-Zone System | Multi-Zone System (4 units) |
|---|---|---|
| Equipment Cost | $1,500–$2,500 | $4,000–$7,000 |
| Installation Cost | $1,000–$2,000 | $2,500–$4,500 |
| Total Cost | $2,500–$4,500 | $6,500–$11,500 |
| Energy Savings (Annual) | $200–$400 | $600–$1,200 |
| Payback Period | 6–12 years | 5–8 years |
Note: Prices vary by region and brand. High-efficiency models (SEER 20+) cost more but save more. For example, my cousin’s multi-zone system paid for itself in 7 years through energy savings and a $500 rebate from her utility company.
Final Thoughts: Is Ductless Right for You?
So, is a ductless air conditioner installation worth it? Absolutely—if you:
- Own an older home with no ducts.
- Want zoned cooling without the ductwork hassle.
- Value energy efficiency and quiet operation.
- Need a solution for a sunroom, garage, or addition.
But remember: installation matters. A poorly installed system won’t perform well, no matter how good the brand. Invest in a qualified technician, follow best practices, and maintain it regularly. The result? A cool, comfortable space that saves you money year after year.
Think of it like a car. A ductless system is the engine. The installation is the tune-up. Do it right, and it’ll run smoothly for 15+ years. Skip the details? You’ll end up with a clunker.
Ready to take the plunge? Start by measuring your space, researching reputable installers, and getting quotes. And if you’re unsure, talk to a pro—many offer free consultations. Your future self (and your wallet) will thank you when summer hits and you’re cool as a cucumber.
Frequently Asked Questions
What is involved in a ductless air conditioner installation?
Ductless air conditioner installation involves mounting an indoor unit on a wall or ceiling, connecting it to an outdoor compressor via refrigerant lines, and ensuring proper electrical wiring. This process typically takes one day and requires professional expertise for optimal performance.
How much does a ductless air conditioner installation cost?
The cost varies based on system size, number of zones, and labor rates, but most homeowners spend $3,000–$7,000. Ductless systems often save money long-term due to higher energy efficiency and no ductwork expenses.
Can I install a ductless air conditioner myself?
DIY installation is not recommended, as improper handling of refrigerant lines, electrical connections, or unit placement can void warranties and reduce efficiency. Always hire a licensed HVAC technician for safe, code-compliant ductless air conditioner installation.
Where should I place the indoor unit during ductless AC installation?
Position the indoor unit high on an exterior wall, away from direct sunlight and heat sources, with 8–10 feet of clearance from the floor. Avoid obstructions to ensure even airflow and efficient cooling.
How long does a ductless air conditioner last after installation?
With proper maintenance, a professionally installed ductless AC can last 15–20 years. Regular filter cleaning and annual tune-ups help extend its lifespan and maintain efficiency.
Does ductless air conditioner installation require permits?
Yes, most local codes require permits for HVAC installations, including ductless systems, to ensure compliance with electrical and mechanical standards. A licensed installer will typically handle the permitting process for you.