
Featured image for dometic rv air conditioner instructions
Image source: i1.wp.com
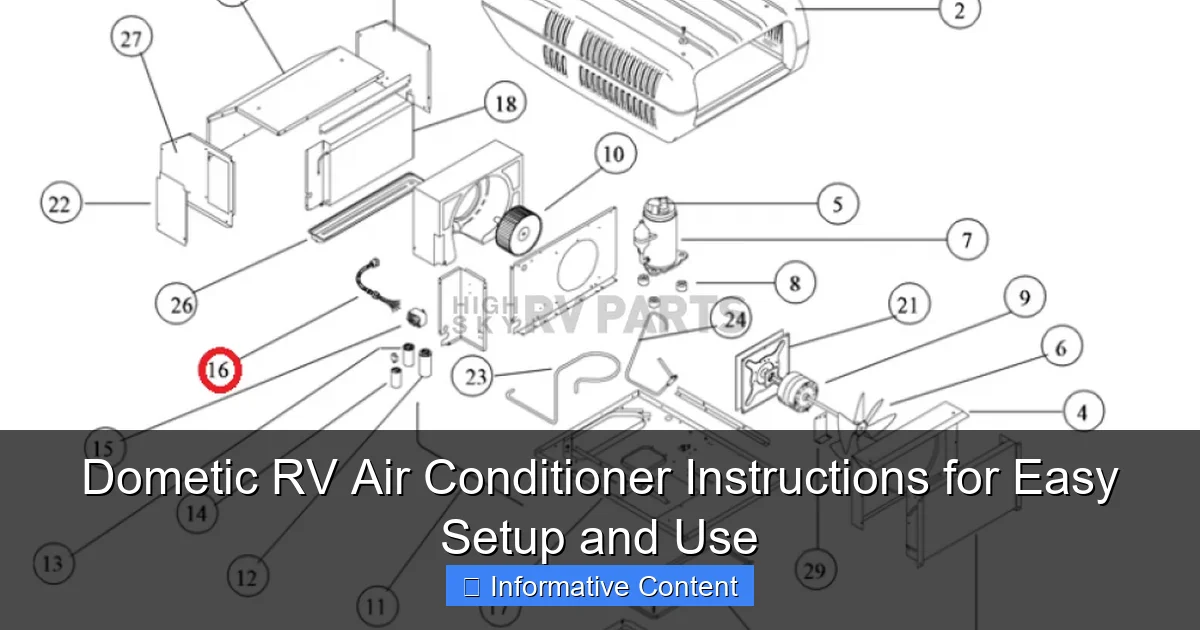
Master your Dometic RV air conditioner in minutes with these clear, step-by-step instructions designed for effortless setup and reliable performance. From mounting and power connection to thermostat control and maintenance tips, this guide ensures optimal cooling so you can stay comfortable on every adventure.
Key Takeaways
- Read the manual first: Always review Dometic’s instructions before installation or use.
- Check power requirements: Ensure your RV’s electrical system meets the AC’s voltage needs.
- Seal the unit properly: Prevent leaks by securely sealing the AC to the roof.
- Use the thermostat correctly: Set and adjust for optimal comfort and efficiency.
- Maintain filters monthly: Clean or replace filters to ensure airflow and performance.
- Monitor for error codes: Address issues quickly using the manual’s troubleshooting guide.
📑 Table of Contents
- Dometic RV Air Conditioner Instructions for Easy Setup and Use
- Understanding Your Dometic RV Air Conditioner: Models and Features
- Step-by-Step Setup: Installing and Wiring Your Dometic RV AC
- Operating Your Dometic RV Air Conditioner: Controls and Settings
- Maintenance and Troubleshooting: Keeping Your AC Running Smoothly
- Energy Efficiency and Power Management Tips
- Conclusion: Master Your Dometic RV Air Conditioner with Confidence
Dometic RV Air Conditioner Instructions for Easy Setup and Use
There’s nothing quite like hitting the open road in your RV, windows down, music playing, and the wind in your hair. But let’s be honest—when the sun beats down and the heat rises, that idyllic road trip can quickly turn into a sweaty, uncomfortable slog. That’s where your Dometic RV air conditioner comes in. Whether you’re parked at a campground in the desert or boondocking in the mountains, a reliable AC unit is your best friend for staying cool and comfortable.
But here’s the catch: even the most high-tech air conditioner is only as good as your ability to set it up and use it correctly. I’ve been there—fiddling with controls, checking circuit breakers, and wondering why the air isn’t cooling. After years of trial, error, and a few “aha!” moments, I’ve learned that following proper Dometic RV air conditioner instructions isn’t just about comfort—it’s about efficiency, safety, and extending the life of your unit. In this guide, I’ll walk you through everything you need to know, from unboxing to daily use, with practical tips and real-world examples. Think of this as your friendly, no-nonsense manual to getting the most out of your Dometic AC.
Understanding Your Dometic RV Air Conditioner: Models and Features
Before we dive into setup and operation, it helps to know what you’re working with. Dometic offers several popular RV air conditioner models, each with slightly different features and installation requirements. Understanding your model will make following the Dometic RV air conditioner instructions much easier.
Popular Dometic RV AC Models
The most common models you’ll find in modern RVs include:
- Dometic Brisk Air II: A lightweight, energy-efficient rooftop unit known for its quiet operation and easy installation. Great for mid-sized RVs.
- Dometic Penguin II: Features a sleek, low-profile design and dual fans for improved airflow. Ideal for RVs with limited roof space.
- Dometic Mach 10: A high-capacity unit built for extreme heat. Often used in larger motorhomes or in hot climates.
- Dometic Atwood Air Command: A newer model with a digital thermostat and optional heat pump function.
<
<
<
Each model has a slightly different control panel, thermostat interface, and wiring setup. So, the first step? Identify your model. Check the label on the unit or your RV’s documentation. Once you know what you have, you can tailor the instructions below to your specific needs.
Key Features to Know
Modern Dometic units come with features that make life easier—but only if you know how to use them. Here are a few worth highlighting:
- Digital Thermostat: Allows precise temperature control. Some models let you set a target temp and the AC will cycle on/off automatically.
- Two-Speed Fan: Lets you choose between high and low airflow. Great for saving power at night or during mild weather.
- Auto Mode: The AC adjusts fan speed and cooling based on the temperature. Less work for you.
- Heat Pump Option: Found on select models, this lets the unit reverse and provide heat during colder months.
- Remote Control (on some models): Lets you adjust settings without getting up.
Pro tip: If your model has a heat pump, make sure it’s compatible with your climate. Heat pumps work best down to about 40°F (4°C). Below that, you’ll likely need supplemental heat.
Step-by-Step Setup: Installing and Wiring Your Dometic RV AC
Setting up your Dometic RV air conditioner for the first time—or after a repair—can feel overwhelming. But with the right Dometic RV air conditioner instructions, it’s totally doable, even for beginners. Let’s break it down into clear, manageable steps.
Pre-Installation Checklist
Before you even touch the unit, make sure you’re prepared:
- Check power source: Your RV needs a 120V AC power supply. Most campgrounds offer 30-amp or 50-amp service. Match your AC’s requirement (usually 30-amp for standard models).
- Verify roof integrity: The roof must support the weight of the AC unit (typically 80–100 lbs). Check for soft spots or damage.
- Clear the area: Remove any debris, old sealant, or old unit parts from the roof opening.
- Gather tools: You’ll need a socket wrench, silicone sealant, wire strippers, and a multimeter (for testing).
One time, I skipped checking the roof and ended up with a small leak after a rainstorm—lesson learned!
Mounting the Unit
- Position the AC: Carefully lift the unit onto the roof (use a ladder and a friend if possible). Align it with the roof opening.
- Secure the mounting bolts: Most Dometic units use four bolts that go through the roof and into the RV’s frame. Tighten evenly to avoid warping the unit.
- Apply sealant: Use RV-grade silicone around the base to prevent water intrusion. Don’t skimp here—this is your first line of defense against leaks.
- Connect the ductwork (if applicable): Some models have internal ducting. Make sure the air intake and exhaust vents are properly connected to the ceiling plenum.
Wiring and Electrical Setup
This part can feel intimidating, but it’s mostly about matching colors and securing connections.
- Turn off power: At the RV’s main breaker panel, shut off AC power. Safety first!
- Run the wiring: The AC unit comes with a wiring harness. Connect it to the RV’s 120V circuit. Match black (hot), white (neutral), and green (ground).
- Use a junction box: If your RV has one, use it to make the connections. Otherwise, use waterproof wire nuts.
- Test with a multimeter: Before turning power back on, verify voltage and continuity.
Tip: Label your wires with colored tape during installation. It makes troubleshooting much easier later.
Final Checks Before Power-Up
- Ensure all bolts are tight.
- Double-check wiring for loose connections.
- Verify the condensate drain is clear (this prevents water buildup inside the RV).
- Make sure the ceiling control panel is properly connected to the AC unit.
Once everything looks good, flip the breaker and watch the unit power on. You should hear the compressor start and feel cool air within a few minutes.
Operating Your Dometic RV Air Conditioner: Controls and Settings
Now that your unit is installed, it’s time to learn how to operate it. The Dometic RV air conditioner instructions for daily use are simple, but small mistakes can lead to inefficiency or even damage.
Understanding the Control Panel
Most Dometic units have a ceiling-mounted control panel with buttons for:
- Power On/Off: Starts or stops the unit.
- Mode: Cycles between Cool, Fan, Heat (if equipped), and Auto.
- Temperature: Use the up/down arrows to set your desired temp (usually 65–78°F).
- Fan Speed: Choose High, Low, or Auto.
- Timer (on some models): Lets you delay start or set a shut-off time.
For example, on a hot afternoon, I set mine to “Cool” at 72°F with “High” fan. At night, I switch to “Auto” and “Low” fan to save power and keep things quiet.
Best Practices for Daily Use
- Use the thermostat wisely: Set it to a comfortable temp and let the AC cycle. Constantly adjusting the temp wastes energy.
- Use Auto mode when possible: The unit will adjust fan speed based on how hard it’s working. Saves power and reduces noise.
- Close windows and doors: Even the best AC can’t cool a drafty RV. Use window covers or reflectors to block heat.
- Use ceiling fans (if available): They help circulate air and make the space feel cooler.
- Run the AC in the morning: Cooling a hot RV in the afternoon takes longer and strains the unit. Start early when temps are lower.
One trick I use: I run the AC for 30 minutes in the morning, then turn it off and use fans for the next hour. This keeps the RV cool without overworking the compressor.
Using the Heat Pump (If Equipped)
If your Dometic model has a heat pump, you can switch to “Heat” mode on chilly mornings. The unit will reverse the refrigerant flow and warm the air. Just remember:
- Heat pumps are less efficient below 40°F.
- Use supplemental heat (like a space heater or furnace) in very cold weather.
- Don’t run the heat pump and furnace at the same time—this can overload the electrical system.
I once made that mistake in Colorado—my breaker tripped, and I spent the night shivering. Not fun!
Maintenance and Troubleshooting: Keeping Your AC Running Smoothly
Even the best RV air conditioner needs regular care. Following the Dometic RV air conditioner instructions for maintenance can save you hundreds in repairs and keep your unit running for years.
Monthly Maintenance Tasks
- Clean the air filters: Most units have reusable mesh filters. Remove and rinse them with water every 4–6 weeks. Let them dry completely before reinstalling. Clogged filters reduce airflow and strain the motor.
- Inspect the exterior: Check for debris, leaves, or dirt blocking the condenser coils. Use a soft brush or compressed air to clean.
- Check the roof seal: Look for cracks or gaps in the silicone around the base. Reapply sealant if needed.
- Listen for unusual noises: Grinding, rattling, or hissing sounds can indicate mechanical issues.
I keep a small maintenance log in my RV—every time I clean the filter or check the seal, I jot it down. It helps me stay on schedule and catch small issues early.
Common Problems and Fixes
Here are a few issues you might face, along with solutions:
- AC not cooling: Check if the thermostat is set correctly. Ensure the air filter is clean. Verify power at the breaker.
- No power to the unit: Test the breaker and wiring. Use a multimeter to check voltage at the control panel.
- Water dripping inside the RV: This could be a clogged condensate drain. Clear it with a wire or compressed air.
- Fan not working: Check the fan fuse or relay. Sometimes, a loose wire causes this.
- Unit cycles on and off too often: This could mean the thermostat is faulty or the unit is oversized for the space.
One time, my AC wasn’t cooling. I checked everything—filter, power, thermostat—and still nothing. Finally, I realized the outside temperature sensor was covered in dust. A quick wipe fixed it!
When to Call a Pro
Some issues require a technician:
- Refrigerant leaks (you’ll see ice on the coils or hear hissing).
- Compressor failure (loud noises, no cooling, high electric bills).
- Electrical shorts (burning smell, tripped breakers).
Don’t try to fix refrigerant issues yourself—it’s dangerous and illegal in many areas without a license.
Energy Efficiency and Power Management Tips
Running an RV air conditioner uses a lot of power—especially in hot weather. But with smart strategies, you can stay cool without blowing your electrical budget.
Power Requirements by Model
Here’s a quick reference table to help you plan:
| Model | Power Draw (Running) | Startup Surge (Amps) | Recommended Service |
|---|---|---|---|
| Dometic Brisk Air II (13,500 BTU) | 12–14 amps | 28–30 amps | 30-amp |
| Dometic Penguin II (15,000 BTU) | 14–16 amps | 32–34 amps | 50-amp |
| Dometic Mach 10 (10,000 BTU) | 10–12 amps | 24–26 amps | 30-amp |
Note: Startup surge is temporary (a few seconds) but crucial for generator or inverter sizing.
Tips to Save Power
- Use a soft start device: Reduces startup surge, making it easier to run on a generator or inverter.
- Run during off-peak hours: Some campgrounds charge less for electricity in the morning or evening.
- Use a generator wisely: If boondocking, run the AC only when needed. A 3,000-watt generator can handle most Dometic units with a soft start.
- Upgrade to a heat pump: More efficient than electric heat strips.
- Insulate your RV: Use thermal curtains, window films, and roof vents to reduce heat gain.
I once ran my AC on a 2,000-watt generator in Arizona—it worked, but only with a soft start and no other appliances running. Lesson: plan your power needs carefully.
Conclusion: Master Your Dometic RV Air Conditioner with Confidence
Your Dometic RV air conditioner is more than just a comfort feature—it’s a vital part of your mobile lifestyle. By following these Dometic RV air conditioner instructions, you’re not just setting up a unit; you’re investing in peace of mind, efficiency, and long-term reliability.
From choosing the right model and installing it correctly to mastering daily operation and performing routine maintenance, every step matters. I’ve shared my real-world tips and lessons learned the hard way—so you don’t have to. Whether you’re a weekend warrior or a full-time RVer, knowing your AC inside and out means you can focus on what really matters: exploring, relaxing, and making memories.
Remember, a well-maintained air conditioner runs better, lasts longer, and uses less power. So take the time to clean those filters, check those seals, and understand your control settings. And when in doubt, consult your model’s manual or reach out to a certified technician.
Now, go enjoy that cool, comfortable ride—your Dometic AC has your back. Safe travels!
Frequently Asked Questions
How do I properly install my Dometic RV air conditioner?
Follow the manufacturer’s Dometic RV air conditioner instructions to mount the unit on the roof, ensuring proper sealing and electrical connections. Always use the recommended mounting hardware and check roof compatibility before installation.
Why is my Dometic RV air conditioner not cooling effectively?
Ensure the thermostat is set correctly and the air filter is clean. Low refrigerant levels or a blocked condenser coil may also cause poor cooling—consult your Dometic RV air conditioner instructions for troubleshooting steps.
Can I run my Dometic RV AC on battery power?
No, most Dometic RV air conditioners require a 120V power source (shore power or generator). Batteries alone lack the voltage needed to power the compressor and fan system.
How often should I clean the air filter in my Dometic unit?
Clean the air filter every 2–4 weeks during heavy use to maintain airflow and efficiency. Refer to your model’s manual for specific cleaning steps and filter replacement intervals.
What do the error codes on my Dometic RV AC mean?
Error codes (e.g., E1, E5) indicate issues like sensor faults or low voltage. Check your Dometic RV air conditioner instructions for a full list of codes and recommended fixes.
How do I winterize my Dometic RV air conditioner?
Remove debris, clean the unit, and cover the exterior shroud to protect it from snow and ice. Disconnect power and follow the manual’s guidelines to prevent moisture buildup and corrosion.