

Featured image for dometic air conditioner instructions
Image source: i2.wp.com
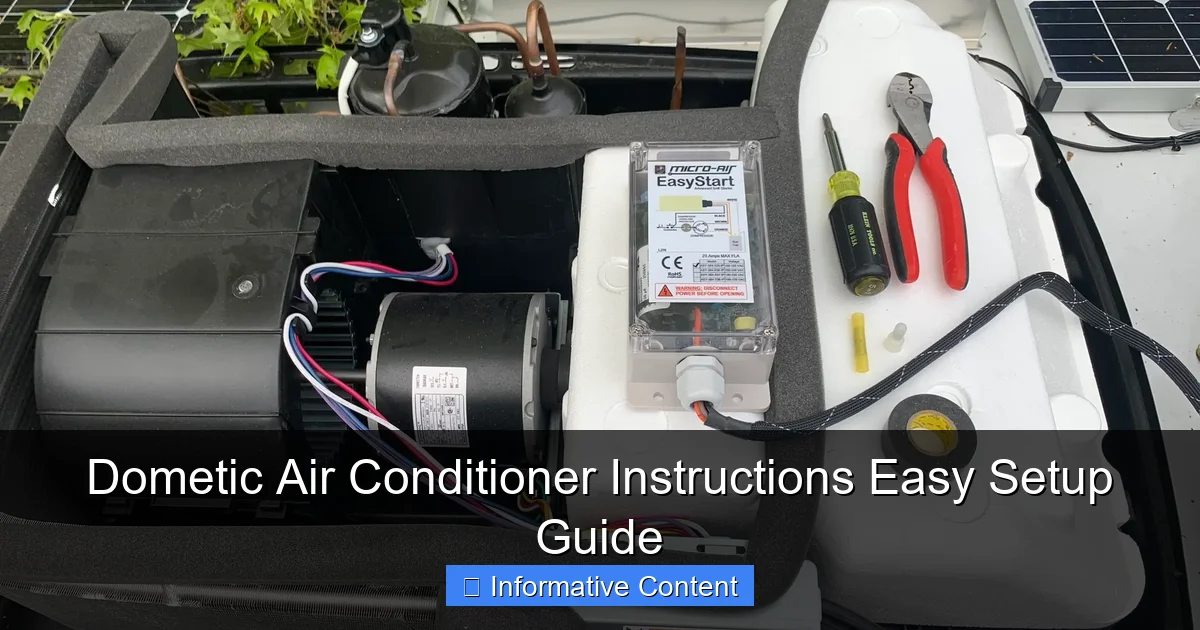
Dometic air conditioner instructions simplify setup with clear, step-by-step guidance for fast, hassle-free installation. Whether you’re a first-time user or upgrading your RV climate control, this easy-to-follow guide ensures optimal performance and energy efficiency right out of the box.
Key Takeaways
- Read the manual first: Always review Dometic air conditioner instructions before setup.
- Check power requirements: Ensure your power source matches the unit’s voltage needs.
- Secure all connections: Tighten electrical and ductwork connections to prevent leaks.
- Test before sealing: Verify operation prior to final installation or enclosure.
- Clean filters regularly: Maintain airflow and efficiency with monthly filter checks.
- Use proper tools: Follow Dometic air conditioner instructions for tool specifications.
📑 Table of Contents
- Why Dometic Air Conditioners Are a Game-Changer for Comfort
- Getting Started: Unboxing and Initial Setup
- Understanding Your Dometic AC Controls and Settings
- Operating Your Dometic Air Conditioner: Best Practices
- Maintenance and Cleaning: Keep Your AC Running Like New
- Advanced Tips: Maximizing Performance and Longevity
- Final Thoughts: Your Dometic AC, Simplified
Why Dometic Air Conditioners Are a Game-Changer for Comfort
Picture this: You’re parked at a campsite in the middle of summer, the sun is blazing, and the heat feels like it’s wrapping around you like a wet blanket. You open the door to your RV, hoping for a cool escape, but instead, you’re met with a wall of warm air. That’s when you realize—your air conditioner isn’t working right. Or worse, you’ve never set it up properly.
If you own a Dometic air conditioner, you’re in luck. These units are among the most trusted in the RV and marine industries for a reason. They’re reliable, efficient, and designed for real-world use. But here’s the catch: even the best air conditioner won’t perform if you don’t know how to set it up, operate it, or troubleshoot it. That’s why understanding Dometic air conditioner instructions is essential—not just for comfort, but for extending the life of your unit and avoiding costly repairs. Whether you’re a first-time RV owner or a seasoned traveler, this guide will walk you through everything you need to know to get your Dometic AC running smoothly, from unboxing to long-term maintenance.
Getting Started: Unboxing and Initial Setup
What’s in the Box?
Before you even think about turning on your Dometic air conditioner, take a moment to unpack it carefully. Most Dometic rooftop or under-bench units come with:
Visual guide about dometic air conditioner instructions
Image source: i2.wp.com
- The main AC unit (with or without a heat pump, depending on the model)
- Ceiling assembly (control panel, air distribution box, and mounting hardware)
- Installation manual (yes, read it!)
- Sealant and gasket materials
- Optional: remote control, thermostat, or ducting accessories
I once skipped checking the box contents and ended up missing the ceiling gasket. The result? A leaky roof and a soaked interior after the first rain. Lesson learned: always double-check everything before installation.
Tools You’ll Need
You don’t need to be a pro mechanic, but having the right tools makes setup much easier. Here’s what I recommend:
- Drill with 1/8” and 1/4” bits
- Socket wrench set
- Silicone sealant (marine-grade if on a boat)
- Level (to ensure proper tilt)
- Safety gloves and goggles
- Ladder (for rooftop units)
Pro tip: If you’re installing on an RV, park on a level surface. A tilted RV can cause drainage issues and reduce efficiency.
Step-by-Step Installation (Rooftop Units)
- Locate the AC cutout: Most RVs have a pre-cut opening for the AC. Confirm the size matches your Dometic model (usually 14” x 14”).
- Apply sealant: Run a generous bead of silicone around the roof opening. This prevents leaks.
- Lower the unit in place: With a helper, carefully lower the AC onto the roof. Make sure the drain holes face the back.
- Secure the unit: Use the included bolts or clamps to fasten it. Don’t overtighten—this can damage the roof or AC base.
- Connect the ceiling assembly: From inside, attach the ceiling unit to the AC’s ducting. Use the included screws and ensure a tight seal.
- Wire the thermostat: Follow the color-coded wires in the Dometic air conditioner instructions manual. If in doubt, consult a professional electrician.
For under-bench or wall-mounted units, the process is simpler—just ensure proper ventilation and access to power.
Understanding Your Dometic AC Controls and Settings
Thermostat Types: Digital vs. Mechanical
Dometic offers both digital (e.g., CT, CTP, and CTS models) and mechanical thermostats. Digital models are more precise and often include features like:
- Auto mode (cycles between cooling and fan)
- Temperature hold
- Remote control compatibility
- Energy-saving settings
Mechanical thermostats are simpler—just a dial with temperature settings. They’re less accurate but more durable. I’ve used both, and while digital is great for fine-tuning, I keep a mechanical backup in case of power surges.
Key Buttons and Functions
Let’s break down what each button does, using a typical digital Dometic thermostat as an example:
- Power: Turns the unit on/off.
- Mode: Cycles between Cool, Fan, Dry (dehumidify), and Auto.
- Fan Speed: Low, Medium, High. Higher speeds cool faster but use more energy.
- Temperature: Adjusts set point (e.g., 72°F).
- Sleep Mode: Gradually raises temperature over 8 hours—great for overnight.
- Timer: Schedules on/off times (e.g., cool 30 mins before you arrive).
Example: During a hot day in Arizona, I set the AC to Auto mode at 70°F with medium fan. The unit cycled on/off efficiently, keeping the RV cool without overworking the compressor.
Heat Pump vs. Cool-Only Models
Some Dometic units (like the 15K BTU Penguin II) include a heat pump. This means they can reverse the refrigerant cycle to provide heat in cooler weather. Here’s what to know:
- Heat pumps are efficient down to ~40°F. Below that, use a separate heater (e.g., propane furnace).
- Switching to “Heat” mode on the thermostat activates the heat pump.
- They’re quieter than furnace systems but slower to warm large spaces.
I once tried using my heat pump in 30°F weather—it struggled. Lesson: know your unit’s limits and supplement when needed.
Operating Your Dometic Air Conditioner: Best Practices
Starting Up for the First Time
Before hitting “Cool,” follow these steps:
- Check the power source: Ensure you’re connected to 110V AC shore power or a compatible generator. Most Dometic units require 15+ amps.
- Inspect the air filter: A clogged filter reduces airflow and efficiency. Clean it monthly.
- Set the thermostat: Start at 75°F and adjust down gradually. Sudden temperature drops strain the compressor.
- Listen for odd noises: A hum is normal. Grinding or rattling? Shut off and inspect.
Pro tip: Run the fan-only mode for 5 minutes before cooling. This circulates air and reduces strain on the system.
Optimizing Cooling Efficiency
To get the most out of your AC, try these tips:
- Use awnings or shades: Blocking direct sunlight can reduce interior temps by 10–15°F.
- Close windows and vents: Prevents hot air from seeping in.
- Run the AC during cooler hours: If possible, cool the RV in the morning or evening.
- Use ceiling fans: They help circulate cool air, making the AC feel more effective.
Example: In a 100°F desert, I used a reflective windshield cover and ran the AC at 72°F with a ceiling fan. The RV stayed comfortable without overworking the unit.
Troubleshooting Common Issues
Even the best ACs have hiccups. Here’s how to handle common problems:
- AC won’t turn on: Check the circuit breaker, thermostat batteries, and power source.
- Weak airflow: Clean the air filter and check for obstructions in the ceiling assembly.
- Unit runs but doesn’t cool: Low refrigerant (call a pro), dirty coils, or a faulty compressor.
- Water leaks: Clear the drain tubes (see maintenance section) and ensure the unit is level.
One summer, my AC blew warm air. I checked the Dometic air conditioner instructions and discovered the condenser coils were clogged with dust. A quick clean fixed it—no repair needed.
Maintenance and Cleaning: Keep Your AC Running Like New
Monthly Maintenance Checklist
Regular care prevents breakdowns and extends your AC’s lifespan. Here’s what to do every month:
- Clean the air filter: Remove and rinse with water. Let it dry completely before reinserting.
- Inspect the roof seal: Look for cracks or gaps in the silicone. Reapply if needed.
- Check the drain tubes: Ensure they’re clear of algae or debris.
- Wipe down the exterior: Remove leaves, dirt, and pollen from the condenser fins.
I use a soft brush and vacuum for the fins—never a pressure washer. High pressure can bend the delicate aluminum.
Seasonal Deep Cleaning
Twice a year (before and after peak season), do a deeper clean:
- Remove the ceiling assembly: This gives access to the evaporator coils.
- Clean the coils: Use a no-rinse coil cleaner (available at RV supply stores). Spray and let it drip.
- Inspect the compressor: Look for oil stains (a sign of refrigerant leaks) or damaged wiring.
- Lubricate the fan motor: Only if recommended in your model’s manual.
Pro tip: Take photos during disassembly. It makes reassembly much easier.
Winterizing Your Dometic AC
If you store your RV in winter, don’t neglect the AC:
- Cover the unit: Use a breathable AC cover to block snow and ice.
- Remove debris: Clear leaves and twigs that could trap moisture.
- Check the thermostat batteries: Replace them to avoid corrosion.
One year, I skipped covering my AC. A squirrel nested inside and chewed the wires—$300 repair. Now I cover it every fall.
Advanced Tips: Maximizing Performance and Longevity
Upgrades and Accessories
Want to boost your AC’s performance? Consider these upgrades:
- Soft-start kit: Reduces power surge when the compressor kicks on (great for generators).
- Thermostat with Wi-Fi: Control your AC remotely via an app.
- Insulated ducting: Prevents cool air from warming up in unconditioned spaces.
I added a soft-start kit to my Dometic 15K unit. It cut startup power by 60%—a lifesaver on my 30-amp campsite.
Energy Efficiency Hacks
ACs are power-hungry. Save energy (and money) with these tricks:
- Use a programmable thermostat: Set it to 80°F when you’re out, then cool to 72°F before returning.
- Insulate your RV: Add thermal curtains or window films.
- Pair with a solar system: Solar panels can offset AC power use.
Example: On a 100°F day, I set my thermostat to 75°F and used solar to run the AC for 2 hours. It kept the RV livable without draining my battery.
When to Call a Pro
Some issues need professional help. Call a technician if:
- The compressor is noisy or won’t start.
- Refrigerant levels are low (requires EPA-certified tech).
- There’s a persistent electrical fault.
DIY repairs can void your warranty—always check your Dometic air conditioner instructions first.
Performance Comparison: Dometic vs. Competitors
Here’s how Dometic stacks up against popular rivals:
| Feature | Dometic | Atwood | Furrion |
|---|---|---|---|
| BTU Range | 11K–15K | 13.5K–15K | 13.5K–15K |
| Heat Pump Option | Yes (select models) | Yes | Yes |
| Noise Level (dB) | 65–72 | 70–75 | 68–74 |
| Warranty | 2 years | 3 years | 1 year |
| Smart Controls | Yes (Wi-Fi thermostats) | Limited | Yes |
Dometic wins on reliability and innovation, though Atwood offers a longer warranty. Furrion is catching up with smart features.
Final Thoughts: Your Dometic AC, Simplified
Owning a Dometic air conditioner isn’t just about buying a product—it’s about creating comfort on the road. From the first unboxing to years of reliable cooling, following the Dometic air conditioner instructions is the key to success. You don’t need to be an expert to set it up, maintain it, or troubleshoot it. You just need patience, attention to detail, and a willingness to learn.
Remember: every AC has quirks. Maybe your unit takes 10 minutes to cool down, or the thermostat feels a bit slow. That’s normal. The more you use it, the more you’ll understand its rhythm. And when you finally step into your RV after a long, hot day and feel that cool, refreshing air hit your face? That’s the moment you’ll appreciate all the effort you put into setting it up right.
So go ahead—crank it up, adjust that thermostat, and enjoy the ride. Your Dometic AC is ready to keep you cool, no matter where the road takes you. And now, so are you.
Frequently Asked Questions
How do I properly install my Dometic air conditioner?
Follow the Dometic air conditioner instructions included with your unit for step-by-step installation guidance. Ensure proper roof sealing and electrical connections to avoid leaks or malfunctions.
Why is my Dometic air conditioner not cooling enough?
Check if the air filter is clogged, the thermostat is set correctly, and vents are unobstructed. Refer to your Dometic air conditioner instructions for troubleshooting tips.
Can I run my Dometic air conditioner on battery power?
Most Dometic AC units require a 110V/120V power source and won’t run directly on batteries. Use an inverter or generator for off-grid power needs.
How often should I clean the air filter?
Clean the filter every 2–4 weeks during heavy use. A dirty filter reduces efficiency and can trigger error codes per the Dometic air conditioner manual.
What do the error codes on my Dometic AC mean?
Error codes (e.g., “E1” or “LO”) indicate issues like low refrigerant or sensor faults. Consult your model’s Dometic air conditioner instructions for specific code explanations.
How do I winterize my Dometic air conditioner?
Turn off power, clean the unit, and cover the exterior shroud to protect it from debris. Store the interior components per the manufacturer’s guidelines.