
Featured image for dometic air conditioner installation instructions
Image source: i1.wp.com
Installing your Dometic air conditioner is simple and stress-free with the right guidance and tools. This step-by-step guide breaks down Dometic air conditioner installation instructions into clear, easy-to-follow steps, ensuring a perfect fit and optimal performance for your RV or camper. No guesswork—just reliable results.
Key Takeaways
- Read the manual first: Always review Dometic’s instructions before starting installation.
- Check roof compatibility: Ensure your RV roof supports the AC unit’s weight and size.
- Seal all connections: Prevent leaks with proper sealant around mounting points.
- Verify electrical specs: Match voltage and amperage to avoid system damage.
- Test before finalizing: Run the unit to confirm performance and airflow.
- Secure wiring safely: Use clamps and covers to protect electrical connections.
📑 Table of Contents
- Why Installing Your Dometic Air Conditioner Shouldn’t Be a Headache
- Understanding Your Dometic Air Conditioner: Models and Compatibility
- Tools, Materials, and Safety: Your Installation Checklist
- Step-by-Step Installation: From Roof Prep to Powering On
- Troubleshooting Common Installation Issues
- Maintenance and Long-Term Care: Keeping Your Dometic AC Happy
- Final Thoughts: Confidence, Not Complexity
Why Installing Your Dometic Air Conditioner Shouldn’t Be a Headache
Let’s be real: installing an air conditioner, especially one as powerful and feature-rich as a Dometic air conditioner, can feel like preparing for a home renovation project—except you’re doing it on a rooftop, in the summer heat, and possibly with a skeptical spouse watching from below. I’ve been there. A few years ago, I installed a Dometic Brisk II on my travel trailer, and while the unit itself is fantastic, the installation process had me second-guessing my DIY skills more than once. But here’s the good news: with the right guidance, tools, and mindset, Dometic air conditioner installation instructions don’t have to be intimidating. In fact, they can be downright straightforward.
Whether you’re upgrading your RV’s cooling system, replacing an old unit, or installing a new one on a camper van, this guide is designed to walk you through the process step by step—without the fluff. I’ll share real-world tips, common mistakes to avoid, and practical advice based on my own experience (and a few lessons learned the hard way). By the end, you’ll feel confident tackling the job yourself, saving hundreds on professional installation fees while gaining the satisfaction of a job well done.
Understanding Your Dometic Air Conditioner: Models and Compatibility
Before you even think about lifting a wrench, it’s crucial to understand what you’re working with. Dometic offers several air conditioner models, each with unique specs and installation requirements. Picking the right one and knowing its compatibility with your vehicle is the foundation of a smooth install.
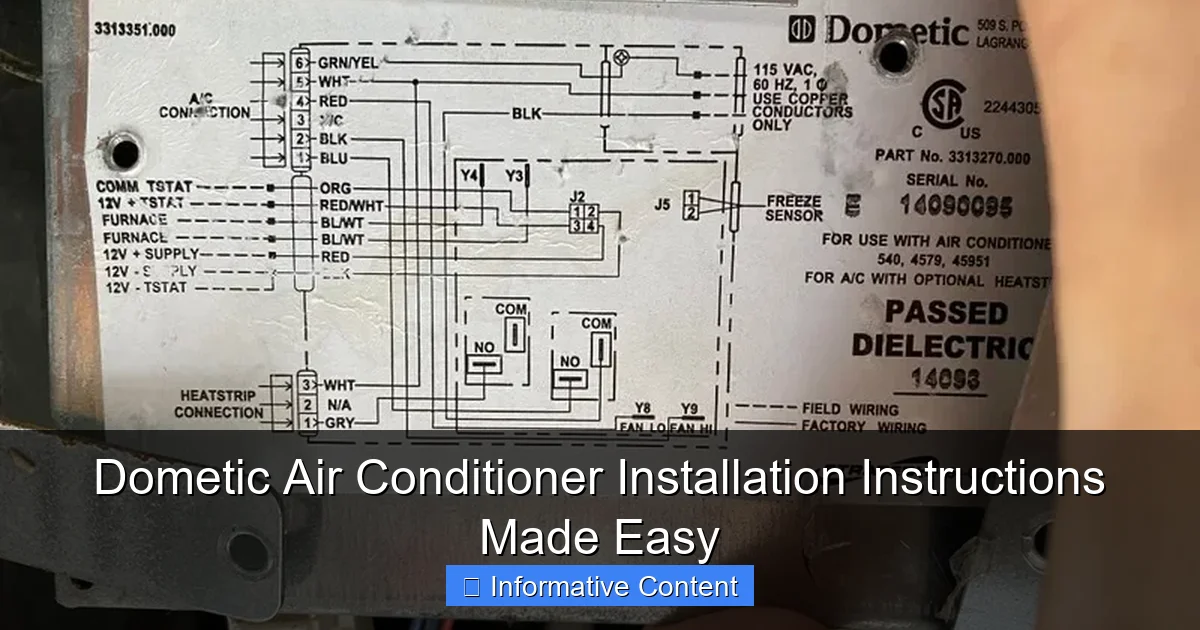
Visual guide about dometic air conditioner installation instructions
Image source: i0.wp.com
Popular Dometic AC Models and Their Uses
Here’s a quick rundown of the most common models you’ll encounter:
- Dometic Brisk II: A workhorse for RVs and campers. Lightweight, energy-efficient, and available in 13,500 and 15,000 BTU options. Great for most standard roof installations.
- Dometic Penguin II: Sleek, low-profile design. Ideal for smaller RVs or those with limited roof space. Also comes in 13,500 and 15,000 BTU variants.
- Dometic Atwood Micro-Air: Compact and ultra-quiet, perfect for pop-up campers or vans where space is tight.
- Dometic FreshJet: A newer model with advanced airflow control and smart features. Best for tech-savvy users who want remote monitoring.
Pro tip: Always check your RV’s roof cutout dimensions. Most Dometic units are designed to fit standard 14″ x 14″ roof openings, but older models or custom setups may vary. Measure twice, order once.
Roof Compatibility: Weight, Thickness, and Material
Not all roofs are created equal. Here’s what to check:
- Weight capacity: Dometic ACs typically weigh between 65–85 lbs. Confirm your roof can support that load, especially if you’re adding solar panels or other accessories.
- Roof thickness: Standard is 1.5″–2.5″. Thicker roofs may require longer mounting bolts or shims. Measure from the inside ceiling to the outer roof surface.
- Material: Most RVs use fiberglass, aluminum, or composite roofs. Fiberglass is easiest to drill through; aluminum may need pilot holes to prevent cracking.
Real-world example: When I installed my Brisk II, I discovered my roof was 3″ thick—way thicker than standard. I had to order longer bolts, which delayed the project by a day. Lesson learned: always measure before you start.
Tools, Materials, and Safety: Your Installation Checklist
You don’t need a full workshop, but having the right tools makes a world of difference. Here’s what I keep in my “Dometic installation kit”—plus a few safety reminders that could save you from a costly mistake.
Essential Tools and Materials
- Power drill with 1/8″ and 1/4″ drill bits (for pilot holes and mounting)
- Socket wrench set (usually 7/16″ or 1/2″ sockets for mounting bolts)
- Jigsaw or reciprocating saw (if you need to modify the roof opening)
- Silicone sealant (Dometic recommends their own, but any high-quality RV-grade sealant works)
- Butyl tape (for sealing the gasket—don’t skip this!)
- Voltage tester (to confirm power is off before wiring)
- Torque wrench (optional but ideal for precise bolt tightening)
- Work gloves and safety goggles (because roof work is messy and sharp)
Bonus: A second pair of hands. Trust me, wrestling a 75-lb AC unit solo is no fun.
Safety First: Avoiding Common Hazards
- Turn off the power at the breaker panel. Even if the AC isn’t connected, you’ll be near wiring.
- Use a sturdy ladder and secure it. I once saw a friend’s ladder slip—thankfully, he was okay, but the AC unit wasn’t.
- Work during cooler hours. Rooftops can hit 120°F+ in the sun. I prefer early mornings.
- Don’t rush sealing. A poor seal leads to leaks, which can ruin insulation and cause mold. Take your time.
Tip: If you’re not comfortable working on a roof, hire a professional. Safety isn’t worth risking for a DIY project.
Step-by-Step Installation: From Roof Prep to Powering On
Now, the moment you’ve been waiting for: the actual installation. I’ll break this down into clear, manageable steps. Follow along, and you’ll have your Dometic AC running in a few hours.
Step 1: Remove the Old Unit (If Applicable)
If you’re replacing an existing AC:
- Unscrew the ceiling shroud inside your RV (usually 4–6 screws).
- Disconnect the wiring harness (label the wires if they’re not color-coded).
- Go outside and remove the mounting bolts. Have a helper support the unit from below.
- Slide the old unit off carefully. Avoid damaging the roof seal.
Note: If the old gasket is damaged, replace it. Don’t reuse it—this is a common leak source.
Step 2: Prepare the Roof Opening
- Clean the area with a wire brush to remove debris, old sealant, or rust.
- Check for cracks or soft spots in the roof. Repair any damage before proceeding.
- If the opening is too small, use a jigsaw to enlarge it. Start with small cuts and test-fit the new unit frequently.
Pro tip: Place a drop cloth on the roof to catch metal shavings and sealant drips. Cleanup is easier, and you’ll protect the RV’s finish.
Step 3: Install the Gasket and Sealant
- Apply a 1/4″ bead of silicone sealant around the roof opening’s perimeter.
- Press the new rubber gasket (included with the Dometic unit) into the sealant. Ensure it’s seated evenly.
- Add a layer of butyl tape on top of the gasket for extra protection. Overlap the ends.
Why this matters: The gasket and sealant combo creates a watertight barrier. Skimp here, and you’ll pay for it later with leaks.
Step 4: Mount the AC Unit
- Carefully lower the AC onto the roof. Align it with the opening—don’t force it.
- Insert the mounting bolts (usually 4–6) through the unit’s base and into the RV’s roof frame. Tighten them finger-tight first.
- Use a torque wrench to tighten bolts to the manufacturer’s specs (usually 25–35 in-lbs). Over-tightening can warp the unit or damage the roof.
- Apply sealant around each bolt head to prevent water intrusion.
Real-world tip: I use a magnetic socket tray to keep bolts from rolling off the roof. Small but lifesaving.
Step 5: Electrical Connection
- Inside the RV, connect the AC’s wiring harness to the RV’s AC circuit. Match colors (black to black, white to white, green to ground).
- Secure connections with wire nuts or crimp connectors.
- Use a voltage tester to confirm power is off before turning the breaker back on.
- Test the unit. It should power on and blow cool air within a few minutes.
Warning: If the AC doesn’t start or trips the breaker, double-check wiring and consult the manual. Never bypass safety features.
Troubleshooting Common Installation Issues
Even with careful planning, things can go sideways. Here’s how to handle the most common hiccups I’ve faced (or heard about).
AC Won’t Start or Trips the Breaker
- Cause: Loose wiring, incorrect voltage, or a faulty capacitor.
- Fix: Recheck connections. Use a multimeter to test voltage at the AC terminals (should be 110–120V). If the capacitor is bulging or leaking, replace it.
Example: My Brisk II wouldn’t start after install. Turned out a wire nut was loose. A 5-minute fix saved a $200 service call.
Water Leaks Inside the RV
- Cause: Poor roof sealing, damaged gasket, or clogged drain pan.
- Fix: Recheck sealant and gasket. Ensure the AC is level (a tilted unit can cause drainage issues). Clear the drain pan with a wet/dry vacuum if needed.
Tip: Do a “rain test” by spraying the roof with a hose before relying on the AC in a storm.
Excessive Vibration or Noise
- Cause: Loose mounting bolts, unbalanced fan, or debris in the unit.
- Fix: Tighten bolts to spec. Inspect the fan blades for damage or debris. A level unit is quieter.
Note: Some noise is normal, especially on older RVs with thinner roofs. Consider adding sound-dampening mats if it’s unbearable.
Thermostat Issues
- Cause: Incorrect thermostat wiring or settings.
- Fix: Refer to the thermostat manual. For Dometic’s digital thermostats, ensure the “fan” and “cool” modes are properly selected.
Pro tip: Use a separate thermometer to verify the AC’s temperature accuracy. I keep a $10 digital thermometer near my AC vent to spot inconsistencies.
Maintenance and Long-Term Care: Keeping Your Dometic AC Happy
Installation is just the start. To keep your Dometic air conditioner running smoothly for years, regular maintenance is key. Think of it like oil changes for your car—skip them, and you’ll pay later.
Monthly Checks
- Clean the air filter: Remove it, wash with mild soap, and dry completely. A dirty filter reduces airflow and efficiency.
- Inspect the roof seal: Look for cracks or gaps in the sealant. Reapply if needed.
- Check the drain pan: Ensure it’s clear of debris. Clogs can cause leaks or mold.
Seasonal Maintenance
- Winterize: In cold climates, cover the AC with a breathable cover to prevent moisture buildup. Remove the cover in spring.
- Inspect the fan and compressor: Listen for unusual noises. If the fan wobbles, it may need balancing.
- Test refrigerant levels: If cooling is weak, low refrigerant could be the issue. This requires a pro.
When to Call a Pro
- Refrigerant leaks (look for oily residue or hissing sounds).
- Electrical issues beyond basic wiring.
- Compressor failure (rare but costly).
Data table: Dometic AC maintenance schedule
| Task | Frequency | Tools Needed | Time Required |
|---|---|---|---|
| Clean air filter | Monthly | Soap, water, towel | 10 mins |
| Inspect roof seal | Monthly | Flashlight | 5 mins |
| Clear drain pan | Monthly | Wet/dry vacuum | 10 mins |
| Winterize | Fall | AC cover | 30 mins |
| Refrigerant check | Every 2 years | HVAC professional | 1 hour (service call) |
Final Thoughts: Confidence, Not Complexity
Installing a Dometic air conditioner isn’t rocket science, but it does require patience, attention to detail, and respect for safety. The Dometic air conditioner installation instructions are thorough, but they’re just a starting point. Your real teacher? Experience—and the occasional mistake (like that time I forgot to seal one bolt and got a drip during a storm). The key is to approach the project methodically, not heroically. Take breaks, double-check your work, and don’t hesitate to consult the manual or online forums when stuck.
Remember, a well-installed AC isn’t just about comfort. It’s about peace of mind. No more sweating through summer trips, no more worrying about leaks, and no more relying on overpriced campground hookups. Whether you’re a full-time RVer, weekend warrior, or vanlifer, mastering this skill gives you freedom. And honestly? There’s something deeply satisfying about firing up that AC after a long day of hiking, knowing you installed it yourself. So grab your tools, take a deep breath, and get to work. Your cool, comfortable adventures await.
Frequently Asked Questions
How do I find the correct Dometic air conditioner installation instructions for my model?
Check the model number on your unit’s label and visit Dometic’s official website or user manual database to download the specific Dometic air conditioner installation instructions. Always match the manual to your exact model to ensure compatibility.
Can I install a Dometic air conditioner myself, or do I need a professional?
While DIY installation is possible if you’re experienced with electrical and HVAC systems, professional installation is recommended for safety and warranty compliance. The Dometic air conditioner installation instructions include critical electrical and mounting requirements best handled by a certified technician.
What tools and materials are needed for Dometic air conditioner installation?
Common tools include a drill, wrenches, screwdrivers, a level, and a hole saw. You’ll also need mounting brackets, sealant, and wiring supplies—all listed in the installation manual. Always verify requirements for your specific model.
Are there special electrical requirements for installing a Dometic RV air conditioner?
Yes, most Dometic units require a 115V AC power supply with a dedicated circuit breaker (typically 20-30 amps). Follow the wiring diagrams in the installation instructions to prevent overloads and ensure safe operation.
How do I ensure proper roof sealing during Dometic AC installation?
Use high-quality butyl tape and RV roof sealant to create a watertight seal around the mounting bolts and roof opening. The installation instructions detail exact sealing steps to prevent leaks and maintain structural integrity.
What’s the best way to troubleshoot issues after installing a Dometic air conditioner?
Review the troubleshooting section of your installation manual for error codes or common problems like poor cooling or strange noises. Confirm all electrical connections, refrigerant levels, and thermostat settings are correct before contacting support.