
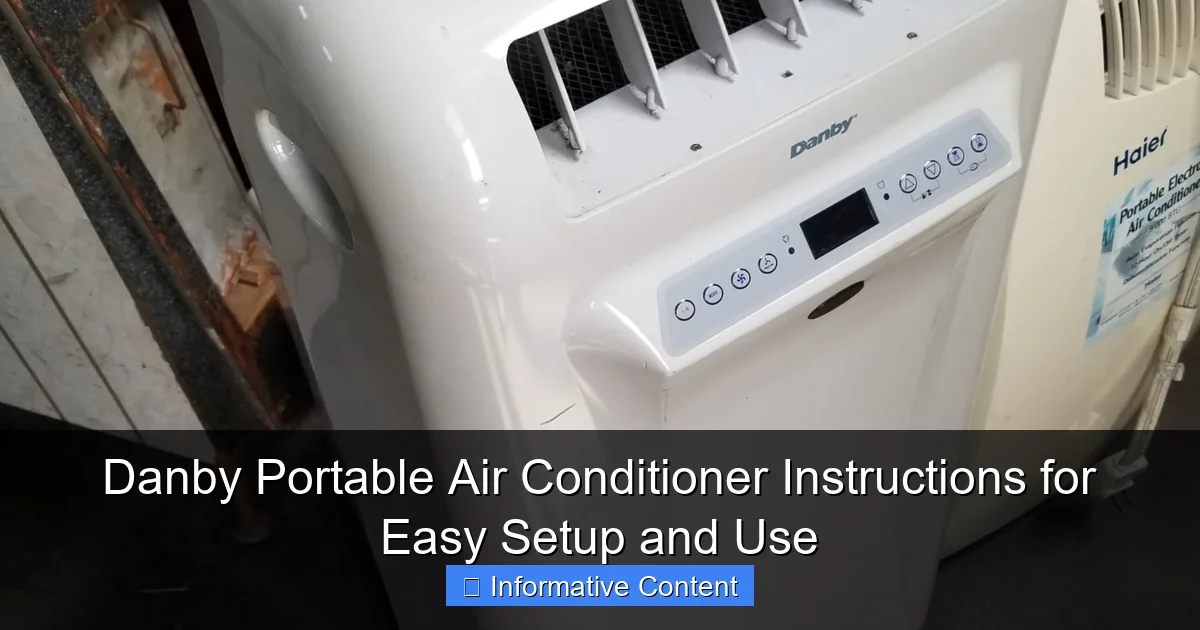
Featured image for danby portable air conditioner instructions
Image source: dygtyjqp7pi0m.cloudfront.net
Master your Danby portable air conditioner in minutes with clear, step-by-step instructions designed for hassle-free setup and optimal performance. From unboxing to climate control, this guide covers everything you need—placement tips, filter maintenance, and remote operation—to stay cool all season long.
Key Takeaways
- Read the manual first: Always review Danby’s instructions before setup to avoid errors.
- Ensure proper ventilation: Install the exhaust hose securely for efficient cooling.
- Use a dedicated outlet: Prevents circuit overloads and ensures safe operation.
- Clean filters regularly: Maintain airflow and efficiency by washing monthly.
- Set desired temperature: Adjust thermostat to balance comfort and energy use.
- Store properly off-season: Drain water and cover to prevent damage.
📑 Table of Contents
- Danby Portable Air Conditioner Instructions for Easy Setup and Use
- Unboxing and First Steps: What You Need to Know
- Step-by-Step Setup: From Window Kit to Power-Up
- Operating Your Danby Portable AC: Controls and Modes
- Maintenance and Care: Keeping Your AC Running Smoothly
- Advanced Tips and Pro Hacks for Better Performance
- Final Thoughts: Making the Most of Your Danby Portable AC
Danby Portable Air Conditioner Instructions for Easy Setup and Use
Summer heat can be relentless. You come home after a long day, hoping for a cool, refreshing escape—only to find your living room feels like a sauna. That’s when a reliable portable air conditioner becomes your best friend. I remember the first time I unboxed my Danby portable AC. I was excited, but also a little intimidated. The manual looked like a technical puzzle, and I wasn’t sure where to start. Sound familiar?
After setting up several models over the years—from my own unit to helping friends and family—I’ve learned that Danby portable air conditioners are actually quite user-friendly once you know the right steps. The key is following the Danby portable air conditioner instructions carefully and avoiding common setup mistakes. In this guide, I’ll walk you through everything you need to know, from unboxing to troubleshooting. Think of it as your go-to manual, written by someone who’s been in your shoes—literally sweating over a half-assembled unit at 9 PM.
Unboxing and First Steps: What You Need to Know
Checking the Package and Components
When your Danby portable air conditioner arrives, the first thing you should do is inspect the box. Look for any visible damage. I once got a unit with a dented side panel—luckily, it didn’t affect performance, but it was a hassle to return. Open the box carefully and lay out all the parts. Most Danby models come with:
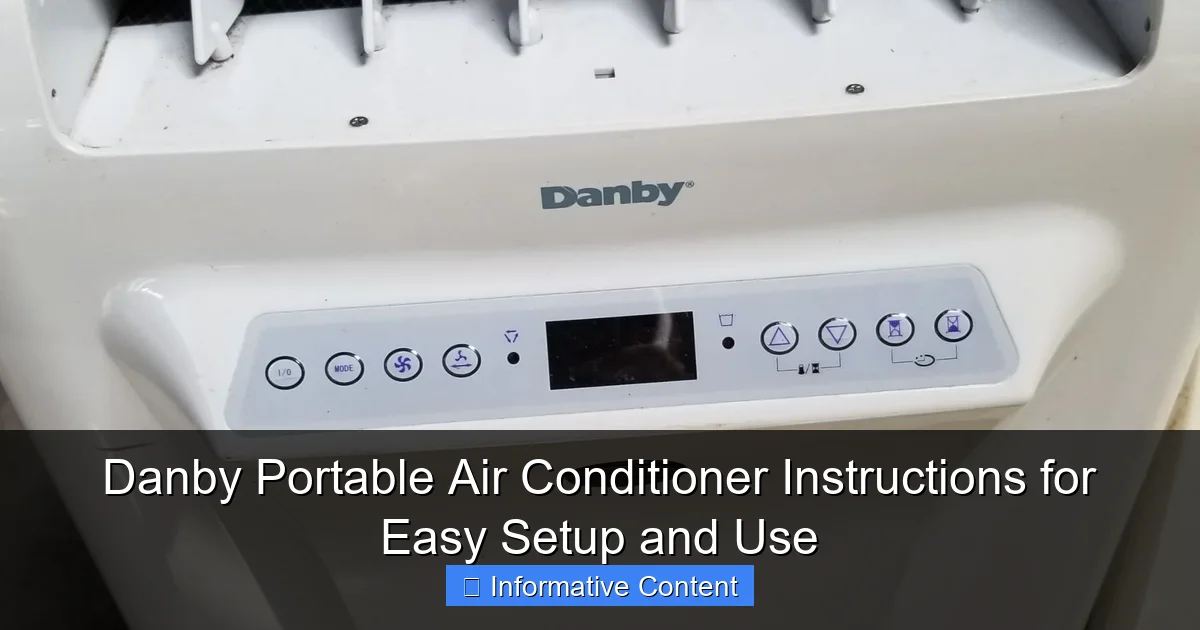
Visual guide about danby portable air conditioner instructions
Image source: dygtyjqp7pi0m.cloudfront.net
- The main air conditioner unit
- Exhaust hose (usually 5–6 feet long)
- Window venting kit (includes adjustable panels, foam tape, and sometimes a bracket)
- Remote control (with batteries)
- Drain hose (for manual or continuous drainage)
- User manual and quick-start guide
Make sure nothing is missing. I’ve seen people try to set up the AC without the foam tape—don’t be that person. The tape seals the gap between the window kit and your window frame, which is crucial for efficiency. If anything’s missing, contact Danby customer support. They’re actually pretty responsive, in my experience.
Choosing the Right Location
Location matters more than you think. You want your Danby portable AC near a window for the exhaust hose, but also close to a power outlet. Avoid placing it on uneven surfaces—this can cause vibrations and drainage issues. I once set mine on a slightly slanted side table, and the unit kept shutting off due to a built-in tilt sensor. Annoying, right?
Here are a few tips for choosing the perfect spot:
- Keep it at least 12–18 inches away from walls or furniture to allow proper airflow.
- Place it on a flat, stable floor. Hardwood, tile, or vinyl works best.
- Ensure the exhaust hose can reach the window without kinking or stretching.
- Avoid direct sunlight or heat sources like radiators or ovens.
Pro tip: If you’re using the AC in a multi-room setup (like a living room and kitchen), consider a model with a longer exhaust hose or a dual-hose system. Some Danby units, like the DAC10010D, come with dual hoses, which improve efficiency by drawing in outside air separately.
Step-by-Step Setup: From Window Kit to Power-Up
Installing the Window Venting Kit
This is the part most people dread, but it’s actually pretty straightforward. Start by measuring your window opening. Danby’s window kit is adjustable, but it works best for standard double-hung or sliding windows (typically 24–48 inches wide).
- Open your window and clean the frame. A little dust or grime can make sealing difficult.
- Assemble the window kit by sliding the adjustable panels together. Most kits have a main panel and an extension piece.
- Place the foam tape around the edges of the kit. Press it firmly to create a snug fit.
- Insert the kit into the window opening. Close the window so it sits securely on top of the kit.
- Attach the exhaust hose to the back of the AC unit and the window kit. Use the provided clamps to secure both ends.
Here’s a real-life example: I helped my sister set up her Danby DAC080B1WDB in her apartment. Her window was slightly narrower than the kit, so we used the included foam strips to fill the gap. We also added a small piece of wood (cut from a paint stirrer) to keep the window from closing too far. Worked like a charm.
One common mistake? Forgetting to seal the sides. If you see gaps, use extra foam tape or even a rolled-up towel. A poor seal means hot air leaks back in, making your AC work harder and your bills higher.
Connecting the Exhaust Hose and Drain
The exhaust hose removes hot air from your room. Make sure it’s straight and not bent. A kinked hose reduces efficiency and can overheat the unit. I once had a hose coiled up behind the AC—my energy bill spiked, and the unit ran constantly. Lesson learned.
Now, about drainage. Most Danby portable ACs use a self-evaporative system, meaning they recycle most of the condensation to cool the compressor. But during high humidity or continuous use, you’ll need to drain manually.
- Locate the drain plug (usually at the back or bottom of the unit).
- Place a bucket underneath or connect the drain hose for continuous drainage.
- For continuous drainage, run the hose outside or into a floor drain.
Tip: If you’re using the AC in a basement or humid climate, set up the drain hose from day one. Trust me, you don’t want to wake up to a puddle of water at 3 AM.
Powering On and Initial Test
Before you plug it in, double-check everything:
- Exhaust hose is secure
- Window kit is sealed
- Unit is level
- No objects blocking the front or back vents
Plug the unit into a grounded outlet. Never use an extension cord—Danby explicitly warns against it. The AC draws a lot of power, and an extension cord can overheat or trip your breaker.
Press the power button. You should hear a soft hum, and the display will light up. Run it for 10–15 minutes to see if it cools properly. If it doesn’t, check the exhaust hose and window seal first.
Operating Your Danby Portable AC: Controls and Modes
Understanding the Control Panel and Remote
Danby’s control panels are intuitive, but let’s break them down:
- Power Button: Turns the unit on/off.
- Mode Button: Cycles between Cool, Fan, Dehumidify, and Auto (on select models).
- Temperature Buttons: Adjust from 61°F to 89°F (16°C to 32°C).
- Fan Speed: Low, Medium, High. I use Low at night for quiet operation.
- Timer: Set the AC to turn on or off after 1–24 hours.
- Sleep Mode: Gradually increases temperature to save energy while you sleep.
The remote control mirrors most of these functions. I love the remote—especially when I’m too lazy to get out of bed. Just make sure you’re within 20 feet and pointing it directly at the sensor on the unit.
Best Practices for Efficient Cooling
To get the most out of your Danby portable AC, follow these tips:
- Set the temperature wisely: 75°F (24°C) is ideal for comfort and efficiency. Every degree lower increases energy use by 6–8%.
- Use Fan mode for mild days: It circulates air without cooling, saving power.
- Run the dehumidifier in damp rooms: Basements and bathrooms benefit from this mode.
- Close doors and curtains: Keep cooled air in and hot air out.
- Use the timer: I set mine to turn on 30 minutes before I get home. Instant comfort.
Real-world example: My neighbor uses his Danby DAC12010D in his home office. He runs it on Auto mode during the day and switches to Sleep mode at night. His energy bill dropped by 15% compared to using a window unit.
Using Advanced Features (Wi-Fi, Smart Controls)
Some newer Danby models, like the DAC10010D-WF, come with Wi-Fi and app control. You can:
- Turn the AC on/off remotely
- Adjust temperature and modes from your phone
- Set schedules based on your routine
- Receive maintenance alerts
The app setup is simple. Download the Danby app, create an account, and follow the on-screen instructions to connect your AC to Wi-Fi. I set mine up in under 10 minutes. Now I can cool my apartment before I even leave the office. It’s a game-changer, especially in summer.
Maintenance and Care: Keeping Your AC Running Smoothly
Cleaning the Air Filter
The air filter traps dust, pollen, and pet hair. If it’s clogged, airflow drops, and the unit works harder. Danby recommends cleaning the filter every 2–4 weeks during heavy use.
- Turn off and unplug the unit.
- Open the front panel (usually by pressing a latch).
- Pull out the filter.
- Rinse it under lukewarm water. No soap or harsh cleaners.
- Let it dry completely (about 1–2 hours).
- Reinsert and close the panel.
I clean mine every three weeks. It takes five minutes, and it makes a huge difference. Last summer, I skipped cleaning for two months—my AC barely cooled, and it sounded like a jet engine. Never again.
Draining and Winter Storage
Even with self-evaporation, you’ll need to drain the unit occasionally. Here’s how:
- Turn off and unplug the AC.
- Place a container under the drain plug.
- Remove the plug and let water drain.
- For continuous drainage, leave the hose connected and run it outside.
When storing for winter:
- Drain all water from the tank and hose.
- Clean the filter and interior (use a damp cloth).
- Wipe down the exterior with a soft cloth.
- Coil the power cord and store it in a cool, dry place.
- Cover the unit with a breathable cloth to prevent dust buildup.
I store mine in a closet with a silica gel pack to absorb moisture. It’s ready to go the next summer with zero issues.
Troubleshooting Common Issues
Here’s a quick table of common problems and fixes based on Danby portable air conditioner instructions:
| Issue | Possible Cause | Solution |
|---|---|---|
| Unit not cooling | Dirty filter, kinked hose, poor window seal | Clean filter, straighten hose, reseal window |
| Water leakage | Drain plug loose, unit tilted, clogged drain | Check plug, level unit, clear drain |
| Remote not working | Dead batteries, sensor blocked | Replace batteries, clear sensor |
| Unit shuts off randomly | Overheating, full water tank, tilt sensor | Clear vents, drain water, level unit |
| No power | Tripped breaker, faulty outlet | Check breaker, test outlet |
I’ve dealt with all of these. Once, my AC kept turning off every hour. Turns out the filter was so clogged it triggered the overheat sensor. A quick clean fixed it.
Advanced Tips and Pro Hacks for Better Performance
Improving Efficiency in Large or Hot Rooms
If your room is bigger than the unit’s coverage area (check the manual—most Danby models cover 300–500 sq ft), try these hacks:
- Use a fan to circulate air: A ceiling or floor fan helps spread cool air evenly.
- Close unused rooms: Keep doors shut to focus cooling where you need it.
- Insulate windows: Apply reflective film or thermal curtains to block heat.
- Use a smart plug: Schedule the AC to run only during peak heat.
I use a $15 box fan to push cool air from my living room into the hallway. It makes a noticeable difference on 90°F days.
Noise Reduction Strategies
Portable ACs aren’t silent. But you can reduce the noise:
- Place the unit on a rubber mat to dampen vibrations.
- Use the lowest fan speed at night.
- Keep the exhaust hose straight—kinks create noise.
- Install the unit in a closet with a vented door (if possible).
My Danby is in the bedroom, and I use Low fan + Sleep mode. It’s quiet enough to sleep through, even with a light fan.
When to Call a Technician
Some issues need professional help. Call Danby support if:
- The compressor won’t start (after checking power and settings).
- There’s a refrigerant leak (you’ll smell a chemical odor).
- The unit trips the breaker repeatedly.
- You hear grinding or loud knocking sounds.
Danby offers a 1-year parts and labor warranty. I had a faulty sensor once—they sent a replacement part for free and guided me through the install.
Final Thoughts: Making the Most of Your Danby Portable AC
Setting up and using a Danby portable air conditioner doesn’t have to be stressful. With the right Danby portable air conditioner instructions and a few pro tips, you can enjoy cool, comfortable air all summer long. I’ve used mine for three years now, and it’s been reliable, efficient, and easy to maintain.
Remember: success starts with a proper setup. Take your time with the window kit, keep the unit level, and clean the filter regularly. Use the modes wisely—don’t just crank it to 60°F and walk away. And if you run into issues, don’t panic. Most problems have simple fixes.
Whether you’re cooling a small apartment, a home office, or a bedroom, your Danby AC can be a lifesaver. Just follow these steps, and you’ll be sipping iced tea in a cool room in no time. Stay cool, and happy chilling!
Frequently Asked Questions
How do I set up my Danby portable air conditioner for the first time?
To set up your Danby portable air conditioner, unbox the unit, attach the exhaust hose to the rear vent, and place the hose end near a window using the included window kit. Plug in the unit and follow the Danby portable air conditioner instructions to power it on and select your desired settings. Ensure the unit is on a flat surface for proper drainage.
Why is my Danby portable air conditioner not cooling effectively?
Check if the exhaust hose is properly installed and free of bends, as improper venting can reduce cooling efficiency. Also, verify that the air filter is clean and the thermostat is set below the current room temperature per the Danby portable air conditioner instructions.
How often should I clean the air filter on my Danby portable AC?
Clean the air filter every 2–4 weeks during regular use to maintain airflow and efficiency. Refer to your model’s manual for specific steps, but generally, remove the filter, wash it with mild soap, and let it dry before reinserting.
Can I use my Danby portable air conditioner without a window kit?
No, the exhaust hose must be vented through a window or opening to release hot air. Without proper venting, the unit will overheat and fail to cool. The Danby portable air conditioner instructions include window kit setup guidelines for sliding or hung windows.
What does the “Error Code E1” mean on my Danby portable AC?
Error Code E1 typically indicates a full water tank or drainage issue. Empty the tank and ensure the drain plug is closed securely. If the error persists, consult the troubleshooting section of your manual.
Is it safe to leave my Danby portable air conditioner on overnight?
Yes, Danby portable ACs are designed with safety features like auto-shutoff and overheat protection for extended use. Just ensure the unit is in a well-ventilated area and the exhaust hose is securely installed.