
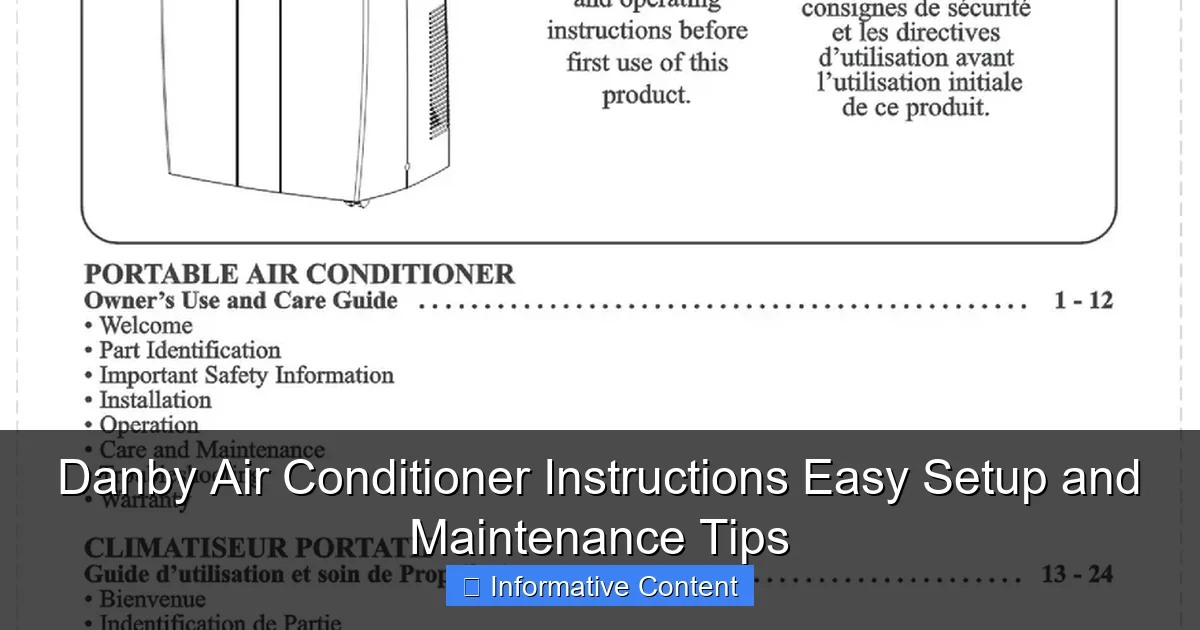
Featured image for danby air conditioner instructions
Image source: i2.wp.com
Master your Danby air conditioner with simple, step-by-step instructions designed for quick setup and optimal performance. Follow essential maintenance tips to extend lifespan and boost efficiency, ensuring cool comfort all season long.
Key Takeaways
- Read the manual first: Always review Danby’s instructions before setup to avoid errors.
- Clean filters monthly: Maintain airflow and efficiency with regular filter cleaning.
- Check drainage often: Prevent leaks by inspecting the drain pan and hose weekly.
- Use timer settings: Save energy by scheduling on/off times via the control panel.
- Ensure proper ventilation: Keep vents unobstructed for optimal cooling performance.
- Store properly off-season: Cover and unplug the unit when not in use.
📑 Table of Contents
- Why Danby Air Conditioner Instructions Matter for a Cooler, Happier Home
- Unboxing and Initial Setup: Your First Steps to a Cooler Space
- Understanding the Control Panel and Remote: Mastering Your Danby AC
- Daily Operation and Energy-Saving Tips
- Maintenance and Cleaning: Keeping Your Danby AC Running Smoothly
- Long-Term Care and When to Replace Your Danby AC
Why Danby Air Conditioner Instructions Matter for a Cooler, Happier Home
There’s nothing worse than coming home after a long day in the sweltering heat, only to find your air conditioner is acting up. You press every button, check the manual (if you can find it), and still—nothing. It’s frustrating, especially when you just want to cool down and relax. If you’ve ever felt this way, you’re not alone. I’ve been there too. And that’s exactly why I’ve made it my mission to help people understand their Danby air conditioner instructions—not just to fix problems, but to prevent them in the first place.
Danby air conditioners are known for their reliability, energy efficiency, and compact designs—perfect for apartments, small homes, or even as a supplemental cooling source. But like any appliance, they work best when you know how to set them up correctly, use them efficiently, and maintain them properly. Whether you’ve just unboxed a brand-new Danby portable AC, a window unit, or a mini-split model, understanding the Danby air conditioner instructions is the first step toward a cooler, more comfortable space. In this guide, I’ll walk you through everything you need to know—from setup and operation to troubleshooting and long-term care—so you can get the most out of your unit without the stress.
Unboxing and Initial Setup: Your First Steps to a Cooler Space
What’s in the Box? Checking Your Danby AC Components
Before you even plug in your Danby air conditioner, it’s essential to do a quick inventory. Open the box carefully and lay out all the components. Most Danby models—especially portable and window units—come with the following:
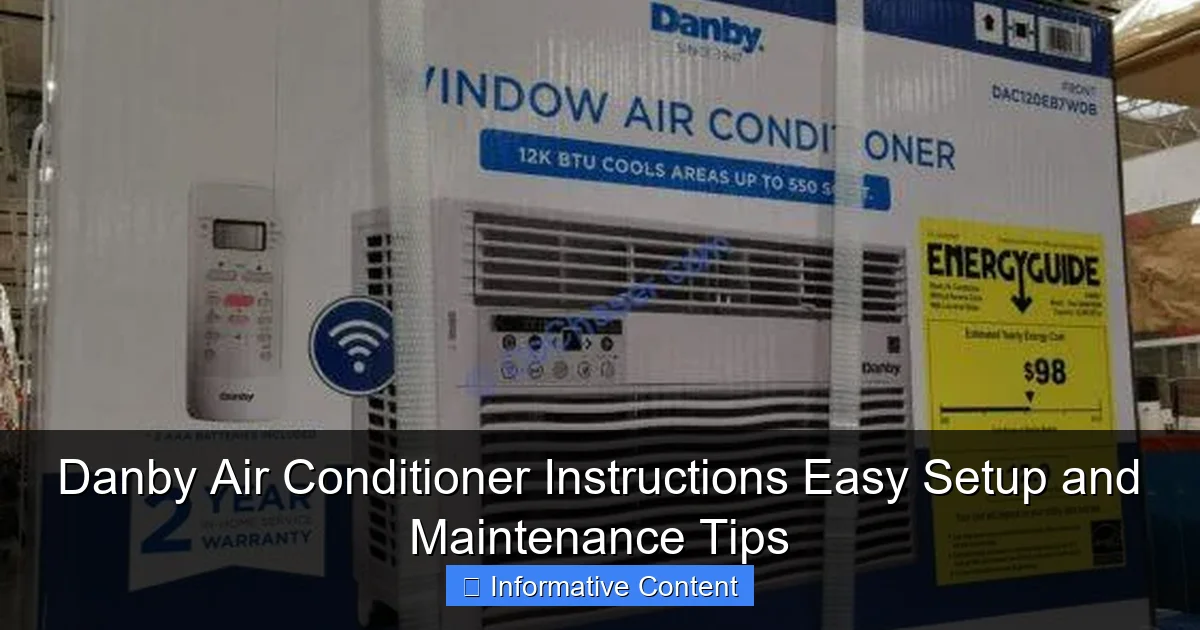
Visual guide about danby air conditioner instructions
Image source: cochaser.com
- The main air conditioner unit
- Exhaust hose (for portable models)
- Window installation kit (sliding panels, foam seals, brackets)
- Remote control with batteries
- Drain hose or drip tray (for dehumidifying models)
- User manual (yes, it’s there—keep it handy!)
One time, I skipped this step and ended up missing the foam insulation strips for my window kit. I tried to install it anyway and ended up with a gap that let hot air in. Not ideal. So, always double-check everything before you start. If anything’s missing, contact Danby customer support—they’re usually quick to respond and ship replacements.
Choosing the Right Location: Where to Place Your Danby AC
Location matters more than you might think. For Danby air conditioner instructions to work effectively, your unit needs proper airflow and drainage. Here are some golden rules:
- Keep it level: If the unit isn’t level, condensation may not drain properly, leading to leaks or error codes.
- Leave space: Maintain at least 12-18 inches of clearance on all sides (especially the back and top) for airflow. I once tucked my portable AC into a corner behind a chair—big mistake. It overheated within an hour.
- Vent properly: For portable units, the exhaust hose must be fully extended (but not stretched) and vented through a window or door. Avoid sharp bends—they reduce efficiency.
- Avoid direct sunlight: Placing your unit in a sunlit room makes it work harder. If possible, position it in a shaded area or use curtains.
Window Installation: Step-by-Step for Portable and Window Units
If you’re installing a window or portable AC, the window kit is your best friend. Here’s how I do it:
- Open your window and clean the frame. Dust and debris can prevent a tight seal.
- Insert the adjustable side panels into the window track. Most kits are designed to fit standard single- or double-hung windows.
- Secure the panels with screws (included) or tension locks, depending on your model.
- Attach the exhaust hose to the back of the AC and the other end to the window adapter plate.
- Seal any gaps with the included foam strips. I like to use a bit of duct tape on the edges for extra security—no bugs or hot air sneaking in!
Pro tip: If you live in a noisy area, consider adding a small foam pad under the unit to reduce vibration and noise. It’s a small step, but it makes a big difference in comfort.
Understanding the Control Panel and Remote: Mastering Your Danby AC
Buttons and Functions: What Each One Does
Danby air conditioners usually have simple, intuitive control panels. But if you’ve never used one before, it can feel a bit overwhelming. Let’s break it down:
- Power: Turns the unit on/off.
- Mode: Cycles between Cool, Fan, Dry (dehumidify), and sometimes Heat (on dual models).
- Fan Speed: Low, Medium, High. I usually start with High to cool the room fast, then switch to Low for quiet operation at night.
- Temperature: Adjusts the target temp (usually 61°F to 86°F).
- Timer: Set the AC to turn on or off after a certain time (great for saving energy).
- Sleep Mode: Gradually raises the temperature over time to save energy while you sleep.
- Auto Restart: If the power goes out, the unit will resume its previous settings when power returns.
I remember the first time I used Sleep Mode—I woke up freezing because I didn’t realize it slowly increased the temperature. Now I use it with a light blanket. Lesson learned!
Using the Remote Control: Tips for Maximum Convenience
The remote is one of the best features of Danby ACs. But it only works if you know how to use it. Here’s what I’ve picked up:
- Always point the remote directly at the unit—obstacles like furniture or curtains can block the signal.
- Replace the batteries every 6-12 months, even if they seem to work. Weak batteries cause delayed responses.
- Use the Turbo or Quick Cool function (if available) to cool a hot room fast. It runs the fan and compressor at max for 20-30 minutes.
- Set the timer to turn the AC off after 2-3 hours if you’re napping. No need to wake up to shut it off.
One thing I love: Danby remotes are backlit, so you can adjust settings in the dark without fumbling around. Small detail, big win.
Smart Features (on Select Models): Wi-Fi and App Control
Some newer Danby models come with Wi-Fi and app control. If you have one, download the Danby Smart app from your app store. Pairing is usually simple:
- Press and hold the Wi-Fi button on the AC until the light blinks.
- Open the app, select “Add Device,” and follow the prompts.
- Connect to your home Wi-Fi network.
Once set up, you can control your AC from anywhere—turn it on before you get home, adjust the temperature, or monitor energy usage. I use it to start my AC 30 minutes before I leave work. By the time I walk in, the house is cool and welcoming. It’s like having a personal climate assistant.
Daily Operation and Energy-Saving Tips
Setting the Right Temperature: Comfort vs. Efficiency
Here’s a common mistake: setting your AC to 65°F and expecting it to cool faster. It won’t. The unit cools at a constant rate. Setting it too low just wastes energy and may not make you feel more comfortable.
Instead, aim for 72-76°F during the day and 68-72°F at night. This is the sweet spot for comfort and efficiency. I keep mine at 74°F during the day and 70°F at night. My electricity bill dropped by about 15% after I stopped cranking it down.
Using Fan, Cool, and Dry Modes: When to Use Each
Each mode serves a different purpose. Use them wisely:
- Cool Mode: Use when the room is hot and humid. This is your default setting.
- Fan Mode: Use when the air feels stuffy but not hot. It circulates air without cooling—great for mild days or when you just need a breeze.
- Dry Mode: Use in humid climates. It removes moisture without overcooling. I use it during rainy season when my apartment feels damp.
One summer, my humidity hit 80%. I switched to Dry Mode, and within an hour, the air felt lighter and cleaner—no sticky skin or musty smell.
Energy-Saving Hacks: How to Reduce Your Bill Without Sacrificing Comfort
Air conditioners use a lot of energy, but you don’t have to overpay. Here are my top tips:
- Close curtains and blinds: Blocks solar heat gain. I use blackout curtains in my bedroom—they cut heat by up to 25%.
- Use ceiling fans: They create a wind-chill effect, making you feel cooler. I run my fan on low while the AC is on—it lets me raise the thermostat by 2-3°F.
- Seal gaps: Use weatherstripping around windows and doors. I once found a 1-inch gap under my front door—sealing it reduced my AC runtime by 20%.
- Run the AC during off-peak hours: If your utility has time-of-use pricing, run the AC early morning or late evening.
Bonus: Clean your AC regularly (more on that below). A dirty unit uses 15-20% more energy.
Maintenance and Cleaning: Keeping Your Danby AC Running Smoothly
Monthly Tasks: Filters, Drains, and Vents
Regular maintenance is the key to a long-lasting Danby AC. I do these tasks every 4-6 weeks:
- Clean the air filter: Remove the front panel and wash the filter with warm water. Let it dry completely before reinstalling. A clogged filter reduces airflow and efficiency.
- Check the drain pan and hose: If water pools in the pan, it can cause leaks or mold. Wipe it with a damp cloth. If your model has a drain hose, make sure it’s not kinked or blocked.
- Wipe the exterior: Use a microfiber cloth and mild cleaner. Avoid harsh chemicals—they can damage the finish.
I once ignored my filter for two months. The AC started making a loud grinding noise. Turns out, dust had clogged the fan. A quick filter wash fixed it, but it could’ve been worse.
Seasonal Care: Preparing for Summer and Winter
Before summer, do a full check:
- Inspect the exhaust hose for cracks or holes.
- Test the remote and batteries.
- Run the unit for 10 minutes to ensure it cools properly.
In winter, if you’re storing your portable AC:
- Drain all water from the unit (follow Danby air conditioner instructions for draining).
- Clean and dry the filter and interior.
- Store in a dry, temperature-controlled space (not a garage or attic).
One winter, I left my AC in the garage. It froze and cracked. Not a fun $200 mistake.
Troubleshooting Common Issues: Error Codes and Fixes
Danby ACs display error codes for common problems. Here’s a quick reference:
| Error Code | Meaning | What to Do |
|---|---|---|
| E1 | Low or high pressure issue | Turn off the unit for 30 minutes. Restart. If it persists, call a technician. |
| E2 | Temperature sensor fault | Check for obstructions near the sensor. Reset the unit. If still there, contact support. |
| E3 | Water tank full (portable models) | Drain the water tank. Ensure the drain hose is not blocked. |
| E4 | Fan motor error | Clean the fan blades and motor area. If noisy, stop use and call support. |
| FL | Filter needs cleaning | Clean or replace the filter. Press “Filter Reset” if available. |
Most errors are fixable with basic troubleshooting. But if you see E1 or E2 repeatedly, it’s time to call a professional.
Long-Term Care and When to Replace Your Danby AC
Signs It’s Time for a New Unit
Even with perfect care, air conditioners don’t last forever. Here’s when to consider a replacement:
- Age: Most Danby units last 5-8 years. If yours is over 8, efficiency drops significantly.
- Frequent repairs: If you’re calling a technician more than once a year, it’s not worth it.
- Weak cooling: If the room stays hot despite running 24/7, the compressor may be failing.
- High energy bills: Older units use more power. A new ENERGY STAR model can cut usage by 30%.
My first Danby lasted 7 years. When it started tripping the breaker, I replaced it. The new one cools faster and uses half the energy.
Recycling and Disposal: Doing It Right
Don’t just toss your old AC in the trash. Refrigerants are harmful to the environment. Instead:
- Check with your local waste management for appliance recycling programs.
- Many retailers (like Home Depot) offer free recycling when you buy a new unit.
- Some Danby dealers will take your old unit for a small fee.
I recycled my old AC through a local program. They gave me a $25 coupon for my next purchase. Win-win.
Upgrading to a Newer Danby Model: What to Look For
If you’re buying new, consider:
- BTU rating: Match to your room size (e.g., 8,000 BTU for 300-400 sq ft).
- Energy Efficiency Ratio (EER): Higher is better. Look for 10+.
- Smart features: Wi-Fi, voice control, and app integration add convenience.
- Noise level: Check decibels (dB). Below 55 dB is quiet enough for bedrooms.
I upgraded to a Danby 10,000 BTU model with Wi-Fi. The app control alone is worth the upgrade.
Following Danby air conditioner instructions doesn’t have to be complicated. With the right setup, smart operation, and regular care, your AC can keep you cool for years—without breaking the bank. Whether you’re a first-time user or a seasoned pro, these tips will help you get the most out of your unit. Remember: a little maintenance goes a long way. And when in doubt, consult your manual or reach out to Danby support. Stay cool, stay comfortable, and enjoy your perfectly chilled space.
Frequently Asked Questions
How do I set up my Danby air conditioner for the first time?
Follow the Danby air conditioner instructions to assemble the window mounting kit, secure the unit, and connect the exhaust hose. Ensure the power cord is plugged into a grounded outlet and the control panel is set to your desired mode. Always check the user manual for model-specific details.
Why is my Danby air conditioner not cooling properly?
Clean or replace the air filter if it’s clogged, and verify the temperature settings. Poor cooling can also result from blocked airflow or incorrect exhaust hose installation—refer to your Danby air conditioner instructions for troubleshooting steps.
How often should I clean the filter on my Danby AC unit?
Clean the reusable air filter every 2–4 weeks during heavy use to maintain efficiency. Rinse it with mild soap and water, let it dry completely, then reinstall it per the maintenance schedule in the Danby air conditioner instructions.
Can I use my Danby portable air conditioner in a room without a window?
No, portable models require a window or vent to expel hot air via the exhaust hose. For non-window setups, consider a ducted or split-system AC instead, as Danby air conditioner instructions specify.
How do I troubleshoot the “E1” error code on my Danby AC?
The “E1” code typically indicates a sensor issue or refrigerant problem. Reset the unit by unplugging it for 5 minutes, then recheck. If the error persists, consult the Danby air conditioner instructions or contact customer support.
What’s the best way to store my Danby air conditioner during winter?
Drain excess water from the unit, clean the filter, and dry all components. Cover the AC or store it in a cool, dry place to prevent dust buildup. The Danby air conditioner instructions include a full seasonal storage guide.