
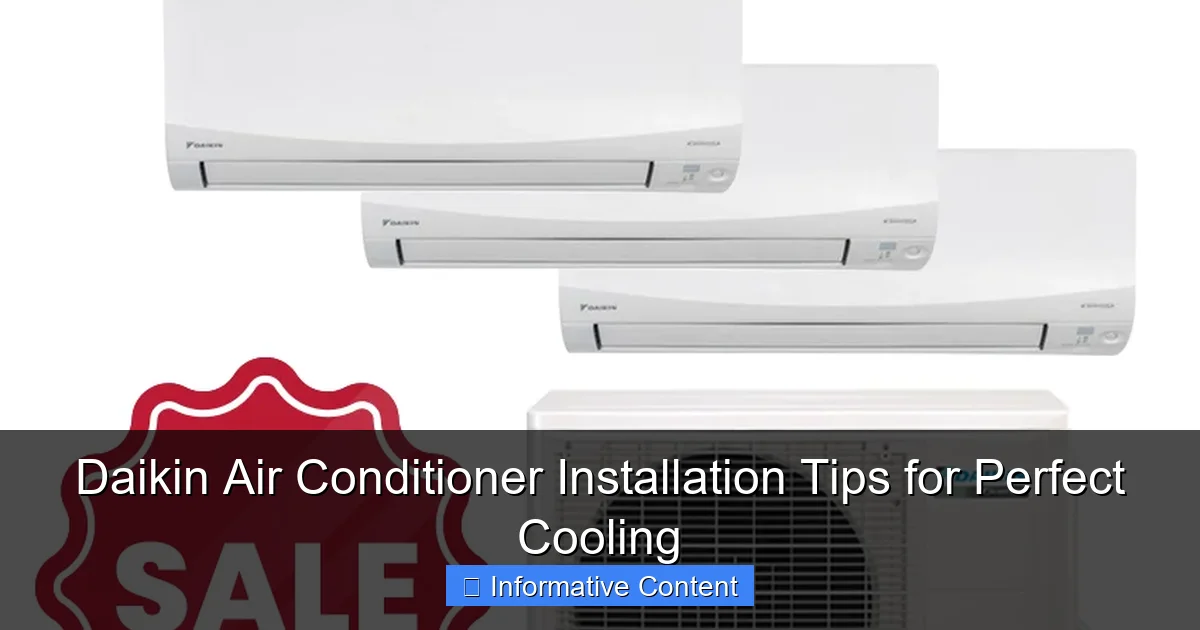
Featured image for daikin air conditioner installation
Image source: letscoolaircon.com.sg
Proper Daikin air conditioner installation is crucial for optimal performance and energy efficiency. Ensure the indoor and outdoor units are correctly sized, level, and placed with adequate airflow clearance to prevent overheating and airflow issues. Always hire a certified technician to handle refrigerant lines, electrical connections, and system calibration—DIY mistakes can void warranties and reduce cooling effectiveness.
Key Takeaways
- Choose the right location: Ensure proper airflow and minimal obstructions for optimal performance.
- Hire a certified installer: Guarantee safety, warranty compliance, and peak efficiency.
- Seal all connections tightly: Prevent refrigerant leaks and maintain cooling efficiency.
- Check drainage slope: Avoid water pooling and ensure smooth condensate removal.
- Test system thoroughly: Verify cooling, airflow, and thermostat functionality post-installation.
- Insulate refrigerant lines: Minimize energy loss and protect against weather damage.
- Follow maintenance schedule: Extend unit lifespan with regular filter cleaning and checks.
📑 Table of Contents
- Daikin Air Conditioner Installation Tips for Perfect Cooling
- 1. Choosing the Right Daikin Model for Your Space
- 2. Planning the Installation: Location, Location, Location
- 3. Professional vs. DIY: When to Call the Experts
- 4. Step-by-Step Installation Checklist
- 5. Avoiding Common Installation Mistakes
- 6. Post-Installation: Testing and Maintenance Tips
- Final Thoughts: Your Daikin Deserves the Best Start
Daikin Air Conditioner Installation Tips for Perfect Cooling
Imagine coming home after a long day in the summer heat, only to find your living room still feels like a sauna. You turn on your Daikin air conditioner, but it struggles to cool the space—or worse, it makes strange noises and leaks water. Sound familiar? The truth is, even the best air conditioner can underperform if not installed correctly. I’ve seen it happen too many times: a premium unit, a frustrated homeowner, and a cooling system that just doesn’t deliver.
Daikin is one of the most trusted names in HVAC, known for energy efficiency, quiet operation, and smart technology. But like any high-performance machine, it needs a proper setup to shine. Whether you’re installing a split system, multi-split, or ducted unit, the installation process makes all the difference. A few simple mistakes—like incorrect refrigerant line length, poor drainage slope, or improper electrical connections—can reduce efficiency, shorten lifespan, and even void your warranty. In this guide, I’ll walk you through essential Daikin air conditioner installation tips to help you achieve perfect, consistent cooling—without the headaches.
1. Choosing the Right Daikin Model for Your Space
Before you even think about mounting the indoor unit, you need to pick the right Daikin model. It’s tempting to go with the biggest unit available, but bigger isn’t always better. Oversized ACs cool too quickly, leading to short cycling, which wastes energy and fails to dehumidify properly. Undersized units, on the other hand, run nonstop and still can’t keep up.
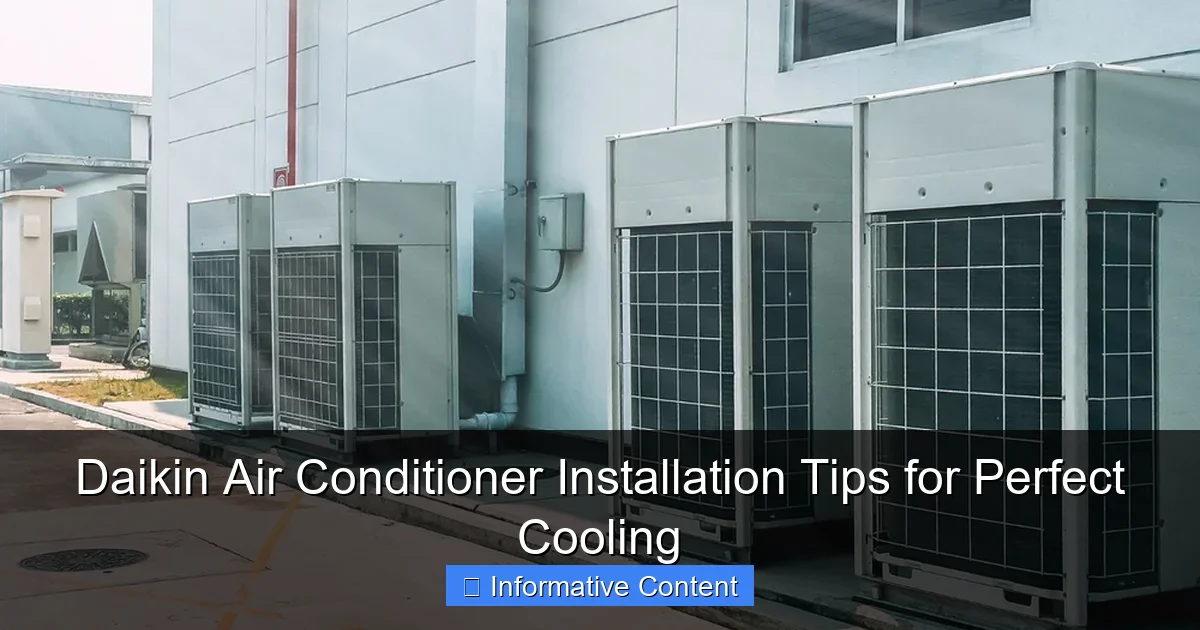
Visual guide about daikin air conditioner installation
Image source: 5.imimg.com
Assess Your Room Size and Heat Load
Start by calculating the cooling load. This isn’t just about square footage. Consider:
- Sun exposure: Rooms with large south- or west-facing windows absorb more heat.
- Insulation quality: Older homes with poor insulation need more cooling power.
- Occupancy: More people = more body heat. A home office with one person needs less cooling than a living room with a family of four.
- Appliances: Kitchens with ovens, stoves, or computers add heat.
For example, a 200-square-foot bedroom with good insulation and minimal sun might need a 9,000 BTU unit. But the same-sized room in a sunny attic with poor airflow could require a 12,000 BTU model.
Match the Model to Your Needs
Daikin offers several series, each suited for different applications:
- Emura: Sleek, wall-mounted units ideal for modern homes. Great for bedrooms and living rooms.
- Perfera: High-efficiency inverter units with whisper-quiet operation. Perfect for noise-sensitive areas.
- SkyAir: Commercial-grade performance for larger rooms or open-plan spaces.
- Altherma: Heat pumps for whole-home heating and cooling, ideal for colder climates.
I once helped a friend install a Daikin Emura in their home theater. They loved the minimalist design, but the unit struggled because the room had two large projectors and a 7.1 sound system generating heat. We ended up upgrading to a Perfera with higher capacity and better airflow control—problem solved.
Don’t Overlook Smart Features
Daikin’s Wi-Fi-enabled units (like the Emura with Daikin Online Controller) let you monitor and adjust settings from your phone. This is a game-changer for vacation homes or if you forget to turn off the AC before leaving. During installation, make sure the Wi-Fi module is properly connected and tested. I’ve seen cases where the unit was installed but the app wouldn’t sync—usually due to poor signal or incorrect setup.
2. Planning the Installation: Location, Location, Location
You wouldn’t plant a tree in a spot where it’ll be shaded all day. The same goes for your air conditioner. The placement of both indoor and outdoor units directly affects performance, efficiency, and longevity.
Indoor Unit Placement: Where Cold Air Flows Best
The goal is to create even, unobstructed airflow. Here’s what to avoid:
- Behind furniture: A couch or bookshelf blocking the front panel restricts airflow.
- Near heat sources: Radiators, stoves, or direct sunlight from windows can confuse the thermostat.
- Low on the wall: Cold air sinks, so mounting too low creates a cold zone near the floor and leaves the ceiling warm.
Ideal placement is 7–8 feet high on an interior wall, with at least 6 inches of clearance on all sides. For split systems, ensure the indoor unit is within 50 feet (horizontally) and 30 feet (vertically) of the outdoor unit. Exceeding these limits can reduce efficiency and increase refrigerant line pressure.
Pro tip: Use a laser level to mark the mounting bracket. A slightly tilted unit can cause drainage issues. I once saw a unit installed just 2 degrees off—enough to make the drain pan overflow after heavy use.
Outdoor Unit: Keep It Cool and Clear
The condenser (outdoor unit) needs airflow to release heat. Place it:
- On a solid, level platform: Concrete pads or vibration-absorbing rubber mounts prevent noise and wobbling.
- In a shaded area: Under an eave or near a tree (but not under leaves or debris).
- At least 12 inches from walls or fences: This ensures proper airflow and makes future servicing easier.
- Not in direct rain or snow: While units are weather-resistant, prolonged exposure to water can corrode connections.
One homeowner installed their Daikin condenser in a narrow side yard. It worked fine in summer, but during winter, snow piled up against it, blocking airflow. Come spring, the unit struggled to start. A simple relocation to a more open area fixed the issue.
Drainage Slope: The Unsung Hero
The condensate drain line must slope downward (at least 1/4 inch per foot) away from the indoor unit. Without this, water pools in the line, causing leaks or mold. Use a clear vinyl hose for easy inspection. I always recommend a secondary drain pan under the indoor unit—just in case the primary line clogs.
3. Professional vs. DIY: When to Call the Experts
You might be handy with tools, but Daikin air conditioner installation isn’t a weekend project for most. Here’s the reality: while mounting the indoor unit and running electrical wires might seem doable, refrigerant handling, vacuuming the lines, and system commissioning require specialized skills and equipment.
The Risks of DIY Refrigerant Work
Refrigerant (like R-32 or R-410A) is pressurized and regulated. If you:
- Open a line without evacuating the system, refrigerant escapes into the air (illegal and harmful).
- Overcharge or undercharge the system, efficiency drops, and the compressor can fail.
- Fail to pull a proper vacuum, moisture and air remain in the lines, leading to corrosion and ice buildup.
<
I once visited a home where the owner tried a DIY install. They used a basic vacuum pump and didn’t hold the vacuum for the recommended 20 minutes. Within a month, the unit started icing up. The repair cost more than a professional install would have.
When DIY Might Work (With Caution)
If you’re installing a pre-charged mini-split (some Daikin models come this way), you might handle the mounting and electrical work yourself—but only if:
- You’re comfortable with 240V wiring and local electrical codes.
- You have a certified HVAC tech handle the refrigerant line connection and commissioning.
- You use a vacuum pump with a micron gauge (rentable from tool shops).
Even then, I’d recommend having a pro do the final leak check and startup. Daikin’s warranty often requires professional installation, so skipping this could cost you later.
What a Pro Brings to the Table
A licensed HVAC technician will:
- Calculate exact refrigerant charge based on line length.
- Use a digital manifold gauge set for precise pressure readings.
- Test for leaks with nitrogen or electronic detectors.
- Verify airflow and temperature differentials to ensure optimal performance.
They’ll also handle permits and inspections, which are required in many areas. One client in California tried to skip the permit process—only to face fines when selling the home later.
4. Step-by-Step Installation Checklist
Whether you’re working with a pro or supervising the process, here’s what should happen during a proper Daikin air conditioner installation.
1. Site Preparation
- Turn off power at the main breaker.
- Mark and drill holes for refrigerant lines, drain, and electrical conduit.
- Install the mounting bracket for the indoor unit.
- Set up the outdoor unit on a level pad with vibration pads.
2. Indoor Unit Mounting
- Secure the unit to the bracket using the included hardware.
- Ensure it’s level and tilted slightly toward the drain outlet.
- Connect the drain line with a P-trap to prevent air leaks.
3. Outdoor Unit Setup
- Mount the unit and connect refrigerant lines (insulate with foam tape).
- Run a dedicated 240V circuit with the correct breaker size (check the manual).
- Bond the unit to the electrical ground.
4. Line Connection and Vacuuming
- Flare the refrigerant lines and connect to the service valves.
- Pressurize the system with nitrogen for a leak test (300 psi, 10 minutes).
- Evacuate the lines with a vacuum pump for at least 30 minutes (target: 500 microns).
- Close the service valves and wait 10 minutes to confirm vacuum holds.
5. Commissioning and Startup
- Open the service valves slowly to release refrigerant.
- Turn on power and test the unit.
- Measure superheat/subcooling and adjust charge if needed.
- Verify airflow (should be 400–500 CFM per ton).
- Pair the remote or app, and set the thermostat to test cooling and fan modes.
One installer I know always runs a 24-hour test after startup. “If the unit cycles on and off smoothly, with no odd noises or leaks, you’re golden,” he says.
5. Avoiding Common Installation Mistakes
Even small oversights can lead to big problems. Here are the most frequent issues I’ve seen—and how to avoid them.
1. Incorrect Refrigerant Line Length
Daikin specifies maximum line lengths (usually 50–100 feet, depending on model). If the line is too long, add refrigerant. Too short? You might need to extend it. Never cut lines without a flaring tool—jagged edges cause leaks.
2. Poor Drainage Setup
A drain line that’s too long, has dips, or lacks a P-trap will clog. Use PVC or reinforced vinyl. Slope it consistently. I once found a drain line with a “U” bend—water pooled and froze in winter, bursting the hose.
3. Electrical Issues
Using undersized wire or the wrong breaker trips circuits or starts fires. Always follow the manual’s specs. For example, a 12,000 BTU unit might need 12 AWG wire and a 20A breaker.
4. Air Leaks in Ducted Systems
If you’re installing a ducted Daikin unit, seal all joints with mastic (not duct tape). Leaks waste energy and reduce airflow. One client saved 15% on energy bills just by sealing their ducts properly.
5. Ignoring Local Codes
Some areas require:
- Permits for electrical and structural work.
- Condensate overflow switches.
- Outdoor unit setbacks from property lines.
Check with your municipality before starting.
6. Post-Installation: Testing and Maintenance Tips
Installation is just the beginning. To keep your Daikin running smoothly, follow these post-install steps.
Initial Performance Test
- Check the temperature difference between return and supply air (should be 15–20°F).
- Listen for unusual noises (humming, buzzing, or clicking).
- Verify the remote or app controls work.
- Inspect for water leaks around the indoor unit.
First Month Checks
Run the unit for 8+ hours daily to break in the compressor. Monitor:
- Energy usage (compare to similar units).
- Humidity levels (should drop in cooling mode).
- Filter cleanliness (replace or clean monthly).
Long-Term Maintenance
Daikin units last 15–20 years with proper care. Key tasks:
- Clean filters monthly: Use mild soap and water. Let dry completely.
- Inspect coils annually: Dust and debris reduce efficiency.
- Check refrigerant pressure every 2–3 years: A pro can spot small leaks.
- Clear outdoor unit area: Trim grass and remove leaves.
Data Table: Daikin Installation Specs by Model
| Model Series | Max Line Length (ft) | Max Height Diff (ft) | Refrigerant Type | Indoor Unit Clearance (in) | Recommended Pro Install? |
|---|---|---|---|---|---|
| Emura | 50 | 30 | R-32 | 6 | Yes |
| Perfera | 82 | 50 | R-32 | 6 | Yes |
| SkyAir | 100 | 50 | R-410A | 8 | Yes |
| Altherma | 100 | 50 | R-32 | 12 (for ducted) | Yes |
Remember, this table is a starting point. Always consult the specific model’s manual.
Final Thoughts: Your Daikin Deserves the Best Start
Installing a Daikin air conditioner isn’t just about mounting a box on the wall. It’s about creating a system that cools efficiently, lasts for years, and keeps your home comfortable. From choosing the right model to avoiding common pitfalls, every step matters. I’ve seen homes where a $2,000 unit performed like a $1,000 one—because of a rushed install. And I’ve seen budget units outperform premium ones thanks to careful planning.
My advice? Invest in a professional installation. It’s not an expense—it’s protection for your investment. A pro ensures your Daikin runs at peak efficiency, which saves money on energy bills and avoids costly repairs. Plus, you’ll sleep better knowing it’s done right.
And if you’re supervising the install, don’t hesitate to ask questions. A good technician will explain what they’re doing and why. After all, your comfort—and your Daikin’s performance—depends on it. With the right Daikin air conditioner installation, you’re not just cooling a room. You’re creating a sanctuary from the heat, one perfectly chilled breath at a time.
Frequently Asked Questions
How long does a Daikin air conditioner installation typically take?
A standard Daikin air conditioner installation usually takes 4–8 hours, depending on the complexity of the setup and whether it’s a split, multi-split, or ducted system. Professional installers can provide a more accurate timeline after assessing your space.
Can I install a Daikin air conditioner myself to save money?
DIY Daikin air conditioner installation is not recommended due to the need for specialized tools, electrical work, and refrigerant handling. Improper installation can void warranties and lead to inefficient cooling or safety hazards—always hire a licensed technician.
What should I look for when choosing a Daikin air conditioner installer?
Ensure the installer is Daikin-approved or certified by a recognized HVAC body, and check reviews or references. A qualified installer guarantees proper Daikin air conditioner installation, optimal performance, and compliance with local regulations.
How much does Daikin air conditioner installation cost?
Installation costs vary based on unit type, home layout, and labor rates, but typically range from $1,500 to $4,000. Get multiple quotes to compare prices and confirm what’s included (e.g., mounting, piping, electrical work).
Do I need to prepare anything before the Daikin air conditioner installation?
Clear the indoor and outdoor installation areas of obstacles, ensure easy access for technicians, and confirm power supply compatibility. Your installer may also advise on thermostat placement or duct modifications in advance.
Is a permit required for Daikin air conditioner installation?
In many regions, a permit is needed for HVAC installations to ensure compliance with building and safety codes. Reputable installers often handle the permitting process, but always confirm this during your initial consultation.