
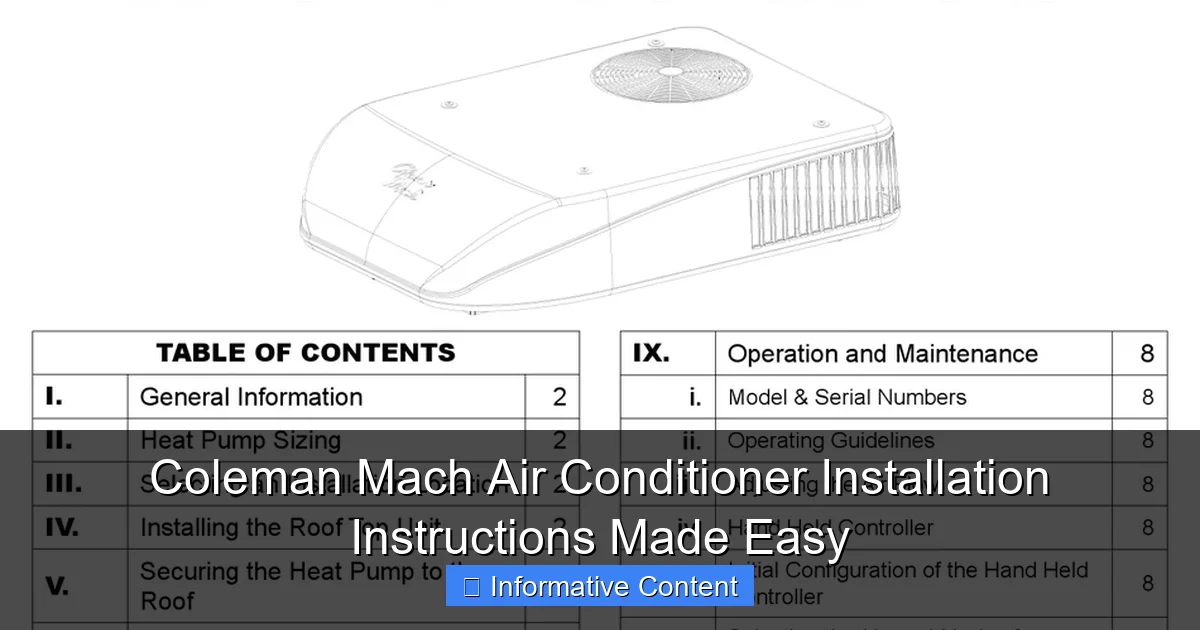
Featured image for coleman mach air conditioner installation instructions
Image source: i1.wp.com
Installing your Coleman Mach air conditioner is simple and stress-free with our clear, step-by-step guide designed to help you complete the process quickly and correctly. From mounting the unit to wiring and testing, we break down every stage with expert tips and safety precautions to ensure optimal performance and long-term reliability.
Key Takeaways
- Read the manual first: Always review Coleman Mach instructions before starting installation.
- Verify roof compatibility: Ensure your RV roof meets unit size and weight requirements.
- Use proper tools: A torque wrench is essential for secure, leak-free mounting.
- Seal the opening: Apply high-quality sealant to prevent water damage and drafts.
- Test airflow early: Check for blockages before finalizing the installation process.
- Follow wiring diagrams: Match voltage and wire colors to avoid electrical hazards.
📑 Table of Contents
- Why Installing Your Coleman Mach Air Conditioner Doesn’t Have to Be a Headache
- Understanding Your Coleman Mach Air Conditioner: What You’re Working With
- Pre-Installation Prep: The Foundation of a Smooth Install
- Step-by-Step Installation: Mounting, Sealing, and Securing
- Wiring and Electrical Setup: Powering Your Cool
- Testing, Troubleshooting, and Final Checks
- Maintenance Tips to Keep Your Coleman Mach Running Strong
- Common Installation Mistakes (And How to Avoid Them)
Why Installing Your Coleman Mach Air Conditioner Doesn’t Have to Be a Headache
Let’s face it—installing an RV air conditioner isn’t exactly a walk in the park. You’re dealing with power, weight, tight spaces, and the fear of doing it wrong and frying your entire electrical system. I remember the first time I attempted to install a Coleman Mach air conditioner on my 2005 Class C motorhome. I was sweating more from stress than from the summer heat, and I had no idea whether I’d get it right. But after a few missteps, a lot of YouTube videos, and a few friendly tips from fellow RVers, I finally got it working—and it felt like a win.
The good news? You don’t have to go through that same stress. Whether you’re replacing an old unit or installing a Coleman Mach AC for the first time, the process is simpler than you think—if you follow the right steps. In this guide, I’ll walk you through Coleman Mach air conditioner installation instructions in plain, easy-to-follow language. No jargon, no fluff. Just real talk from someone who’s been there. We’ll cover everything from prep work to wiring, mounting, and testing—so you can get cool and stay cool all season long.
Understanding Your Coleman Mach Air Conditioner: What You’re Working With
Before you even think about lifting that unit onto your RV roof, it helps to know what you’re dealing with. The Coleman Mach series includes several popular models—like the Mach 15, Mach 3, and Mach 8—each designed for different RV sizes and cooling needs. Most are 13,500 or 15,000 BTU units, and they’re known for being durable, efficient, and relatively quiet.
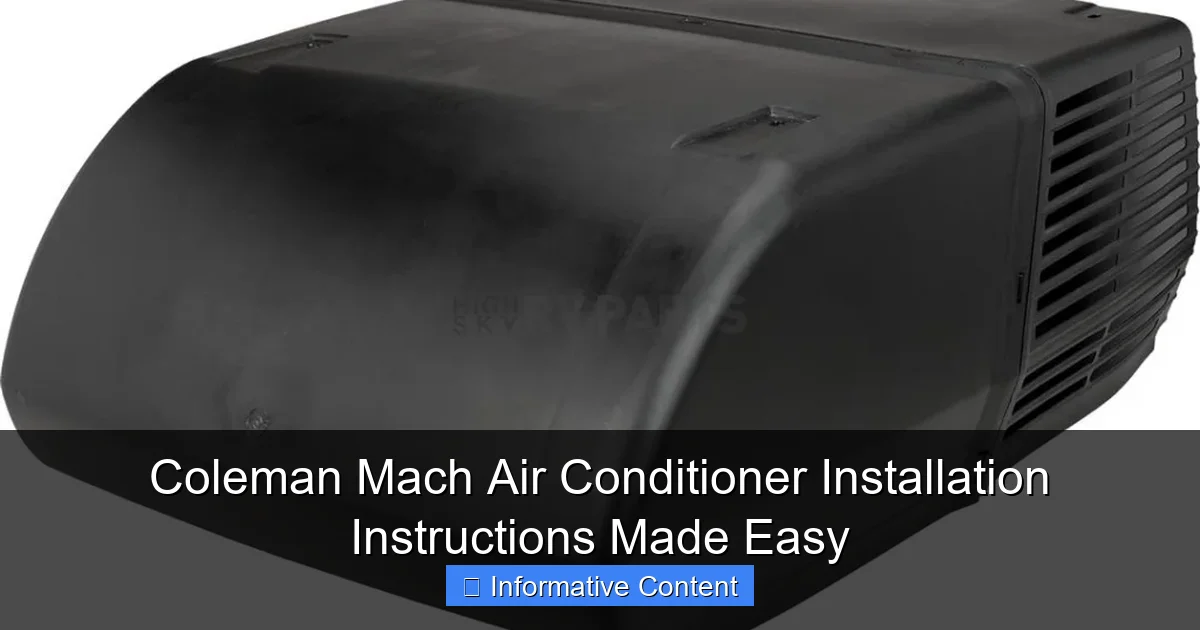
Visual guide about coleman mach air conditioner installation instructions
Image source: highskyrvparts.com
Key Features of the Coleman Mach Series
- BTU Output: 13,500 to 15,000 BTU—ideal for most RVs up to 35 feet.
- Weight: Around 75–90 lbs (34–41 kg)—definitely a two-person lift.
- Voltage: 115V AC, 60Hz—standard RV power, but you’ll need a dedicated 20-amp circuit.
- Roof Cutout Size: Typically 14″ x 14″—standard for most RVs, but always double-check.
- Drain Pan & Drip Tube: Built-in condensate management—prevents water damage inside your RV.
<
One thing I love about the Coleman Mach AC is its modular design. Unlike some older units that require you to remove the entire shroud just to access the blower, the Mach series lets you access internal components without dismantling the whole thing. That’s a big time-saver if you ever need to replace a capacitor or clean the fan.
What’s in the Box?
When your Coleman Mach air conditioner arrives, you should find:
- The AC unit (shroud, compressor, fan, evaporator, and blower)
- Installation hardware (screws, rubber gasket, drip tube)
- User manual (always keep this handy)
- Ceiling assembly (for inside the RV)
- Thermostat (if included with your model)
Pro tip: Open the box and lay out all parts on a clean surface before starting. I once skipped this step and ended up missing a critical screw—had to drive 30 miles to a hardware store. Not fun.
Pre-Installation Prep: The Foundation of a Smooth Install
You wouldn’t build a house without a solid foundation, right? Same goes for your AC install. Skipping prep work is the number one reason installations go sideways.
Check Your RV’s Roof Compatibility
Most RVs built after the 1980s have a standard 14″ x 14″ roof opening. But older or custom-built RVs might have a different size. Here’s how to check:
- Measure the existing AC opening (if replacing).
- If installing new, use a tape measure to confirm 14″ x 14″ between roof trusses.
- Ensure the roof is structurally sound—no soft spots or rot. Press down gently with your hand or a small tool.
If the opening is too big or too small, you may need to reinforce the frame or use a mounting kit. Coleman offers a universal mounting kit (part # 8330-3761) that can help with non-standard openings.
Gather Your Tools and Safety Gear
Here’s what you’ll need:
- Drill with Phillips bit
- Socket wrench or adjustable wrench
- Utility knife
- Caulking gun (with Dicor self-leveling lap sealant)
- Insulated screwdrivers
- Voltage tester
- Ladder (with stabilizer bar)
- Work gloves and safety glasses
- Helper (seriously—don’t try to lift this solo)
Safety first: Always disconnect your RV from shore power and turn off the battery. You don’t want any surprises when you’re working with wiring.
Inspect and Clean the Roof Area
Remove any old sealant, debris, or rust from the roof opening. Use a scraper or wire brush. Then, clean the surface with a degreaser or rubbing alcohol. A clean surface ensures a better seal and prevents leaks down the line.
Bonus tip: Apply a thin bead of Dicor sealant around the opening *before* placing the unit. This creates a secondary moisture barrier—something I learned the hard way after a summer storm flooded my ceiling.
Step-by-Step Installation: Mounting, Sealing, and Securing
Now comes the main event. This is where most people get nervous, but with the right approach, it’s actually pretty straightforward.
Lift and Position the Unit
With your helper, carefully lift the Coleman Mach air conditioner onto the roof. Use the handles (if available) or grip the base frame—not the shroud or fan blades.
- Align the unit’s base with the 14″ x 14″ opening.
- Slide it in so the rubber gasket sits flush against the roof.
- Make sure the condensate drain tube is positioned toward the rear of the RV (gravity helps drainage).
Pro tip: Place a piece of cardboard under the unit during positioning to protect the roof. I once scratched my RV’s roof because I was rushing—learned my lesson.
Secure the Unit with Mounting Screws
Use the provided screws to attach the unit to the roof frame. Most Coleman Mach units use four mounting points.
- Start with the front screws, then the rear.
- Don’t overtighten—this can warp the base or crack the roof.
- Use a torque screwdriver if possible (recommended torque: 25–30 in-lbs).
Once the unit is secure, double-check that it’s level. A slightly tilted unit can cause water pooling and poor airflow.
Seal the Edges for Weatherproofing
This step is critical. A bad seal = leaks, mold, and ruined interior.
- Apply a generous bead of Dicor self-leveling lap sealant around the entire perimeter of the unit.
- Smooth it with a gloved finger or plastic spreader.
- Let it cure for 24 hours before testing.
I recommend doing this on a warm, dry day. Cold or humid weather can delay curing and weaken the seal.
Install the Ceiling Assembly
Inside the RV, locate the ceiling cutout directly under the AC unit. The ceiling assembly (also called the air box) connects to the unit via four mounting brackets.
- Align the assembly with the unit’s base.
- Use the provided screws to secure it.
- Connect the condensate drain tube to the ceiling assembly (if not pre-connected).
Make sure the air filter is clean and properly seated. A clogged filter reduces airflow and strains the motor.
Wiring and Electrical Setup: Powering Your Cool
Now we get to the part that scares a lot of people: wiring. But don’t panic—this is just basic 115V AC work, and the Coleman Mach makes it easier than most.
Identify the Power Source
Your AC needs a dedicated 20-amp circuit. Most RVs have a breaker labeled “Air Conditioner” in the main panel. If you’re adding a second unit, you may need to install a new breaker (consult an electrician if unsure).
- Turn off the main power and verify it’s dead with a voltage tester.
- Run a 12/2 gauge wire from the panel to the AC location (if not already present).
For RVs with existing wiring, you’ll typically find a 3-wire setup: black (hot), white (neutral), green (ground).
Connect the Wires Inside the AC Unit
Open the electrical access panel on the underside of the AC unit (inside the ceiling assembly).
- Strip about 1/2 inch from each wire.
- Connect:
- Black (RV) → Black (AC)
- White (RV) → White (AC)
- Green (RV) → Green (AC)
- Use wire nuts or push-in connectors—tighten securely.
- Secure the wire bundle with a strain relief clamp (included).
Important: Double-check all connections before powering up. A reversed hot and neutral wire can damage the compressor.
Install the Thermostat (If Applicable)
Some Coleman Mach models come with a digital thermostat. If yours does:
- Mount it on an interior wall (away from direct sunlight).
- Connect the thermostat wires to the control board (refer to the manual for color coding).
- Test the display before finalizing the install.
For manual control, the unit will have a simple on/off switch on the ceiling assembly.
Testing, Troubleshooting, and Final Checks
You’re almost there! But don’t skip testing—this is where you catch issues before they become expensive problems.
Power Up and Initial Test
- Turn on the main power and the AC breaker.
- Set the thermostat to “Cool” and lower the temperature.
- Listen for the compressor to kick on (should take 30–60 seconds).
- Check for airflow from the ceiling vents.
If nothing happens, don’t panic. Check:
- Is the breaker on?
- Are all wire connections tight?
- Is the filter clean?
- Is the thermostat set below room temperature?
Monitor for Leaks and Vibrations
Run the AC for 30 minutes. Go outside and check:
- No water pooling around the unit.
- No excessive vibration or rattling (tighten mounting screws if needed).
- Condensate dripping from the rear drain tube.
If you see water *inside* the RV, the drain tube may be disconnected or blocked.
Check Amperage Draw
Use a clamp meter to check the current draw. A 15,000 BTU unit should draw around 13–15 amps under load. If it’s much higher, there may be a short or mechanical issue.
Maintenance Tips to Keep Your Coleman Mach Running Strong
Even the best installation won’t last if you neglect maintenance. The Coleman Mach air conditioner is built to last, but a little care goes a long way.
Clean the Air Filter Monthly
The filter is usually a foam or pleated mesh. Remove it, rinse with water, and let it air dry. Never use soap—it can degrade the material.
Inspect the Roof Seal Annually
Check the Dicor sealant around the unit. Look for cracks or gaps. Reapply if needed—especially before winter.
Check the Condensate Drain
Every few months, pour a cup of water into the drain pan (inside the ceiling assembly) to ensure it flows freely. A clogged drain can cause water damage.
Lubricate the Fan Motor (Every 2 Years)
Most Coleman Mach units have sealed motors, but if yours has oil ports, use a few drops of electric motor oil. Never use WD-40—it’s not a lubricant.
Winterize Properly
If you store your RV in cold climates:
- Remove the ceiling assembly and cover the roof opening with a vent cover.
- Store the unit in a dry, temperature-controlled space (if possible).
- Run the fan for 10 minutes before winter to dry out any moisture.
Common Installation Mistakes (And How to Avoid Them)
| Mistake | Why It’s Bad | How to Fix It |
|---|---|---|
| Overtightening mounting screws | Can crack the roof or warp the AC base | Use a torque screwdriver; stop at 25–30 in-lbs |
| Skipping the roof seal | Leads to leaks, mold, and interior damage | Apply Dicor sealant generously and let cure |
| Wrong wire connections | Can fry the compressor or cause a fire | Double-check colors; use a voltage tester |
| Ignoring the drain tube | Causes water damage inside the RV | Ensure it’s connected and angled downward |
| Testing without a clean filter | Reduces airflow, strains the motor | Always install a clean filter before testing |
Installing a Coleman Mach air conditioner isn’t just about getting cool air—it’s about peace of mind. When done right, you’ll have a reliable, efficient cooling system that lasts for years. I’ve had my Mach 15 running for over 8 years, and it still works like new—thanks to proper installation and regular care.
Remember: take your time, follow the Coleman Mach air conditioner installation instructions carefully, and don’t skip the little things. A clean roof, tight seal, and secure wiring might seem small, but they make all the difference. And if you ever hit a snag? Don’t hesitate to call a pro. Sometimes, the smartest move is knowing when to ask for help.
Now, go enjoy that cool breeze. You’ve earned it.
Frequently Asked Questions
How do I install a Coleman Mach air conditioner step by step?
To install a Coleman Mach air conditioner, start by securely mounting the unit on the roof using the provided brackets and sealant. Follow the manufacturer’s wiring diagram to connect the electrical components, ensuring the thermostat is properly linked.
What tools are needed for Coleman Mach air conditioner installation?
You’ll need basic tools like a screwdriver, wrench, drill, and wire strippers. A sealant gun and multimeter are also recommended for securing the unit and checking electrical connections.
Can I install a Coleman Mach air conditioner myself, or do I need a professional?
DIY installation is possible if you’re comfortable with electrical work and rooftop mounting. However, hiring a professional ensures compliance with local codes and avoids warranty issues.
Where should I place the thermostat during installation?
Mount the thermostat inside the RV or living space, away from direct sunlight or drafts. This ensures accurate temperature readings and efficient operation of your Coleman Mach air conditioner.
Are there any safety precautions I should follow during installation?
Always disconnect power before wiring and use a voltage tester to confirm no current is present. Wear safety gear, especially when working on the roof, to prevent accidents.
What common mistakes should I avoid during Coleman Mach air conditioner installation?
Skipping sealant application or overtightening bolts can lead to leaks or damage. Double-check wiring connections to avoid short circuits or thermostat malfunctions.