
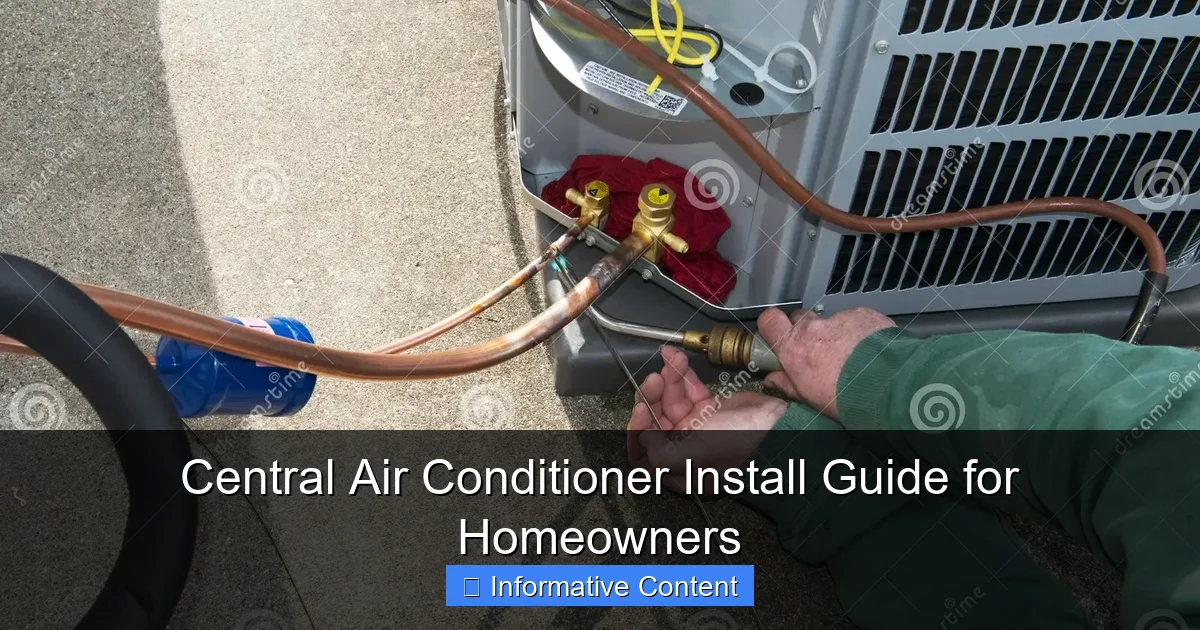
Featured image for central air conditioner install
Image source: thumbs.dreamstime.com
Installing a central air conditioner is a smart investment that boosts home comfort and energy efficiency when done correctly. This guide walks homeowners through essential steps—from sizing and permits to unit placement and professional HVAC connections—ensuring a safe, code-compliant installation that maximizes performance and longevity.
Key Takeaways
- Choose the right size: Proper sizing ensures efficiency and comfort—consult an HVAC pro.
- Hire certified installers: Always use licensed professionals for code-compliant, safe installation.
- Seal ductwork tightly: Prevent air leaks to maximize system performance and energy savings.
- Install near the furnace: Position the condenser close to reduce refrigerant line losses.
- Schedule annual maintenance: Keep filters clean and coils inspected for long-term reliability.
- Verify warranty terms: Register your unit and confirm coverage for parts and labor.
📑 Table of Contents
- Why Installing a Central Air Conditioner Is Worth It
- Understanding Your Home’s Cooling Needs
- Choosing the Right Central Air System
- Hiring the Right HVAC Contractor
- What to Expect During Installation
- Post-Installation: Maintenance and Troubleshooting
- Cost Breakdown and Long-Term Value
- Final Thoughts: Cool Comfort Awaits
Why Installing a Central Air Conditioner Is Worth It
Let’s be honest: nothing ruins a summer afternoon quite like sweltering heat inside your own home. I remember one July day when my old window unit sputtered out mid-afternoon, leaving my living room feeling like a sauna. That’s the day I decided it was time for a central air conditioner install. If you’ve been sweating through hot nights or relying on noisy, inefficient window units, upgrading to central air might be the smartest move you make this year.
But here’s the thing—installing a central air conditioner isn’t like plugging in a fan. It’s a significant home improvement project that requires careful planning, the right equipment, and professional expertise. Whether you’re replacing an old system or installing central air for the first time, this guide will walk you through every step, from understanding your home’s needs to choosing the right contractor and maintaining your new system. Think of it as your friendly, no-nonsense roadmap to cooler, more comfortable living.
Understanding Your Home’s Cooling Needs
Why Proper Sizing Matters
When it comes to central air conditioner install, size isn’t just a number—it’s everything. A system that’s too small will run constantly, never cooling your home efficiently. One that’s too large will cool the house too quickly, leading to short cycling, poor humidity control, and higher energy bills. I learned this the hard way when a friend’s oversized unit made their home feel like a walk-in freezer, yet the air was still sticky.

Visual guide about central air conditioner install
Image source: mobilehomerepair.com
The key is a Manual J Load Calculation, a detailed assessment that considers your home’s square footage, ceiling height, insulation quality, window size and orientation, number of occupants, and even local climate. This calculation ensures your system is perfectly matched to your home’s needs. For example, a 2,000-square-foot home in Arizona needs far more cooling capacity than the same-sized home in Seattle.
Pro tip: Never rely on square footage alone. A 2,000-square-foot house with poor attic insulation and large south-facing windows will need more cooling than a well-insulated, shaded home of the same size. Always ask your HVAC contractor to perform a Manual J calculation—it’s the industry standard for a reason.
SEER Ratings and Energy Efficiency
You’ll hear a lot about SEER (Seasonal Energy Efficiency Ratio) when shopping for a new system. SEER measures how efficiently your air conditioner uses electricity over an entire cooling season. The higher the SEER rating, the more energy-efficient the unit.
As of 2023, the minimum SEER rating in most U.S. regions is 14.5, but high-efficiency models can reach 20–26 SEER. A 16 SEER unit uses about 20% less energy than a 13 SEER unit. Over 10 years, that could save you hundreds—even thousands—of dollars in energy costs.
For example, if your current system is 10 years old and has a 10 SEER rating, upgrading to a 16 SEER unit could cut your cooling bills by nearly 40%. That’s like getting a $1,200 rebate over a decade—without spending a dime upfront.
Tip: Look for ENERGY STAR® certified models. These units meet strict efficiency guidelines set by the EPA and often qualify for local rebates or tax credits.
Matching Your Ductwork (or Installing It)
If you’re replacing an existing central air system, your ductwork might be ready to go. But if you’re adding central air to a home with forced-air heating but no AC, or if your ducts are old and leaky, you’ll need to assess their condition.
Leaky or undersized ducts can waste up to 30% of your system’s cooling power. Signs of duct issues include:
- Uneven cooling (some rooms are cold, others are hot)
- High energy bills
- Dust buildup around vents
- Hissing or whistling sounds near ducts
If your ducts need repair, consider having them sealed and insulated. In some cases, especially in older homes, a complete duct replacement or redesign may be necessary. For homes without any ductwork (like those with radiant heat), a ductless mini-split system might be a better fit—though that’s a topic for another guide.
Choosing the Right Central Air System
Split Systems vs. Packaged Units
Most homes use a split system, which includes an outdoor condenser unit and an indoor air handler (usually attached to your furnace or air handler in the basement, attic, or closet). This design separates the noisy compressor from your living space, resulting in quieter operation.
Packaged units, on the other hand, house all components in one outdoor unit, typically installed on the roof or beside the house. They’re common in warmer climates where space is limited and heating needs are minimal. While easier to service, packaged units can be noisier and may require a dedicated pad or roof mount.
For most homeowners, a split system is the better choice. It’s quieter, more efficient, and integrates seamlessly with existing forced-air furnaces. If you have limited indoor space or a flat roof, a packaged unit might make sense—but discuss the pros and cons with your contractor.
Single-Stage, Two-Stage, and Variable-Speed Compressors
Not all compressors are created equal. Here’s a quick breakdown:
- Single-stage: Runs at full power all the time. Simple and affordable, but less efficient and can cause temperature swings.
- Two-stage: Runs at 60% capacity most of the time and kicks to 100% only on the hottest days. Better humidity control and quieter operation.
- Variable-speed: Adjusts output in tiny increments, maintaining a steady temperature and optimal humidity. Most efficient and quietest option, but also the most expensive.
I once visited a neighbor who had a two-stage system. On a 90°F day, their unit ran at 70% capacity, keeping the house at a perfect 74°F without ever feeling drafty. Meanwhile, my single-stage unit would blast cold air for 10 minutes, then shut off—only to restart 15 minutes later. The difference in comfort was night and day.
Tip: If you live in a humid climate or value consistent comfort, a two-stage or variable-speed system is worth the extra cost. The energy savings and improved dehumidification often pay for themselves in 5–7 years.
Smart Thermostats and Zoning Options
Modern central air systems can be paired with smart thermostats and zoning controls for even greater efficiency and comfort. A smart thermostat learns your schedule, adjusts temperatures automatically, and can be controlled from your phone. I use mine to pre-cool the house before I get home from work—no more walking into a sauna.
Zoning allows you to set different temperatures in different areas of your home. For example, you might keep the bedrooms cooler at night while letting the living room warm up during the day. This requires multiple dampers in your ductwork and a compatible thermostat, but it can reduce energy use by 10–20%.
Example: A family in a two-story home uses zoning to keep the upstairs bedrooms at 68°F at night while the downstairs stays at 74°F. The system only cools the zones that need it, saving energy and reducing wear on the compressor.
Hiring the Right HVAC Contractor
Red Flags to Watch For
Choosing the right contractor is arguably the most important part of your central air conditioner install. A poor installation can lead to leaks, short cycling, high bills, and even system failure within a few years. Here are some red flags to avoid:
- No load calculation: If a contractor quotes you based on square footage alone, walk away. Proper sizing requires a Manual J calculation.
- No duct inspection: They should assess your ductwork for leaks, size, and insulation.
- No permit or inspection plan: Reputable contractors pull permits and schedule inspections to ensure code compliance.
- Pressure to decide immediately: High-pressure sales tactics are a sign of desperation, not confidence.
- No references or reviews: Always check online reviews and ask for 2–3 references you can contact.
I once had a contractor show up, glance at my house, and say, “You need a 3-ton unit.” I asked for a load calculation, and he shrugged. Needless to say, I didn’t hire him. A few weeks later, I found a company that spent two hours measuring windows, checking insulation, and using software to calculate my load. That’s the kind of attention to detail you want.
Questions to Ask During the Consultation
When you meet with potential contractors, come prepared with questions. Here are some essential ones:
- Can you perform a Manual J load calculation?
- Will you inspect and seal my ductwork?
- What brands and models do you recommend, and why?
- Do you offer a written estimate with itemized costs?
- What’s your timeline for installation?
- Do you offer a warranty on labor, and what does it cover?
- Are you licensed, bonded, and insured?
Tip: Get at least three estimates. Compare not just the price, but the scope of work, brand reputation, and warranty terms. The cheapest bid isn’t always the best value.
Understanding the Estimate and Timeline
A good estimate should include:
- Unit model and SEER rating
- Labor and installation costs
- Permit fees
- Ductwork modifications (if needed)
- Disposal of old equipment
- Warranty details (equipment and labor)
Installation typically takes 1–3 days, depending on the complexity. For a standard split system with existing ducts, it’s usually a one-day job. If you need new ductwork or electrical upgrades, it could take longer. Your contractor should give you a clear timeline and keep you updated throughout the process.
What to Expect During Installation
Day One: Prep and Setup
On installation day, the crew will arrive early—usually between 7–8 a.m. They’ll start by:
- Protecting your floors and furniture with drop cloths
- Setting up tools and equipment
- Disconnecting and removing the old unit (if replacing)
- Checking electrical and refrigerant lines
This is a good time to ask questions and confirm the plan. I always keep a notepad handy to jot down model numbers, warranty info, and any changes to the original plan.
Day Two: Ductwork, Electrical, and Refrigerant Work
If your ducts need sealing or modification, this is when it happens. The crew will use mastic sealant or metal tape to close gaps, insulate exposed ducts, and ensure proper airflow to each room.
Next, they’ll install the indoor air handler (usually on your furnace) and the outdoor condenser. This involves:
- Running new refrigerant lines
- Connecting electrical wiring
- Installing a condensate drain line
- Mounting the condenser on a concrete pad or vibration isolators
Pro tip: Ask where the outdoor unit will be placed. It should be in a shaded area, at least 12 inches from walls or plants, and away from windows to reduce noise.
Day Three: Testing and Final Walkthrough
The final step is testing. The technician will:
- Charge the system with refrigerant
- Test for leaks
- Measure airflow and temperature drop
- Program your thermostat
- Explain how to use and maintain the system
This is your chance to ask about filter changes, thermostat settings, and what to expect during the first few days of operation. A good contractor will walk you through everything and leave you feeling confident.
Post-Installation: Maintenance and Troubleshooting
Routine Maintenance You Can Do
Your new system will last 12–15 years—or longer—with proper care. Here’s what you can do:
- Change air filters monthly: Dirty filters restrict airflow and reduce efficiency. I keep a pack of MERV 8–11 filters on hand and set a monthly reminder.
- Keep the outdoor unit clear: Trim grass and remove leaves or debris around the condenser. Aim for 2 feet of clearance on all sides.
- Check the condensate drain: Pour a cup of vinegar into the drain line every 6 months to prevent algae buildup.
- Inspect duct vents: Make sure furniture isn’t blocking airflow to registers.
When to Call a Pro
Some issues require professional help. Call your HVAC company if you notice:
- Ice on the indoor coil or refrigerant lines
- Water leaks around the air handler
- Unusual noises (grinding, banging, screeching)
- Short cycling (unit turns on and off frequently)
- High energy bills with no change in usage
Annual maintenance is also recommended. A technician will clean coils, check refrigerant levels, inspect electrical connections, and ensure everything is running safely and efficiently.
Common Issues and How to Spot Them Early
Even the best systems can have hiccups. Here are a few common problems and early warning signs:
- Refrigerant leak: System runs constantly but doesn’t cool well. Hissing sound near refrigerant lines.
- Dirty condenser coil: Reduced cooling, higher energy use. Check for dirt or debris on the outdoor unit.
- Faulty thermostat: Inconsistent temperatures. Try replacing batteries or resetting the device.
- Frozen coil: Caused by low airflow or low refrigerant. Turn off the system and let it thaw before calling a pro.
Cost Breakdown and Long-Term Value
Let’s talk numbers. A central air conditioner install typically costs between $5,000 and $12,000, depending on your home size, system type, and regional labor rates. Here’s a rough breakdown:
| Component | Cost Range | Notes |
|---|---|---|
| Unit (2–5 ton) | $1,500–$4,500 | Higher SEER = higher price |
| Labor | $2,000–$4,000 | Includes duct sealing, electrical work |
| Ductwork (if needed) | $1,000–$3,000 | Full replacement is more expensive |
| Permits & Inspections | $100–$300 | Required in most areas |
| Total | $5,000–$12,000 | Can be offset by rebates |
But here’s the good news: you may qualify for rebates. Many utility companies and states offer incentives for high-efficiency systems. For example, a 16 SEER unit with a variable-speed compressor might qualify for a $300–$600 rebate. The federal government also offers tax credits under the Inflation Reduction Act—up to $2,000 for qualifying heat pumps and AC systems.
Over time, your new system will save you money. A 16 SEER unit can reduce cooling costs by 30–40% compared to a 10-year-old system. Add in improved comfort, quieter operation, and better indoor air quality, and it’s clear that a central air conditioner install is a smart long-term investment.
Final Thoughts: Cool Comfort Awaits
Installing a central air conditioner isn’t just about staying cool—it’s about creating a healthier, more comfortable home. No more sticky sheets, no more noisy window units, no more uneven temperatures from room to room. With the right system and a qualified contractor, you’ll enjoy reliable, efficient cooling for years to come.
Remember, the key to success is preparation. Do your homework, ask the right questions, and don’t rush the decision. A well-installed system will pay for itself in energy savings, comfort, and peace of mind. And when that first cool breeze hits your face after a long, hot day? You’ll know it was worth every penny.
So take the leap. Your future self—sipping iced tea on a perfectly cool porch—will thank you.
Frequently Asked Questions
How much does a central air conditioner install typically cost?
The cost of a central air conditioner install ranges from $3,000 to $7,500, depending on unit size, efficiency, and labor. Additional factors like ductwork modifications or electrical upgrades can also impact the final price.
Can I install a central air conditioner myself, or should I hire a professional?
DIY installation is not recommended due to the complexity of handling refrigerants, electrical wiring, and ductwork. A licensed HVAC technician ensures safe, code-compliant central air conditioner installation and preserves your warranty.
What size central air conditioner do I need for my home?
Proper sizing depends on your home’s square footage, climate, insulation, and other factors. A professional load calculation (like Manual J) is essential to determine the correct tonnage for efficient cooling.
How long does a central air conditioner install take?
Most central air conditioner installations take one to two days, including removing the old system and setting up the new unit. Complex jobs with ductwork changes may take longer.
Is a permit required for central air conditioner install?
Yes, most areas require a permit for a central air conditioner install to ensure compliance with local building and safety codes. Your HVAC contractor usually handles the permitting process.
How do I choose the right central air conditioner for my home?
Consider SEER ratings (higher = more efficient), unit size, brand reliability, and smart features. Consulting an HVAC expert helps match your needs and budget to the best central air conditioner system.