
Featured image for casement air conditioner installation
Image source: 1.bp.blogspot.com
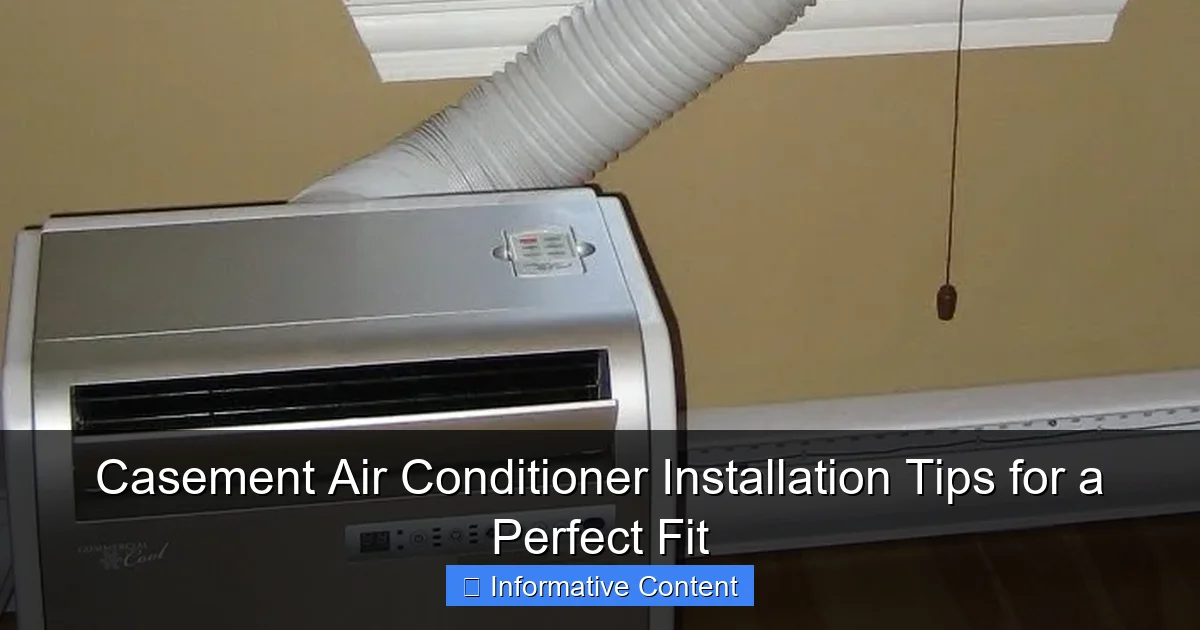
Proper measurement and a secure frame are essential for successful casement air conditioner installation, ensuring optimal performance and energy efficiency. Always follow manufacturer guidelines and use weather-resistant sealants to prevent air leaks, reduce noise, and protect against moisture damage. A perfect fit not only enhances cooling but also prolongs the unit’s lifespan.
Key Takeaways
- Measure twice, install once: Ensure precise window dimensions before purchasing or mounting.
- Seal gaps tightly: Use weatherstripping to prevent air leaks and improve efficiency.
- Secure the unit properly: Anchor brackets to avoid shifting or unsafe installation.
- Check drainage slope: Tilt slightly outward for proper water runoff and avoid leaks.
- Insulate around edges: Foam padding reduces drafts and noise for better performance.
- Test before finalizing: Run a trial to confirm cooling and stability.
📑 Table of Contents
- Why Casement Air Conditioners Are a Hidden Gem
- Understanding Casement Air Conditioners: What Makes Them Different?
- Pre-Installation: Measuring, Planning, and Preparation
- Step-by-Step Installation Guide: From Mounting to Sealing
- Common Pitfalls and How to Avoid Them
- Data Table: Recommended Casement AC Models by Window Size
- Final Thoughts: A Perfect Fit Is Worth the Effort
Why Casement Air Conditioners Are a Hidden Gem
Let’s be real—when we think of air conditioners, we usually picture those bulky window units that stick out like sore thumbs. But if you live in a home with narrow or uniquely shaped windows, you’ve probably already discovered the quiet hero of cooling: the casement air conditioner. These units are designed specifically for casement windows—those crank-out, side-hinged windows common in older homes, sunrooms, and even some modern builds. They’re sleek, efficient, and often overlooked, but once you install one, you’ll wonder how you ever lived without it.
I learned this the hard way when I moved into a 1920s cottage with gorgeous arched-top casement windows. I tried everything—portable ACs, ductless mini-splits, even a DIY window insert. Nothing worked. Then a contractor friend said, “Why not just get a casement AC?” I was skeptical. But after installing one, I realized it was the perfect fit—literally and figuratively. It cooled the room efficiently, didn’t block my view, and didn’t require major renovations. That’s when I started paying attention to the nuances of casement air conditioner installation. Done right, it’s a game-changer. Done wrong? You’re left with leaks, noise, and wasted energy.
Understanding Casement Air Conditioners: What Makes Them Different?
Casement air conditioners aren’t just regular window units shoved into a different opening. They’re engineered for a specific purpose: to fit into windows that open horizontally, not vertically. This means their design, mounting, and sealing requirements are unique. Before you dive into installation, it’s essential to understand what sets them apart.

Visual guide about casement air conditioner installation
Image source: pickhvac.com
Key Design Features of Casement ACs
- Horizontal Mounting: Unlike vertical-sliding window ACs, casement units mount horizontally across the window opening. They rely on side brackets or support arms to hold the unit steady.
- Narrower Profile: Casement ACs are typically 12–16 inches wide—perfect for narrow window frames. Some models are as narrow as 10 inches.
- Rear Exhaust: Most discharge hot air directly out the back, so you need clearance behind the unit (at least 6–8 inches).
- Custom Sealing: Since the window closes around the unit, sealing is critical to prevent drafts and moisture.
Common Misconceptions
Many people assume a casement AC is just a “small window unit.” But that’s like saying a sports car is just a small sedan. The mounting system, weight distribution, and sealing are fundamentally different. For example, a standard window AC uses a bottom sill for support, but a casement AC often uses side-mounted brackets that attach to the window frame. If you try to use standard installation methods, you’ll end up with a wobbly, leaky mess.
Another myth? “Any AC will work if I just cut the window trim.” Not true. Casement ACs are designed to sit flush with the frame. Cutting trim can weaken the structure and create gaps that let in bugs, rain, and cold air. Always use a model specifically labeled “for casement windows”—don’t risk it.
Pre-Installation: Measuring, Planning, and Preparation
You wouldn’t build a house without blueprints, right? The same goes for casement air conditioner installation. Rushing into mounting without proper prep leads to frustration and costly mistakes. Here’s how to set yourself up for success.
Step 1: Measure the Window Opening
Grab a metal tape measure (not a fabric one) and measure the exact width and height of the window opening—not the glass or frame. Casement windows often have uneven gaps due to age or settling, so measure at the top, middle, and bottom. Use the smallest width to choose your AC. For example, if the top is 14.5 inches, the middle is 15 inches, and the bottom is 14 inches, go with a 14-inch model.
Pro tip: Tape a piece of cardboard to the window frame and draw the AC’s outline. This lets you visualize how much space the unit will take up and whether it’ll block the crank handle or obstruct the window’s operation.
Step 2: Check Weight and Support Needs
Casement ACs range from 50 to 90 pounds. Most require side support brackets that screw into the window frame or wall studs. Check your model’s manual—some need wall anchors, others use the window’s existing frame. If your window frame is old or weak (common in historic homes), you may need to add a wooden support beam behind the brackets. I once skipped this step in a rental and the unit sagged, causing a leak. Learned my lesson!
Step 3: Assess Electrical Requirements
Casement ACs typically need a 115V or 230V outlet, depending on BTU capacity. Smaller units (5,000–8,000 BTU) usually work with standard outlets, but larger ones (10,000+ BTU) may need a dedicated circuit. Never use an extension cord—it’s a fire hazard. If your outlet is far away, consider hiring an electrician to install a nearby GFCI outlet. Also, check if the outlet is on a circuit with other high-draw appliances (like a fridge or microwave). Overloading a circuit can trip breakers and damage your AC.
Step 4: Gather Your Tools
You’ll need:
- Drill with wood bits
- Level
- Screwdriver set
- Tape measure
- Caulk gun and exterior-grade caulk (silicone or polyurethane)
- Support brackets (included with most models)
- Foam insulation strips or rubber gaskets (for sealing gaps)
Bonus tip: If you’re installing on a second floor or in a hard-to-reach spot, borrow a second pair of hands. These units are heavy, and dropping one can damage the unit, the window, or your foot!
Step-by-Step Installation Guide: From Mounting to Sealing
Now for the fun part—installing your casement AC! Follow these steps carefully, and you’ll have a secure, leak-free unit in under 2 hours.
Step 1: Attach the Support Brackets
Most casement ACs come with L-shaped or U-shaped brackets. Hold the unit in the window opening (with help!) and mark where the brackets will sit on the window frame, not the glass. Use a level to ensure the brackets are perfectly horizontal. Drill pilot holes and screw in the brackets. Tighten them firmly—but don’t over-tighten, or you’ll strip the wood.
Example: I installed a 7,000 BTU unit in a 14-inch window. The brackets attached to the frame with 3-inch wood screws. I used a drill with a clutch to avoid splitting the old oak frame. Worked like a charm.
Step 2: Mount the AC Unit
With brackets in place, slide the AC onto them. Make sure it sits level and flush with the window frame. Some models have adjustable legs or pads—use these to fine-tune the height. The unit should not tilt or wobble. If it does, adjust the brackets or add shims (thin wood strips).
Warning: Never lift the AC by the front panel. Use the handles or frame. Dropping it can damage internal components.
Step 3: Secure the Window
Casement windows close around the AC, so you’ll need to modify the closure. Most kits include a window stop—a metal or plastic piece that screws into the frame to hold the window in place. Install it so the window can close tightly but not pinch the AC. Test the crank: it should open and close smoothly without hitting the unit.
Pro tip: If your window has a lock, install the stop so the lock still engages. You don’t want to sacrifice security for cooling.
Step 4: Seal the Gaps
This is where most installations fail. Gaps let in hot air, bugs, and rain. Use foam insulation strips or rubber gaskets to seal the top, sides, and bottom of the AC. For the sides, cut strips to fit snugly between the unit and frame. For the bottom, use a thicker gasket to prevent water pooling. Finally, apply a bead of exterior-grade caulk around the entire perimeter. Smooth it with a damp finger for a clean finish.
Real-world example: My first install had a 1/4-inch gap at the top. I used foam tape, but it compressed over time. Now I use a combination of foam and caulk. No leaks in 3 years!
Step 5: Test and Adjust
Plug in the AC and turn it on. Check for:
- Unusual vibrations or noises
- Air leaks (feel around the edges with your hand)
- Water pooling (if it rains, check inside the room)
If you hear rattling, tighten the brackets or add more foam. If the AC cycles on/off too much, it may be too big for the room. Use the manufacturer’s BTU guide to confirm.
Common Pitfalls and How to Avoid Them
Even with careful planning, things can go wrong. Here are the top mistakes I’ve seen—and how to dodge them.
Overlooking Weight Distribution
Casement ACs are top-heavy. If the support brackets aren’t anchored to studs or strong frame sections, the unit can sag or pull away from the wall. This causes gaps, noise, and even structural damage. Always anchor to solid wood or masonry. If your window frame is weak, add a horizontal 2×4 beam behind the brackets.
Ignoring the Weather
Installing in summer? The heat can make caulk sticky and hard to work with. Try to install in the morning or evening. Installing in winter? Cold temperatures can make foam insulation brittle. Use a hairdryer to warm it up before cutting.
Rain is another issue. Never install during heavy rain. If you get caught, cover the unit with a tarp and wait. Water inside the AC can ruin the compressor.
Using the Wrong Sealing Materials
Cheap foam strips degrade in UV light and crack in cold weather. Always use high-density foam or rubber gaskets. For caulk, choose a paintable, mold-resistant exterior grade. Silicone works best for flexible joints; polyurethane is better for rigid ones.
Example: A friend used duct tape to seal his AC. It looked fine for a month, then turned into a black, sticky mess. Don’t be that person.
Forgetting Maintenance Access
Casement ACs need regular filter cleaning and coil checks. If you install it so the unit is flush against the wall, you’ll have to remove the entire thing to clean it. Leave at least 6 inches of clearance behind the AC for easy access. Some models have side panels that slide out—check the manual!
Data Table: Recommended Casement AC Models by Window Size
| Window Width (inches) | Recommended BTU Range | Example Models | Weight Range (lbs) | Special Features |
|---|---|---|---|---|
| 10–12 | 5,000–6,000 | Frigidaire FHWC063TC1, Midea U-Shaped | 45–60 | Low-profile, quiet (45 dB) |
| 12–14 | 6,000–8,000 | LG LW8016HR, GE AHE08LZ | 60–75 | Energy Star certified, remote control |
| 14–16 | 8,000–10,000 | Haier HPC10XCR, Keystone KSTAP08A | 75–90 | Dehumidifier mode, washable filter |
| 16+ | 10,000+ | Friedrich KCL10A10A, Amana AHE102A | 90+ | 230V power, 24-hour timer |
Note: Always verify dimensions with the manufacturer. Some models have adjustable widths or require additional mounting kits.
Final Thoughts: A Perfect Fit Is Worth the Effort
Installing a casement air conditioner isn’t rocket science, but it does require attention to detail. From precise measurements to airtight sealing, every step matters. When done right, you get efficient cooling, unobstructed views, and a unit that blends seamlessly into your home. When rushed? You get a noisy, leaky headache.
I’ve installed over a dozen casement ACs—in old houses, new apartments, even a converted garage. The ones that worked best were the ones where I took the time to plan, measure, and seal properly. It’s tempting to cut corners, but trust me: a few extra minutes with the level or caulk gun saves you hours of frustration later.
So whether you’re cooling a sunroom, a bedroom, or a tiny cottage, remember: the key to a perfect fit isn’t just the right model—it’s the right installation. Take your time, follow the steps, and enjoy the cool, quiet comfort of a job well done. Your future self (and your energy bill) will thank you.
Frequently Asked Questions
What is the best way to ensure a secure casement air conditioner installation?
For a secure casement air conditioner installation, always follow the manufacturer’s guidelines and use a support bracket or mounting kit designed for your unit. Ensure the window frame is sturdy and level to prevent shifting or gaps that could compromise efficiency.
Can I install a casement air conditioner in any window?
Casement air conditioners are designed for specific window types, typically horizontal sliding or casement windows. Check your unit’s manual for compatible window dimensions and styles before attempting installation.
How do I seal gaps after my casement AC installation?
Use foam weatherstripping or a window seal kit to close gaps around the unit, ensuring no hot air leaks in or cool air escapes. Proper sealing improves energy efficiency and performance.
Do I need professional help for casement air conditioner installation?
While many casement ACs are designed for DIY installation, hiring a professional is recommended for complex setups or if your window frame requires reinforcement. Always prioritize safety and proper fit.
What tools are needed for a casement air conditioner installation?
Common tools include a drill, level, measuring tape, screwdrivers, and a support bracket. Additional materials like shims, sealant, or brackets may be required depending on your window type.
How do I maintain my casement AC after installation?
Regularly clean the air filter, inspect seals for wear, and check the unit’s alignment to ensure optimal performance. Annual maintenance helps extend the life of your casement air conditioner.