
If your Carrier air conditioner won’t turn on, don’t panic—many issues are fixable with simple troubleshooting. From tripped breakers to faulty thermostats, this guide walks you through step-by-step solutions to restore cool comfort to your home quickly and safely.
Key Takeaways
- Check the thermostat settings first: Ensure it’s set to “Cool” and the temperature is lower than the current room temperature.
- Inspect the circuit breaker: A tripped breaker or blown fuse is one of the most common reasons an AC won’t start.
- Examine the air filter: A clogged filter restricts airflow and can cause the system to shut down as a safety measure.
- Look for ice buildup: Frozen coils may prevent the unit from turning on; turn it off and let it thaw before restarting.
- Test the capacitor and contactor: These electrical components often fail and may need replacement by a professional.
- Verify power supply and wiring: Loose connections or damaged wires can interrupt power flow to the unit.
- Schedule regular maintenance: Prevent future issues by having your Carrier AC serviced annually by a certified technician.
📑 Table of Contents
- Why Won’t My Carrier Air Conditioner Turn On? A Complete Troubleshooting Guide
- 1. Thermostat Issues: The First Thing to Check
- 2. Electrical Problems: Breakers, Fuses, and Power Supply
- 3. Air Filter and Airflow Blockages
- 4. Frozen Evaporator Coils and Ice Buildup
- 5. Faulty Capacitor, Contactor, or Relay
- 6. When to Call a Professional
- Preventing Future AC Failures
- Conclusion
Why Won’t My Carrier Air Conditioner Turn On? A Complete Troubleshooting Guide
It’s the middle of summer, the sun is blazing, and you walk into your home expecting a cool escape—only to find your Carrier air conditioner won’t turn on. No hum, no click, no cool breeze. Just silence and rising frustration. You press the thermostat button again. Nothing. You check the breaker. Still nothing. Now what?
Don’t sweat it—literally. While a non-starting AC can feel like a major emergency, many causes are surprisingly simple and often fixable without calling a technician. Whether you’re dealing with a tripped breaker, a dirty filter, or a faulty capacitor, understanding the root of the problem is the first step toward getting your cooling system back online.
In this comprehensive guide, we’ll walk you through the most common reasons your Carrier air conditioner won’t turn on, how to diagnose them safely, and what you can do to fix them. We’ll also share expert tips to prevent future breakdowns and help you decide when it’s time to call in a professional. By the end, you’ll be equipped with the knowledge to tackle AC issues confidently—and keep your home comfortable all season long.
1. Thermostat Issues: The First Thing to Check
Before diving into complex electrical diagnostics, start with the simplest culprit: the thermostat. It’s the command center of your air conditioning system, and if it’s not working correctly, your AC won’t receive the signal to turn on—no matter how many times you flip the switch.
Is the Thermostat Set Correctly?
It sounds obvious, but many homeowners overlook basic thermostat settings. Make sure the thermostat is set to “Cool” mode—not “Heat,” “Off,” or “Fan Only.” Also, check that the temperature setting is lower than the current room temperature. If it’s set to 78°F and your home is already at 75°F, the AC won’t activate because it thinks cooling isn’t needed.
Visual guide about Carrier Air Conditioner Won’t Turn On
Image source: hvacseer.com
Check the Power Source
Most thermostats run on batteries or are hardwired into your home’s electrical system. If your thermostat has batteries, replace them—even if the display is working. Weak batteries can cause erratic behavior or prevent the system from sending signals. For hardwired models, ensure the circuit breaker for the thermostat is on. A tripped breaker here can cut power to the entire HVAC system.
Clean and Calibrate the Thermostat
Dust and debris can accumulate inside the thermostat, interfering with its sensors. Gently remove the cover and use a soft brush or compressed air to clean the interior. If your thermostat is old or frequently inaccurate, consider upgrading to a smart thermostat. Modern models like the Carrier Infinity Touch or Nest offer better precision, remote control, and energy-saving features.
Test with a Manual Override
If you suspect the thermostat is faulty, try bypassing it temporarily. Turn off the power to the HVAC system at the breaker, then carefully disconnect the thermostat wires and twist the red (power) and yellow (cooling) wires together. Restore power and see if the AC kicks on. If it does, the thermostat is likely the problem and needs replacement.
2. Electrical Problems: Breakers, Fuses, and Power Supply
When your Carrier air conditioner won’t turn on, electrical issues are often to blame. Your AC requires a steady flow of electricity to operate, and any interruption—whether from a tripped breaker, blown fuse, or loose wiring—can stop it in its tracks.
Check the Circuit Breaker
The first place to look is your home’s electrical panel. Locate the breaker labeled “AC,” “HVAC,” or “Air Conditioner.” If it’s in the “Off” position or appears tripped (often in the middle), flip it fully to “Off” and then back to “On.” This resets the breaker and may restore power.
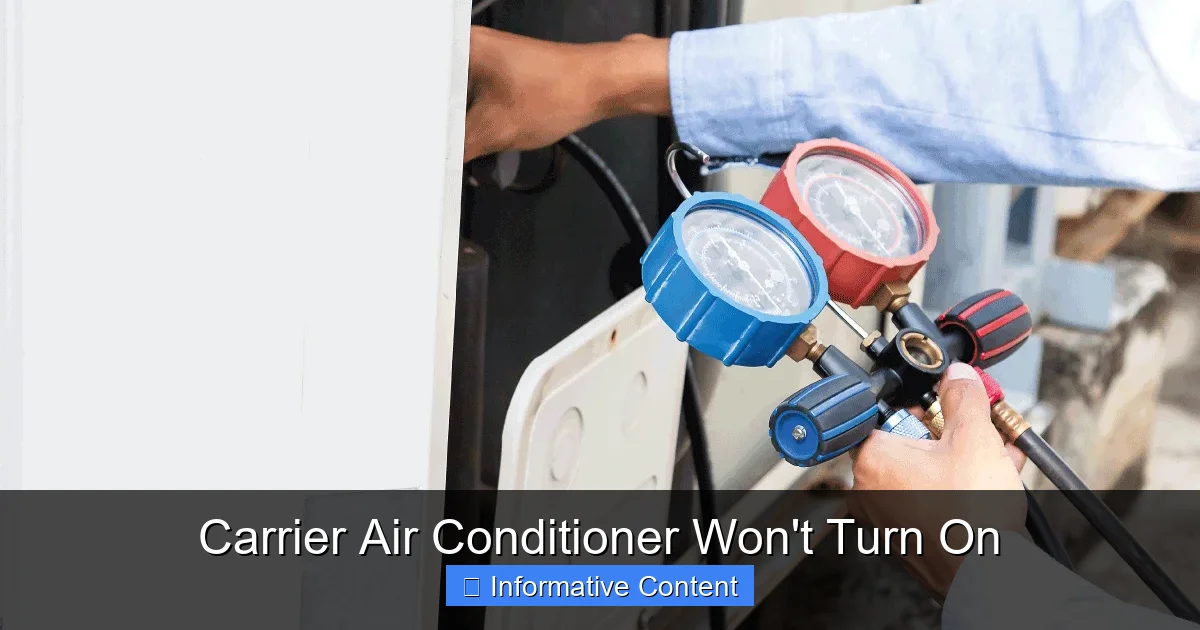
But be cautious: if the breaker trips again immediately or within minutes, there’s likely an underlying electrical fault. Repeated tripping can indicate an overloaded circuit, a short, or a failing component like a capacitor or motor. In such cases, turn off the breaker and call a licensed electrician or HVAC technician.
Inspect the Disconnect Switch
Near your outdoor AC unit, there’s usually a metal box mounted on the wall with a pull-out switch or a simple on/off toggle. This is the disconnect switch, designed for safety during maintenance. Make sure it’s in the “On” position. It’s easy to accidentally flip it off during yard work or cleaning, so double-check this before assuming a bigger problem.
Test the Fuses
Some older Carrier units use fuses instead of breakers. These are typically located in the disconnect box or inside the outdoor unit. Turn off the power, remove the fuse, and inspect it for a broken filament or blackening. Replace it with an identical fuse (same amperage and type). Never substitute with a higher-rated fuse—this can cause fire hazards.
Look for Loose or Damaged Wiring
Over time, wires can loosen due to vibration, heat, or corrosion. If you’re comfortable working with electrical components (and have turned off power at the breaker), inspect the wiring connections at the thermostat, indoor unit, and outdoor condenser. Look for frayed wires, burnt insulation, or loose terminals. Tighten connections carefully, but if you see significant damage, stop and call a pro.
3. Air Filter and Airflow Blockages
A dirty air filter might seem like a minor issue, but it can have a major impact on your AC’s performance—and even prevent it from turning on. When the filter is clogged with dust, pet hair, and debris, it restricts airflow, causing the system to overheat and shut down as a safety precaution.
How a Clogged Filter Affects Your AC
Your Carrier air conditioner relies on proper airflow to function efficiently. Air moves through the filter, into the evaporator coil, and then circulates through your home. If the filter is blocked, the coil can’t absorb heat effectively. This leads to freezing, overheating, and eventual system shutdown.
In some cases, the system may not even attempt to start if the pressure switch detects insufficient airflow. This is a built-in safety feature to protect the compressor and other components from damage.
How to Check and Replace the Filter
Locate your return air grille—usually on a wall or ceiling in a central area of your home. Remove the grille and pull out the filter. Hold it up to the light: if you can’t see through it, it’s time for a new one.
Replace it with a filter of the same size and MERV rating (typically MERV 8–13 for residential use). Check your owner’s manual for the recommended type. Set a reminder to check the filter every 30–60 days, especially during peak usage seasons.
Other Airflow Obstructions
Beyond the filter, check for blocked vents, closed dampers, or furniture covering air returns. Even a single blocked return vent can disrupt airflow and cause system issues. Ensure all supply and return vents are open and unobstructed.
Also, inspect the outdoor unit. Grass, leaves, and debris can accumulate around the condenser coils, reducing efficiency and airflow. Clear a 2-foot radius around the unit and gently clean the fins with a garden hose (never a pressure washer).
4. Frozen Evaporator Coils and Ice Buildup
If your Carrier air conditioner won’t turn on and you notice ice on the indoor unit or refrigerant lines, you’re likely dealing with frozen evaporator coils. This is a common issue caused by restricted airflow, low refrigerant, or mechanical problems.
Why Do Coils Freeze?
The evaporator coil absorbs heat from indoor air. If airflow is restricted (due to a dirty filter or blocked vents), the coil gets too cold and moisture in the air condenses and freezes on it. Similarly, low refrigerant levels reduce the coil’s ability to absorb heat, leading to supercooling and ice formation.
When the system detects ice buildup, it may shut down to prevent damage to the compressor. Some models have a freeze stat—a sensor that cuts power when ice is detected.
How to Thaw Frozen Coils
Turn off the AC at the thermostat and switch the fan to “On” to help melt the ice. This allows air to circulate and speeds up the thawing process. Do not use a hair dryer, heat gun, or sharp object to remove ice—this can damage the coils.
Wait 24–48 hours for the ice to melt completely before attempting to restart the system. Once thawed, check the air filter and vents. If the problem persists, it may indicate a refrigerant leak or a faulty blower motor, which requires professional diagnosis.
Preventing Future Freezing
Regular maintenance is key. Change filters monthly during heavy use, keep vents open, and schedule annual tune-ups. A technician can check refrigerant levels, inspect the blower motor, and ensure proper airflow.
5. Faulty Capacitor, Contactor, or Relay
If your Carrier air conditioner won’t turn on and you’ve ruled out thermostat, power, and airflow issues, the problem may lie in the electrical components that start and run the compressor and fan motors.
The Role of the Capacitor
The capacitor stores electrical energy and provides the initial boost needed to start the compressor and fan motors. Over time, capacitors degrade due to heat, age, or power surges. A failing capacitor may cause the AC to hum but not start, or it may prevent startup altogether.
Signs of a bad capacitor include a clicking sound from the outdoor unit, a burning smell, or the compressor struggling to turn on. Capacitors can bulge, leak, or show visible damage. Never touch a capacitor without discharging it first—it can hold a dangerous charge even when power is off.
The Contactor Switch
The contactor is an electromagnetic switch that connects the high-voltage power to the compressor and fan. When you turn on the AC, the thermostat sends a low-voltage signal to the contactor, which closes the circuit and allows electricity to flow.
A worn or pitted contactor may not make proper contact, preventing the system from starting. You might hear a faint buzz or see arcing when the thermostat calls for cooling. Replace the contactor if it shows signs of burning, pitting, or doesn’t engage fully.
Relays and Control Boards
Modern Carrier units use electronic control boards to manage operation. If the board fails, it may not send power to the compressor or fan. Symptoms include no response at all, intermittent operation, or error codes on the display.
Diagnosing control board issues requires a multimeter and technical knowledge. If you suspect a board failure, it’s best to consult a technician. Replacing a control board can be costly, but it’s often necessary for older systems.
6. When to Call a Professional
While many issues causing your Carrier air conditioner to not turn on can be resolved with basic troubleshooting, some problems require expert attention. Attempting complex repairs without proper training can be dangerous and may void your warranty.
Signs You Need a Technician
- The breaker trips repeatedly after resetting
- You smell burning or see smoke
- There’s a refrigerant leak (hissing sound, oily residue)
- The compressor is hot to the touch or making grinding noises
- You’ve tried all basic fixes and the AC still won’t start
Benefits of Professional Service
A certified HVAC technician has the tools and expertise to diagnose electrical, mechanical, and refrigerant issues safely. They can perform a full system inspection, test components with a multimeter, and recharge refrigerant if needed. Regular maintenance also extends the life of your unit and improves efficiency.
Many Carrier dealers offer service plans that include annual tune-ups, priority scheduling, and discounts on repairs. Investing in maintenance now can save you from costly breakdowns later.
Preventing Future AC Failures
The best way to avoid the frustration of a Carrier air conditioner that won’t turn on is through proactive care. Simple habits and regular maintenance can keep your system running smoothly for years.
Create a Maintenance Routine
- Replace air filters every 1–3 months
- Clean indoor and outdoor units seasonally
- Keep vents and returns unobstructed
- Schedule professional maintenance every spring
- Monitor thermostat performance and upgrade if needed
Upgrade to a Smart Thermostat
Smart thermostats offer remote monitoring, energy usage reports, and automatic scheduling. Some models can even alert you to potential issues before they cause a breakdown.
Protect Your Unit from Power Surges
Install a whole-house surge protector to safeguard your HVAC system from voltage spikes caused by storms or grid fluctuations. This can prevent damage to sensitive electronics like the control board and capacitor.
Conclusion
Dealing with a Carrier air conditioner that won’t turn on can be stressful, especially during a heatwave. But with the right knowledge, you can often identify and fix the problem yourself—saving time and money. Start with the basics: check the thermostat, inspect the breaker, and replace the air filter. Look for ice buildup, test electrical components, and ensure proper airflow.
Remember, safety comes first. If you’re unsure about any step—especially involving electricity or refrigerants—don’t hesitate to call a professional. Regular maintenance is your best defense against future issues, so make it a priority.
By understanding how your Carrier AC works and staying proactive, you’ll enjoy reliable cooling, lower energy bills, and peace of mind all summer long.
Frequently Asked Questions
Why won’t my Carrier AC turn on even though the thermostat is set correctly?
Even with the right thermostat settings, issues like a tripped breaker, dirty filter, or faulty capacitor can prevent startup. Check the electrical panel, replace the filter, and inspect the outdoor unit for obstructions.
Can a dirty air filter stop my air conditioner from turning on?
Yes. A clogged filter restricts airflow, causing the system to overheat or freeze. Many Carrier units have safety switches that shut down the system if airflow is too low.
How do I know if my AC capacitor is bad?
Signs include a humming noise, the compressor not starting, or visible bulging/leaking. A multimeter test can confirm failure, but replacement should be done by a professional.
Is it safe to reset the breaker multiple times if my AC won’t start?
No. Repeated tripping indicates an electrical fault. Resetting it once is fine, but if it trips again, turn it off and call a technician to avoid fire or equipment damage.
Why is my Carrier AC making a clicking sound but not turning on?
This often points to a faulty capacitor or contactor. The system receives the signal to start but can’t complete the electrical connection. Have these components tested and replaced if needed.
How often should I service my Carrier air conditioner?
Schedule professional maintenance once a year, ideally in spring before peak cooling season. This ensures optimal performance, efficiency, and early detection of potential issues.