
If your Carrier air conditioner isn’t cooling, it’s often due to simple issues like dirty filters or thermostat settings—but deeper problems may require expert help. This guide walks you through troubleshooting steps, maintenance tips, and signs it’s time to call a technician.
Key Takeaways
- Dirty air filters are the #1 cause of poor cooling: Replace or clean them every 1–3 months to maintain airflow and efficiency.
- Thermostat settings matter: Ensure it’s set to “Cool” and the temperature is lower than the current room temp.
- Refrigerant leaks reduce cooling power: Low refrigerant levels often indicate a leak and should be handled by a licensed HVAC pro.
- Outdoor unit blockage restricts airflow: Clear debris, trim vegetation, and ensure at least 2 feet of clearance around the condenser.
- Frozen evaporator coils signal airflow or refrigerant issues: Turn off the AC, let it thaw, and check for underlying causes.
- Regular maintenance prevents most problems: Schedule annual tune-ups to keep your Carrier AC running smoothly.
- Older units may need replacement: If your system is over 10–15 years old and frequently breaks down, upgrading could save money long-term.
📑 Table of Contents
Why Is My Carrier Air Conditioner Not Cooling?
It’s a hot summer afternoon. You flip on your Carrier air conditioner, expecting a wave of cool relief—but instead, you’re met with lukewarm air or no cooling at all. Frustrating? Absolutely. But before you panic, know this: most cases of a Carrier air conditioner not cooling are fixable, especially if you catch the issue early.
Carrier is one of the most trusted names in HVAC, known for reliable, energy-efficient systems. But even the best units can run into problems. The good news? Many cooling issues stem from simple maintenance oversights or minor malfunctions that you can often resolve yourself. From clogged filters to thermostat glitches, understanding the root cause is the first step toward restoring comfort in your home.
In this guide, we’ll walk you through the most common reasons your Carrier AC might not be cooling, how to troubleshoot them safely, and when it’s time to bring in a professional. Whether you’re a DIY enthusiast or just want to know what’s going on, this article will give you the knowledge and confidence to tackle the problem head-on.
Common Causes of a Carrier Air Conditioner Not Cooling
Visual guide about Carrier Air Conditioner Not Cooling
Image source: cozycomfortplus.com
When your Carrier air conditioner isn’t cooling, it’s usually trying to tell you something. The key is learning to listen. Below are the most frequent culprits behind poor cooling performance, along with practical tips to identify and fix them.
1. Dirty or Clogged Air Filters
One of the simplest yet most overlooked causes of cooling problems is a dirty air filter. Over time, dust, pet dander, and debris build up in the filter, restricting airflow. When air can’t move freely through the system, the evaporator coil can’t absorb heat effectively—resulting in weak or no cooling.
What to do: Check your air filter every month, especially during peak usage seasons. If it looks gray or clogged, replace it. Most Carrier systems use standard 1-inch filters, which cost just a few dollars and take less than five minutes to swap out.
Pro tip: Set a calendar reminder every 60–90 days to check and replace your filter. This small habit can improve efficiency by up to 15% and extend the life of your unit.
2. Incorrect Thermostat Settings
Believe it or not, many cooling issues start at the thermostat. If it’s set to “Heat” or “Off,” your AC won’t run. Even if it’s on “Cool,” the temperature might be set too high—say, 80°F when the room is already at 78°F. In that case, the system won’t kick on because it thinks the desired temp has been reached.
What to do: Double-check your thermostat. Make sure it’s set to “Cool” and the temperature is at least 5 degrees lower than the current room temperature. If you have a programmable or smart thermostat, verify the schedule hasn’t been accidentally changed.
Example: If your living room is 76°F and the thermostat is set to 75°F, the AC should run. But if it’s set to 77°F, it won’t activate—even though you’re feeling warm.
3. Blocked or Dirty Outdoor Condenser Unit
The outdoor unit—also called the condenser—plays a crucial role in releasing heat from your home. If it’s covered in dirt, leaves, grass clippings, or surrounded by overgrown shrubs, airflow is restricted. This forces the compressor to work harder, reduces efficiency, and can eventually cause the system to overheat and shut down.
What to do: Turn off the power to the unit at the breaker box. Then, gently clean the exterior fins with a garden hose (never a pressure washer—it can bend the delicate fins). Trim back any plants or debris within 2 feet of the unit.
Pro tip: Consider installing a protective cover during winter, but remove it in spring to ensure proper airflow.
4. Low Refrigerant Levels
Refrigerant is the lifeblood of your air conditioner. It absorbs heat from indoor air and releases it outside. If your system is low on refrigerant, it can’t cool effectively—even if everything else is working perfectly.
Important: Low refrigerant almost always means there’s a leak. Unlike oil or gas, refrigerant isn’t consumed during operation; it’s meant to stay sealed in the system. So if levels are low, something is wrong.
What to do: Don’t try to recharge the system yourself. Handling refrigerant requires EPA certification and specialized tools. Instead, call a licensed HVAC technician to locate and repair the leak, then recharge the system to the correct level.
5. Frozen Evaporator Coils
If you notice ice buildup on the indoor evaporator coil or refrigerant lines, your AC is likely frozen. This usually happens when airflow is restricted (often due to a dirty filter) or refrigerant levels are low. When the coil gets too cold, moisture in the air freezes on its surface, forming a block of ice that prevents proper heat exchange.
What to do: Turn off the AC immediately and let the ice melt completely—this can take several hours. Once thawed, check the air filter and replace it if dirty. If the problem returns, it’s likely a refrigerant issue or a blower motor problem, and you’ll need professional help.
6. Faulty Blower Motor or Fan
The blower motor circulates air through your ducts and over the evaporator coil. If it’s not working properly—due to a burnt-out motor, loose belt, or electrical issue—air won’t move, and cooling will suffer.
Signs to watch for: Weak airflow from vents, strange noises (like grinding or squealing), or the fan not spinning at all.
What to do: If the fan isn’t running, check the breaker and thermostat settings first. If those are fine, the motor may need repair or replacement—best left to a technician.
DIY Troubleshooting Steps for Homeowners
Before calling a professional, there are several safe and effective steps you can take to diagnose and potentially fix your Carrier air conditioner not cooling. These DIY checks can save you time and money—and might even solve the problem entirely.
Step 1: Check the Thermostat
Start here—it’s the control center of your entire system. Make sure:
– The mode is set to “Cool.”
– The fan is set to “Auto” (not “On,” which runs the fan continuously).
– The temperature is set lower than the current room temperature.
– The display is working (replace batteries if needed).
If you have a smart thermostat, ensure it’s connected to Wi-Fi and hasn’t received a faulty software update.
Step 2: Inspect and Replace the Air Filter
Locate your air filter—usually in the return air duct or near the indoor unit. Remove it and hold it up to the light. If you can’t see through it, it’s time for a new one.
Tip: Take a photo of the filter size (e.g., 16x20x1) before heading to the store to ensure you get the right replacement.
Step 3: Examine the Outdoor Unit
Walk outside and look at the condenser unit. Is it covered in dirt or debris? Are the fins bent or crushed? Is there vegetation growing too close?
Use a garden hose to gently rinse the fins. Straighten any bent fins with a fin comb (available at hardware stores). Clear away leaves, grass, and other obstructions.
Step 4: Check for Ice or Frost
Look at the refrigerant lines and evaporator coil (usually behind a panel on the indoor unit). If you see ice or frost, turn off the AC and let it thaw. Do not try to chip away the ice—this can damage the coils.
Once thawed, replace the air filter and restart the system. If ice returns within 24 hours, call a technician.
Step 5: Listen for Unusual Noises
Turn on the AC and listen carefully. A healthy system should run quietly with a gentle hum. Watch out for:
– Grinding or squealing (could indicate a failing motor)
– Banging or clanking (loose parts)
– Hissing (possible refrigerant leak)
If you hear anything unusual, turn off the unit and contact a professional.
Step 6: Verify Power Supply
Check the circuit breaker panel. If the breaker for the AC has tripped, reset it. If it trips again immediately, there’s likely an electrical issue—don’t keep resetting it. Call an electrician or HVAC technician.
Also, ensure the outdoor unit’s disconnect switch (usually a metal box near the condenser) is in the “On” position.
When to Call a Professional HVAC Technician
While many cooling issues can be resolved with basic troubleshooting, some problems require expert attention. Ignoring these can lead to bigger, more expensive repairs—or even system failure.
Signs You Need a Technician
- Refrigerant leak suspected: Low refrigerant is never a DIY fix. Only certified technicians can safely handle and recharge refrigerant.
- Electrical issues: Frequent breaker trips, burning smells, or sparking near the unit indicate serious electrical problems.
- Compressor failure: The compressor is the heart of your AC. If it’s not running or making loud noises, it may need replacement.
- Repeated freezing: If your coils keep freezing despite replacing filters, there’s likely an underlying airflow or refrigerant issue.
- Old system with frequent breakdowns: If your Carrier unit is over 10–15 years old and needs constant repairs, it may be time to consider replacement.
What to Expect During a Service Call
A qualified HVAC technician will:
– Perform a full system inspection
– Check refrigerant levels and pressure
– Test electrical components and capacitors
– Clean coils and inspect ductwork
– Verify thermostat calibration
– Provide a detailed report and repair estimate
Many Carrier dealers offer maintenance plans that include seasonal tune-ups, priority service, and discounts on parts.
Preventive Maintenance to Avoid Future Cooling Problems
The best way to keep your Carrier air conditioner cooling efficiently is through regular maintenance. A little effort now can prevent major headaches later.
Monthly Tasks
– Check and replace air filters
– Inspect vents for blockages
– Listen for unusual noises
Seasonal Tasks (Before Summer and After Winter)
– Clean the outdoor condenser unit
– Trim vegetation around the unit
– Check refrigerant lines for insulation damage
– Test thermostat settings
Annual Professional Maintenance
Schedule a tune-up with a Carrier-certified technician once a year, ideally in spring. They’ll:
– Clean evaporator and condenser coils
– Lubricate moving parts
– Check electrical connections
– Test system performance and efficiency
Bonus tip: Keep a maintenance log. Note the date of each filter change, cleaning, and service call. This helps track your system’s health and can be useful when selling your home.
Upgrading Your Carrier System: Is It Time?
If your Carrier air conditioner is over 15 years old, constantly needs repairs, or your energy bills are climbing, it might be time to upgrade. Newer models are significantly more efficient, quieter, and come with advanced features like smart thermostats and variable-speed compressors.
Benefits of Upgrading
– Lower energy bills (up to 40% savings)
– Improved indoor air quality
– Quieter operation
– Better humidity control
– Eligibility for rebates and tax credits
What to Look For in a New Unit
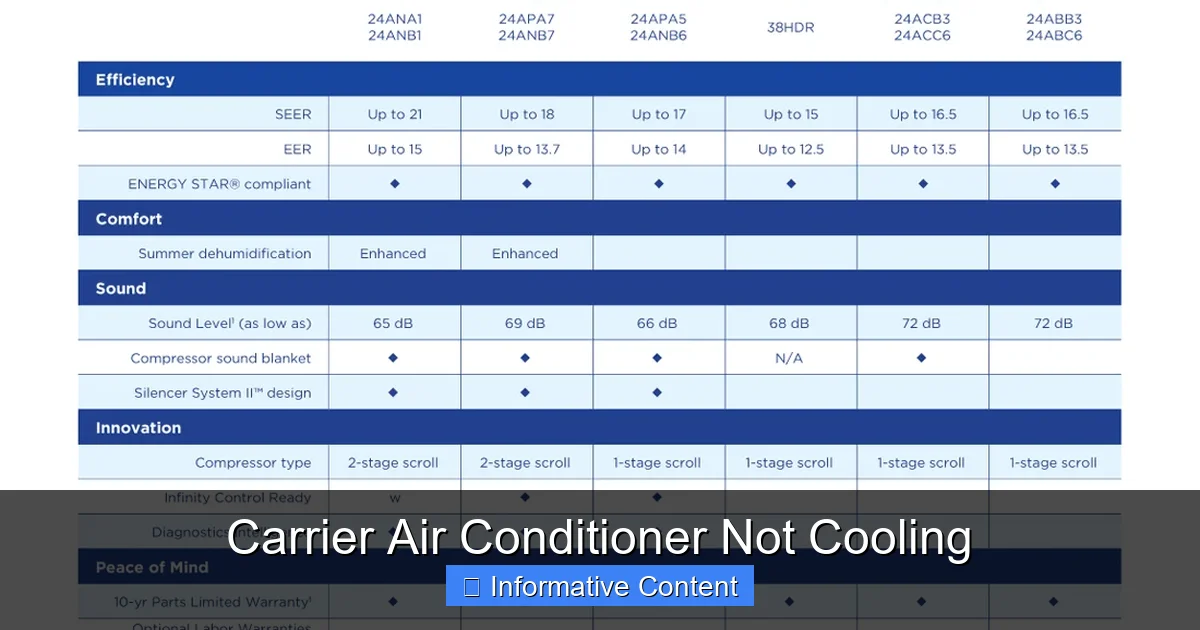
– SEER rating of 16 or higher (higher = more efficient)
– ENERGY STAR certification
– Compatibility with smart thermostats
– Proper sizing (a technician should perform a load calculation)
Many utility companies offer rebates for upgrading to high-efficiency systems—check with your provider before purchasing.
Conclusion
A Carrier air conditioner not cooling doesn’t have to ruin your summer. In most cases, the issue is something simple—like a dirty filter or incorrect thermostat setting—that you can fix yourself. By understanding the common causes and following basic troubleshooting steps, you can restore comfort quickly and safely.
However, don’t ignore signs of serious problems like refrigerant leaks, electrical faults, or repeated freezing. These require professional attention to avoid costly damage or safety hazards.
Regular maintenance is your best defense against cooling issues. A well-cared-for Carrier system can last 15–20 years, keeping your home cool and your energy bills low. And if your unit is nearing the end of its life, upgrading to a modern, efficient model could be a smart long-term investment.
Stay cool, stay informed, and don’t hesitate to call a pro when needed. Your comfort—and your peace of mind—are worth it.
Frequently Asked Questions
Why is my Carrier AC running but not cooling?
This is often due to a dirty air filter, low refrigerant, or a blocked condenser unit. Start by checking the filter and thermostat settings. If those are fine, the issue may require professional diagnosis.
Can I recharge the refrigerant in my Carrier AC myself?
No. Handling refrigerant requires EPA certification and specialized equipment. Only licensed HVAC technicians should recharge or repair refrigerant systems.
How often should I replace my air filter?
Replace your air filter every 1–3 months, depending on usage, pets, and indoor air quality. Check it monthly during peak cooling season.
Why is my AC freezing up?
Frozen coils are usually caused by restricted airflow (from a dirty filter) or low refrigerant. Turn off the AC, let it thaw, and replace the filter. If it refreezes, call a technician.
How much does it cost to repair a Carrier air conditioner not cooling?
Costs vary widely based on the issue. Simple fixes like filter replacement are under $20, while refrigerant leaks or compressor repairs can cost $200–$1,000+. Always get a detailed estimate before authorizing work.
Should I repair or replace my old Carrier AC?
If your unit is over 10–15 years old, needs frequent repairs, or has a major component failure, replacement is often more cost-effective. A new, efficient system can save money on energy bills and improve comfort.