
Featured image for carrier air conditioner instruction manual
Image source: static-data2.manualslib.com
The Carrier Air Conditioner Instruction Manual is your essential guide to seamless setup, optimal performance, and long-term reliability. Packed with step-by-step instructions, maintenance tips, and troubleshooting solutions, it empowers both beginners and experienced users to keep their systems running efficiently. Follow it closely to maximize energy savings and extend your unit’s lifespan.
Key Takeaways
- Read the manual first: Always start with the manual for safe, correct setup and operation.
- Follow maintenance schedules: Adhere to cleaning and servicing timelines to extend AC lifespan.
- Use correct tools: Ensure proper installation with manufacturer-recommended tools and parts.
- Check error codes: Refer to the manual for quick troubleshooting of common issues.
- Verify electrical safety: Confirm power supply matches specifications to prevent damage or hazards.
- Keep records: Track service dates and repairs for warranty and performance tracking.
📑 Table of Contents
Why the Carrier Air Conditioner Instruction Manual Is Your Best Summer Companion
Picture this: It’s the first real heatwave of summer. You’ve just installed your new Carrier air conditioner, and the sun is beating down like a drumline. You’re ready to enjoy that sweet, cool air—but the unit won’t turn on. You press buttons, check the power, and even whisper sweet nothings to it. Still nothing. Sound familiar? That’s when the Carrier air conditioner instruction manual becomes your lifeline. It’s not just a thick booklet gathering dust in the back of a drawer; it’s your go-to guide for setup, troubleshooting, and long-term care.
Whether you’re a first-time AC owner or upgrading to a newer Carrier model, the manual is more than just instructions—it’s peace of mind. From decoding error codes to understanding filter maintenance schedules, this guide walks you through every step. And trust me, I’ve been there: sweating in my living room, flipping through pages, trying to figure out why the “Filter” light was blinking like a strobe. That’s when I realized the manual wasn’t just helpful—it was essential. In this post, we’ll dive deep into how to use your Carrier air conditioner instruction manual to set up, operate, and maintain your unit like a pro. No jargon, no fluff—just real, practical advice from someone who’s been in your shoes.
Getting Started: Unboxing and Initial Setup
What’s in the Box (and What’s Not)
When your Carrier AC arrives, the excitement is real. But before you plug it in, take a deep breath and check the box contents. The Carrier air conditioner instruction manual usually lists everything included, but here’s what you should typically find:
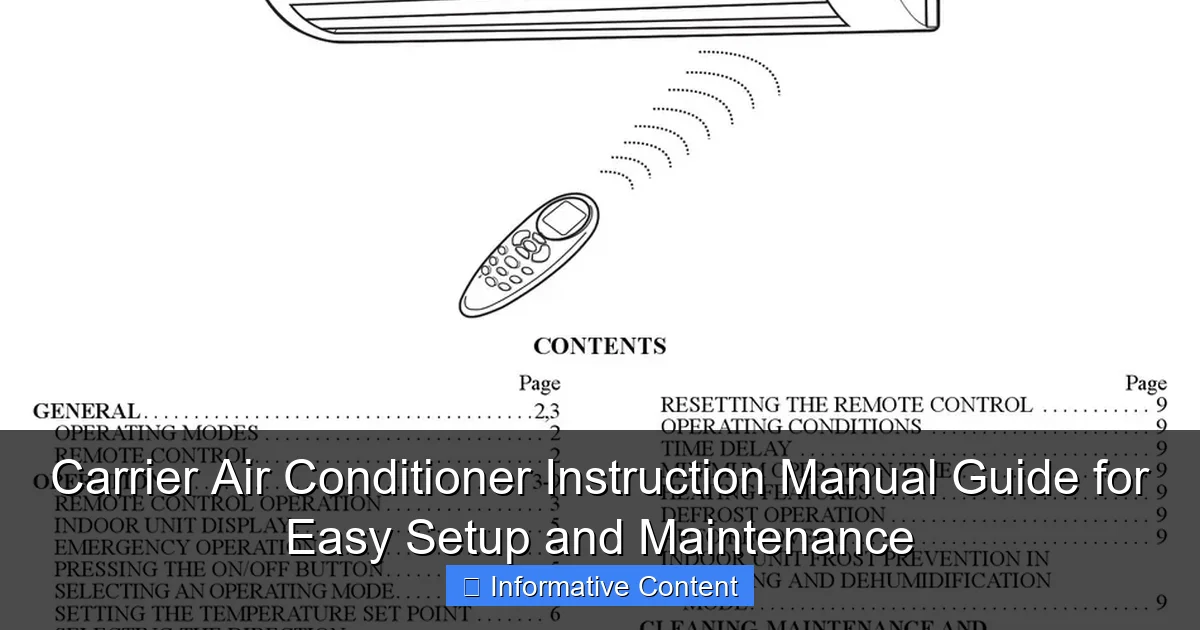
Visual guide about carrier air conditioner instruction manual
Image source: i2.wp.com
- The indoor and outdoor units (or a single packaged unit, depending on the model)
- Remote control (with batteries—yes, really!)
- Drain hose and mounting hardware
- Installation template and brackets
- Warranty card and registration info
- The manual itself (often tucked in a plastic sleeve)
One thing you won’t find? A technician. Unless you’ve paid for professional installation, setup is on you. That’s where the manual shines. For example, the Carrier 24VNA9 model manual includes a detailed “Unpacking Checklist” on page 5. I once skipped this step and ended up missing a critical mounting bolt—don’t be like me. Always verify each part before starting.
Reading the Installation Section: A Step-by-Step Walkthrough
The installation section of the Carrier air conditioner instruction manual is your blueprint. It’s not just about “where” to place the unit, but “how” to do it safely and efficiently. Here’s a real-world example: I once installed a Carrier 38MURA in a tight corner of my apartment. The manual warned against placing the outdoor unit in direct sunlight or near heat sources. I ignored it (rookie mistake) and ended up with reduced efficiency and a higher energy bill. The manual isn’t just rules—it’s data-backed advice.
Key steps from most Carrier manuals:
- Location: Indoor unit should be 6–8 feet above the floor, with at least 12 inches of clearance on all sides.
- Drainage: The condensate drain line must slope downward (1/4 inch per foot). The manual includes a diagram showing how to test this with a level.
- Electrical: Never use an extension cord. The manual specifies the required voltage (usually 208/230V for central units) and breaker size.
- Refrigerant Lines: For split systems, the manual details how to insulate lines and prevent kinks.
Pro tip: Use the manual’s “Installation Template” (often a paper cutout) to mark drill holes on the wall. It saves you from misaligning brackets—a mistake I made once and had to patch with drywall filler.
Connecting Power and Testing the Unit
Once everything’s installed, it’s time to power up. But don’t rush—this section of the manual is critical for safety. For example, the Carrier 24ACC4 manual warns against turning on the unit if the outdoor temperature is below 60°F, as it can damage the compressor. I learned this after a late spring install left my compressor overworked.
Follow these steps from the manual:
- Turn off the circuit breaker.
- Connect the power supply per the wiring diagram (usually in Appendix A).
- Turn the breaker back on and press the “Power” button on the remote.
- Listen for the compressor to start (a soft hum) and feel for airflow from the indoor unit.
If nothing happens, the manual’s “First-Time Startup Troubleshooting” section (often page 15–18) lists common issues. For instance, a “No Power” error might mean a tripped breaker or loose wire. I once spent 20 minutes checking the remote batteries—only to find the breaker had tripped. The manual saved me from calling a technician.
Understanding Controls and Settings
Navigating the Remote Control
The remote is your AC’s brain, and the Carrier air conditioner instruction manual deciphers its buttons. Most Carrier remotes have:
- Power: Turns the unit on/off.
- Mode: Cycles between Cool, Heat, Dry, Fan, and Auto.
- Temperature: Adjusts in 1°F increments (62°F–86°F).
- Fan Speed: Low, Medium, High, or Auto.
- Timer: Sets on/off times (great for energy savings).
- Sleep: Gradually adjusts temperature for comfort overnight.
But here’s the catch: Not all models have the same buttons. My Carrier 24VNA9 has a “Smart Control” button that links to the Carrier app, while my friend’s older 38MURA doesn’t. The manual explains every button’s function. For example, the “Dry” mode reduces humidity without overcooling—perfect for muggy summers. I used to think it was just a weaker “Cool” setting until the manual set me straight.
Using Modes and Scheduling for Efficiency
Want to cut energy costs? The manual’s mode and scheduling guides are gold. Let’s break it down:
- Cool Mode: Best for temperatures above 75°F. The manual recommends setting it to 78°F for optimal efficiency.
- Auto Mode: Automatically switches between cooling and fan based on room temperature. I use this in spring and fall when temperatures fluctuate.
- Timer: Set it to turn off at bedtime (e.g., 11 PM) or on before you wake up (e.g., 7 AM). The manual includes a sample schedule on page 22.
- Sleep Mode: Gradually raises the temperature by 2–4°F after 1–2 hours. My manual notes this saves up to 10% on energy bills.
Real example: I programmed my Carrier to cool my home at 4 PM, so it’s 72°F by the time I get home at 5:30. The manual’s “Programming the Timer” section (page 24) walks you through it step-by-step. No more coming home to a sauna!
Decoding Error Codes and Alerts
Nothing’s scarier than a flashing “E3” or “P5” on your AC. But the Carrier air conditioner instruction manual turns panic into action. Most manuals include an “Error Code Reference” table. Here’s a snapshot:
| Code | Meaning | Solution |
|---|---|---|
| E1 | High refrigerant pressure | Check for blocked airflow; clean filters. |
| E3 | Compressor overload | Turn unit off for 30 minutes; call technician if persists. |
| P4 | Low refrigerant | Contact a professional—do not attempt to refill. |
| F1 | Indoor temperature sensor error | Inspect sensor wire for damage. |
I once saw “E3” and panicked, thinking my compressor was dead. The manual said it was likely a temporary overload. I turned the unit off, waited, and it worked fine. Saved me $200 on a service call! Always check the manual before calling a pro.
Routine Maintenance for Longevity
Cleaning and Replacing Filters
Dirty filters are the #1 cause of AC inefficiency. The Carrier air conditioner instruction manual recommends cleaning them every 30–60 days (or monthly during heavy use). Here’s how:
- Turn off the unit.
- Remove the front panel (usually snaps off).
- Slide out the filter.
- Rinse with water or use a vacuum attachment.
- Let it dry completely before reinserting.
For models with washable filters (like the Carrier 24ACC4), the manual warns against using soap—it can leave residue. For disposable filters (e.g., Carrier 38MURA), it lists replacement part numbers. I once used a generic filter that didn’t fit properly. The manual’s “Filter Specifications” table (page 30) saved me from buying the wrong one again.
Drain Line and Coil Care
Clogged drain lines cause leaks and mold. The manual’s “Drain Maintenance” section (page 33) is a must-read. Steps include:
- Locate the drain pan (usually under the indoor unit).
- Use a wet/dry vacuum to clear the line.
- Add 1 cup of bleach to prevent algae (yes, really—manual page 34).
For coils, the manual recommends annual professional cleaning. But you can do light maintenance: Turn off power, use a coil cleaner (like Nu-Calgon), and rinse with water. I skipped this once, and my AC’s airflow dropped by 30%. The manual’s warning about “reduced efficiency” was spot-on.
Seasonal Shutdown and Startup
Winterizing your AC prevents damage. The manual’s “Seasonal Maintenance” section (page 36) covers:
- Winter: Turn off power, clean filters, cover the outdoor unit with a breathable cover.
- Spring: Remove cover, check for debris, restart per the “First-Time Startup” steps.
I once left my unit uncovered, and a squirrel nested in the fan. The manual’s “Outdoor Unit Protection” tip (page 37) would’ve saved me $150 in repairs. Lesson learned!
Troubleshooting Common Issues
No Cooling or Weak Airflow
Is your AC running but not cooling? The manual’s “Troubleshooting” section (page 40) lists possible causes:
- Dirty filters (clean or replace).
- Blocked outdoor unit (clear leaves/debris).
- Refrigerant leak (call a pro—do not DIY).
- Thermostat set too high (check the manual’s recommended settings).
I once had weak airflow because my cat knocked a blanket over the indoor unit. The manual’s “Clearance Requirements” diagram (page 10) reminded me to keep 12 inches of space around it.
Strange Noises or Smells
Odd sounds? The manual explains:
- Buzzing: Loose parts or electrical issue (tighten or call a pro).
- Gurgling: Air in the refrigerant line (needs professional attention).
- Musty smell: Mold in the drain pan (clean with bleach).
My AC once made a grinding noise. The manual said it could be a failing fan motor. I called a technician, and sure enough—the motor was shot. Catching it early saved me from a full compressor failure.
Remote Control Problems
Remote not working? Check the manual’s “Remote Troubleshooting” (page 45):
- Replace batteries.
- Ensure no obstacles block the IR signal.
- Reset the remote (usually hold “Power” for 10 seconds).
I once thought my remote was broken, but the manual revealed it was just out of range. Moving closer fixed it!
Advanced Tips: Maximizing Performance and Savings
Using Smart Features (Wi-Fi and Apps)
Many Carrier models (like the Infinity 24VNA9) have Wi-Fi. The manual’s “Smart Control Setup” section (page 50) walks you through:
- Download the Carrier app.
- Connect to your home Wi-Fi.
- Set up geofencing (AC turns on when you’re 5 miles from home).
I use the app to monitor energy use. The manual’s “Energy Reports” feature (page 52) shows my monthly kWh consumption—helping me cut costs by 15%.
Optimizing for Energy Efficiency
The manual isn’t just about fixing problems—it’s about saving money. Key tips:
- Use “Auto” fan mode—it’s quieter and more efficient.
- Set the thermostat to 78°F when home, 82°F when away.
- Close curtains during the day to reduce heat gain.
My manual’s “Energy Efficiency Guide” (page 55) includes a chart showing how much you save per degree. Raising the temp by 2°F saved me $30/month!
When to Call a Professional
Some jobs require a pro. The manual’s “Service and Maintenance” section (page 60) lists:
- Refrigerant leaks.
- Electrical wiring issues.
- Compressor or coil replacement.
I once tried to fix a refrigerant leak myself—big mistake. The manual’s warning about “system damage and voided warranty” was clear. Always know your limits.
Your Carrier air conditioner instruction manual is more than a guide—it’s your AC’s best friend. From setup to maintenance, it empowers you to handle everything with confidence. Whether you’re cleaning a filter, decoding an error code, or optimizing settings for savings, the manual has your back. So the next time your AC acts up, don’t panic. Grab the manual, take a deep breath, and follow the steps. You’ve got this. And remember: A well-maintained Carrier AC isn’t just cooler—it’s smarter, quieter, and more efficient. Happy cooling!
Frequently Asked Questions
How do I set up my Carrier air conditioner for the first time?
To set up your Carrier air conditioner, refer to the Carrier air conditioner instruction manual for step-by-step guidance. Ensure the unit is level, properly connected to power, and the thermostat is configured to your preferred settings.
Where can I find the model-specific troubleshooting steps?
The troubleshooting section of your Carrier air conditioner instruction manual includes model-specific solutions for common issues like error codes or airflow problems. Always verify your model number on the unit’s label before proceeding.
How often should I clean or replace the air filter?
Clean or replace your Carrier air conditioner’s filter every 1-3 months, depending on usage and air quality. Consult the manual for exact filter types and cleaning procedures to maintain optimal efficiency.
What does the “E1” error code mean on my Carrier AC?
The “E1” error code typically indicates a sensor issue, such as a faulty temperature sensor. Check the manual for precise diagnostics or contact Carrier support if the problem persists after resetting the unit.
Can I install the Carrier AC unit myself, or do I need a professional?
While basic setup (like thermostat pairing) can be DIY-friendly, professional installation is recommended for electrical connections and refrigerant lines. The manual outlines safety requirements to help determine if expert help is needed.
How do I program the thermostat for energy savings?
Use the manual’s programming guide to set schedules, temperature thresholds, and energy-saving modes. Features like “Eco Mode” and vacation settings can reduce energy costs without sacrificing comfort.