
Installing a Carrier air conditioner is a smart investment in home comfort and energy efficiency. This guide walks you through every step of the Carrier air conditioner install process, from sizing and site prep to professional installation and post-install care.
Key Takeaways
- Proper sizing is critical: A correctly sized Carrier unit ensures efficiency, comfort, and longevity—avoid oversized or undersized systems.
- Professional installation is a must: Carrier air conditioner install should always be done by certified HVAC technicians to ensure safety, performance, and warranty validity.
- Location matters: The outdoor unit needs ample airflow, shade, and a stable, level surface for optimal operation.
- Ductwork inspection is essential: Leaky or poorly insulated ducts can reduce efficiency by up to 30%, so inspect and seal before install.
- Regular maintenance extends life: Change filters monthly, clean coils annually, and schedule professional tune-ups to keep your system running smoothly.
- Rebates and incentives may apply: Many utility companies and government programs offer rebates for energy-efficient Carrier installations.
- Smart thermostats enhance control: Pairing your Carrier system with a smart thermostat improves comfort and reduces energy bills.
📑 Table of Contents
Why Choose Carrier for Your Home Cooling Needs?
When it comes to reliable, energy-efficient home cooling, Carrier stands out as one of the most trusted names in the HVAC industry. With over a century of innovation, Carrier has built a reputation for durability, advanced technology, and consistent performance. Whether you’re replacing an old system or installing central air for the first time, a Carrier air conditioner install can significantly improve your indoor comfort and reduce energy costs.
Carrier offers a wide range of models to suit different home sizes, climates, and budgets. From the budget-friendly Comfort series to the ultra-efficient Infinity line with Greenspeed intelligence, there’s a Carrier unit for nearly every need. What sets Carrier apart is their commitment to quality engineering, quiet operation, and smart home integration. Many models are ENERGY STAR certified, meaning they meet strict efficiency guidelines set by the U.S. Environmental Protection Agency.
Beyond the product itself, Carrier supports homeowners with a nationwide network of certified dealers and installers. This ensures that your Carrier air conditioner install is handled by trained professionals who understand the brand’s specifications and best practices. Choosing Carrier isn’t just about buying an air conditioner—it’s about investing in long-term comfort, reliability, and peace of mind.
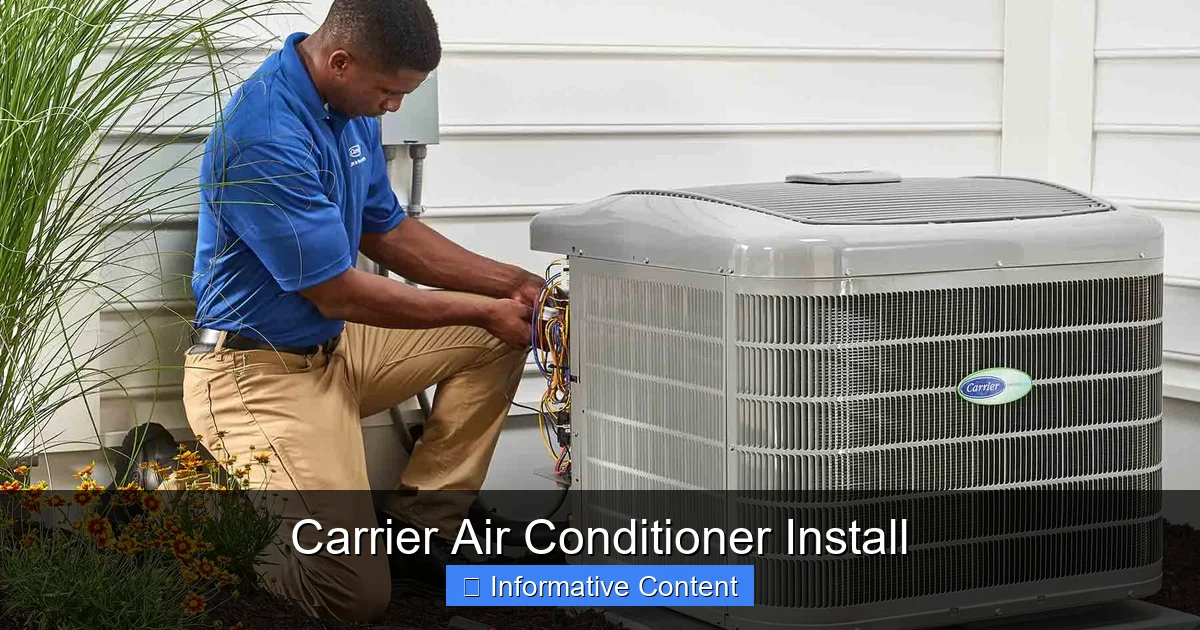
Understanding the Carrier Air Conditioner Install Process
The Carrier air conditioner install process is more than just placing a unit outside and connecting wires. It’s a multi-step procedure that requires careful planning, technical expertise, and adherence to local codes. A proper install ensures your system operates at peak efficiency, lasts longer, and delivers consistent cooling throughout your home.
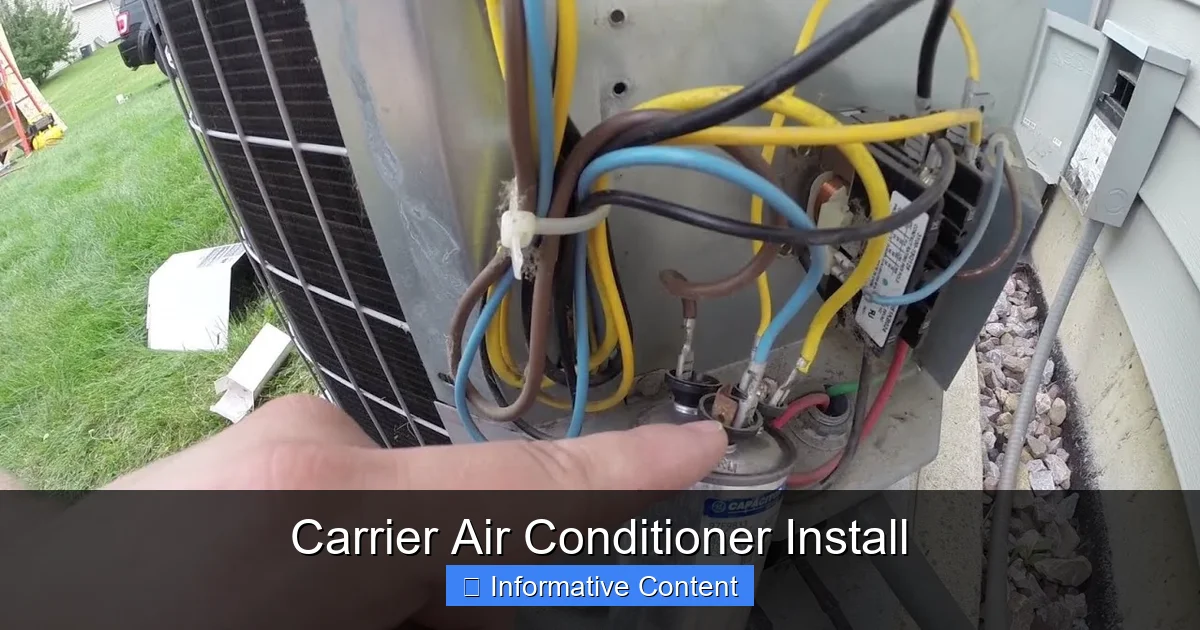
Visual guide about Carrier Air Conditioner Install
Image source: i.ytimg.com
First, a qualified HVAC technician will conduct a load calculation to determine the correct size of the unit for your home. This involves evaluating factors like square footage, insulation levels, window types, and local climate. Oversized units cycle on and off too frequently, wasting energy and failing to dehumidify properly. Undersized units struggle to cool your home, leading to constant running and premature wear.
Next, the technician will assess your existing ductwork. Leaky or poorly insulated ducts can lose up to 30% of cooled air, drastically reducing efficiency. If needed, ducts will be sealed, insulated, or replaced. The outdoor unit location is also critical—it should be placed on a level concrete pad, away from direct sunlight and debris, with at least two feet of clearance on all sides for airflow.
Finally, the indoor and outdoor units are connected via refrigerant lines, electrical wiring, and a condensate drain. The system is then charged with the correct amount of refrigerant, tested for leaks, and calibrated for optimal performance. Only after thorough testing is the system activated and fine-tuned for your home’s specific needs.
Step-by-Step Breakdown of the Installation
While every install is unique, most Carrier air conditioner installs follow a similar sequence. Here’s what you can expect during the process:
- Site Evaluation: The technician visits your home to assess the installation site, check electrical capacity, and review ductwork.
- Permit Acquisition: In many areas, HVAC installations require permits. Your installer will typically handle this, ensuring compliance with local building codes.
- Old Unit Removal: If replacing an existing system, the old unit is safely disconnected, removed, and disposed of according to environmental regulations.
- New Unit Placement: The outdoor condenser is placed on a level pad, and the indoor evaporator coil is installed in the air handler or furnace.
- Line Set Installation: Copper refrigerant lines are run from the outdoor unit to the indoor coil, carefully insulated to prevent energy loss.
- Electrical Connections: A dedicated circuit is connected to the unit, and all wiring is secured and tested for safety.
- Refrigerant Charging: The system is evacuated and charged with the precise amount of refrigerant specified by Carrier.
- System Testing: The technician runs the system, checks for leaks, verifies airflow, and ensures all components are functioning correctly.
- Thermostat Setup: The thermostat is programmed, and you’re shown how to use it for maximum comfort and efficiency.
Throughout the process, your installer should keep you informed and answer any questions. A reputable Carrier dealer will also provide a walkthrough of the system and explain maintenance requirements.
Choosing the Right Carrier Model for Your Home
With so many Carrier air conditioner models available, selecting the right one can feel overwhelming. The key is matching the unit’s capacity, efficiency, and features to your home’s specific needs. Start by considering your climate, home size, and budget.
For example, if you live in a hot, humid region like Florida or Texas, you’ll benefit from a high-efficiency model with strong dehumidification capabilities. The Carrier Infinity 20 with Greenspeed intelligence is an excellent choice—it uses variable-speed technology to adjust cooling output smoothly, maintaining consistent temperatures and reducing humidity.
In milder climates, a mid-tier model like the Carrier Performance 16 may be sufficient. It offers solid efficiency (up to 17 SEER2) and quiet operation at a more affordable price point. For budget-conscious homeowners, the Comfort 14 provides reliable cooling with a lower upfront cost, though it lacks some of the advanced features of higher-end models.
Efficiency ratings are another important factor. SEER2 (Seasonal Energy Efficiency Ratio 2) measures how efficiently the unit uses electricity over a cooling season. Higher SEER2 ratings mean lower energy bills. As of 2023, the minimum SEER2 rating in most U.S. regions is 14, but Carrier offers models up to 26 SEER2.
Don’t forget about noise levels. Carrier units are known for quiet operation, but some models are quieter than others. Look for decibel (dB) ratings—most Carrier condensers operate between 50 and 70 dB, similar to a quiet conversation or background music.
Finally, consider smart features. Many Carrier models are compatible with Wi-Fi thermostats like the Carrier Cor or third-party options like Nest or Ecobee. These allow you to control your system remotely, set schedules, and receive maintenance alerts—all from your smartphone.
Matching Features to Your Lifestyle
Beyond basic cooling, think about how you use your home. Do you have family members with allergies? Look for models with advanced filtration systems, like the Carrier Infinity with Perfect Heat and Perfect Humidity. These systems include high-efficiency air filters that capture dust, pollen, and other allergens.
Do you travel frequently or have a vacation home? A smart thermostat paired with your Carrier system lets you monitor and adjust temperatures from anywhere. Some models even send alerts if the system malfunctions or if indoor temperatures rise unexpectedly.
If energy savings are a top priority, consider a unit with demand-defrost control or enhanced vapor injection (EVI) technology. These features improve efficiency in extreme temperatures, reducing wear and lowering utility bills.
Your installer can help you compare models and choose the best fit. Be sure to ask about warranty options—Carrier offers standard warranties, but extended plans are available for added protection.
Preparing Your Home for Installation
While the HVAC technician handles the technical work, there are several things you can do to prepare your home for a smooth Carrier air conditioner install. Proper preparation saves time, reduces stress, and helps ensure the job is done right the first time.
Start by clearing the area around your current outdoor unit (if applicable). Remove any plants, debris, or outdoor furniture within a 3-foot radius. This gives the installer easy access and prevents damage during removal and installation.
Indoors, make sure the furnace or air handler location is accessible. Clear out storage boxes, tools, or other items that might block the technician’s path. If your system is in a tight space like an attic or crawlspace, consider renting a temporary lift or platform to assist with equipment handling.
Check your electrical panel to ensure it can support the new unit. Most central air conditioners require a 240-volt circuit. If your panel is outdated or near capacity, you may need an electrical upgrade. Your installer can assess this during the site evaluation.
Also, review your ductwork. If it’s old or damaged, consider having it inspected and sealed before the new unit is installed. Leaky ducts can undermine even the most efficient air conditioner. A professional duct test (called a duct blaster test) can identify leaks and help prioritize repairs.
Finally, plan for the installation day. The process typically takes 4 to 8 hours, depending on complexity. You’ll need to be home to provide access and answer questions, but you don’t need to hover—just be available. Let family members and pets know the technician will be working, and keep children and animals away from the work area for safety.
What to Expect on Installation Day
On the day of your Carrier air conditioner install, the technician will arrive with all necessary tools and equipment. They’ll begin by reviewing the plan with you, confirming the unit location, and answering any last-minute questions.
The team will protect your flooring with drop cloths and use shoe covers to keep your home clean. They’ll work efficiently but carefully, minimizing disruption. You may hear some noise from drilling, hammering, or vacuuming, but it’s usually brief and contained.
Once the system is installed and tested, the technician will walk you through the operation. They’ll show you how to change the filter, adjust the thermostat, and recognize warning signs like unusual noises or reduced airflow. Most installers also provide a written summary of the work performed and any recommendations for future maintenance.
Before leaving, they’ll clean up the work area, remove packaging, and dispose of the old unit responsibly. Reputable installers follow EPA guidelines for refrigerant recovery and recycling, ensuring environmental compliance.
Post-Installation Care and Maintenance
A successful Carrier air conditioner install is just the beginning. To keep your system running efficiently and extend its lifespan, regular maintenance is essential. Think of it like changing the oil in your car—small efforts now prevent big problems later.
The most basic task is changing the air filter every 1 to 3 months. A dirty filter restricts airflow, forcing the system to work harder and increasing energy use. Use high-quality pleated filters (MERV 8–13) for better filtration without restricting airflow.
Keep the outdoor unit clean and clear. Remove leaves, grass, and debris from the top and sides. Trim back shrubs and vines to maintain at least 2 feet of clearance. Never cover the unit, even in winter—this can trap moisture and cause corrosion.
Inspect the condensate drain line annually. Over time, algae and mold can clog the drain, causing water to back up into your home. Flush the line with a mixture of water and vinegar or use a commercial drain cleaner to prevent clogs.
Schedule a professional tune-up once a year, ideally in spring before the cooling season begins. A technician will clean coils, check refrigerant levels, inspect electrical connections, and test system performance. This not only improves efficiency but also helps maintain your warranty.
Pay attention to how your system performs. If you notice longer run times, uneven cooling, or strange noises, contact your installer right away. Early detection of issues can prevent costly repairs.
Maximizing Efficiency and Comfort
Beyond maintenance, there are simple habits that can boost your system’s efficiency. Use ceiling fans to circulate cool air, allowing you to raise the thermostat by 4 degrees without sacrificing comfort. Close blinds and curtains during the day to block solar heat gain.
Program your thermostat to raise the temperature when you’re away or asleep. Even a few degrees can make a noticeable difference on your energy bill. With a smart thermostat, you can automate this process and track your usage over time.
Seal air leaks around windows, doors, and ducts to prevent cooled air from escaping. Adding insulation to your attic or walls can also reduce the workload on your air conditioner.
Finally, consider upgrading to a zoning system if your home has multiple levels or large temperature differences. Zoning allows you to control the temperature in different areas independently, improving comfort and reducing energy waste.
Cost Considerations and Financing Options
The cost of a Carrier air conditioner install varies widely based on the model, home size, and installation complexity. On average, homeowners can expect to pay between $5,000 and $12,000 for a complete system replacement, including labor and materials.
Higher-efficiency models and advanced features like variable-speed compressors or smart thermostats will increase the price. However, they often pay for themselves over time through lower energy bills and fewer repairs. For example, upgrading from a 13 SEER2 to a 20 SEER2 unit can reduce cooling costs by up to 35%.
Labor costs depend on your location and the difficulty of the install. Replacing an existing system is usually less expensive than a first-time installation, which may require new ductwork or electrical upgrades.
Fortunately, many homeowners can offset the cost with rebates and incentives. Utility companies, state programs, and federal tax credits often offer financial incentives for installing energy-efficient HVAC systems. For example, the Inflation Reduction Act provides tax credits for qualifying Carrier models, covering up to 30% of the cost (up to $600 for air conditioners).
Financing options are also widely available. Many Carrier dealers partner with lenders to offer low-interest or deferred-payment plans. Some even provide same-as-cash options, allowing you to pay over 12 to 24 months with no interest if paid in full by the deadline.
When comparing quotes, make sure they include everything: equipment, labor, permits, disposal, and warranty. Avoid unusually low bids—they may indicate subpar work or hidden fees.
Getting the Best Value
To get the most value from your investment, focus on long-term savings, not just upfront cost. A slightly more expensive, high-efficiency model may cost more initially but save hundreds of dollars per year in energy bills.
Choose a reputable installer with good reviews and proper licensing. A poorly installed system can lose 20% or more in efficiency, negating the benefits of a premium unit. Look for NATE-certified technicians and dealers authorized by Carrier.
Finally, protect your investment with a maintenance plan. Many dealers offer annual service contracts that include tune-ups, priority scheduling, and discounts on repairs. These plans can save you money and give you peace of mind.
Conclusion
A Carrier air conditioner install is a significant step toward a cooler, more comfortable, and energy-efficient home. From selecting the right model to preparing your space and maintaining the system, every detail matters. By working with certified professionals and following best practices, you can enjoy reliable performance for 15 to 20 years or more.
Remember, the cheapest option isn’t always the best. Investing in quality equipment and expert installation pays off in lower bills, fewer repairs, and greater comfort. With proper care, your Carrier system will keep you cool through even the hottest summers.
Ready to upgrade your home cooling? Contact a local Carrier dealer today for a free consultation and quote. Your comfort is worth it.
Frequently Asked Questions
How long does a Carrier air conditioner install take?
A typical Carrier air conditioner install takes between 4 to 8 hours, depending on the complexity of the job. Factors like ductwork modifications, electrical upgrades, or first-time installations can extend the timeline.
Can I install a Carrier air conditioner myself?
No, Carrier air conditioner install should only be performed by licensed HVAC professionals. DIY installation can void the warranty, create safety hazards, and lead to inefficient operation or system failure.
What size Carrier air conditioner do I need?
The correct size depends on your home’s square footage, insulation, windows, and climate. A professional load calculation is required to determine the right tonnage—typically ranging from 1.5 to 5 tons for most homes.
Do I need to replace my ducts when installing a new Carrier unit?
Not always, but ductwork should be inspected. Leaky or poorly insulated ducts reduce efficiency and may need sealing, insulation, or replacement to match the new system’s performance.
Are there rebates available for Carrier air conditioner installs?
Yes, many utility companies, state programs, and federal incentives offer rebates for energy-efficient Carrier installations. Check with your local dealer or visit the ENERGY STAR website for current offers.
How often should I service my Carrier air conditioner?
Schedule a professional tune-up once a year, ideally before the cooling season. Additionally, change the air filter every 1 to 3 months and keep the outdoor unit clean and unobstructed.