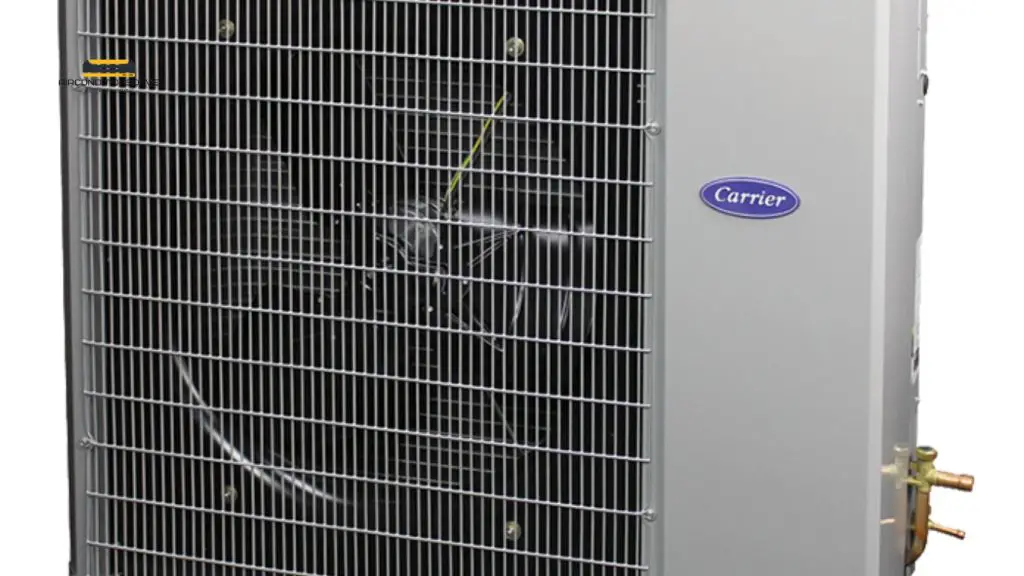
To troubleshoot Carrier AC issues, follow these steps. Verify power supply, check thermostat settings, clean filters, inspect ductwork, and contact a professional if the problem persists.
Carrier AC Troubleshooting: Introduction Troubleshooting a malfunctioning Carrier AC is essential to restore comfort and maintain optimal indoor temperatures. Whether your unit fails to cool or won’t turn on at all, resolving these issues promptly can save you from discomfort and potential costly repairs.
By following a few simple steps, you can diagnose and address common problems with your Carrier AC. This comprehensive guide will walk you through the troubleshooting process, enabling you to identify and potentially fix issues such as power supply problems, incorrect thermostat settings, clogged air filters, and ductwork problems that hinder your AC’s performance. By understanding these troubleshooting techniques, you’ll be well-equipped to keep your Carrier AC running smoothly and efficiently throughout the year.
Common AC Problems And Their Solutions
Malfunctioning air conditioners can be a major inconvenience, especially during the scorching summer months. To prevent your Carrier AC unit from causing you any trouble, it’s important to identify and address the common problems that may arise. From refrigerant leaks to faulty thermostats and clogged air filters, this blog post will guide you through the troubleshooting process. By following the solutions provided for each issue, you can ensure that your Carrier AC unit continues to deliver cool and comforting air throughout the hot season.
Refrigerant Leak Detection And Repair
One of the most common issues with air conditioners is a refrigerant leak. Low refrigerant levels can lead to insufficient cooling and reduced energy efficiency. Detecting and repairing a refrigerant leak requires professional assistance, as it involves handling hazardous substances. A qualified technician should be called in to inspect your Carrier AC unit and identify the source of the leak. Once the leak is located, it can be repaired, and the refrigerant can be refilled to ensure optimal performance.
Faulty Thermostat And How To Fix It
A faulty thermostat can cause your Carrier AC unit to behave erratically or not work at all. To troubleshoot this issue, start by checking the thermostat settings. Ensure that it is set to the desired temperature and mode of operation. If the settings are correct, proceed to inspect the thermostat for any physical damage or loose connections. If necessary, replace the thermostat with a new one, following the manufacturer’s instructions. Remember to turn off the power to the unit before attempting any repairs or replacements.
Cleaning Or Replacing Clogged Air Filters
Clogged air filters can obstruct airflow and reduce the efficiency of your Carrier AC unit. Regular maintenance of air filters is crucial to prevent this problem. Begin by turning off the unit and locating the air filters. They are typically found in the return air duct or near the air handler unit. If the filters are visibly dirty or clogged, remove them and clean them using a vacuum cleaner or by rinsing them with water. Allow the filters to dry completely before reinserting them. If the filters are damaged or worn out, it is recommended to replace them with new ones.
Dealing With Noisy Air Conditioners
Noisy air conditioners can disrupt your peace and indicate underlying issues. If you notice strange noises such as buzzing, rattling, or grinding coming from your Carrier AC unit, it is important to address them promptly. Start by inspecting the fan blades for any obstructions or damage. Remove any debris or foreign objects that may be interfering with the fan’s rotation. If the noise persists, the problem may lie with the motor or other internal components, which requires professional attention. Get in touch with a qualified technician to diagnose and resolve the noise problem.
Addressing Electrical Issues And Wiring Problems
Electrical issues and wiring problems can cause your Carrier AC unit to malfunction or even pose a safety risk. Before attempting any electrical troubleshooting, it is crucial to turn off the power to the unit to avoid electrical shocks. Check the circuit breaker or fuse box to ensure that the AC unit is receiving power. If the circuit breaker trips repeatedly or the fuses are blown, consult an electrician to inspect the electrical connections and wiring. They will be able to identify and rectify any issues to ensure the safe and efficient operation of your Carrier AC unit.
DIY Maintenance Tips For Optimum AC Performance
Regular maintenance is essential to ensure your Carrier AC system is running efficiently and providing optimal cooling during those scorching hot summer days. Fortunately, you can perform some simple do-it-yourself (DIY) tasks to keep your AC unit in top shape. By following these maintenance tips, you can not only enhance the performance of your air conditioner but also extend its lifespan and potentially reduce your energy consumption. Let’s dive into these DIY maintenance tips that are easy to perform and can make a significant difference in your AC’s performance.
Cleaning The Condenser Coils
One of the essential maintenance tasks to ensure optimum AC performance is cleaning the condenser coils. Over time, debris, dust, and dirt can accumulate on the coils, reducing their ability to transfer heat efficiently. To clean the condenser coils:
- Turn off power to the AC unit.
- Remove any debris or plants around the condenser unit.
- Use a soft brush or a vacuum with a brush attachment to remove loose dirt and debris from the coils.
- Apply a foaming coil cleaner to the coils and let it sit as per the instructions on the cleaner’s packaging.
- Rinse the coils thoroughly with water using a garden hose.
Checking And Clearing Condensate Drain Lines
Another crucial maintenance task is checking and clearing the condensate drain lines. Over time, the drain lines can get clogged with algae, mold, or debris, leading to water leaks or even damage to your AC unit. Here’s how to do it:
- Locate the condensate drain line or pipe.
- Inspect the drain line for any signs of clogging or blockage.
- Use a wet/dry vacuum or a condensate drain line cleaning brush to clear the clog manually.
- Pour a mixture of equal parts bleach and water down the drain line to prevent future clogs.
Lubricating Moving Parts For Smooth Operation
To ensure your AC unit runs smoothly and quietly, lubricating the moving parts is essential. Here’s how to do it:
- Turn off power to the AC unit.
- Identify the moving parts that require lubrication, such as the fan motor or blower motor.
- Apply lubricating oil or grease to the designated lubrication points, following the manufacturer’s instructions.
Testing And Replacing Capacitors
Capacitors play a crucial role in the functioning of your AC unit. Over time, they can weaken or fail, resulting in a range of AC issues. Here’s how to test and replace capacitors:
- Turn off power to the AC unit.
- Locate the capacitors in the electrical compartment.
- Use a multimeter to test the capacitance and voltage of each capacitor.
- If a capacitor tests faulty, safely discharge it and replace it with a new one of the same specifications.
Inspecting And Sealing Ductwork For Efficient Cooling
Leaky ductwork can lead to significant energy wastage and inefficient cooling. By inspecting and sealing your ductwork, you can improve the overall performance of your AC system. Here’s how:
- Visually inspect the ductwork for any signs of leakage, such as loose joints or cracks.
- Seal any visible leaks with mastic sealant or aluminum foil tape.
- Consider professional duct cleaning and sealing for a more comprehensive solution.
Guide To Troubleshooting AC Compressor Issues
Welcome to our comprehensive guide to troubleshooting AC compressor issues. The compressor is an essential component of your Carrier AC system, responsible for circulating refrigerant and ensuring the proper cooling and humidity control of your home. In this guide, we will explain the role of the AC compressor, help you identify signs of a failing compressor, guide you through diagnosing common compressor problems, provide steps to repair or replace the compressor, and discuss the importance of professional maintenance for compressor health. Let’s get started!
Understanding The Role Of The AC Compressor
The AC compressor plays a vital role in the cooling process of your Carrier AC system. It is responsible for compressing the refrigerant gas, raising its temperature and pressure. As the refrigerant flows through the system, it releases heat, thereby cooling the surrounding air. The high-pressure refrigerant then moves to the condenser, where it gets rid of the heat and returns to a liquid state. From there, the refrigerant moves to the evaporator, where it absorbs heat from indoor air, cooling it down before the cycle repeats.
Identifying Signs Of A Failing Compressor
If your AC system is experiencing trouble, it’s essential to know the signs of a failing compressor. Catching the problem early can prevent further damage and costly repairs. Pay attention to the following indicators:
- Warm air blowing from the vents when the AC is turned on
- Loud grinding or squealing noise during operation
- Inconsistent cooling or poor airflow
- Repeated tripping of the circuit breaker
- Unusual smells, such as burning or a mildew-like odor
If you notice any of these signs, it’s time to diagnose the compressor for potential problems.
Diagnosing Common Compressor Problems
Diagnosing common compressor problems requires some basic understanding of the components and a systematic approach. Here are the steps to diagnose a faulty AC compressor:
- Check the power supply to ensure proper voltage and electrical connections.
- Inspect the compressor for physical damage, such as leaks, oil stains, or loose parts.
- Measure the refrigerant pressure using a gauge to ensure it falls within the recommended range.
- Examine the electrical components, such as capacitors and relays, for any signs of damage or malfunction.
- Test the compressor motor using a multimeter to verify if it’s functioning properly.
By following these steps, you can pinpoint the specific problem with your compressor and take appropriate action.
Steps To Repair Or Replace The Compressor
Repairing or replacing the compressor depends on the severity of the issue and the age of your AC system. Here are the general steps involved:
- If the compressor has minor issues like a faulty capacitor, it may be possible to repair it by replacing the damaged component.
- If the compressor has major damage or is nearing the end of its lifespan, replacement may be necessary. This typically involves removing the old compressor and installing a new one.
- Once the repair or replacement is complete, the system should be tested to ensure it is working correctly.
It is important to note that repairing or replacing the compressor should only be done by a qualified HVAC professional to avoid safety risks and ensure proper installation.
Professional Maintenance For Compressor Health
To maintain your AC compressor’s health and prevent future issues, regular professional maintenance is crucial. HVAC technicians can perform routine inspections, clean the components, lubricate moving parts, and check refrigerant levels. This proactive approach can extend the lifespan of your AC compressor and optimize overall system performance.
By understanding the role of the AC compressor, identifying signs of a failing compressor, diagnosing common problems, and knowing the steps to repair or replace it, you can effectively troubleshoot any issues that arise with your Carrier AC system. Remember the importance of professional maintenance to keep your compressor in top condition and enjoy reliable cooling for years to come.
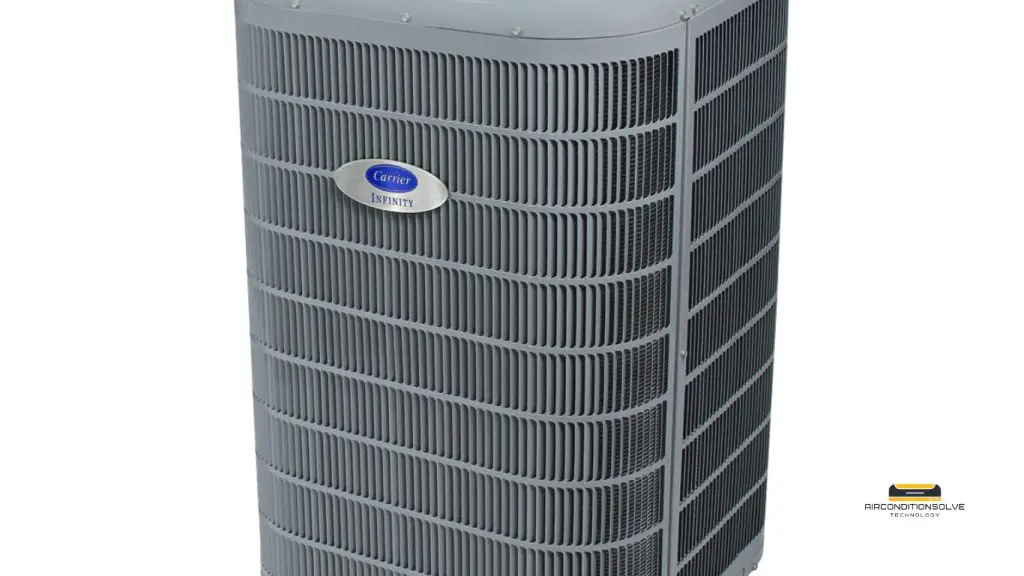
Troubleshooting AC Fan Problems For Improved Airflow
Faulty AC fans can greatly affect the overall performance of your air conditioning system. The role and importance of AC fans cannot be understated when it comes to providing efficient airflow and maintaining a comfortable indoor environment. In this section, we will discuss the signs of a faulty AC fan, as well as the steps you can take to fix or replace it to ensure improved airflow throughout your space.
Role And Importance Of Ac Fans
AC fans play a crucial role in the cooling process. These fans are responsible for circulating and directing the air, helping to distribute the cooled air evenly throughout the room. Without a properly functioning fan, the conditioned air might not be able to reach all corners of your space, resulting in uneven cooling and potential hotspots.
Signs Of A Faulty Ac Fan
Identifying the signs of a faulty AC fan can help you address the issue before it worsens. Here are some common indicators to watch out for:
- Unusual or loud noises coming from the fan
- Low or no airflow from the vents
- Inconsistent cooling throughout the space
- Frequent system cycling
- Overheating of the air conditioning unit
If you notice any of these signs, it is important to troubleshoot your AC fan to determine the cause of the problem and rectify it promptly.
Fixing Loose Or Damaged Fan Blades
One possible issue with the AC fan could be loose or damaged fan blades. Over time, these blades may become loose due to vibration or general wear and tear. Additionally, physical damage can occur, leading to an unbalanced or ineffective fan. To fix this problem, follow these steps:
- Turn off the power supply to the air conditioning unit
- Remove the protective cover of the AC fan
- Inspect the fan blades for any signs of damage or looseness
- If the blades are loose, tighten the screws or bolts that hold them in place
- If the blades are damaged beyond repair, you may need to replace them
- After addressing the issue, reassemble the protective cover and restore the power supply
Cleaning And Lubricating Fan Motor
Another common issue that can impact the performance of an AC fan is a dirty or lubrication-deprived fan motor. Lack of proper maintenance can lead to the motor running less efficiently, resulting in reduced airflow. Here’s how you can clean and lubricate your fan motor:
- Turn off the power to the air conditioning system
- Locate the fan motor, typically located near the condenser unit
- Carefully remove any debris, dust, or dirt from the motor using a soft brush or cloth
- Once the motor is clean, apply lubricating oil to the bearings, following the manufacturer’s instructions
- Allow the lubricant to distribute evenly before turning the power back on
Replacing A Faulty AC Fan
If all else fails and your AC fan is beyond repair, it may be necessary to replace it. It’s essential to choose a compatible replacement fan that fits the specifications of your air conditioning system. If you are unsure about the process, it’s recommended to seek professional assistance to ensure proper installation and compatibility.
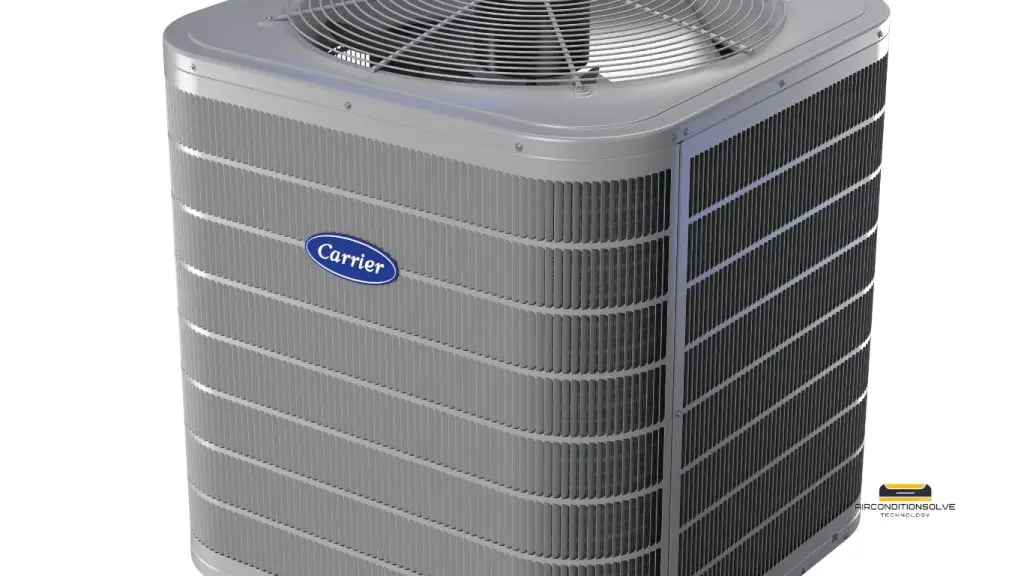
The Importance Of Regular AC Maintenance And Tune-ups
In order to keep your Carrier AC unit running smoothly and efficiently, regular maintenance and tune-ups are essential. By investing in proper care for your air conditioning system, you can prevent potential issues, extend its lifespan, and ensure your home or office stays comfortable all year round.
Benefits Of Regular AC Maintenance
Maintaining your Carrier AC unit on a regular basis comes with numerous benefits. Some of these include:
- Improved Energy Efficiency: Regular maintenance helps optimize your AC’s performance, allowing it to cool your space more efficiently. This can lead to energy savings and lower utility bills.
- Enhanced Indoor Air Quality: A properly maintained AC system helps filter out pollutants and allergens from the air, improving the overall quality of the indoor environment.
- Reduced Risk of Breakdowns: Regular inspections and tune-ups can identify and address minor issues before they turn into major, costly breakdowns.
- Extended Lifespan: By taking care of your AC unit, you can help prolong its lifespan, saving you money on premature replacements.
Essential Steps In An AC Tune-up
During an AC tune-up, a professional technician will perform a series of tasks to ensure your Carrier AC unit is in optimal condition. These steps may include:
- Inspecting and cleaning the condenser coils
- Checking and tightening electrical connections
- Lubricating moving parts to reduce friction
- Cleaning or replacing air filters
- Testing thermostat accuracy
- Verifying proper refrigerant levels
- Inspecting and clearing the drain line
Hiring Professional AC Maintenance Services
While some of the maintenance tasks can be done by homeowners, it is recommended to hire professional AC maintenance services for a comprehensive and thorough tune-up. Trained technicians have the knowledge and experience to identify potential issues and ensure your AC unit is functioning at its best.
Frequency Of AC Maintenance And Tune-ups
The frequency of AC maintenance and tune-ups for your Carrier unit may vary depending on factors such as usage, climate, and manufacturer recommendations. However, a general guideline is to have a professional inspection and tune-up performed at least once a year.
DIY AC Maintenance Checklist
While professional maintenance is crucial, there are some simple steps you can take to keep your Carrier AC unit in good condition between tune-ups. Use this DIY maintenance checklist:
| Maintenance Task | Frequency |
|---|---|
| Cleaning or replacing air filters | Every 1 to 3 months |
| Clearing debris around the outdoor unit | Regularly |
| Checking for and sealing air leaks in ductwork | Annually |
| Inspecting and cleaning vents and registers | Annually |
By following this checklist, you can help maintain the efficiency and performance of your Carrier AC unit.
Frequently Asked Questions On Carrier AC Troubleshooting
How Can I Troubleshoot My Carrier AC?
To troubleshoot your Carrier AC, start by checking the thermostat settings, confirming power supply, cleaning or replacing the air filter, and ensuring proper airflow. If the issue persists, call a professional to inspect and repair any malfunctioning parts.
Why Is My Carrier AC Not Cooling Properly?
If your Carrier AC is not cooling properly, it could be due to a dirty air filter, low refrigerant levels, a faulty thermostat, or a malfunctioning condenser unit. Clean or replace the air filter, check the refrigerant levels, and contact a professional if the problem persists.
How Do I Check The Refrigerant Levels In My Carrier AC?
To check the refrigerant levels in your Carrier AC, first turn off the unit. Locate the service valve on the refrigerant line and remove the cap. Attach a pressure gauge to the valve and compare the reading to the manufacturer’s specifications.
If the levels are low, contact a professional to recharge the refrigerant.
What Should I Do If My Carrier AC Is Making Strange Noises?
If your Carrier AC is making strange noises, it could indicate a problem with the fan motor, blower assembly, or compressor. Turn off the unit and check for any loose or damaged parts. If you are unable to identify the issue, it is recommended to call a professional for assistance.
Conclusion
To wrap up, troubleshooting your Carrier AC doesn’t have to be an overwhelming task. By following these simple steps and tips, you can diagnose and address common issues with your AC unit. Remember to regularly maintain your AC system and seek professional help if needed.
Keeping your Carrier AC in top-notch condition ensures a cool and comfortable indoor environment for years to come.

