
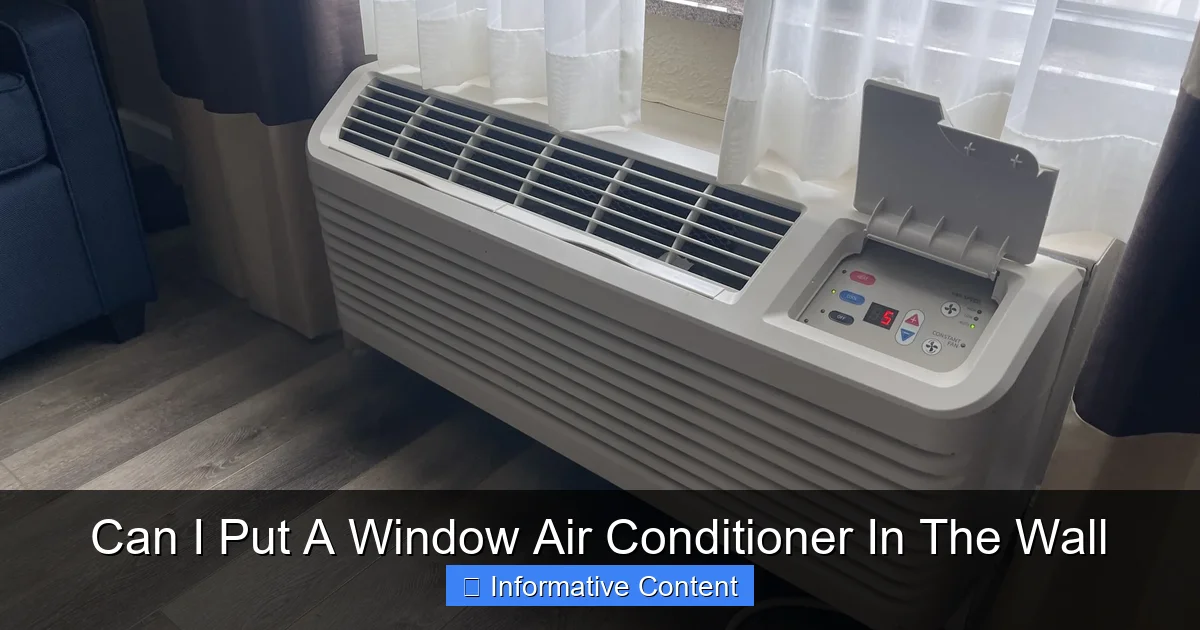
Featured image for can i put a window air conditioner in the wall
Image source: blogmedia.ptac4less.com
Yes, you can install a window air conditioner in a wall, but it requires careful planning and proper modifications. A sturdy, framed opening with weatherproofing and support is essential to safely secure the unit and prevent leaks or structural damage. Always follow manufacturer guidelines and local building codes to ensure safe, efficient operation.
Key Takeaways
- Understanding can i put a window air conditioner in the wall: Provides essential knowledge for making informed decisions
- Practical applications: Can be applied in various real-world scenarios
- Key benefits: Offers significant advantages when properly implemented
- Important considerations: Requires attention to specific details and best practices
- Future implications: Continues to evolve and impact related fields
📑 Table of Contents
- Can I Put A Window Air Conditioner In The Wall?
- Why People Want to Install a Window AC in the Wall
- Understanding the Risks and Challenges
- How to Properly Install a Window AC in the Wall
- DIY vs. Hiring a Professional: What’s the Best Option?
- Better Alternatives to Wall-Mounted Window ACs
- Final Thoughts: Is It Worth It?
Can I Put A Window Air Conditioner In The Wall?
Let’s be real—summer heat can be brutal. If you’ve ever stared at your window air conditioner, wondering if there’s a way to make it look cleaner or free up some window space, you’re not alone. I’ve been there too. Maybe you’ve even asked, “Can I put a window air conditioner in the wall?” It’s a great question, and the answer isn’t always straightforward. I remember when I first moved into a small apartment with only one usable window. I wanted to install my trusty window AC unit, but the window faced a busy street, and I didn’t want to lose natural light or deal with noise. That’s when I started digging into whether a wall-mounted setup was possible—and what it would really take.
The short answer? Technically, yes, you can install a window air conditioner in the wall, but it’s not as simple as just cutting a hole and sliding it in. There are structural, safety, and performance considerations that can make or break your cooling comfort. In this guide, I’ll walk you through everything I’ve learned—from why people try it, to the real risks, DIY vs. professional options, and even better alternatives. Whether you’re a renter trying to maximize space or a homeowner looking for a permanent solution, I’ve got your back. We’ll explore the ins and outs of wall-mounted window AC units with practical tips, real-world examples, and honest insights so you can make the smartest choice for your home.
Why People Want to Install a Window AC in the Wall
It’s easy to see the appeal. Window air conditioners are affordable, easy to install (in theory), and widely available. But when you start thinking about aesthetics, space, and long-term comfort, the idea of mounting one in a wall starts to make a lot more sense. Let’s break down the common reasons people consider this move.
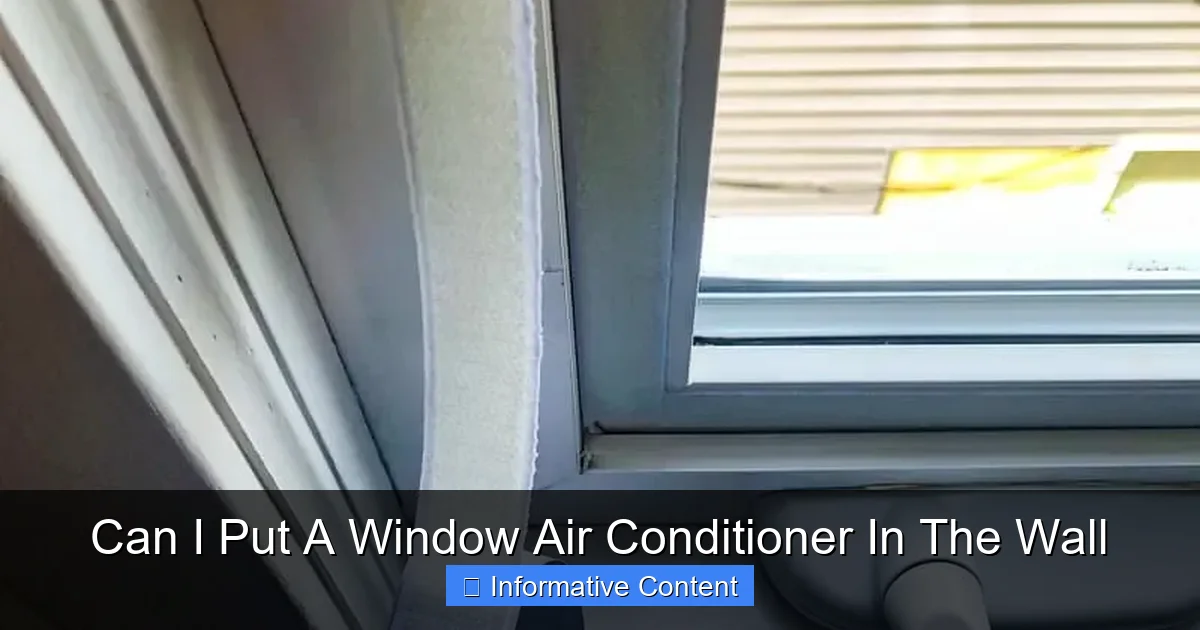
Visual guide about can i put a window air conditioner in the wall
Image source: thehandymansdaughter.com
Maximizing Space and Aesthetics
Let’s face it—window AC units are clunky. They stick out into the room, block sunlight, and can make a room feel smaller. I once had a unit that took up half the window in my bedroom. I couldn’t open the blinds, and the view was completely blocked. By installing a window air conditioner in the wall, you can reclaim that space and create a cleaner, more open feel. It’s especially appealing in small apartments, studios, or rooms where every inch counts.
Imagine a sleek, flush-mounted AC unit that doesn’t jut into your living space. No cords dangling from the window sill, no awkward furniture placement to work around. For renters, this can also mean less damage to the window frame—especially if you’re using a custom enclosure that doesn’t rely on the window’s structural integrity.
Better Ventilation and Airflow
Some homeowners believe that a wall-mounted window AC unit can provide better airflow because it’s not constrained by a window’s orientation or height. For example, if your window is high up or too narrow, a wall opening can be cut at the optimal height for airflow. Plus, if you install it on an exterior wall with direct access to the outside, you might get slightly better exhaust efficiency—since hot air doesn’t have to travel through a window frame.
One friend of mine installed his 8,000 BTU unit through a wall in his basement apartment. The window was tiny and high, but the wall opening let him place the unit at chest height, improving both cooling and access for cleaning. He also noticed less noise inside because the unit wasn’t vibrating against a thin window sill.
Long-Term Installation Without Window Damage
Window AC units often require drilling, clamping, or bracing into the window frame. Over time, this can warp the frame, crack seals, or even damage the wall around the window. If you’re renting, your landlord might not appreciate that. Installing a window air conditioner in the wall—especially with a custom sleeve or housing—can reduce long-term damage to the window itself.
For homeowners planning to keep the unit for years, a wall-mounted setup can feel more permanent and stable. Think of it like a built-in appliance. It’s not just a temporary fix—it’s a feature of the home.
Understanding the Risks and Challenges
Now, before you grab a saw and start cutting into your wall, let’s talk about the real risks involved. Installing a window air conditioner in the wall isn’t as simple as it sounds, and skipping key steps can lead to costly mistakes—or even safety hazards.
Structural Integrity of the Wall
Walls, especially exterior ones, are load-bearing. Cutting a hole large enough for a window AC unit (typically 24” to 36” wide and 18” to 24” high) can compromise the wall’s strength if not done properly. This is especially true in older homes or buildings with brick, concrete, or stucco exteriors.
For example, I once helped a friend install a unit in a 1950s brick home. We had to consult a structural engineer to ensure the opening wouldn’t affect the wall’s support. The engineer recommended adding a steel lintel above the cut to distribute the load. Skipping that step could have led to cracking or even structural failure over time.
Key tip: Always check if the wall is load-bearing before cutting. If you’re unsure, hire a professional. In most cases, exterior walls are load-bearing, while interior ones may not be.
Water Leaks and Moisture Damage
Window AC units are designed to tilt slightly backward so condensation drains outside. When you install one in a wall, you lose that natural slope. If the unit isn’t angled correctly, water can pool inside the unit or leak into the room.
I’ve seen this happen firsthand. A neighbor installed his unit flat in the wall, thinking it would look neater. Within a week, he noticed water dripping onto the floor near the AC. Turns out, the condensate wasn’t draining properly, and it was backing up into the housing. He had to redo the entire install with a 1/8” tilt—just like you’d do with a standard window install.
Also, if the wall isn’t properly sealed, rain or snow can seep in around the unit, leading to mold, wood rot, or insulation damage. Use high-quality exterior-grade caulk, flashing, and a drip pan to prevent this.
Reduced Efficiency and Overheating
Window AC units rely on airflow from both sides: cool air comes in from the front (inside), and hot air exhausts from the back (outside). When you install one in a wall, you’re enclosing it on all four sides. If the space isn’t properly ventilated, the unit can overheat, reducing efficiency and shortening its lifespan.
One study by the U.S. Department of Energy found that AC units operating in poorly ventilated enclosures lost up to 20% of their cooling capacity. That means your 10,000 BTU unit might only deliver 8,000 BTUs—costing you more in energy bills and leaving you uncomfortable.
Solution: Leave at least 6–8 inches of clearance on all sides, especially the back and sides. Use a louvered or mesh cover on the outside to allow hot air to escape while keeping pests out.
How to Properly Install a Window AC in the Wall
Okay, so you’ve weighed the risks and still want to go for it. Great! With the right planning and execution, you can safely install a window air conditioner in the wall. Here’s a step-by-step guide based on real-world experience and best practices.
Step 1: Choose the Right Location
Pick a spot on an exterior wall with direct access to the outside. Avoid walls with pipes, wires, or ductwork. Use a stud finder to locate studs and ensure the opening won’t cut through major structural components.
Pro tip: Measure your AC unit first. Most window units are 24”–36” wide and 18”–24” high. Add 1–2 inches on each side for insulation and sealing. The opening should be slightly larger than the unit to allow for adjustments.
Step 2: Create a Custom Sleeve or Housing
Instead of just cutting a hole, build a custom sleeve (often called an AC sleeve or wall sleeve) out of treated wood, metal, or PVC. This sleeve will:
- Support the weight of the unit
- Provide a clean, finished look
- Allow for proper drainage and ventilation
- Make future removal or replacement easier
For example, I used a prefabricated metal sleeve (like those used for through-the-wall AC units) and modified it to fit my window unit. It cost about $120, but it saved me hours of labor and ensured a perfect fit.
Step 3: Cut the Wall and Install the Sleeve
Mark the opening with a pencil and use a reciprocating saw or hole saw to cut through drywall, siding, and sheathing. For brick or stucco, you may need a masonry blade or professional help.
Insert the sleeve and secure it with screws or brackets. Make sure it’s level and tilted slightly (1/8” to 1/4”) toward the outside for drainage. Use expanding foam or insulation around the edges to seal gaps, but don’t pack it too tightly—airflow is still important.
Step 4: Install the AC Unit and Seal Everything
Slide the window air conditioner into the sleeve. Use brackets or straps to secure it so it doesn’t shift. Then:
- Seal around the edges with exterior-grade caulk
- Install a drip pan or tray under the unit to catch condensation
- Add a mesh or louvered cover on the outside to allow exhaust while keeping pests out
- Insulate the inside edges to prevent cold air from escaping
One friend used leftover spray foam to seal the inside edges, but he made the mistake of overfilling. The foam expanded and warped the unit’s housing. Lesson learned: use low-expansion foam or fiberglass insulation instead.
Step 5: Test and Monitor
Turn on the unit and run it for at least an hour. Check for:
- Water leaks inside or outside
- Unusual noises or vibrations
- Adequate cooling in the room
- Proper exhaust airflow (feel the outside vent—it should be hot)
If everything works, you’re good to go! If not, troubleshoot immediately before sealing everything permanently.
DIY vs. Hiring a Professional: What’s the Best Option?
This is where things get personal. Are you a handy DIYer with experience in home projects? Or are you more of a “call the handyman” type? Let’s break down the pros and cons of each approach.
DIY: When It Makes Sense
Doing it yourself can save you $300–$800 in labor costs. If you’re experienced with tools, comfortable cutting into walls, and have access to the right materials (like a sleeve, insulation, and sealants), DIY can be a rewarding project.
I did it myself and felt a real sense of accomplishment. Plus, I learned a lot about how my home’s structure works. But I also spent two full weekends on it, and I had to redo the drainage slope twice. If you’re patient and detail-oriented, DIY is totally doable.
Best for: Homeowners, experienced DIYers, those on a tight budget, or people who want to learn new skills.
Hiring a Pro: When to Call in the Experts
But if you’re renting, the wall is load-bearing, or you’re dealing with brick, stucco, or concrete, hire a professional. A licensed HVAC technician or handyman will have the tools, experience, and insurance to do it safely and correctly.
One couple I know hired a contractor to install a wall-mounted AC in their beachfront condo. The wall was concrete, and they needed permits. The contractor handled everything—cutting, sealing, electrical, even coordinating with the building’s HOA. It cost $900, but they avoided fines and structural issues.
Best for: Renters (to avoid lease violations), complex wall types, structural concerns, or if you value peace of mind.
Also, consider this: if your home is in a historic district, coastal area, or governed by an HOA, you may need approval before making structural changes. A pro can help you navigate those rules.
Better Alternatives to Wall-Mounted Window ACs
Before you commit to cutting a hole in your wall, let’s talk about better options that offer similar benefits with fewer risks.
Through-the-Wall Air Conditioners
These are designed specifically for wall installation. Unlike window units, they’re built to be enclosed, with proper drainage, ventilation, and insulation. They come in various BTUs (6,000 to 14,000) and often include features like remote controls, programmable timers, and energy-saving modes.
Example: The Frigidaire FFTH1022R1 is a 10,000 BTU through-the-wall unit that fits in a standard 26” x 15.5” opening. It’s more efficient than a repurposed window unit and comes with a built-in sleeve.
Mini-Split Ductless Systems
For a truly permanent, high-efficiency solution, consider a ductless mini-split. These systems have an outdoor compressor and an indoor wall-mounted head. They’re quiet, energy-efficient (often Energy Star rated), and provide both cooling and heating.
While more expensive upfront ($1,500–$3,000 installed), they can save you 30–50% on energy bills over time. Plus, they don’t require large wall openings—just a 3-inch hole for the refrigerant lines.
Portable Air Conditioners with Wall Vent Kits
Some portable ACs come with vent kits that let you run the exhaust hose through a wall instead of a window. This gives you the flexibility of a portable unit with the clean look of a wall-mounted system.
Example: The Honeywell HL14CESWK has an optional wall vent kit. It’s not as powerful as a window unit, but it’s great for small rooms and renters who want a semi-permanent feel without structural changes.
| Option | Best For | Cost | Installation Difficulty | Efficiency |
|---|---|---|---|---|
| Window AC in Wall | Budget DIYers, temporary setups | $150–$400 (materials) | High (structural work) | Medium (risk of leaks/overheating) |
| Through-the-Wall AC | Permanent wall installs, efficiency | $300–$800 | Medium (needs sleeve) | High (designed for walls) |
| Mini-Split System | Long-term, energy savings, heating | $1,500–$3,000 | High (pro install needed) | Very High (Energy Star) |
| Portable AC with Wall Vent | Renters, small spaces, flexibility | $400–$700 | Low to Medium | Medium |
Final Thoughts: Is It Worth It?
So, can you put a window air conditioner in the wall? Yes—but with caveats. If you’re careful, prepared, and willing to invest time (or money) into doing it right, it can be a smart way to save space, improve airflow, and create a cleaner look. But it’s not a shortcut. You’re essentially creating a through-the-wall installation from scratch, and that comes with risks: structural damage, water leaks, reduced efficiency, and safety hazards.
Before you start, ask yourself: Do I have the skills, tools, and permission to do this safely? Am I prepared for the possibility of redoing it if something goes wrong? If the answer is yes, go for it—but follow the steps I’ve outlined. Build a proper sleeve, ensure drainage and ventilation, and seal everything thoroughly.
But if you’re unsure, or if your home has structural or regulatory challenges, consider the alternatives. A through-the-wall AC or mini-split system might cost more upfront, but they’re designed for this exact purpose—and they’ll save you time, stress, and potential repair bills down the road.
At the end of the day, your comfort and safety matter most. Whether you go DIY or call a pro, the goal is to stay cool without compromising your home. And hey, if you do decide to try it, take pictures, document the process, and share your journey. You might just inspire someone else to do it the right way.
Stay cool, stay safe, and remember: just because you can do something doesn’t always mean you should—but with the right knowledge, you can make it work.
Frequently Asked Questions
Can I install a window air conditioner in the wall instead of a window?
While technically possible, installing a window air conditioner in a wall isn’t recommended unless it’s specifically designed for through-the-wall installation. Standard window units lack proper insulation and mounting hardware for wall cavities, which can lead to air leaks and reduced efficiency.
What’s the difference between a window AC and a through-the-wall AC?
A through-the-wall air conditioner is built with reinforced casing, better insulation, and proper drainage for permanent wall installation, while a window air conditioner is designed for temporary window mounting. Using a window unit in a wall can void warranties and create safety hazards.
Can I put a window air conditioner in the wall if I build a custom frame?
Even with a custom frame, placing a window air conditioner in the wall risks poor performance and structural issues. The unit may not fit securely, and gaps around the frame can allow hot air infiltration, making cooling less effective.
Are there building code issues with installing a window AC in the wall?
Yes, many local codes prohibit installing a window air conditioner in the wall due to fire risks, lack of proper ventilation, and improper electrical connections. Always check with your local building authority before attempting this.
Can I convert a window air conditioner to a wall unit?
Converting a window air conditioner to a wall unit isn’t practical or safe. These units aren’t engineered for wall installation, and modifications could damage the compressor or refrigerant lines, leading to costly repairs.
What are the risks of putting a window air conditioner in the wall?
The main risks include water leaks, electrical hazards, reduced cooling efficiency, and potential damage to your home’s structure. For a safe, long-term solution, consider purchasing a dedicated through-the-wall air conditioner.