

Featured image for auto air conditioner recharge instructions
Image source: performanceautospecialists.com
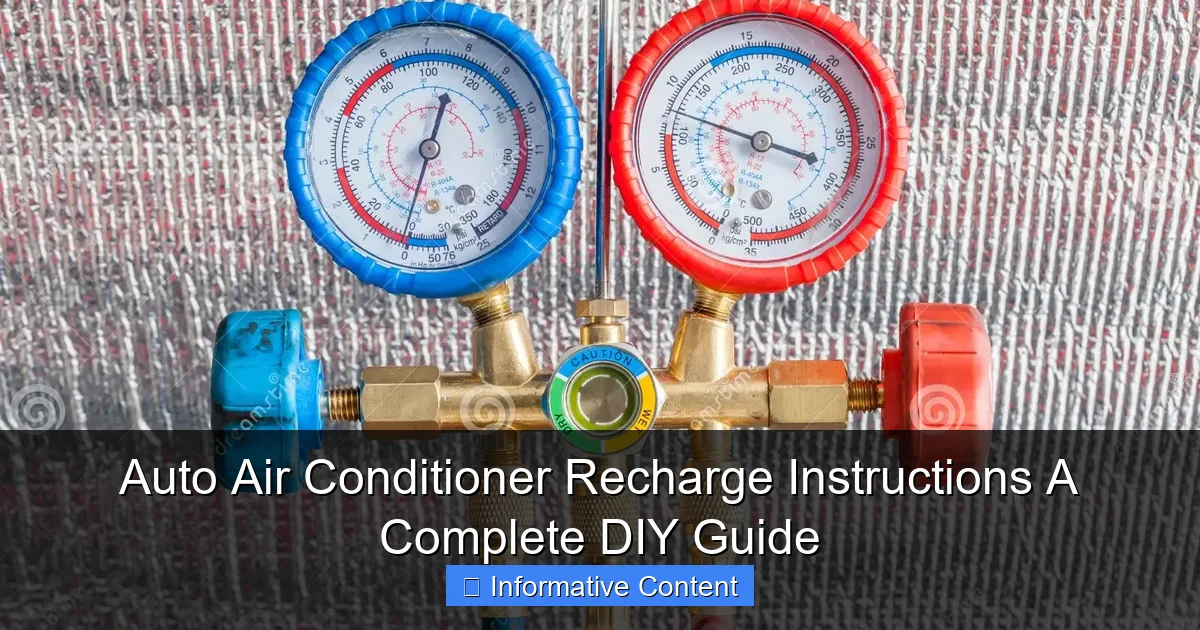
Recharge your car’s AC system safely and effectively with this step-by-step DIY guide that walks you through checking pressure levels, connecting the recharge kit, and adding refrigerant correctly. Avoid costly mechanic visits by following these clear, expert-backed auto air conditioner recharge instructions designed for beginners and seasoned DIYers alike.
Key Takeaways
- Safety first: Always wear gloves and goggles when handling refrigerant.
- Check pressure: Use a gauge to ensure correct refrigerant levels.
- Identify ports: Locate the low-pressure port before recharging.
- Use correct refrigerant: Match the refrigerant type to your vehicle’s specs.
- Monitor performance: Test A/C after recharge for proper cooling.
- Avoid overfilling: Excess refrigerant reduces efficiency and damages the system.
📑 Table of Contents
Why Your Car’s AC Might Need a Recharge
Picture this: It’s a sweltering summer afternoon, and you’re stuck in traffic with your car’s air conditioner blowing warm air like it’s forgotten its job. You crank the dial, press every button, but nothing works. Sound familiar? If your car’s AC isn’t cooling like it used to, you might be dealing with low refrigerant levels—and that’s where auto air conditioner recharge comes in. Recharging your AC system is one of the most common DIY fixes for cooling problems, and it’s simpler than you might think.
But before you grab a refrigerant can and start spraying, let’s get one thing straight: Recharging your AC isn’t just about topping off the refrigerant. It’s about understanding the system, doing it safely, and making sure you don’t cause more harm than good. A proper auto air conditioner recharge can restore your AC’s cooling power, save you hundreds at the mechanic, and even extend the life of your system. However, if done incorrectly, it can lead to leaks, compressor damage, or worse—environmental harm. In this guide, we’ll walk you through every step, from diagnosis to final test, so you can confidently recharge your AC like a pro.
How to Diagnose Low Refrigerant Levels
Signs Your AC Needs a Recharge
Before you start buying refrigerant, you need to confirm that low refrigerant is actually the problem. Not every AC issue is due to a refrigerant leak—sometimes it’s a clogged condenser, a faulty blower fan, or even a dirty cabin filter. But if you notice these signs, a recharge might be in order:
Visual guide about auto air conditioner recharge instructions
Image source: thumbs.dreamstime.com
- The air from the vents is warm or lukewarm, even on the coldest setting.
- Cooling performance gradually worsened over time (not sudden failure).
- You hear a faint hissing noise near the AC lines (possible leak).
- Ice buildup on the AC lines or evaporator (indicates low refrigerant).
- The AC works better at high speeds but fails at idle.
For example, my friend Jake noticed his 2015 Honda Civic’s AC was blowing warm air after a long road trip. He thought it was a compressor issue, but after checking the pressure, he found it was just low on refrigerant. A quick recharge fixed it in under 30 minutes.
Why Refrigerant Levels Drop
Refrigerant (usually R-134a or R-1234yf in modern cars) doesn’t get “used up” like oil. It’s a closed system, so if levels are low, there’s likely a leak. Common leak points include:
- O-rings and seals: These degrade over time, especially in older vehicles.
- Compressor shaft seal: Wears out due to heat and friction.
- Condenser or evaporator: Can corrode or get punctured by road debris.
- Service port caps: Loose or missing caps let refrigerant escape.
Fun fact: Even a tiny leak—say, a pinhole in a hose—can lose up to 15% of refrigerant per year. That’s why annual AC checks are smart, even if the system seems fine.
When Not to Recharge
Recharging isn’t a fix-all. Avoid DIY recharging if:
- Your AC blows cold air intermittently (could be an electrical issue).
- You see oil stains near AC components (major leak).
- The compressor won’t engage (needs professional diagnosis).
Tip: If you’re unsure, use a UV dye kit (more on that later) to check for leaks before adding refrigerant.
Tools and Supplies You’ll Need
Essential Recharge Kit Components
For a safe and effective auto air conditioner recharge, you’ll need more than just a can of refrigerant. Here’s your checklist:
- Refrigerant: R-134a for cars made before 2013, R-1234yf for newer models (check your owner’s manual).
- Recharge hose with gauge: Measures pressure to avoid overfilling.
- UV dye and flashlight (optional): For leak detection.
- Safety goggles and gloves: Refrigerant is under high pressure and can cause frostbite.
- Thermometer (optional): To measure vent temperature.
- Service port caps: Replace if cracked or missing.
Pro tip: Buy a kit with a low-pressure gauge (most DIY kits have this). High-pressure ports are for professionals only—messing with them risks injury.
Choosing the Right Refrigerant
Not all refrigerants are created equal. Using the wrong type can damage your system. For example:
- R-134a: Standard for cars from 1994–2013. Costs ~$20–$30 per 12 oz can.
- R-1234yf: Required for most post-2013 models. More expensive (~$50–$80 per can) but eco-friendly.
Warning: Avoid “AC boosters” or “sealant additives” sold in stores. They can gum up your system or mask leaks, leading to costly repairs. Stick to pure refrigerant.
Where to Buy Supplies
Auto parts stores (like AutoZone, O’Reilly) sell complete recharge kits. Some even offer free loaner tools. Online, Amazon and Walmart have good options, but check reviews for gauge accuracy. I once bought a cheap gauge that gave false readings—lesson learned!
Step-by-Step Auto Air Conditioner Recharge Process
Step 1: Prep Your Vehicle
Park on a flat surface, turn off the engine, and let the AC run for 2–3 minutes to equalize pressure. This ensures the gauge reads accurately. Then:
- Locate the low-pressure service port (usually marked with an “L” or blue cap).
- Clean the port with a rag to remove dirt (prevents contamination).
- Remove the cap and attach the recharge hose’s quick-connect fitting.
Note: The low-pressure port is on the larger AC line (suction side), near the firewall or engine bay. If you’re unsure, consult your car’s manual.
Step 2: Check Pressure and Vent Temp
Start the engine, set the AC to max cold, and turn the blower to high. Let it run for 5 minutes. Then:
- Read the gauge. Normal pressure ranges from 25–45 psi (varies by ambient temp).
- Use a thermometer in the center vent. Ideal temp: 35–45°F (2–7°C).
Example: At 85°F outside, my 2010 Toyota Camry’s gauge showed 30 psi—slightly low. Vent temp was 50°F, so I knew a recharge was needed.
Step 3: Add Refrigerant (Slowly!)
Shake the refrigerant can, attach it to the hose, and open the valve slightly. Add refrigerant in short bursts (5–10 seconds at a time), then wait 30 seconds for the pressure to stabilize. Watch the gauge:
- Under 25 psi: Add more (but don’t rush).
- 25–45 psi: Stop. You’re in the safe zone.
- Over 45 psi: Stop immediately! Overfilling can damage the compressor.
Pro tip: Hold the can upright to avoid liquid refrigerant entering the system (which can cause compressor damage). If the can gets cold, wrap it in a warm towel.
Step 4: Monitor and Test
After adding refrigerant:
- Check the gauge again. It should stabilize within the 25–45 psi range.
- Measure vent temperature. It should drop to 35–45°F.
- Listen for unusual noises (bubbling, hissing)—signs of leaks or overfilling.
My first recharge attempt? I added too much and heard a loud “thump” from the compressor. I panicked, but turning the AC off for 10 minutes let the pressure equalize. Lesson: Patience is key!
Step 5: Clean Up and Final Checks
Once the system is charged:
- Close the can valve and disconnect the hose.
- Replace the service port cap (hand-tight).
- Run the AC for 10 more minutes to circulate refrigerant.
- Check for leaks with UV dye or soapy water (if you suspect a leak).
Bonus tip: Keep leftover refrigerant for future use. Store it in a cool, dry place.
Common Mistakes and Safety Tips
Overfilling: The #1 DIY Pitfall
Overfilling your AC is like drinking too much coffee—it might seem harmless, but it can cause serious damage. Symptoms of overfilling:
- High pressure readings (over 45 psi).
- AC blows warm air (liquid refrigerant floods the compressor).
- Compressor clutch fails to engage.
What to do: If you overfill, do not try to “bleed” the system yourself. Take it to a pro. The compressor is expensive to replace—often $1,000+.
Ignoring Leaks
Recharging a leaky system is like filling a bucket with holes. You’ll just lose refrigerant again. To find leaks:
- Use a UV dye kit (add dye during recharge, scan with a blacklight).
- Apply soapy water to connections—bubbles mean a leak.
- Listen for hissing near lines and hoses.
Example: A customer at my local shop kept recharging his AC every 6 months. We found a cracked O-ring in the compressor—a $5 fix that saved him $300 in refrigerant!
Safety First: Handling Refrigerant
Refrigerant isn’t toxic, but it’s dangerous if mishandled:
- Never inhale it: Causes dizziness or asphyxiation.
- Wear gloves and goggles: Prevents frostbite from liquid refrigerant.
- Work in a ventilated area: Avoid enclosed spaces.
- Don’t vent to the atmosphere: It’s illegal in many states and harms the environment.
Real talk: A friend once sprayed refrigerant on his arm—it froze instantly and left a red welt. Always respect the cold!
When to Call a Professional
DIY recharging is great for minor top-offs, but call a pro if:
- You find a major leak (oil stains, hissing).
- The compressor isn’t engaging.
- Pressure readings are erratic after recharge.
- You drive a luxury or hybrid (complex systems).
Cost comparison: A shop recharge costs $150–$300, but they’ll also check for leaks and evacuate the system properly.
Data Table: Refrigerant Types and Specifications
| Refrigerant Type | Vehicles (Model Years) | Pressure Range (psi) at 80°F | Environmental Impact (GWP) | Average Cost (12 oz can) |
|---|---|---|---|---|
| R-134a | 1994–2013 | 25–45 psi | 1,430 (high) | $20–$30 |
| R-1234yf | 2013+ (most) | 20–35 psi | 1 (very low) | $50–$80 |
| R-12 (Freon) | Pre-1994 (rare) | 30–50 psi | 10,900 (very high) | Banned (illegal to sell) |
Note: Global Warming Potential (GWP) measures how much a gas contributes to climate change. R-1234yf is the eco-friendly choice, but pricier.
Maintaining Your AC After Recharge
Annual AC Check-Ups
Just like oil changes, your AC needs regular TLC. Every year:
- Check refrigerant levels (even if it feels cold).
- Inspect hoses and seals for cracks.
- Replace the cabin air filter (clogged filters reduce airflow).
- Run the AC for 10 minutes in winter to lubricate seals.
My rule: Test my AC in early spring, before summer heat hits. That way, I’m not stuck in a sauna later!
Preventing Future Leaks
Leaks often start small. To prevent them:
- Park in the shade (reduces stress on AC components).
- Avoid rough roads (potholes can damage condensers).
- Use a seal conditioner (safe additives that rejuvenate O-rings).
Pro tip: If you live in a hot climate, recharge your AC every 2–3 years as a preventive measure.
Know When to Retire the System
AC systems last 10–15 years. If yours is older and keeps leaking, it might be time to replace it. Signs:
- Frequent recharges (more than once a year).
- Compressor makes grinding noises.
- Condenser is rusted or bent.
Example: My neighbor’s 2002 SUV needed a recharge every 6 months. We replaced the condenser and compressor—$1,200—but now it runs like new.
Recharging your auto air conditioner isn’t rocket science, but it’s not a “spray and pray” job either. With the right tools, patience, and a little know-how, you can restore your AC’s cooling power and save money. Just remember: auto air conditioner recharge is a short-term fix for low refrigerant—not a cure for leaks or mechanical failures. If your system keeps losing pressure, get it checked by a pro. And always prioritize safety: Respect the refrigerant, work in a ventilated area, and never overfill.
Now, the next time your AC blows warm air, you’ll know exactly what to do. Keep this guide handy, grab your tools, and tackle that recharge with confidence. Your car (and your passengers) will thank you when the summer heat hits. Happy cooling!
Frequently Asked Questions
What is auto air conditioner recharge and why might I need it?
An auto air conditioner recharge involves refilling the refrigerant in your car’s A/C system to restore cooling performance. You may need it if your A/C is blowing warm air, has weak airflow, or hasn’t been serviced in over a few years.
Can I recharge my car’s air conditioner myself?
Yes, you can recharge your car’s air conditioner yourself using a DIY recharge kit, which typically includes refrigerant and a pressure gauge. It’s a straightforward process if your system doesn’t have leaks or major mechanical issues.
How do I know if my car needs an air conditioner recharge?
If your A/C isn’t cooling as effectively as before, especially on hot days, it may be low on refrigerant and need a recharge. Other signs include hissing sounds (indicating a leak) or the compressor not engaging.
What tools do I need for an auto air conditioner recharge?
You’ll need a recharge kit with refrigerant (like R-134a), a hose with a pressure gauge, and safety gloves and goggles. Some kits also include a thermometer to check vent temperature for optimal results.
Is it safe to recharge my car’s A/C without professional help?
Recharging your A/C is generally safe if you follow the instructions carefully and avoid overfilling the system. However, if you suspect a leak or electrical issue, it’s best to consult a professional to prevent damage.
How often should I recharge my auto air conditioner?
Most cars don’t need a recharge more than once every 2–3 years, as A/C systems are designed to be sealed. Frequent loss of refrigerant usually indicates a leak that should be repaired before recharging.

