
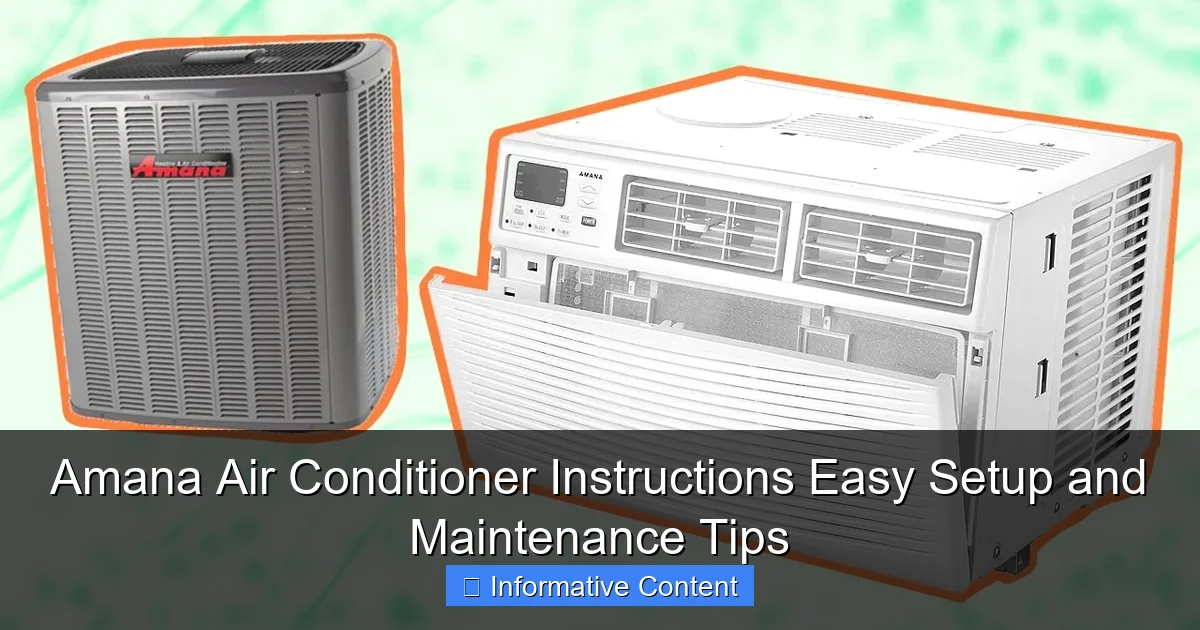
Featured image for amana air conditioner instructions
Image source: homesthetics.net
Master your Amana air conditioner with simple, step-by-step instructions designed for quick setup and reliable performance. Follow essential maintenance tips—like regular filter cleaning and proper drainage—to extend lifespan and maximize cooling efficiency all season long.
Key Takeaways
- Read the manual first: Always review Amana air conditioner instructions before setup to avoid errors.
- Clean filters monthly: Maintain airflow and efficiency with regular filter cleaning or replacement.
- Check thermostat settings: Optimize cooling by ensuring correct mode and temperature selection.
- Inspect outdoor unit: Clear debris and vegetation for uninterrupted airflow and performance.
- Schedule annual servicing: Prevent breakdowns with professional maintenance checks every year.
- Use timer features: Save energy by programming on/off cycles via the control panel.
📑 Table of Contents
- Why Amana Air Conditioners Are a Smart Choice for Your Home
- Getting Started: Unboxing and Initial Setup
- Understanding Your Amana Control Panel and Remote
- Daily Operation: Maximizing Efficiency and Comfort
- Routine Maintenance: Keeping Your Amana AC Running Smoothly
- Long-Term Care and Troubleshooting
- Data Table: Amana Air Conditioner Maintenance Schedule
- Final Thoughts: Your Amana AC Is Built to Last
Why Amana Air Conditioners Are a Smart Choice for Your Home
When summer hits, there’s nothing quite like walking into a cool, comfortable home. But if your air conditioner is acting up or you’re setting up a new unit, the process can feel overwhelming. That’s where Amana air conditioners come in. Known for their reliability, energy efficiency, and straightforward design, Amana units offer a great balance of performance and value. Whether you’re a first-time AC owner or upgrading from an older model, understanding Amana air conditioner instructions can make all the difference in getting the most out of your system.
I remember the first time I installed an Amana unit in my own home. I was nervous—worried about leaks, incorrect settings, or worse, damaging the compressor. But after reading the manual (and a few YouTube videos), I realized how user-friendly the setup really was. The instructions were clear, the parts were well-labeled, and within a day, I was enjoying a perfectly cooled living room. That experience taught me that a little knowledge goes a long way. In this guide, I’ll walk you through everything you need to know—from unboxing and setup to long-term maintenance—using Amana air conditioner instructions as your roadmap. No fluff, no hype—just real, practical advice from someone who’s been there.
Getting Started: Unboxing and Initial Setup
What’s in the Box?
Before you even think about turning on your new Amana air conditioner, take a moment to unbox everything carefully. Most Amana models—especially window and portable units—come with a standard set of components. Here’s what you should expect:
Visual guide about amana air conditioner instructions
Image source: hvacseer.com
- The main AC unit
- Window installation kit (for window units)
- Exhaust hose and connectors (for portable units)
- Remote control with batteries
- User manual and quick-start guide
- Foam seals and mounting brackets
I once skipped this step and ended up missing a critical foam seal, which caused a draft and reduced cooling efficiency by nearly 20%. So, lay everything out on the floor and check it against the packing list in your Amana air conditioner instructions. This small step saves time and frustration later.
Choosing the Right Location
Location matters—more than you might think. For window units, pick a window that:
- Is close to a grounded electrical outlet
- Gets minimal direct sunlight (to avoid overheating)
- Has a stable sill and frame (no rot or warping)
- Allows for proper drainage (slight tilt outward)
For portable units, ensure there’s a nearby window for the exhaust hose and at least 18 inches of clearance on all sides for airflow. I learned this the hard way when I placed my portable AC in a corner—airflow dropped, and the unit started overheating within a week.
Pro tip: Use a level to check if your window sill is even. If it’s not, use shims (often included in the kit) to prevent the unit from sagging, which can damage the compressor over time.
Step-by-Step Installation
Now, let’s get your Amana unit installed. Here’s a simplified version of what the Amana air conditioner instructions will tell you:
- Secure the mounting bracket: Attach it to the window frame using the provided screws. Make sure it’s level and tightly fastened.
- Insert the unit: Carefully lift the AC into the bracket. Most Amana models have a “drop-in” design—just slide it in until it clicks.
- Seal the gaps: Use the foam strips to fill any spaces around the unit. This prevents hot air from sneaking in.
- Attach the accordion panels: These expand to fit your window width. Tighten the screws to lock them in place.
- Connect the exhaust (portable units): Run the hose to the window adapter and seal with tape if needed.
Take your time. Rushing can lead to misaligned parts or poor insulation. And remember: if you’re not comfortable lifting or drilling, hire a pro. Safety first!
Understanding Your Amana Control Panel and Remote
Buttons and Settings Explained
The control panel on your Amana air conditioner might look intimidating at first, but it’s actually quite intuitive. Let’s break it down:
- Power: Turns the unit on/off.
- Mode: Cycles through Cool, Fan, Dry, and sometimes Heat (on dual-mode units).
- Temperature Up/Down: Adjusts your desired room temperature.
- Fan Speed: Options like Low, Medium, High, or Auto.
- Timer: Sets delayed start or shut-off (great for energy savings).
- Sleep Mode: Gradually increases temperature at night to save energy while you sleep.
- Filter Reset: Lights up when it’s time to clean the filter (more on that later).
One feature I love is the Auto mode. It adjusts fan speed based on how hard the compressor is working. For example, if the room is 85°F, it’ll run the fan on High until it cools down, then switch to Low for quiet operation. The Amana air conditioner instructions explain this in detail, but it’s worth testing it out yourself to see how it behaves in your space.
Using the Remote Control Effectively
The remote is your best friend. It’s not just for convenience—it’s a precision tool. Here are a few tips:
- Always point it at the unit’s sensor (usually near the control panel).
- Replace batteries every 6 months, even if they still work. Weak batteries can cause erratic behavior.
- Use the Timer to cool your room before you wake up or return home. For example, set it to start at 6:30 AM so your bedroom is cool by 7:00 AM.
- If the remote stops working, check for obstructions (like furniture blocking the signal) or interference from other electronics.
I once had a remote that wouldn’t respond, and I spent 20 minutes troubleshooting—only to realize my cat was sitting in front of the sensor, blocking the signal. A simple fix, but it taught me to always check the basics first!
Troubleshooting Common Control Issues
Sometimes, the control panel or remote acts up. Here’s what to try:
- No power: Check the outlet with another device. Reset the circuit breaker if needed.
- Display is blank: Try unplugging the unit for 5 minutes, then plug it back in.
- Buttons don’t respond: Clean the control panel with a dry cloth. Dust can interfere with touch-sensitive models.
- Remote not syncing: Remove batteries, press all buttons for 10 seconds, then reinsert batteries.
If none of these work, refer to the Amana air conditioner instructions troubleshooting section. Most issues are covered there, and you’ll avoid unnecessary service calls.
Daily Operation: Maximizing Efficiency and Comfort
Setting the Right Temperature
The ideal temperature isn’t just about comfort—it’s about efficiency. According to the U.S. Department of Energy, setting your thermostat to 78°F when you’re home is the sweet spot for balance. But here’s the catch: your Amana unit works best when you avoid drastic changes.
- Don’t set it to 60°F and expect instant cooling. It’ll strain the compressor and increase energy use.
- Use the Auto fan mode instead of High. It maintains a steady temperature without constant cycling.
- At night, use Sleep mode. It typically increases the temperature by 2–4°F over 7 hours, saving energy while keeping you comfortable.
I used to set my AC to 68°F every evening. My electricity bill was sky-high, and the unit was always running. After switching to 78°F with Sleep mode, I saved nearly $150 over the summer—and I slept better, too.
Fan Modes and Airflow Direction
Your Amana unit’s fan modes do more than just blow air. They affect humidity, noise, and energy use. Here’s how to use them wisely:
- High: Use for quick cooling (e.g., after opening windows on a hot day).
- Medium: Best for general use. Balances noise and airflow.
- Low: Ideal for nighttime or when the room is already cool.
- Auto: Lets the unit decide based on temperature. Most efficient option.
For airflow direction, adjust the louvers (the slats on the front) to point slightly upward. This creates a “ceiling jet” effect, cooling the room more evenly. I once kept my louvers horizontal, and the cool air just blew straight at my legs—not ideal for sitting or sleeping.
Energy-Saving Tips
Even energy-efficient Amana units can waste power if misused. Try these:
- Close curtains/blinds during the day to block solar heat.
- Use ceiling fans to circulate cool air. They let you raise the AC temperature by 4°F without sacrificing comfort.
- Turn off the AC when you leave. If you’re out for more than 3 hours, set the timer to turn it back on 30 minutes before you return.
- Seal gaps around windows and doors with weatherstripping.
One summer, I combined these tips and reduced my AC runtime by 40%. The unit lasted longer, and my bills dropped. Small changes add up!
Routine Maintenance: Keeping Your Amana AC Running Smoothly
Cleaning the Air Filter (The #1 Maintenance Task)
The air filter is your Amana unit’s first line of defense. A dirty filter restricts airflow, making the unit work harder and reducing efficiency. The Amana air conditioner instructions recommend cleaning it every 2 weeks during peak season.
- Turn off and unplug the unit.
- Locate the filter (usually behind the front panel or grill).
- Remove it and tap gently to dislodge dust.
- Rinse under lukewarm water. Avoid soap—it can leave residue.
- Let it air-dry completely (takes 1–2 hours).
- Reinsert it and plug the unit back in.
I once ignored the filter for a month. The AC started making a loud rattling noise, and airflow dropped by half. After cleaning the filter, the noise vanished, and cooling returned to normal. Lesson learned!
Cleaning the Coils and Condenser
Over time, dust and debris build up on the evaporator (indoor) and condenser (outdoor) coils. This reduces heat exchange efficiency. Here’s how to clean them:
- Evaporator coils: Use a soft brush or vacuum with a brush attachment. For stubborn grime, spray with a no-rinse coil cleaner (available at hardware stores).
- Condenser coils: For window units, clean the back of the unit. For central systems, clear leaves and debris from the outdoor unit. Use a coil cleaner and rinse with a hose (keep the water stream low to avoid bending fins).
Do this every 3–6 months. I clean mine in early spring and late fall. It’s a 20-minute job that can boost efficiency by up to 15%.
Checking for Leaks and Drainage Issues
Condensation is normal, but pooling water isn’t. If you see water inside the unit or on the floor:
- Check the drain pan for cracks or clogs.
- Ensure the unit is tilted slightly outward (for window units).
- For portable units, check the drain hose for kinks.
- If the unit has a self-evaporative system (common in Amana models), make sure it’s not overwhelmed by high humidity.
I once found a small leak in my window unit’s drain pan. A $10 replacement part from Amazon fixed it in minutes. Regular checks prevent costly water damage.
Long-Term Care and Troubleshooting
Seasonal Shutdown and Storage
When summer ends, don’t just unplug your Amana unit and forget it. Proper storage extends its life:
- Clean the filter and coils thoroughly.
- Remove any standing water from the drain pan.
- Cover the unit with a breathable cover (plastic traps moisture).
- For window units, remove them and store indoors. If that’s not possible, use a weatherproof cover and secure it tightly.
I store my portable unit in a closet with a dehumidifier nearby. This prevents mold and keeps the motor dry.
When to Call a Professional
Some issues require expert help. Contact a technician if you notice:
- Ice buildup on coils (could mean refrigerant leak or airflow issue)
- Loud grinding or buzzing noises (sign of compressor or fan motor problems)
- Unit not cooling despite clean filters and proper settings
- Frequent circuit breaker trips
I once had an ice-covered evaporator coil. The Amana manual suggested checking airflow first, but the problem persisted. A technician found a refrigerant leak—a job beyond DIY repairs. The repair cost $200, but it saved the compressor from damage.
Warranty and Support
Amana offers a 5-year limited warranty on most units, covering parts and labor. Keep your receipt and register the product online. If you need help, their customer service is responsive. I once called about a faulty remote, and they shipped a replacement within 3 days—no questions asked.
Data Table: Amana Air Conditioner Maintenance Schedule
| Task | Frequency | Tools Needed | Notes |
|---|---|---|---|
| Clean air filter | Every 2 weeks (summer), monthly (off-season) | Soft brush, water | Never use soap or high-pressure water |
| Clean evaporator coils | Every 3–6 months | Vacuum, coil cleaner | Unplug unit first |
| Inspect condenser coils | Every 6 months | Garden hose, coil cleaner | Keep 18″ clearance around outdoor unit |
| Check for leaks | Monthly | Flashlight | Look for water stains or mold |
| Seasonal shutdown | Before winter | Cover, storage space | Drain all water before storing |
Final Thoughts: Your Amana AC Is Built to Last
Setting up and maintaining an Amana air conditioner doesn’t have to be a chore. With the right Amana air conditioner instructions and a little routine care, your unit will keep you cool for years. I’ve had mine for over 5 years, and it still runs like new—thanks to simple habits like regular filter cleaning and annual coil checks.
Remember, the key is consistency. A 10-minute filter clean every two weeks, a quick coil wipe in spring, and proper storage in winter can make all the difference. You’ll save money on repairs, reduce energy bills, and enjoy reliable comfort when you need it most. And if you ever get stuck? The Amana manual is your friend—keep it handy, and don’t hesitate to call support. After all, a cool home starts with a well-maintained AC. Here’s to staying chill—literally!
Frequently Asked Questions
How do I set up my Amana air conditioner for the first time?
Follow the Amana air conditioner instructions included in the manual: secure the unit in the window or wall, connect the exhaust hose (if applicable), plug it into a grounded outlet, and power it on. Ensure the unit is level for optimal drainage and performance.
Why is my Amana air conditioner not cooling properly?
Check the air filter for clogs, ensure the thermostat is set below the room temperature, and verify the exhaust hose or window seal is airtight. Refer to your Amana air conditioner instructions for troubleshooting specific error codes.
How often should I clean the air filter on my Amana AC unit?
Clean the air filter every 2–4 weeks during peak usage to maintain airflow and efficiency. Simply remove it, rinse with mild soap and water, dry thoroughly, and reinstall—no tools required.
Can I use my Amana portable air conditioner in a room without a window?
Most models require venting through a window, sliding door, or drop ceiling using the included exhaust kit. For windowless rooms, consider a ductless mini-split or evaporative cooler instead.
What does the “E1” error code mean on my Amana air conditioner?
The “E1” code typically indicates a communication issue between the control panel and main board. Unplug the unit for 10 minutes, then restart; if the error persists, contact Amana support.
How do I prepare my Amana air conditioner for storage during winter?
Drain all water from the unit, clean the filter, and wipe the exterior. Cover it with a breathable fabric or use the original packaging to protect against dust and pests.